

Changing your Apple ID credit card info from your Mac or PC
Not too long ago, we showed you how you can edit your Apple ID payment information from your iOS device, but the same task can also be accomplished from your Mac or PC in a similar number of steps.
Whether you’ve received a new credit card that you want to use, or you wish to change the credit card you have on file for your Apple ID, changing your payment information allows future purchases made through Apple’s online stores, such as the App Store, iBooks Store, or iTunes Store, to be billed to the new credit card you’re adding.
In this tutorial, we’ll show you how you can change your Apple ID payment information from your Mac or PC.
Changing your Apple ID payment information from Mac or PC
Although changing your Apple ID payment information from your iPhone, iPod touch, or iPad may be handy if you’re on the go, some people don’t even have iOS devices and need another method, or prefer the bigger screen and keyboard of their Mac or PC because they can more easily prevent typing mistakes when entering new payment information.
The steps to change your Apple ID payment information from your Mac are going to be the same as for any Windows PC, so follow these steps:
1) Launch the iTunes app on your computer. If on a Mac, you can use Spotlight to search for and launch iTunes; if on a PC, you can use the Start Menu to search for and launch iTunes.
2) At the top of the iTunes app, click on the account button that appears to the left of the search bar.
3) If you’re not already signed in, sign in your Apple ID from the prompt window that appears. If you’re signed in, skip to the next step.
4) Once signed in, you can click on the button again and it’ll reveal a pop-up. From here, click on the Account Info button.
5) You will now be prompted to enter your Apple ID password, so go ahead and type in your password and then click the View Account button.
6) This brings you to your Account Information screen in iTunes. You’ll now want to click on the Edit button to the right of Payment Type.
7) Now you’re brought to a form where you can enter your new credit card information. Once satisfied, click on the Done button at the bottom right of the iTunes app to save your changes.
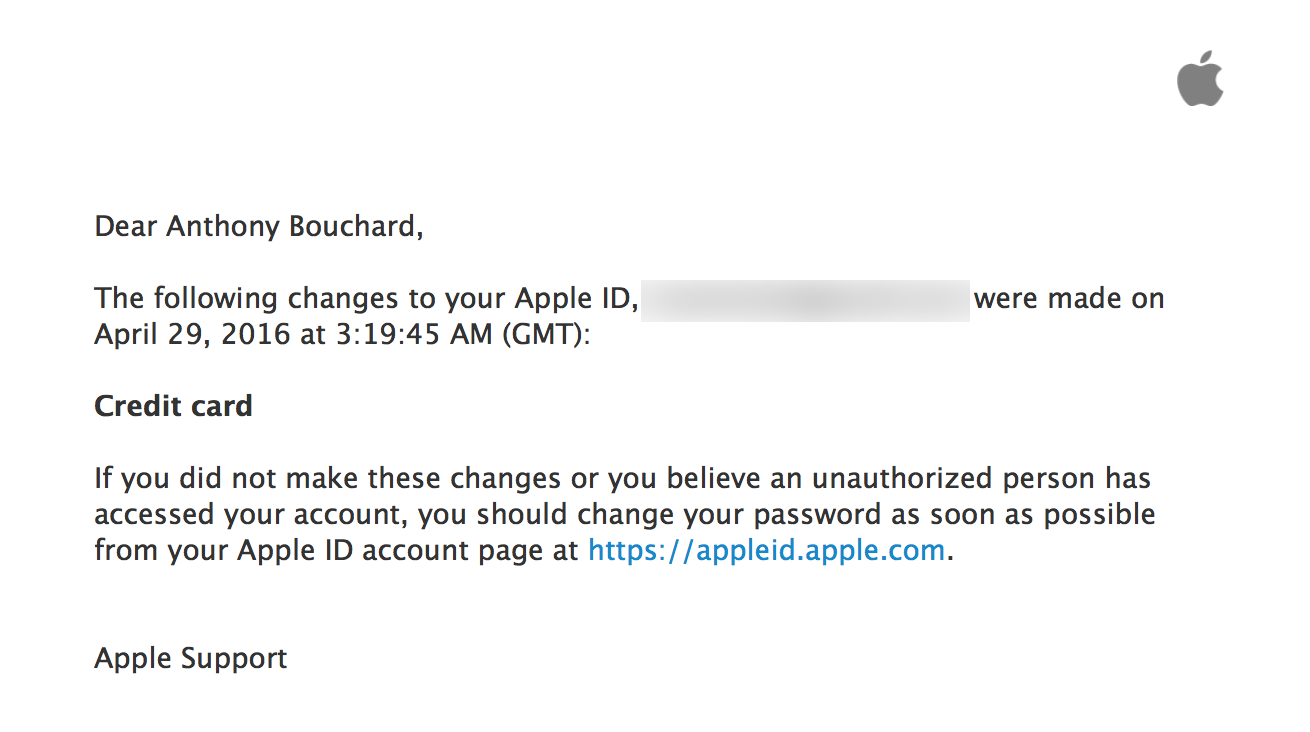
8) Now you should receive a confirmation email from Apple that looks similar to the one below, confirming the credit card change on your account.
That’s all there is to it!
You’re all set
Now that you’ve set up a new credit card with your Apple ID, you can start using your new payment information to start purchasing content from the App Store, iBooks Store, or iTunes Store.
Please also note that you can even select None from the payment type menu rather than selecting a new credit card, and this option will remove all payment information from your Apple ID completely. With this setting, you can only download free items, and not paid ones.
Conclusion
Whether you’re using a Mac or a PC, the steps to change your Apple ID payment information are going to be the same because they’re performed through the iTunes app itself.
Now, whenever you get a new credit card, or choose to switch a payment type, you know how that can be done from your computer.
Also read:
- Changing your Apple ID credit card info directly from your iPhone
- Creating an Apple ID without a credit card
- How to change your Apple ID
Do you prefer changing your Apple ID payment information in iOS, or on your computer? Share below!
Source link: http://www.idownloadblog.com/2016/05/04/change-apple-id-payment-information-from-mac-pc/

Leave a Reply