Get HotMacNews- iOS App and Homepage
To access HotMacNews on your computer Click Here (It makes a great Home Page)
To download iPhone or iPad app (HotMacNews2) click here HotMacNews2
**Once in HotMacNews Home Page click on Preferences to customize to your needs.
OpenAI introduces GPT-4.5 AI model with more personality and natural-feeling conversations

The race to make the best AI assistant is red-hot right now as an increasing number of companies strive to capture a captivated audience. Hot off the heels of Grok 3 beta launching in the middle of last week, OpenAI has this week released a research preview of GPT-4.5, the latest and greatest of the company’s chat-based AI model to date.
In a blog post, OpenAI says that GPT-4.5 makes major leaps in how the model gets trained, making it much more powerful in terms of creativity, pattern recognition, and connecting the dots between alike ideas. Moreover, it can appearing more “natural” to the person interacting with it. That’s because it can follow along with the user’s needs better than previous iterations could, giving it improved personality.
OpenAI explains that because of this deeper understanding, GPT-4.5 can interpret what humans mean from subtle cues and implicit expectations with greater nuance. Its deeper world knowledge also makes it more fun to talk to than reasoning models like GPT-o1 and o3-mini. That’s because reasoning models have much less personality – they ‘think’ about their output more to provide a methodical output.
Instead of being direct and to the point as reasoning models are, GPT-4.5 make seem more creative. The output won’t be as detailed or methodical as they are from reasoning models, but the more natural fluency can feel more relatable.
In the long term, OpenAI hopes to combine the strengths of ‘creative’ models with ‘reasoning’ models to offer a more complete product, which will be a great performer all around rather than in particular areas.
Because GPT-4.5 is currently a research preview, users should understand that their text inputs may be used for product improvement. Notably, OpenAI wants to learn more about the model’s strengths and weaknesses and hopes that end users will assist them in doing just that.
GPT-4.5 is available to ChatGPT Pro users starting today and can be selected from the model picker available in the mobile and desktop apps, as well as on the web. It will then roll out to Plus and Team users next week before rolling out to Enterprise and Edu users the week after.
Are you excited about where AI experiences are headed? Let us know in the comments section down below.
Source link: https://www.idownloadblog.com/2025/02/27/openai-chat-gpt-4-5-research-preview/

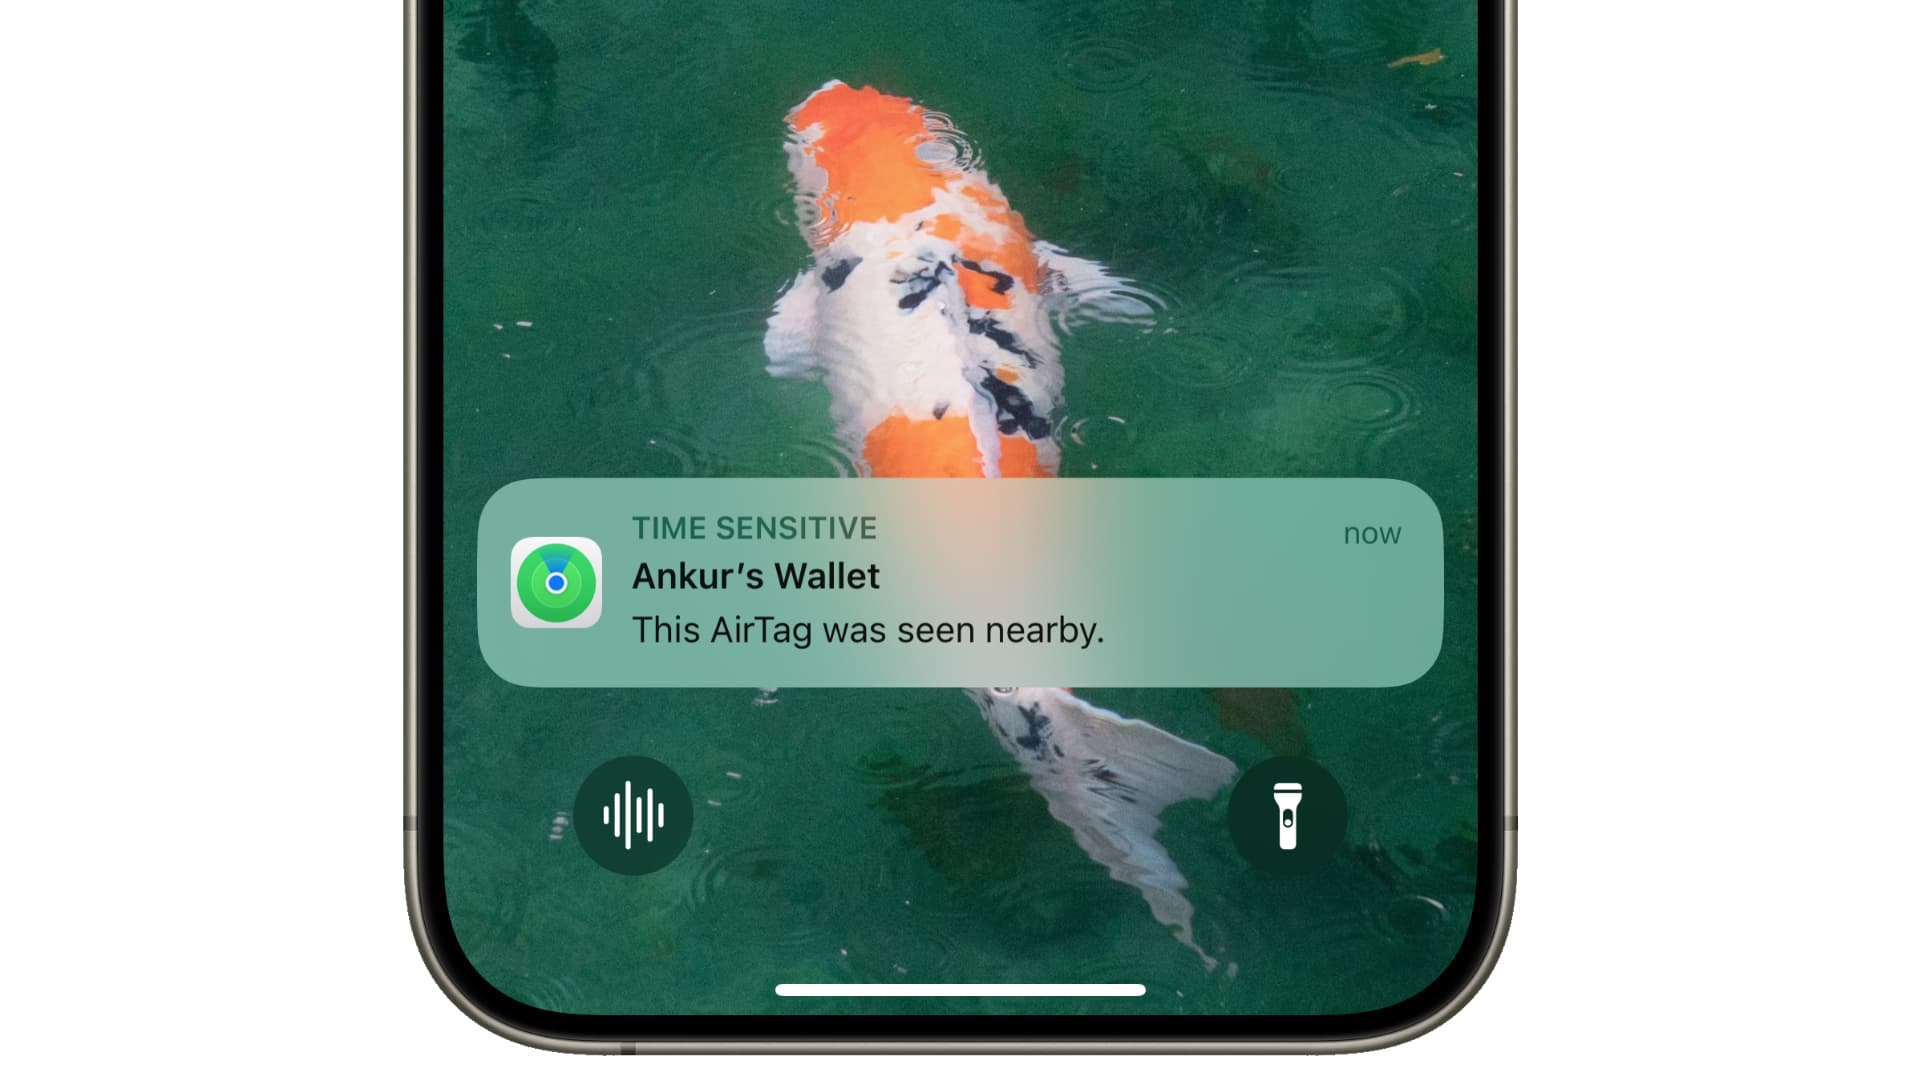
An exploit in Apple’s Find My network allows hackers to turn any device with Bluetooth, such as a phone or a computer, into an AirTag tracker.
Apple’s crowdsourced network comprises hundreds of millions of Apple devices that use Bluetooth to detect missing devices or compatible Bluetooth trackers in their vicinity. These devices report their approximate location back to Apple’s servers, which then relay the information to the owner.
An exploit called “nRootTag” leverages the underlying Find My network structure to trick the system into believing that a nearby Bluetooth device is actually an AirTag. Nearby devices that can be used for this exploit include smartphones, laptops, headsets and even wireless game controllers and e-bikes!
Find My exploit turns nearby devices into trackers
Researchers notified Apple about the vulnerability in July 2024. The company acknowledged the issue by crediting the George Mason team on its page detailing security patches in iOS 18.2. However, it’s yet to release an official patch or comment on the matter publicly. Apple must patch this vulnerability as soon as possible because attackers are able to run the exploit remotely without any participation from their target or having a victim’s device in physical possession.
AirTag and other Apple devices use a technique called address randomization to change their Bluetooth address frequently based on a cryptographic key, which reduce chances of tracking. The exploit uses hundreds of GPUs (which can be rented inexpensively) to find matching cryptographic keys with an astonishing 90 percent success rate. No administrator privilege is required on a victim’s device to carry out an attack. The exploit can pinpoint a device’s location within minutes.
“While it is scary if your smart lock is hacked, it becomes far more horrifying if the attacker also knows its location,” wrote the researchers. They could pinpoint the location of a stationary computer within 10 feet. In another example, researchers tracked a moving e-bike’s route through a city (reconstructing its exact flight path) and identified the flight number of a gaming console onboard an airplane.
A proper fix may take years to fully roll out
There’s nothing to do at this point until a fix is delivered. It’s recommended that you keep your devices updated to the latest version of the iOS software and be wary of apps requiring Bluetooth permissions for no apparent reason. To revoke Bluetooth access for apps installed on your device, navigate to the Privacy & Security > Bluetooth section in Settings (iPhone, iPad) or System Settings (Mac).
What makes this particularly concerning is that “the vulnerable Find My network will continue to exist” until all owners of Apple devices that are actively in use have installed a future software update from Apple containing a fix.
“We foresee that there will be a noticeable amount of users who postpone or prefer not to update for various reasons and Apple cannot force the update,” they cautioned, adding it “may take years to roll out” a complete fix for the vulnerability.
Source link: https://www.idownloadblog.com/2025/02/27/find-my-exploit-turns-any-bluetooth-device-into-airtag-tracker/

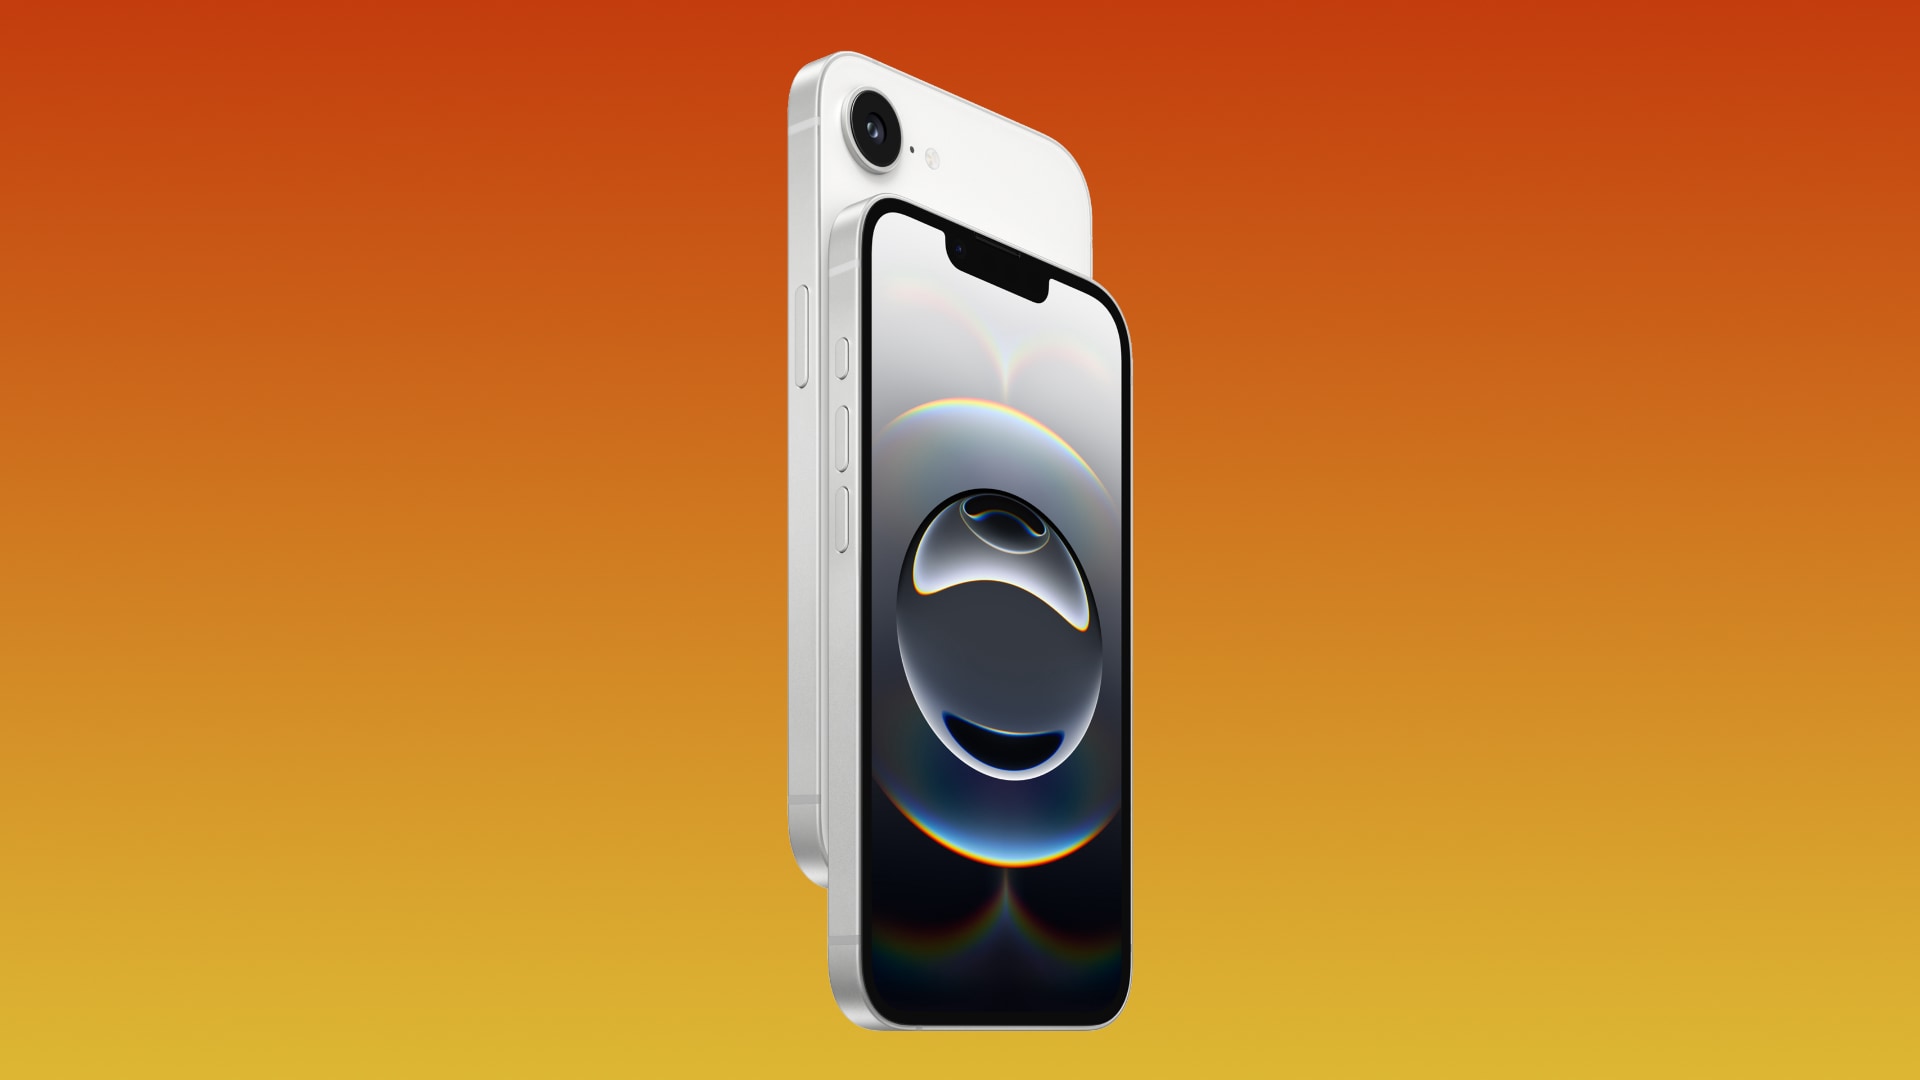
The latest iPhone 16e won’t be the only “e” model because evidence suggests Apple is already working on an iPhone 17e for an early 2026 launch.
Consumer Intelligence Research Partners (CIRP) claims the the newly announced iPhone 16e, which arrives in stores tomorrow, will be on an annual upgrade cycle like other models in the flagship lineup. Also, new evidence has emerged suggesting Apple’s component suppliers are already gearing up for an iPhone 17e.
“It appears that ‘e’ phones may be part of the program going forward,” CIRP explains. “Following the core iPhone 17 model launches in September, we expect Apple to announce an iPhone 17e around this time next year.”
Is the iPhone 16e a one-off or a yearly occurrence?
CIRP thinks Apple will unveil an iPhone 17e in February 2026, similar to how Google introduces “a” models in its Pixel line months after launching its flagship models. An annual refresh cycle for “e” iPhone models would contrast the three generations of the iPhone SE that were released in 2016, 2020 and 2022.
MacRumors reports that the Chinese leaker Fixed Focus Digital has unearthed evidence of a “new project codename” from Apple’s supply chain, saying it most likely relates to an iPhone 17e. The leaker has a proved track record, having correctly predicted the “iPhone 16e” name back in December 2024 when everyone expected Apple’s next smartphone launch would be an iPhone SE-branded model.
When the iPhone 16e arrived as a successor to the iPhone SE, many people wondered whether it was a one-off product or a device that Apple could update every couple of years, similar to the discontinued iPhone SE. Some even speculated that the phone could be updated annually. Apple’s announcement pitched the iPhone 16e as “a powerful new member of the iPhone 16 family” and “the most affordable member of the iPhone 16 family.”
Apple will almost certainly continue iterating the iPhone 16e every year because the handset repackages many iPhone 16 features with trade-offs to achieve its $200 lower starting price ($600) than the base iPhone 16 ($800). The iPhone 16e will be outdated by the time the iPhone 17 lineup arrives next year unless Apple refreshes it, which is logical, or lowers its price, which doesn’t sound likely.
Apple has reshuffled its iPhone offering and now sells only current and previous-generation models (iPhone 15 and iPhone 15 Plus). So when the iPhone 17 family arrives, Apple will probably discontinue the iPhone 16 Pros and offer the iPhone 16 and iPhone 16 Plus for $100 less. In that case, the $600 iPhone 16e will no longer be a great buy unless it’s a) updated or b) discounted by $100.
Source link: https://www.idownloadblog.com/2025/02/27/apple-iphone-17e-annual-refresh-cycle-evidence/

Learn how to adjust Camera Control settings on your iPhone 16 if you often launch your favorite camera app or Visual Intelligence by accident.
The iPhone 16 lineup brought Camera Control, a dedicated capture button. Pressing it on the Lock Screen instantly launches the built-in Camera app, but you can bind this button to Magnifier, Code Scanner or a compatible third-party camera app like Halide or Instagram. You can also hold Camera Control to launch Visual Intelligence, an Apple Intelligence feature that provides details about the places and objects around you.
However, its placement below the power button on the right side is inconveniencing some folks. Others rarely use Camera Control to open a camera app (there are other ways to quickly open the iPhone’s camera). If you accidentally trigger Camera Control while using your iPhone (or taking it out of your pocket, which is common), here are five things you can do about it.
Disable single press for Camera Control
By default, it takes a single press of the Camera Control button to open a designated camera app. To stop inadvertently launching the camera, set the button to require a double-press by heading into Settings > Camera > Camera Control and choosing Double Click. Now an accidental press won’t do anything, but you’ll need to remember to double-press Camera Control to open the camera.
Prevent Camera Control from working when the screen is off
With iOS 18.2 or later, your iPhone can be set to register Camera Control clicks only when the display is awake. Head to Settings > Display & Brightness and turn on the switch labeled Require Screen On to stop accidental camera launches when the phone is locked.
Use Camera Control for Visual Intelligence but not camera launches
You can set Camera Control to do nothing when pressed while retaining the ability to launch Visual Intelligence.
- Open the Settings app.
- Navigate to Camera > Camera Control.
- Select None on the list of supported features and apps.
Now clicking or double-clicking Camera Control will do nothing, which will stop accidental camera launches, but you can hold it to open Visual Intelligence.
Disable Camera Control entirely
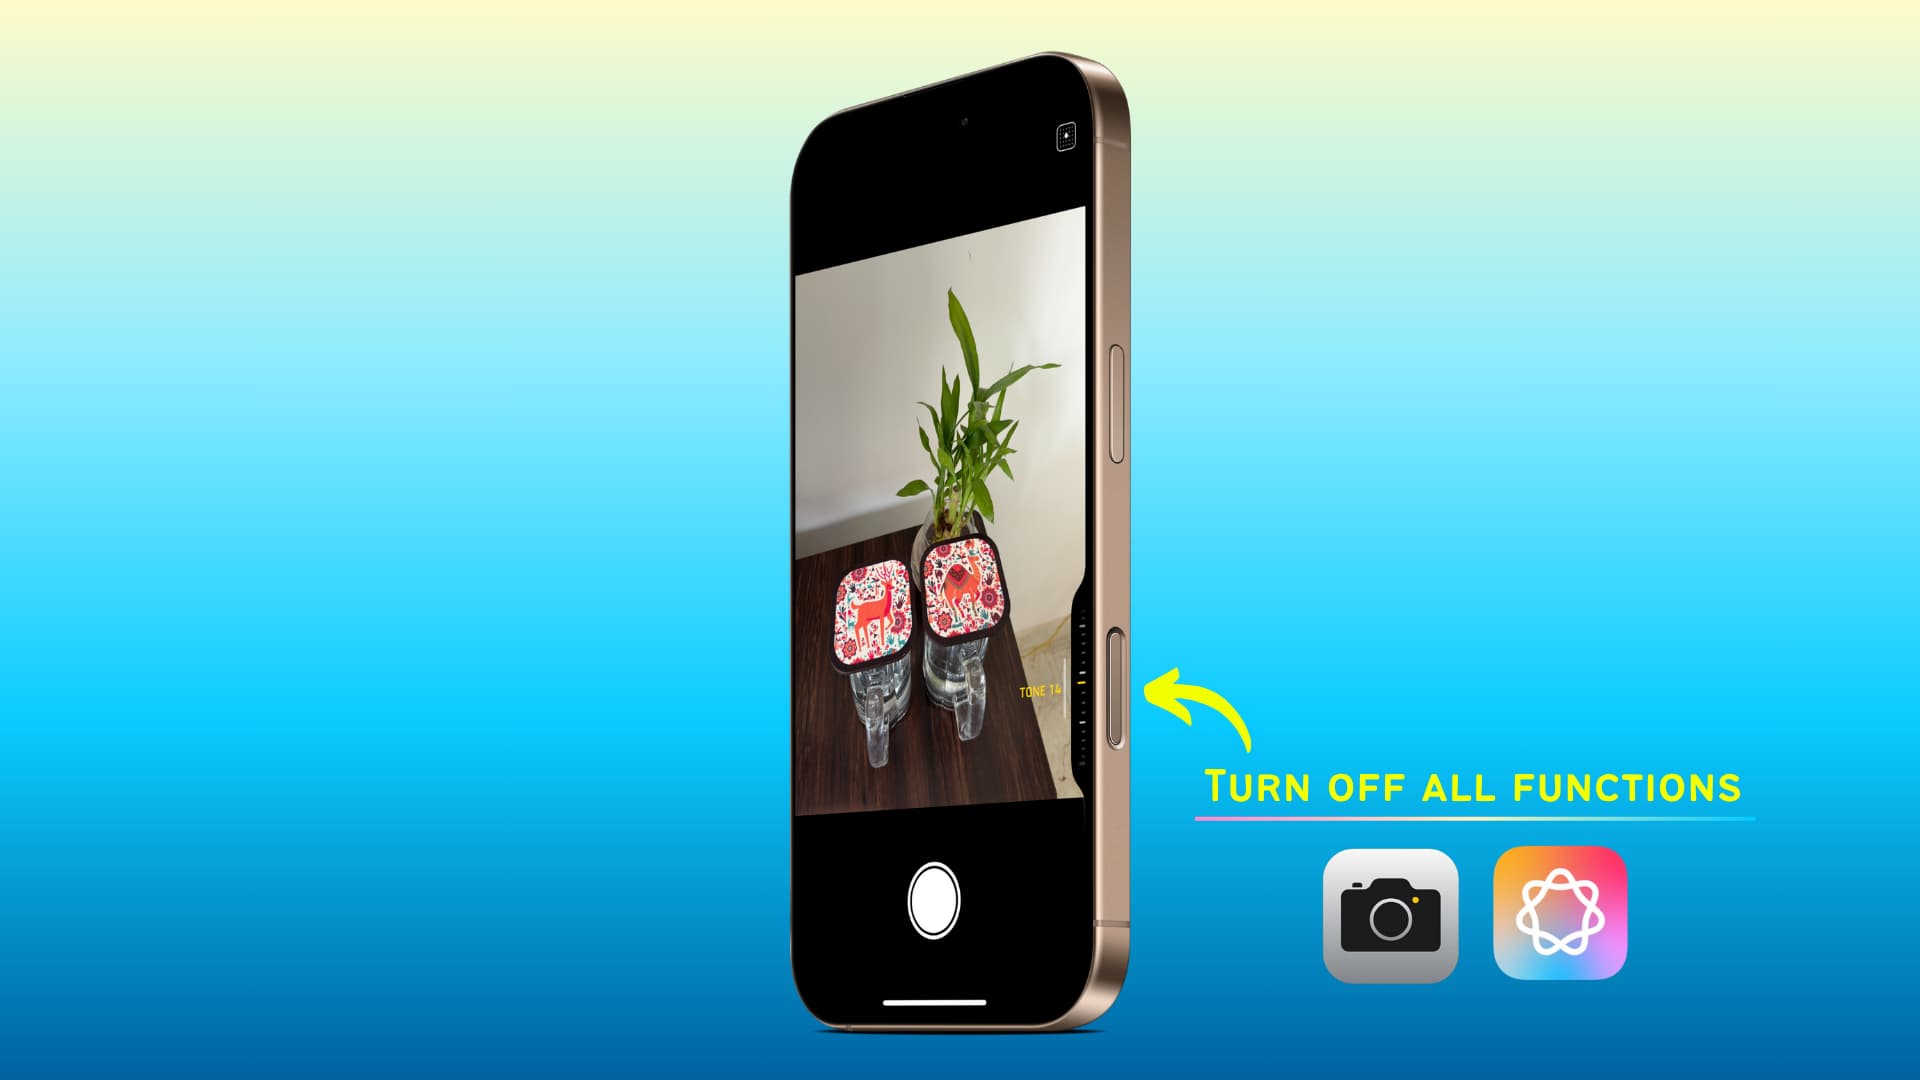
You can turn off all Camera Control functionality, including camera app or Visual Intelligence launches, to use it in compatible camera apps as a shuttler and for switching tools.
- Open the Settings app and tap Camera.
- Scroll down and tap Accessibility.
- Slide the Camera Control button at the top to the OFF position.
You cannot open Visual Intelligence on the iPhone 16 lineup without Camera Control. iPhone 16e owners can bind their Action button to Visual Intelligence or invoke the feature via a dedicated Control Center widget. This functionality will come to other iPhones; Apple has confirmed that an upcoming update will enable iPhone 15 and iPhone 15 Plus owners to trigger Visual Intelligence via the Action button and the Control Center.
Restrict the iPhone’s camera functionality
If you disable all camera functionality on your iPhone or iPad, the Camera Control button (and FaceTime) will become non-functional.
What do you think of the new Camera Control on iPhone 16? Let us know in the comments below!
Source link: https://www.idownloadblog.com/2025/02/27/tips-to-prevent-accidental-use-of-camera-control-iphone/

Packing List Checklist: Packy , Yeti VPN: Open Connect USA VPN , WaveMix Sleep Sound Soundscape and more
iPhone:
![]() WaveMix Sleep Sound Soundscape ( $49.99 → Free ) Onat Cipli This relaxation app is filled with calming mixes of nature sounds and melodies to help you relax, focus, fall asleep faster, and sleep sounder. Choose from over 100 different sounds or create your own custom mixes. You can listen to sounds offline and set timers to turn off after a certain length of time.
WaveMix Sleep Sound Soundscape ( $49.99 → Free ) Onat Cipli This relaxation app is filled with calming mixes of nature sounds and melodies to help you relax, focus, fall asleep faster, and sleep sounder. Choose from over 100 different sounds or create your own custom mixes. You can listen to sounds offline and set timers to turn off after a certain length of time.
![]() ScannR: QR & Barcode Generator ( $9.99 → Free ) SADIQUL AMIN Let your creativity run wild when designing your own QR code with ScannR. Add custom text and logos wherever you want. The app is simple, easy-to-use, and acts as a scanner and reader.
ScannR: QR & Barcode Generator ( $9.99 → Free ) SADIQUL AMIN Let your creativity run wild when designing your own QR code with ScannR. Add custom text and logos wherever you want. The app is simple, easy-to-use, and acts as a scanner and reader.
![]() Photo PDF Converter: pic2pdf ( $19.99 → Free ) Francesco Paciello Photo PDF Converter offers lightning-fast conversion in just a couple taps. The app works offline and has batch processing for converting multiple photos at a time. Get polished PDFs every time.
Photo PDF Converter: pic2pdf ( $19.99 → Free ) Francesco Paciello Photo PDF Converter offers lightning-fast conversion in just a couple taps. The app works offline and has batch processing for converting multiple photos at a time. Get polished PDFs every time.
![]() Packing List Checklist: Packy ( $4.99 → Free ) Manuel Roth Packing List Checklist: Packy is a simple, hassle-free packing list app. Get organized for your trips by creating and managing packings lists, ensuring nothing gets left behind. Lists can be shared with friends and family and you can uncheck all items in a list to easily use it again.
Packing List Checklist: Packy ( $4.99 → Free ) Manuel Roth Packing List Checklist: Packy is a simple, hassle-free packing list app. Get organized for your trips by creating and managing packings lists, ensuring nothing gets left behind. Lists can be shared with friends and family and you can uncheck all items in a list to easily use it again.
![]() Yeti VPN: Open Connect USA VPN ( $29.99 → Free ) Yeti Studio LTD Yeti VPN: Open Connect USA VPN offers fast, secure, and private internet. Change your IP address, access social media, stream your favorite shows, browse, game, and much more. There is no need to log in just open the app and enjoy top-notch security.
Yeti VPN: Open Connect USA VPN ( $29.99 → Free ) Yeti Studio LTD Yeti VPN: Open Connect USA VPN offers fast, secure, and private internet. Change your IP address, access social media, stream your favorite shows, browse, game, and much more. There is no need to log in just open the app and enjoy top-notch security.
![]() Cassette – AI Music Creator ( $29.99 → Free ) Pixl Technologies, Inc. This music app allows the music to flow throw you. You’re able to create your very own beats using Cassette’s built-it AI technology. Musicians of all levels can whip up unique electronic music mixes in just a few minutes.
Cassette – AI Music Creator ( $29.99 → Free ) Pixl Technologies, Inc. This music app allows the music to flow throw you. You’re able to create your very own beats using Cassette’s built-it AI technology. Musicians of all levels can whip up unique electronic music mixes in just a few minutes.
![]() Wireless Display – TV+ ( $44.99 → Free ) NeonApps Wireless Display – TV helps you cast a small phone screen to a bigger screen like a smart TV, monitor, or projector. The app supports both audio and video streaming.
Wireless Display – TV+ ( $44.99 → Free ) NeonApps Wireless Display – TV helps you cast a small phone screen to a bigger screen like a smart TV, monitor, or projector. The app supports both audio and video streaming.
Source link: http://appadvice.com/apps-gone-free


