

Fix cellular data errors after updating to iOS 14
After updating your iPhone, it is possible that the baseband firmware which controls your cell signal got corrupted. You may see an alert on your phone that says that the cellular update failed, or you may see a message in your cellular settings that says an update is required to use cellular data on your device. This can be frustrating to deal with, but this article will walk you through some basic troubleshooting and then an advanced solution if all else fails.
Note: There is a small percentage of iPhone 7 devices that were shipped with a component that has failed on the main logic board. If your iPhone qualifies, you can have it repaired for free through Apple’s specific iPhone 7 Repair Program.
The typical symptoms
On top of the obvious issue where you are unable to get cellular data such as LTE, 4G, and 3G, you may see any of the following errors:
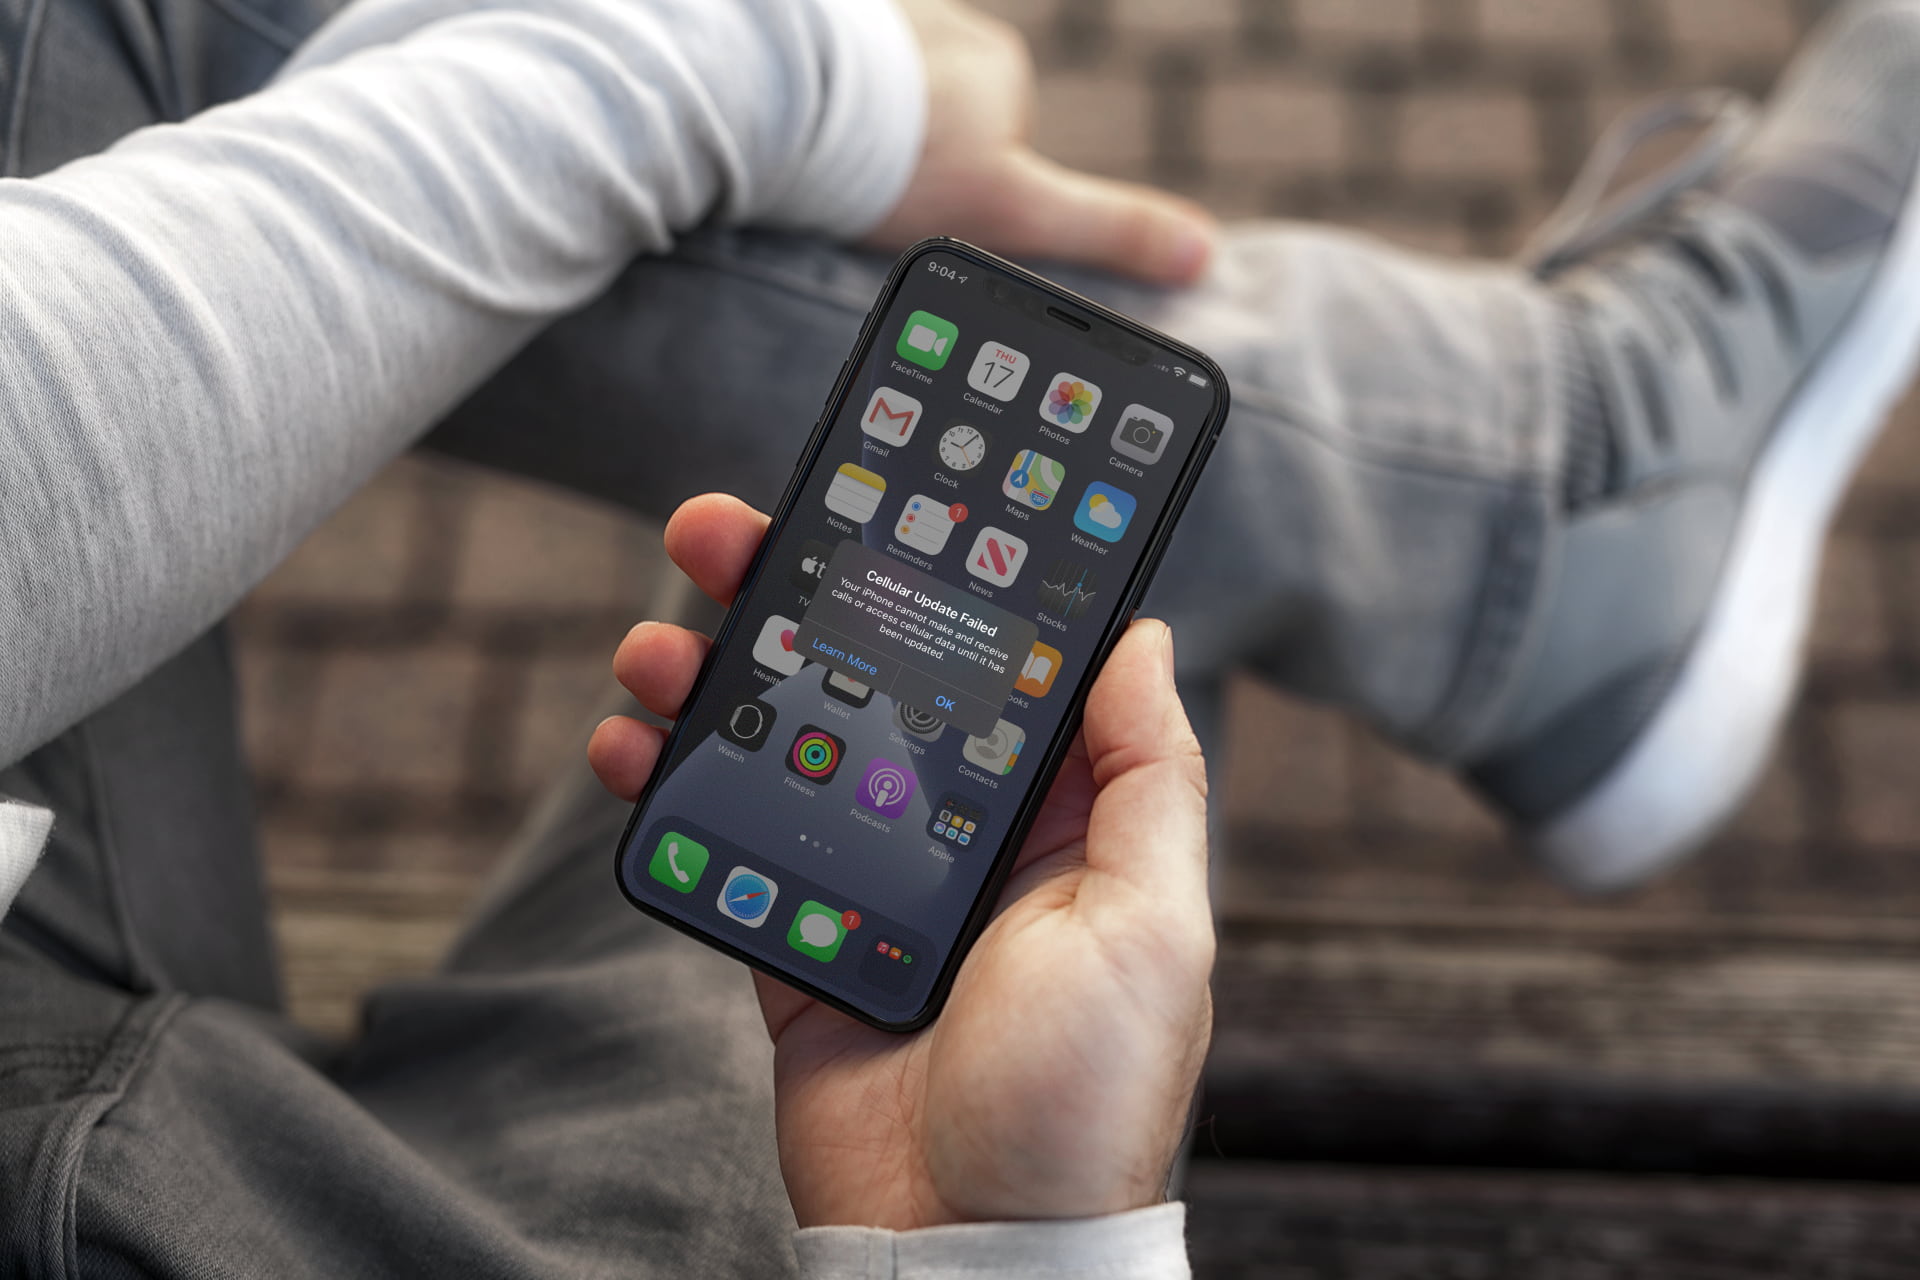
- Cellular Update Failed: Your iPhone cannot make and receive calls or access cellular data until it has been updated.
- An update is required to use cellular data on this iPhone.
- Could not activate cellular data network. Turn on cellular data or use Wi-Fi to access data.
This is just a subset of possible error messages. Depending on your situation, you may or may not be able to make and receive calls on top of not being able to access cellular data.
Simple solutions to fix cellular data problems on iOS 14
Restart your phone
This is the simplest solution. On iPhone models without a Home button, hold down the Power and Volume button until a power off slider appears. On iPhone models with a home button, hold down the Power button and the Home button, then drag the slider to power off your iPhone. Once the screen turns off, hold down the Power button to power it back on.
Turn Airplane Mode on and off
This can sometimes help reset your cellular data. The toggle for Airplane Mode can be found right in your Settings app, or in Control Center.
Take out your SIM card and put it back in
Using a SIM tool or any alternative, pop out your sim card slot on the side of your iPhone, wait a few seconds, and then reinsert it.
Reset your Network Settings
This will reset all of your Wi-Fi and cellular information on your phone. Go to Settings > General > Reset > Reset Network Settings. Enter your password when prompted.
Check for a carrier update
Carriers sometimes send cellular updates over the air, independently from an OS update. To check for a carrier update, go to Settings > General > About. If a carrier or mobile update is available, a prompt will show up on your screen.
Update your iPhone to the latest version
Sometimes updating your phone to the latest version will fix the issue. To update your iPhone, go to Settings > General > Software Update. If it says that your software is up to date, then you can try our advanced solution.
Advanced solutions to fix cellular issues on iOS 14
If all of the basic solutions do not work, you can try an advanced solution. This solution involves manually reinstalling iOS using a computer. This will ensure that your iOS version will have no corruption. Make sure you are on the latest version of iOS before proceeding. It is also recommended that you backup your iPhone first.
1) Download the IPSW file for your current software version and device. This file will allow you to perform a clean installation of iOS. You can download the file directly from our Downloads section.
2) Connect your device to a computer. If your Mac runs macOS Catalina 10.15, open Finder. If your Mac runs macOS Mojave 10.14.4 or earlier, or if you are using a PC, open iTunes instead. If you see a “Trust this Computer” message, unlock your device and tap Trust.
3) Select your device in the sidebar. If you are in Finder, click General. If you are in iTunes, click Summary.
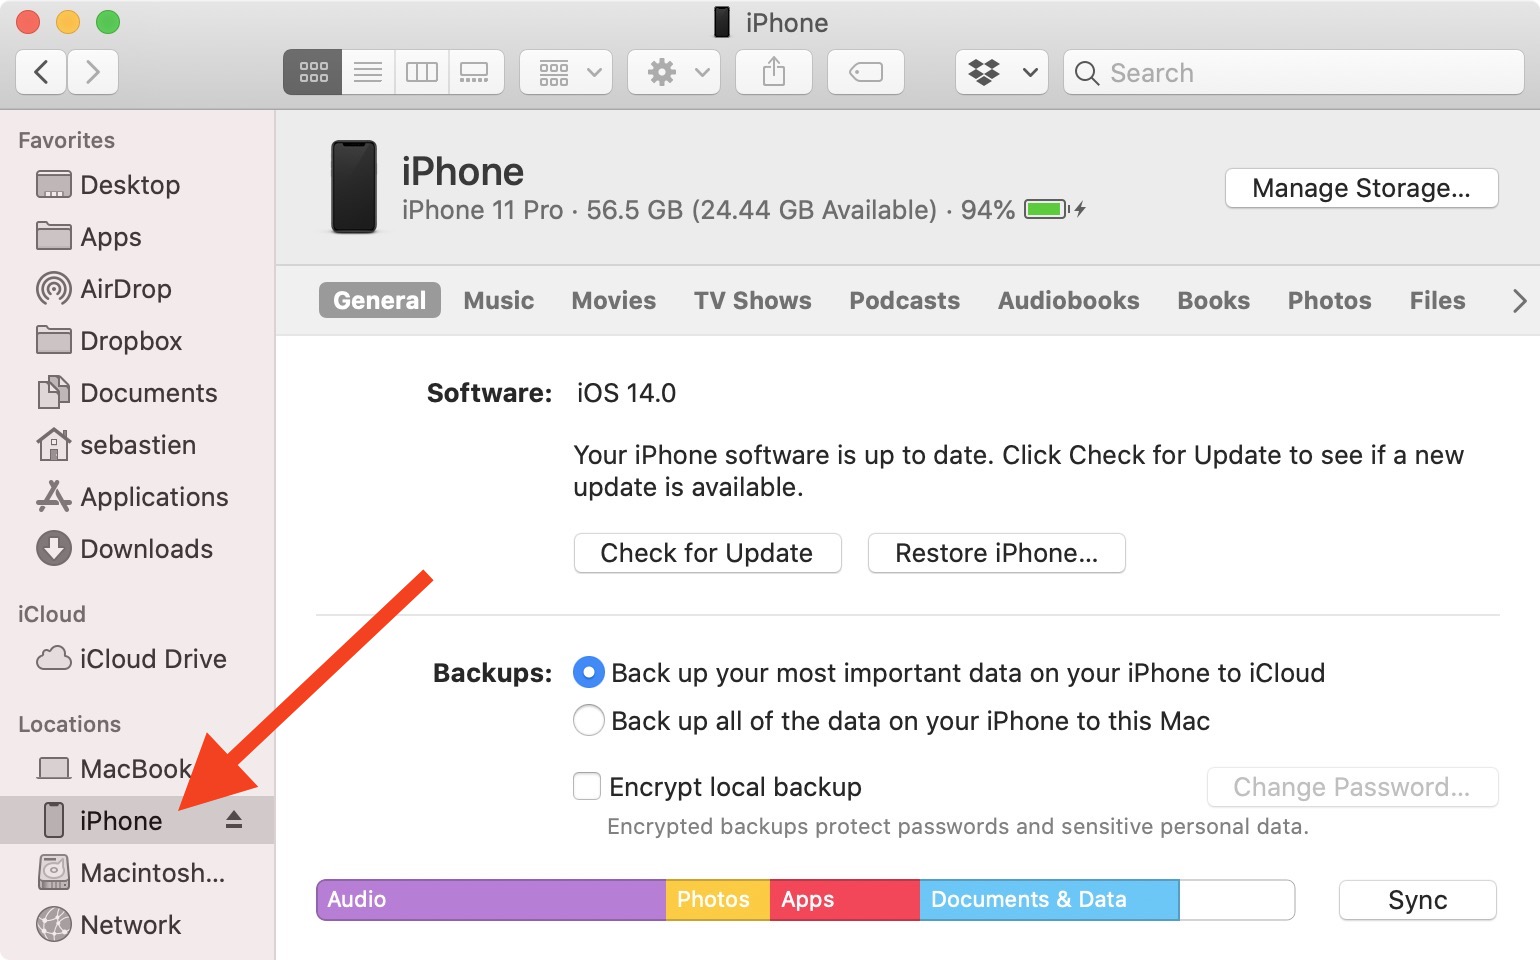
4) On your Mac hold the Option key on your keyboard while clicking Check for Update. On a Windows computer, hold the Shift key while clicking on Check for Update. A file browser will appear. Navigate to your IPSW file downloaded in step 1 and select it.

5) After going through all the prompts, your computer will reinstall the current version of the software for your device. Make sure that you do not disconnect your device from your computer until the update completes. Remember to be patient, as these updates can take a while to finish. Note that you should not lose any data or have to set up your iPhone all over again if you follow these steps. Still, proceed with caution.
6) Once the update completes, an alert may appear on your phone that says that a carrier update is available. Press update and your cell service should return. If you do not receive the carrier update alert, go into Settings > General > About, and you should see an option for a carrier update.
Important: If you still don’t see a carrier update at this time, it may be that your carrier still hasn’t released one quite yet. This is particularly true for smaller carriers of MVNOs such as Ting, Mint, Cricket, etc. In this case, you might want to contact your carrier and inquire about the status of an incoming carrier update.
Get help from Apple
If you continue to have the problems, take your iPhone to an Apple Authorized Service Provider or make a Genius Bar reservation at an Apple Store, as there may be a corrupted hardware component.
Did you fix your cellular problems?
As someone who has dealt with this issue firsthand, it can be very frustrating. Thankfully these steps have resolved the issue for many people. If not, you can always get help directly from Apple.
Did our solutions fix your cellular issue? Did another solution work that we didn’t mention? Let us know in the comments!
This article was written by iDB reader Andrew Greenspun who experienced the issue himself and offered to write up a guide and share how he fixed it with other iDB readers.
Source link: https://www.idownloadblog.com/2020/09/18/fix-cellular-data-errors-updating-ios-14/

Leave a Reply