

iOS: Use iOS Restrictions to Lock Down Your iPhone
This is a follow-up to our stolen iPhone guide. Another preventative measure you can take is enabling iOS Restrictions. Originally designed as a parental lock feature, Restrictions let you prevent changes to certain aspects of iOS.
[Stolen iPhone Guide: What You Can Do if Your iPhone is Stolen]
Turning on iOS Restrictions
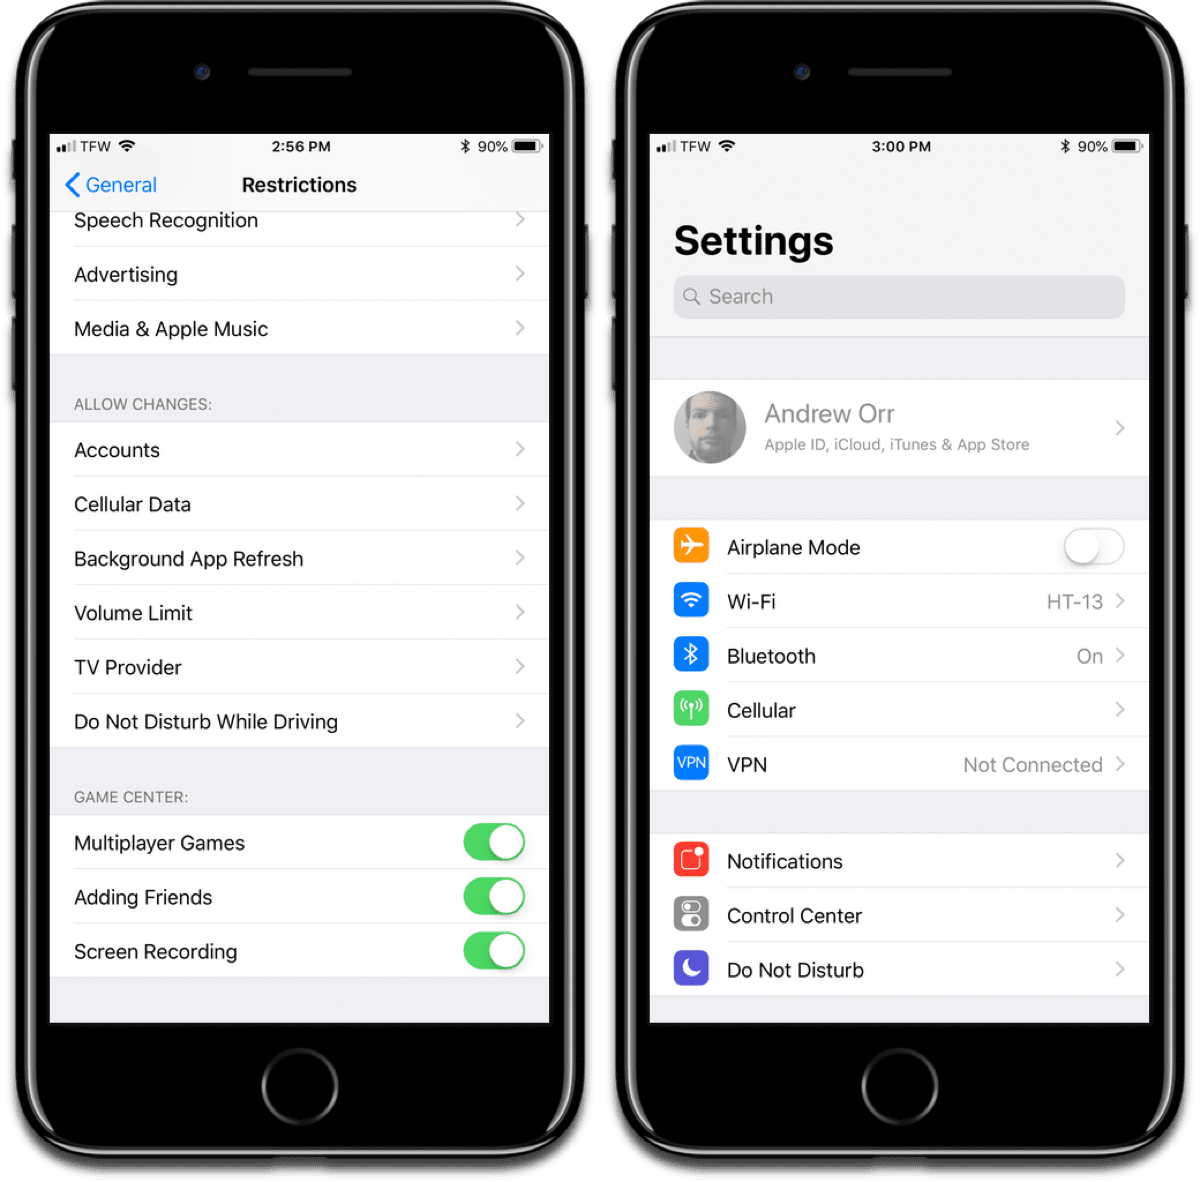
You can find Restrictions by going to Settings > General > Restrictions. When you turn the feature on, you’ll be asked to create a 4-digit passcode. Now, you can control which aspects of iOS you want to lock down. There are certain functions that we’ll be focusing on:
- Accounts
- Share My Location
Aside from parenting, iOS Restrictions are useful for another scenario. For example, if you’re walking down the street and you get mugged, and the attacker forces you to hand over your passcode before they take off. What they might not know is that they will need a second passcode to access the device.
When you prevent changes to Accounts, your iCloud account section is grayed out.
When you restrict Accounts by setting it to Don’t Allow Changes, this prevents the attacker from adding, removing, or modifying accounts under Accounts & Passwords. Any attacker won’t be able to remove your account, change your passcode, or add their own account.
When you restrict Share My Location by setting it to Don’t Allow Changes, this prevents the attacker from changing the current settings for location sharing in Messages and Find My Friends. This is important because your friends can use the Find My Friends app to see your iPhone’s location on a map.
[iOS: How to Prevent Your Child from Disabling Find My Friends]
Source link: https://www.macobserver.com/tips/quick-tip/enable-ios-restrictions/

Leave a Reply