

How to take screenshots or screencasts of your Apple TV wirelessly
Taking a screenshot or a screen recording of an Apple TV using a Mac was possible before, but it had to be done through Apple’s multi-gigabyte Xcode developer utility and your set-top box needed to be connected to a computer via a USB or USB-C to USB cable.
With tvOS 11 and macOS High Sierra, this process no longer requires any cables.
Now you can take a screenshot or grab a screen recording from your Apple TV wirelessly because your Mac now “sees” any Apple TVs on your local network.
If you’re tech support for your family, screenshotting a rarely-used option buried deep within tvOS goes a long way toward helping solve their issues. tvOS screenshots can also be used in blog posts, interactive training materials, tutorial articles like this one and so forth.
That’s screenshots—but why on Earth should I ever want to record video from my Apple TV?
Screenshotting Apple TV from a Mac requires tvOS 11 and macOS High Sierra
As always, the answer to that question depends on your specific situation and what you use your Apple TV for. I play games on my Apple TV on an almost daily basis so having this option lets me brag about my all-time high score in Geometry Wars or capture my driving skills in Asphalt 8: Airborne or shot action from other competitive games for tvOS—you get the idea.
What you cannot do is record movies and TV shows from streaming apps like Netflix, HBO NOW, iTunes or Amazon Prime due to their digital rights management that prevents copying.
Attempting to capture a DRM-protected video content will yield a blank, black screen.
Taking screenshots from Apple TV on Mac
Both your Apple TV and Mac must be on the same local Wi-Fi network. On your Apple TV, go to Settings → Network and make a note of the network name next to Connection.
On your Mac, click the Wi-Fi icon in the menu bar or go to System Preferences → Network → Wi-Fi. Compare the name of the network your Mac is connected to with that of your Apple TV.
If both devices are connected to the same local wireless network, they will discover each other automatically and you will be able to take tvOS screenshots and video recordings, using your Mac, by following the step-by-step instructions provided below.
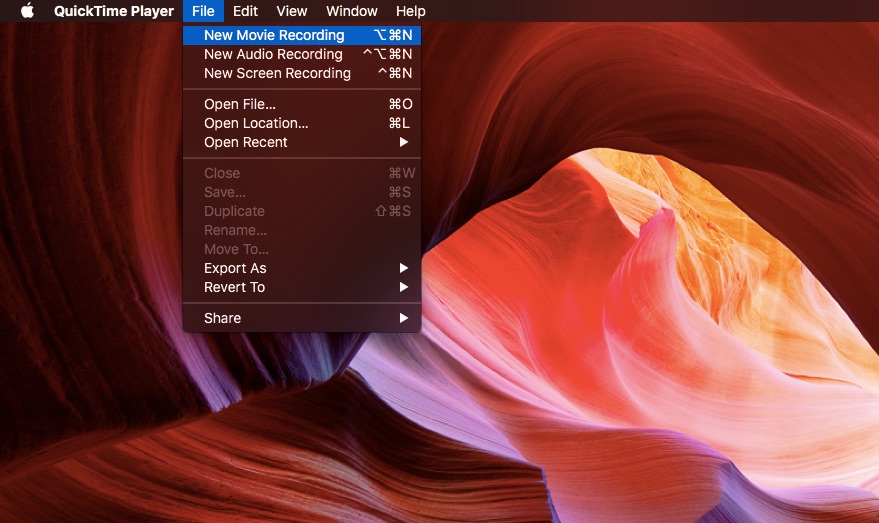
1) Open the QuickTime Player app on your Mac.
2) Choose New Movie Recording from the File menu or press Option (⌥)-Command (⌘)-N.
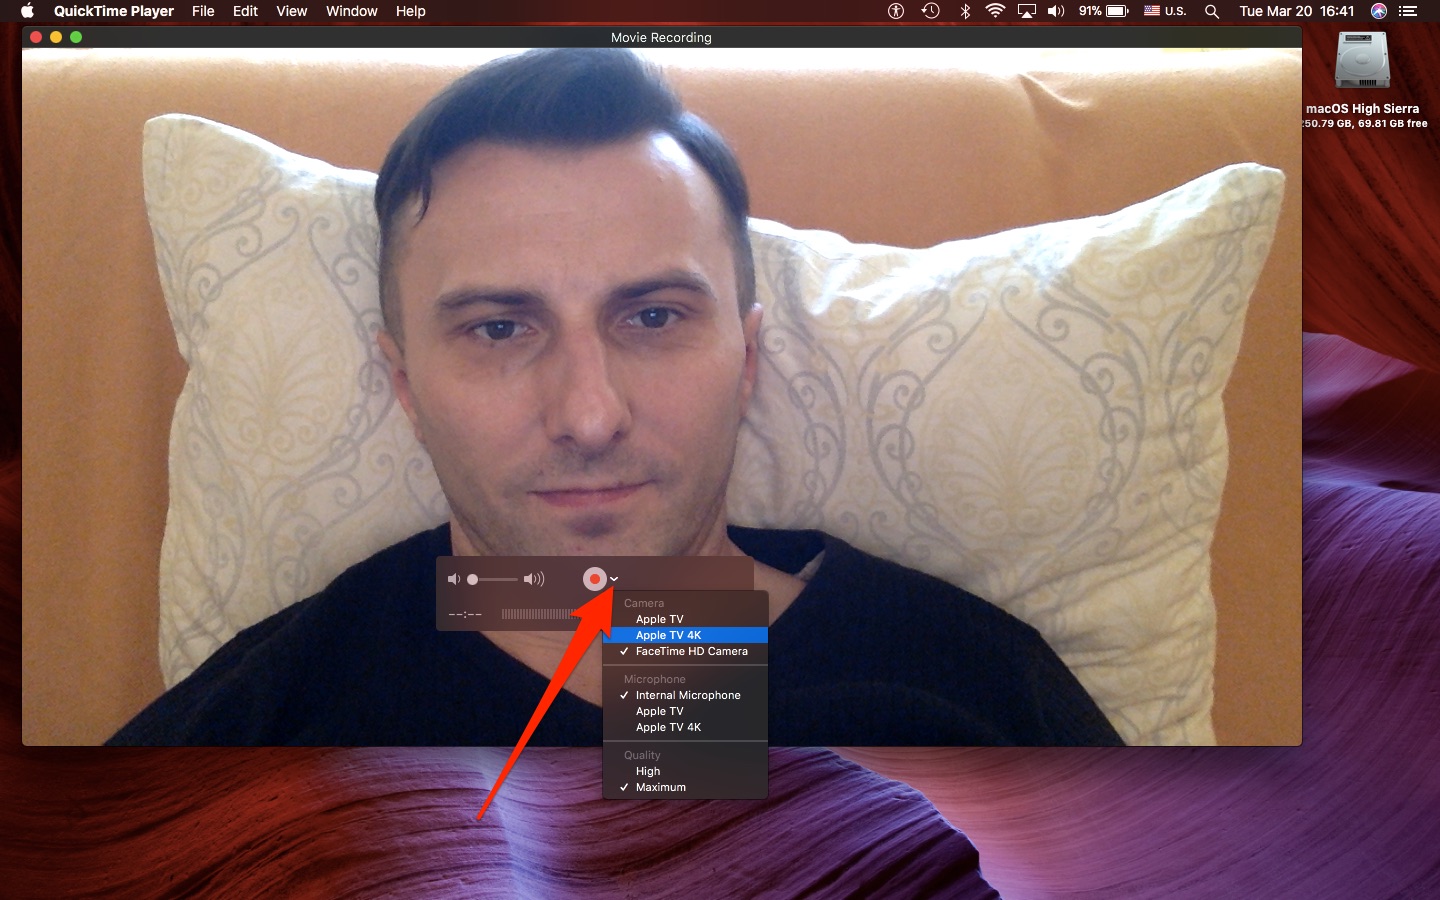
QuickTime Player will open a new window showing live video from your Mac’s camera.
3) Click the small downward-pointed arrow to the right of the circular red Recording button, then select your Apple TV’s name from the popup menu’s Camera section.
4) A screen sharing prompt is displayed on your Apple TV to let you know your Mac may attempt to take a screenshot or record video of what’s displayed on your Apple TV.
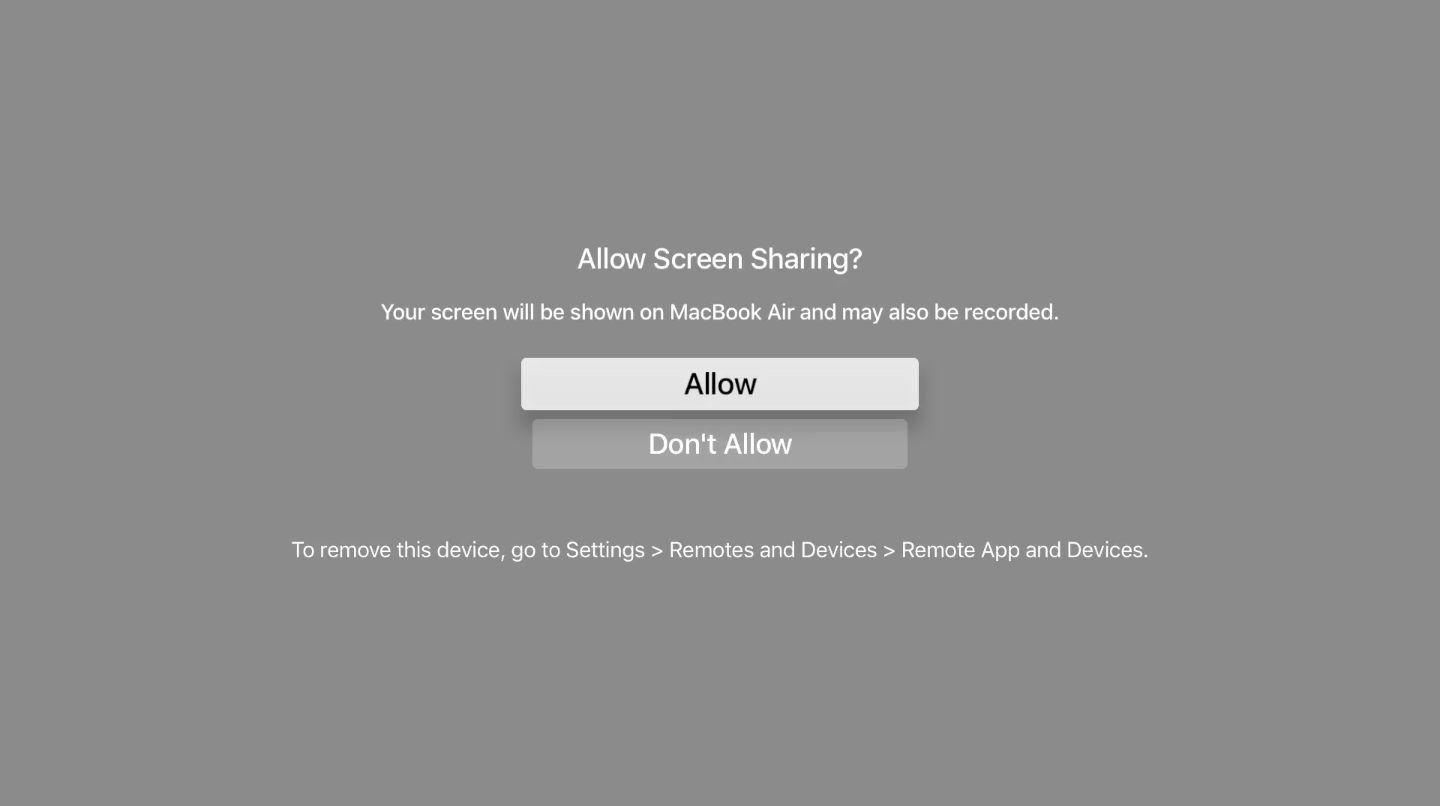
Click Allow with your Siri Remote to continue.
5) Press Shift (⇧)-Command (⌘)-4. You’ll notice that the pointer changes to a crosshair.
6) Now press the Space bar. The pointer changes to a camera.

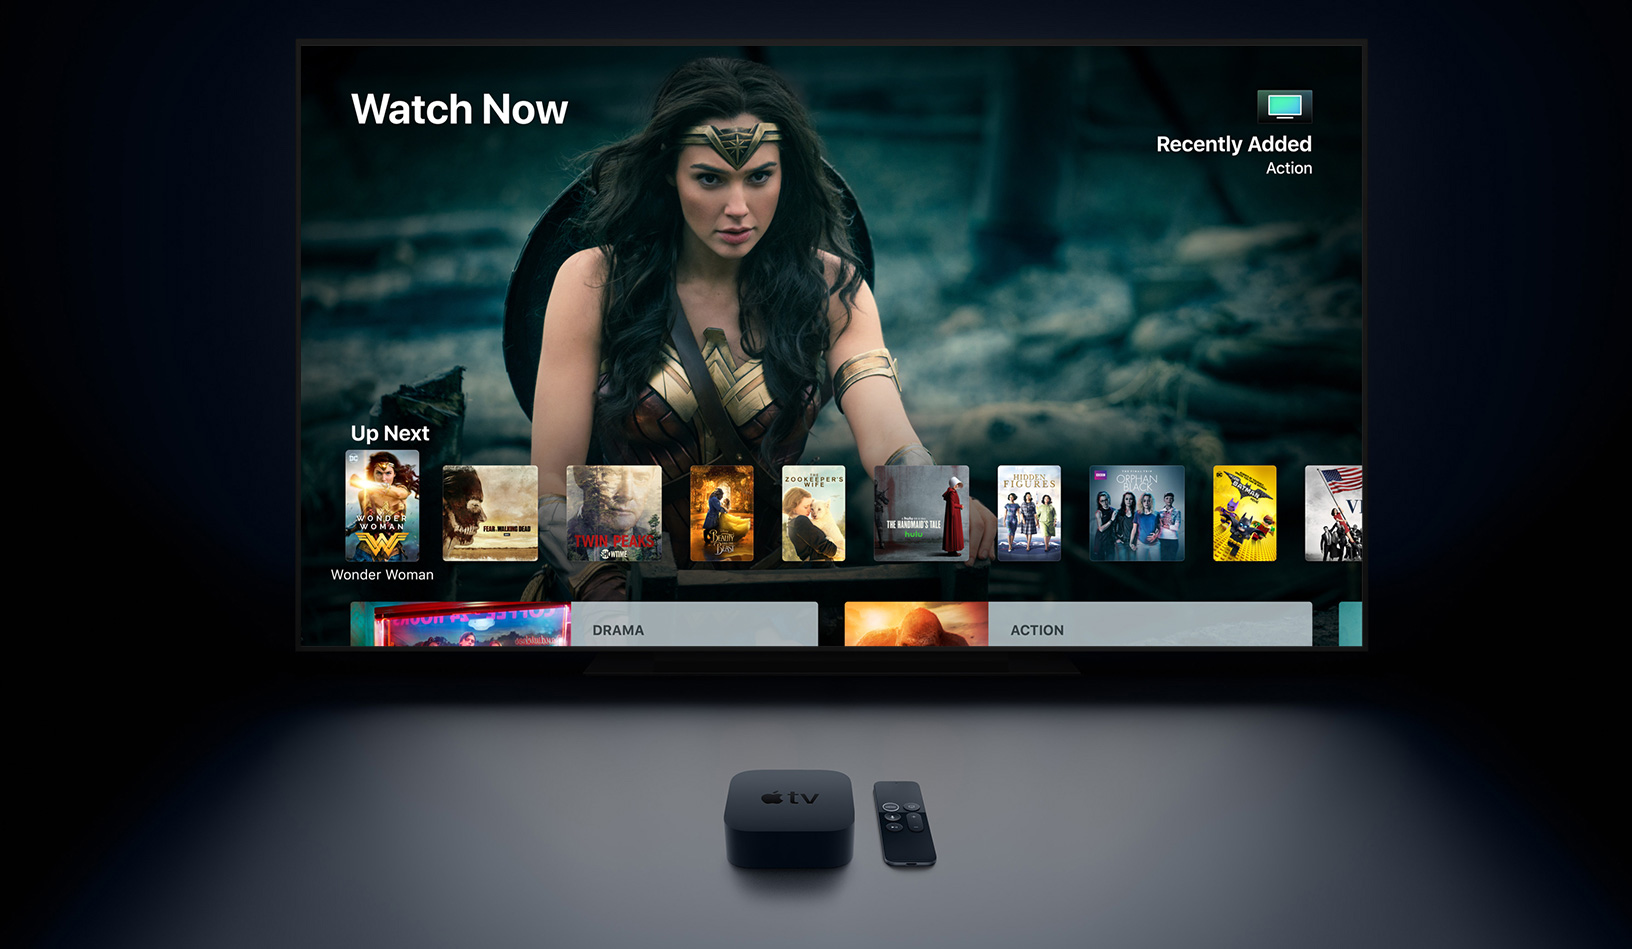
Capturing a screenshot of the Aerial screens saver on my Apple TV
7) Move the pointer over the QuickTime Player window, that wait a little until the QuickTime menu and the overlay with playback controls have vanished, then click the mouse or trackpad to take a screenshot of what’s currently displayed on your Apple TV.
Unless you have changed the default file format and location for saving screenshots, your grabbed screenshot will get saved automatically to the desktop.
Repeat the steps above if you’d like to take additional Apple TV screenshots.
IMPORTANT: Due to the way macOS’s screenshotting feature is implemented, your Apple TV screenshots are set to the resolution of your Mac. In other words, you cannot grab a full HD or 4K screenshot of the Apple TV user interface on a MacBook Air or any other Mac that cannot render your current tvOS output resolution pixel by pixel.
Screen recordings are always captured in the source’s original resolution.
Recording Apple TV screen using your Mac
Recording your Apple TV’s screen is almost identical to screenshotting, with a few minor differences. As I mentioned earlier, tvOS screen recordings captured on a Mac are always grabbed in your current Apple TV resolution.
If your Apple TV is set to use 1080p video output, a grabbed video will be captured in the full HD resolution at 1,920-by-1,080 pixels. Conversely, if you own an Apple TV 4K that’s hooked up to a 4K television set, your screen recording will be captured at the crisp 4K resolution.
Obviously, this is something to keep in mind if your Mac is running low on storage space because screen recordings can quickly eat up your storage, especially in 4K resolution.
1) Open the QuickTime Player app on your Mac.
2) Choose New Movie Recording from the File menu or press Option (⌥)-Command (⌘)-N.
3) QuickTime Player will open a new window showing live video from your Mac’s camera. Change the default video and audio source by clicking the small downward-pointed arrow found to the right of the circular red Recording button, then select your Apple TV’s name under both the Camera and Microphone section.
4) A screen sharing prompt is displayed on your Apple TV to let you know another device may attempt to take a screenshot or capture a video of what’s displayed on your Apple TV. Click Allow with your Siri Remote to dismiss the prompt and continue.
5) To begin recording, click the red Record button in the QuickTime overlay.
You can now interact with your Apple TV, launch an app, go to the Home screen, play a game and more, like you normally would. To stop recording, click the Record button again.
TIP: if the captured video drops frames or appears choppy, try lowering your capture quality by changing from the Maximum setting to the High setting in the source menu.
6) Feel free to trim the video in QuickTime Player or perform other edits like rotation or flipping before using built-in options in the Share menu to publish your Apple TV screen recording on YouTube, post it to Twitter or Facebook, send it to other apps for further editing and more.
It’s worth keeping in mind that a video recording of your apple TV is not automatically saved like a screenshot is. If you’d like to keep the file, choose the Save command from the File menu or use the Export or Export As option to save the video in another format.
TIP: to stop your Mac from taking tvOS screenshots or screencasts, remove your Apple TV as a trusted device in tvOS Settings → Remotes & Devices → Remote App & Devices.
Other Mac screenshotting tips
To make the most from macOS’s screenshot-taking capabilities, peruse the following tutorials:
- How to take screenshots on Mac
- How to take timed screenshots on Mac
- How to take Mac screenshots that include the mouse cursor
- How to send Mac screenshots directly to clipboard
- How to capture screenshots of Mac’s Login screen
- How to take screenshots of MacBook Pro’s Touch Bar
- How to change default name of screenshots on Mac
- How to remove date and time from screenshot names on Mac
- How to change where screenshots are saved on Mac
- How to change image format of Mac screenshots
Have you stumbled upon a cool screenshotting tip we haven’t covered yet? If so, be sure to share any noteworthy findings with fellow readers in the comments section down below.
Need help? Ask iDB!
If you like this how-to, pass it along to your support folks and leave a comment below.
Got stuck? Not sure how to do certain things on your Apple device? Let us know via [email protected] and a future tutorial might provide a solution.
Submit your how-to suggestions via [email protected].
Source link: http://www.idownloadblog.com/2018/03/20/how-to-screenshot-apple-tv-through-mac/

Leave a Reply