How to set up iCloud email forwarding to another address


If you use several email accounts, it can be convenient to have them all arrive in one spot. For instance, you might use a certain iCloud email address for all of your shopping receipts, travel plans, or personal business. You don’t have to keep checking that account separately, you can forward those messages to your main inbox, whether it be Gmail, Outlook, or something else.
With Mail on iCloud.com, you can set this up very easily. And if you change your mind later, it’s just as simple to disable it. Here’s how to set up iCloud email forwarding to another address.
Forward all emails
Head over to iCloud.com, sign in, and then select Mail from the main screen to get started.
1) Click the gear icon on the bottom left to Show the Actions Menu.
2) Select Preferences.
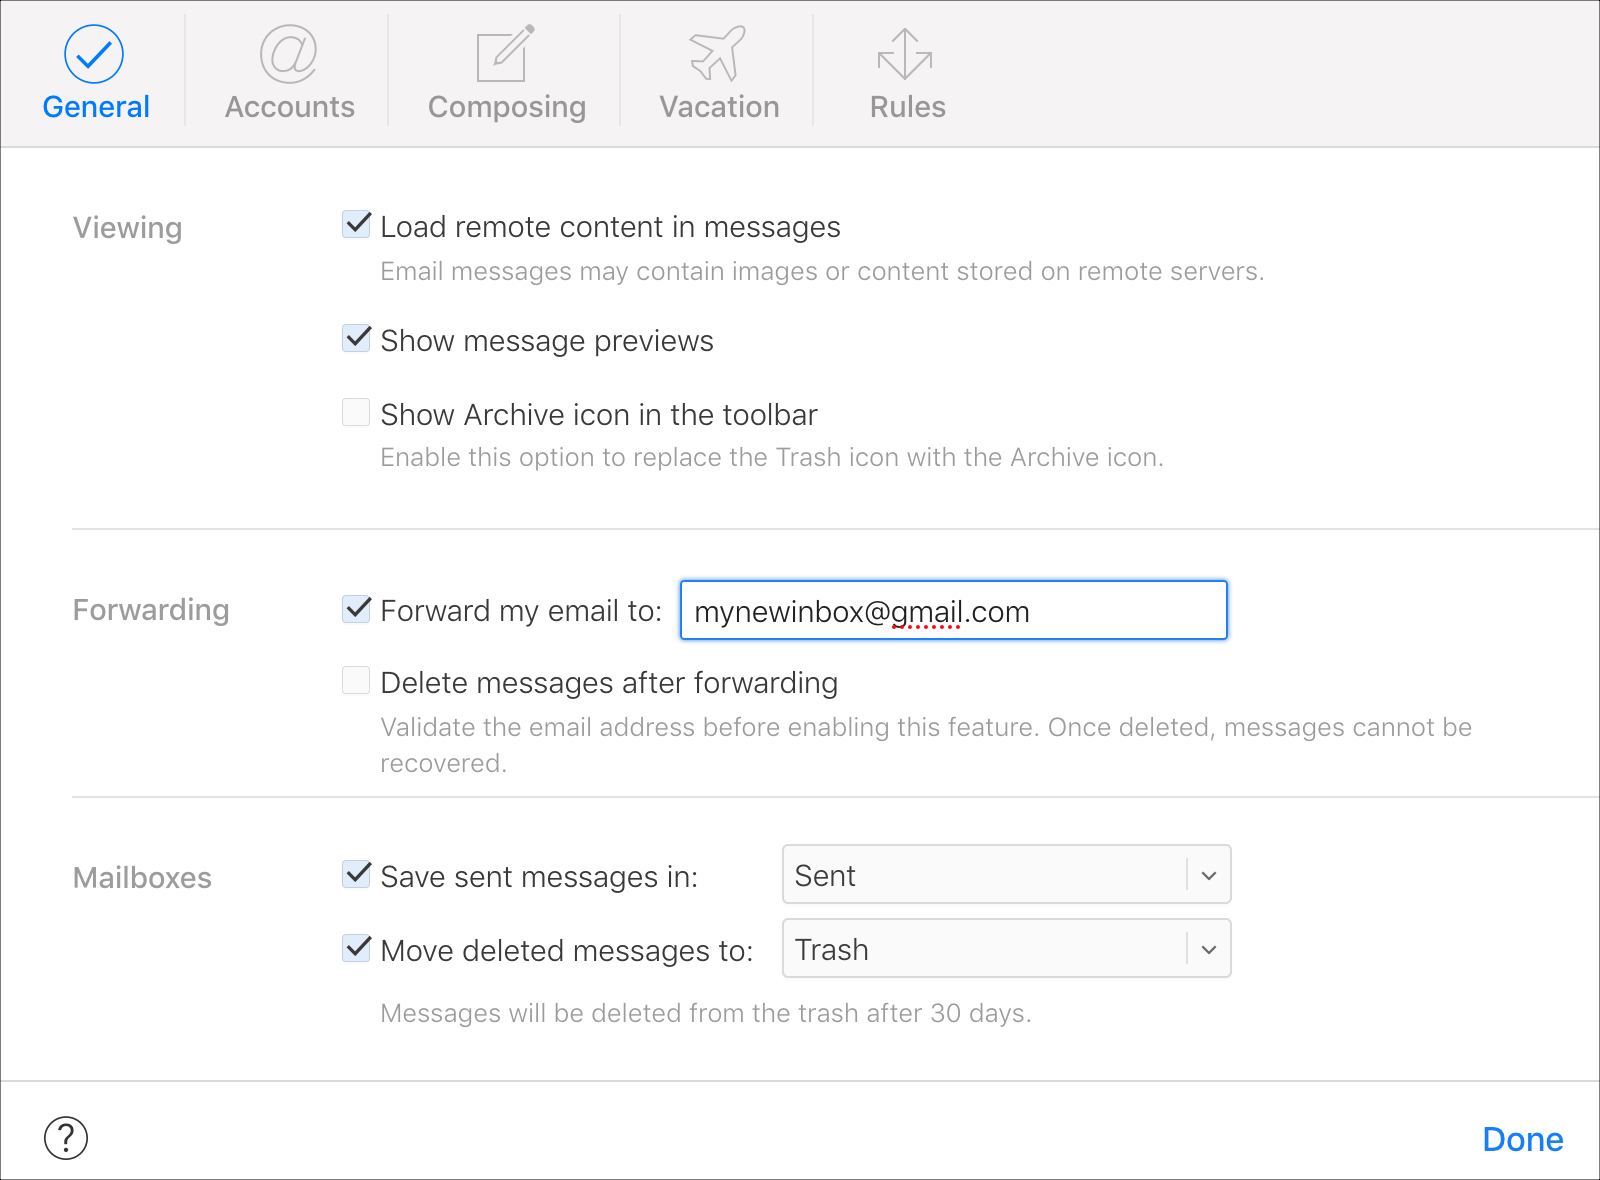
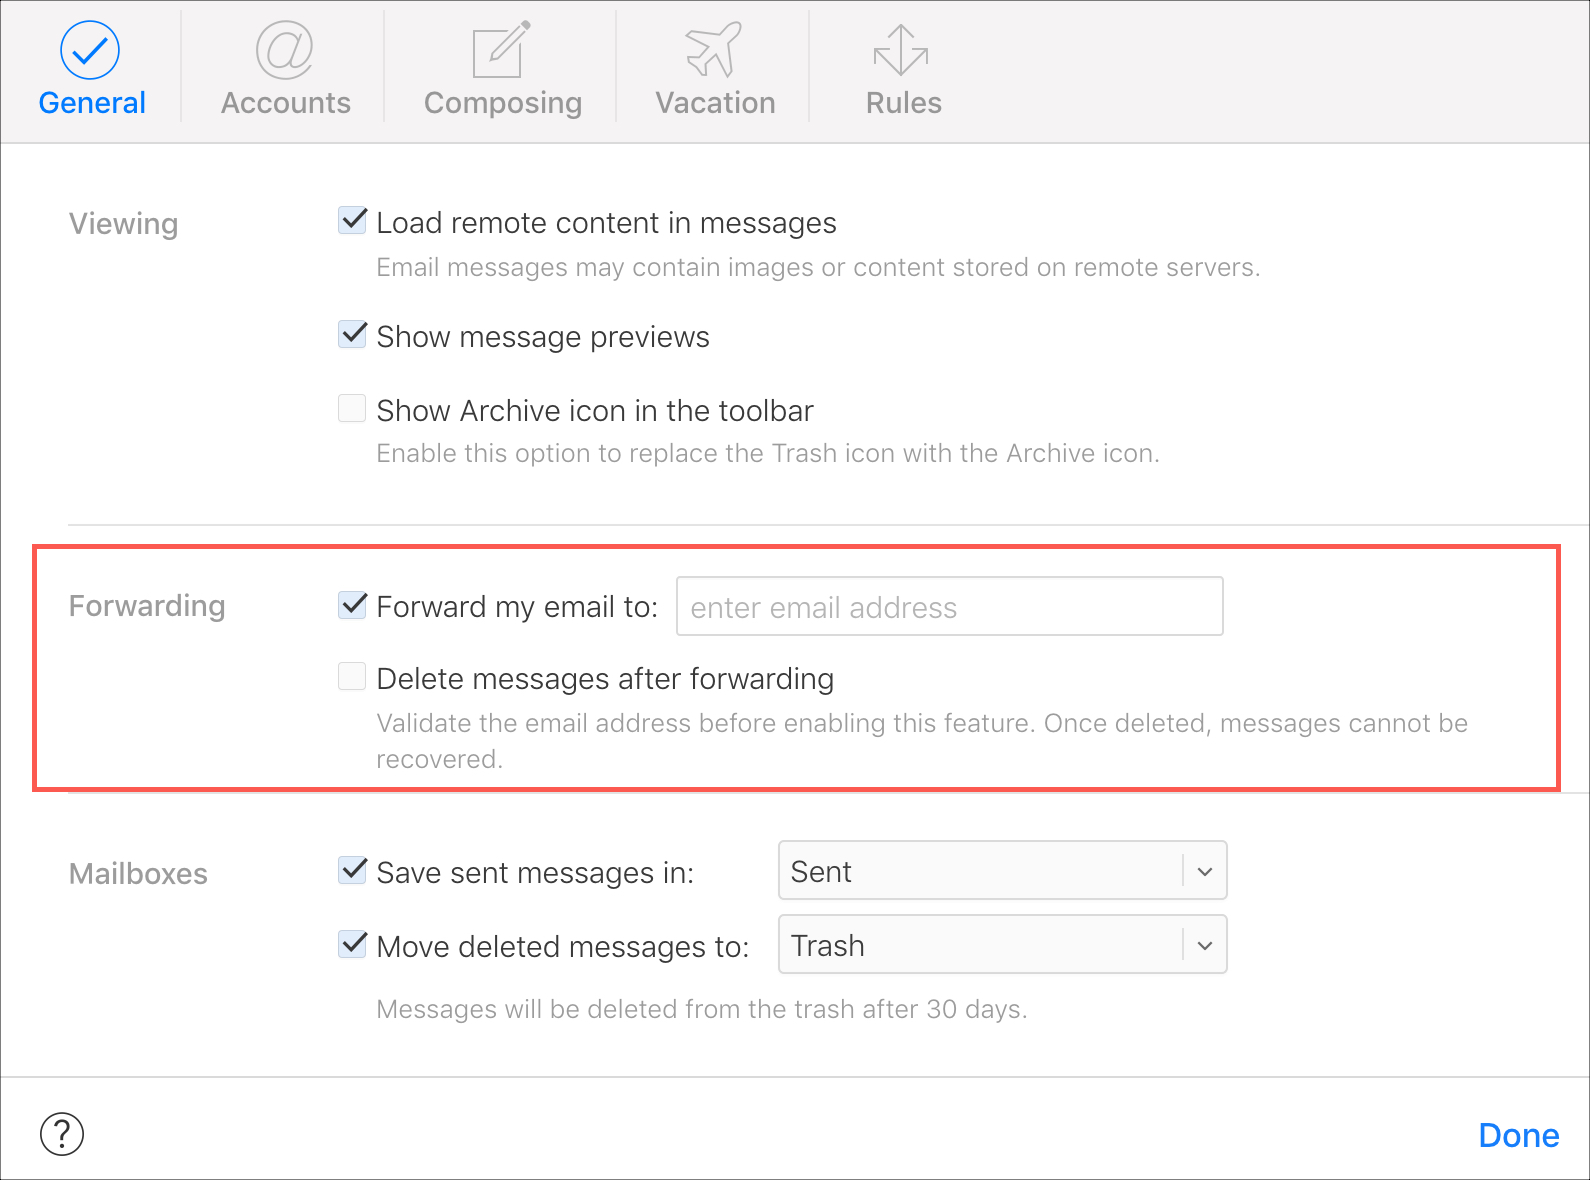
3) In the pop-up window, make sure you’re on the General tab.
4) Under Forwarding, mark the checkbox for Forward my email to and enter the forwarding address.


5) Optionally check the box to Delete messages after forwarding if you like.
6) Click Done.
Once you set this up, it’s a good idea to test it and make sure it works correctly. Send yourself an email to the iCloud email address, or have a friend send you one, and make sure it forwards to the address you entered.
If you want to remove forwarding later, head back to the same area and uncheck the Forward my email to box.
Forward specific emails only
Maybe you only want emails from specific senders or with a particular word in the subject line to forward to another address. You can set this up using the Rules in iCloud Mail.
1) Click the gear icon on the bottom left to Show the Actions Menu.
2) Select Rules.
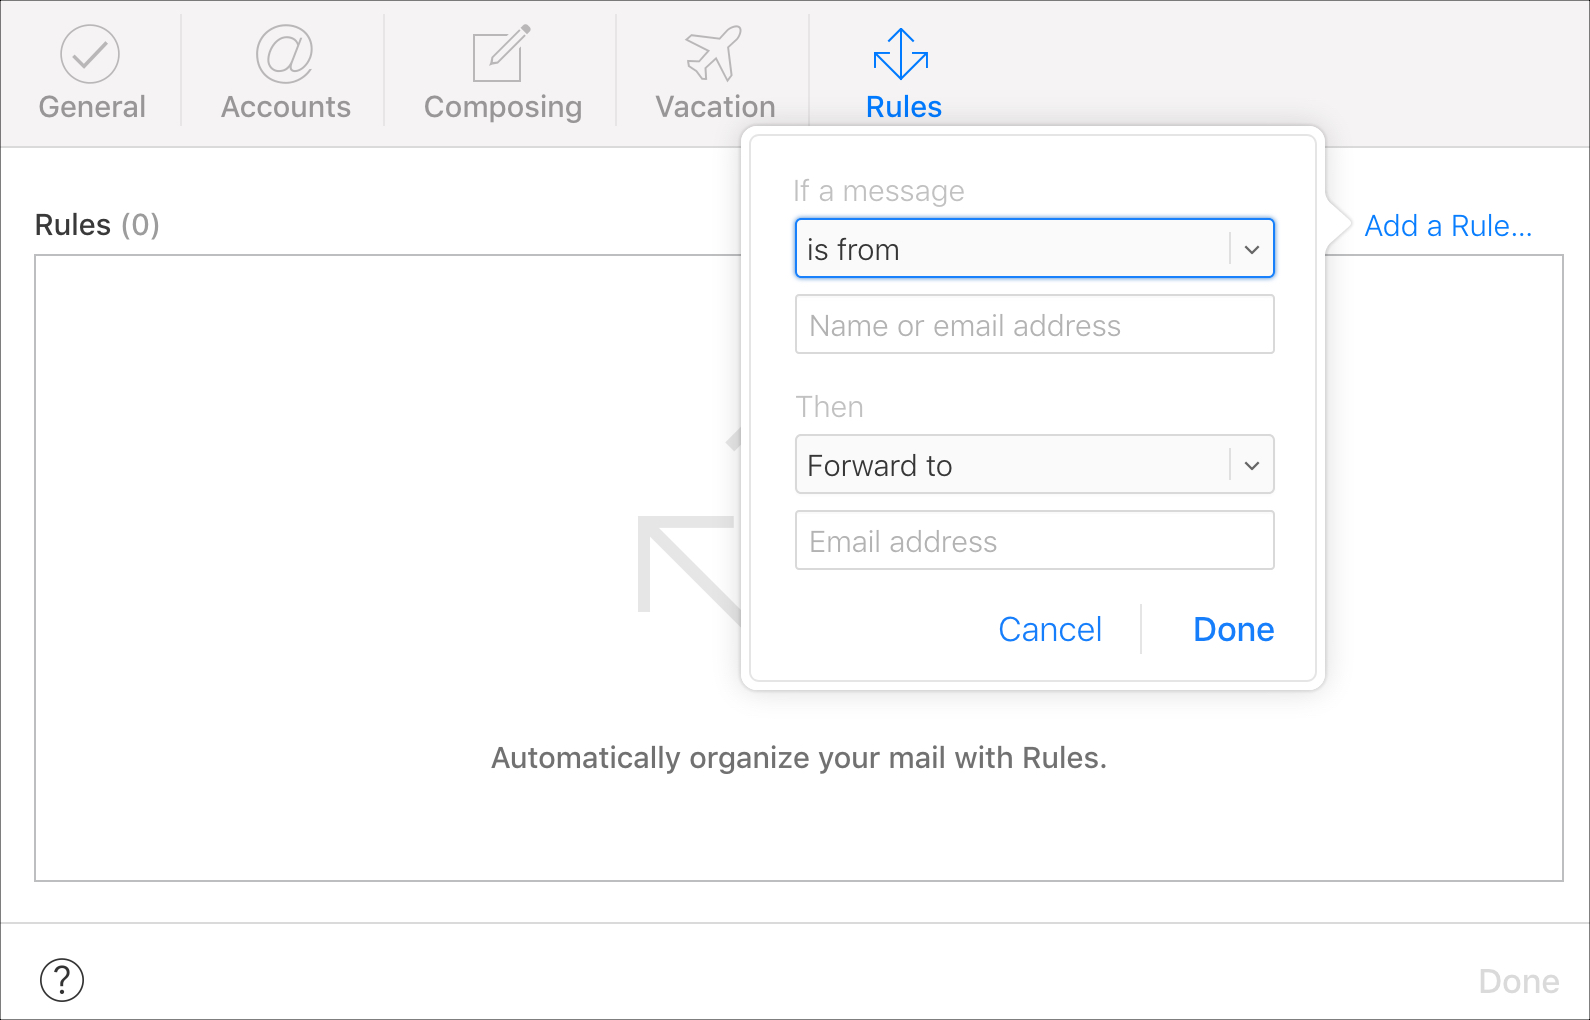
3) Click Add a Rule.
4) Complete the If a message section with the options from the drop-down box.
5) Under Then, select Forward to from the drop-down box.
6) Enter the forwarding email address.
7) Click Done and then Done once more.


If you want to remove this rule down the road, go back to the Rules area, click the information icon for the rule, click Delete, and confirm the deletion.
Wrapping it up
Setting up iCloud email forwarding is easy and if you change your mind later, you can disable it just as easily. Do you plan to set up email forwarding to another account?
For other helpful iCloud tutorials, take a look at how to create an alias for your iCloud email address or how to log into iCloud.com on your iPhone or iPad.
Source link: https://www.idownloadblog.com/2019/01/28/set-up-icloud-email-forwarding/


Leave a Reply