How to make notifications persistent on iPhone and iPad

There are some notifications that can come and go without us worrying about them like those with games, shopping, or entertainment apps. But then there are others we would prefer stay on the screen until we see them like text messages, emails, or reminders.
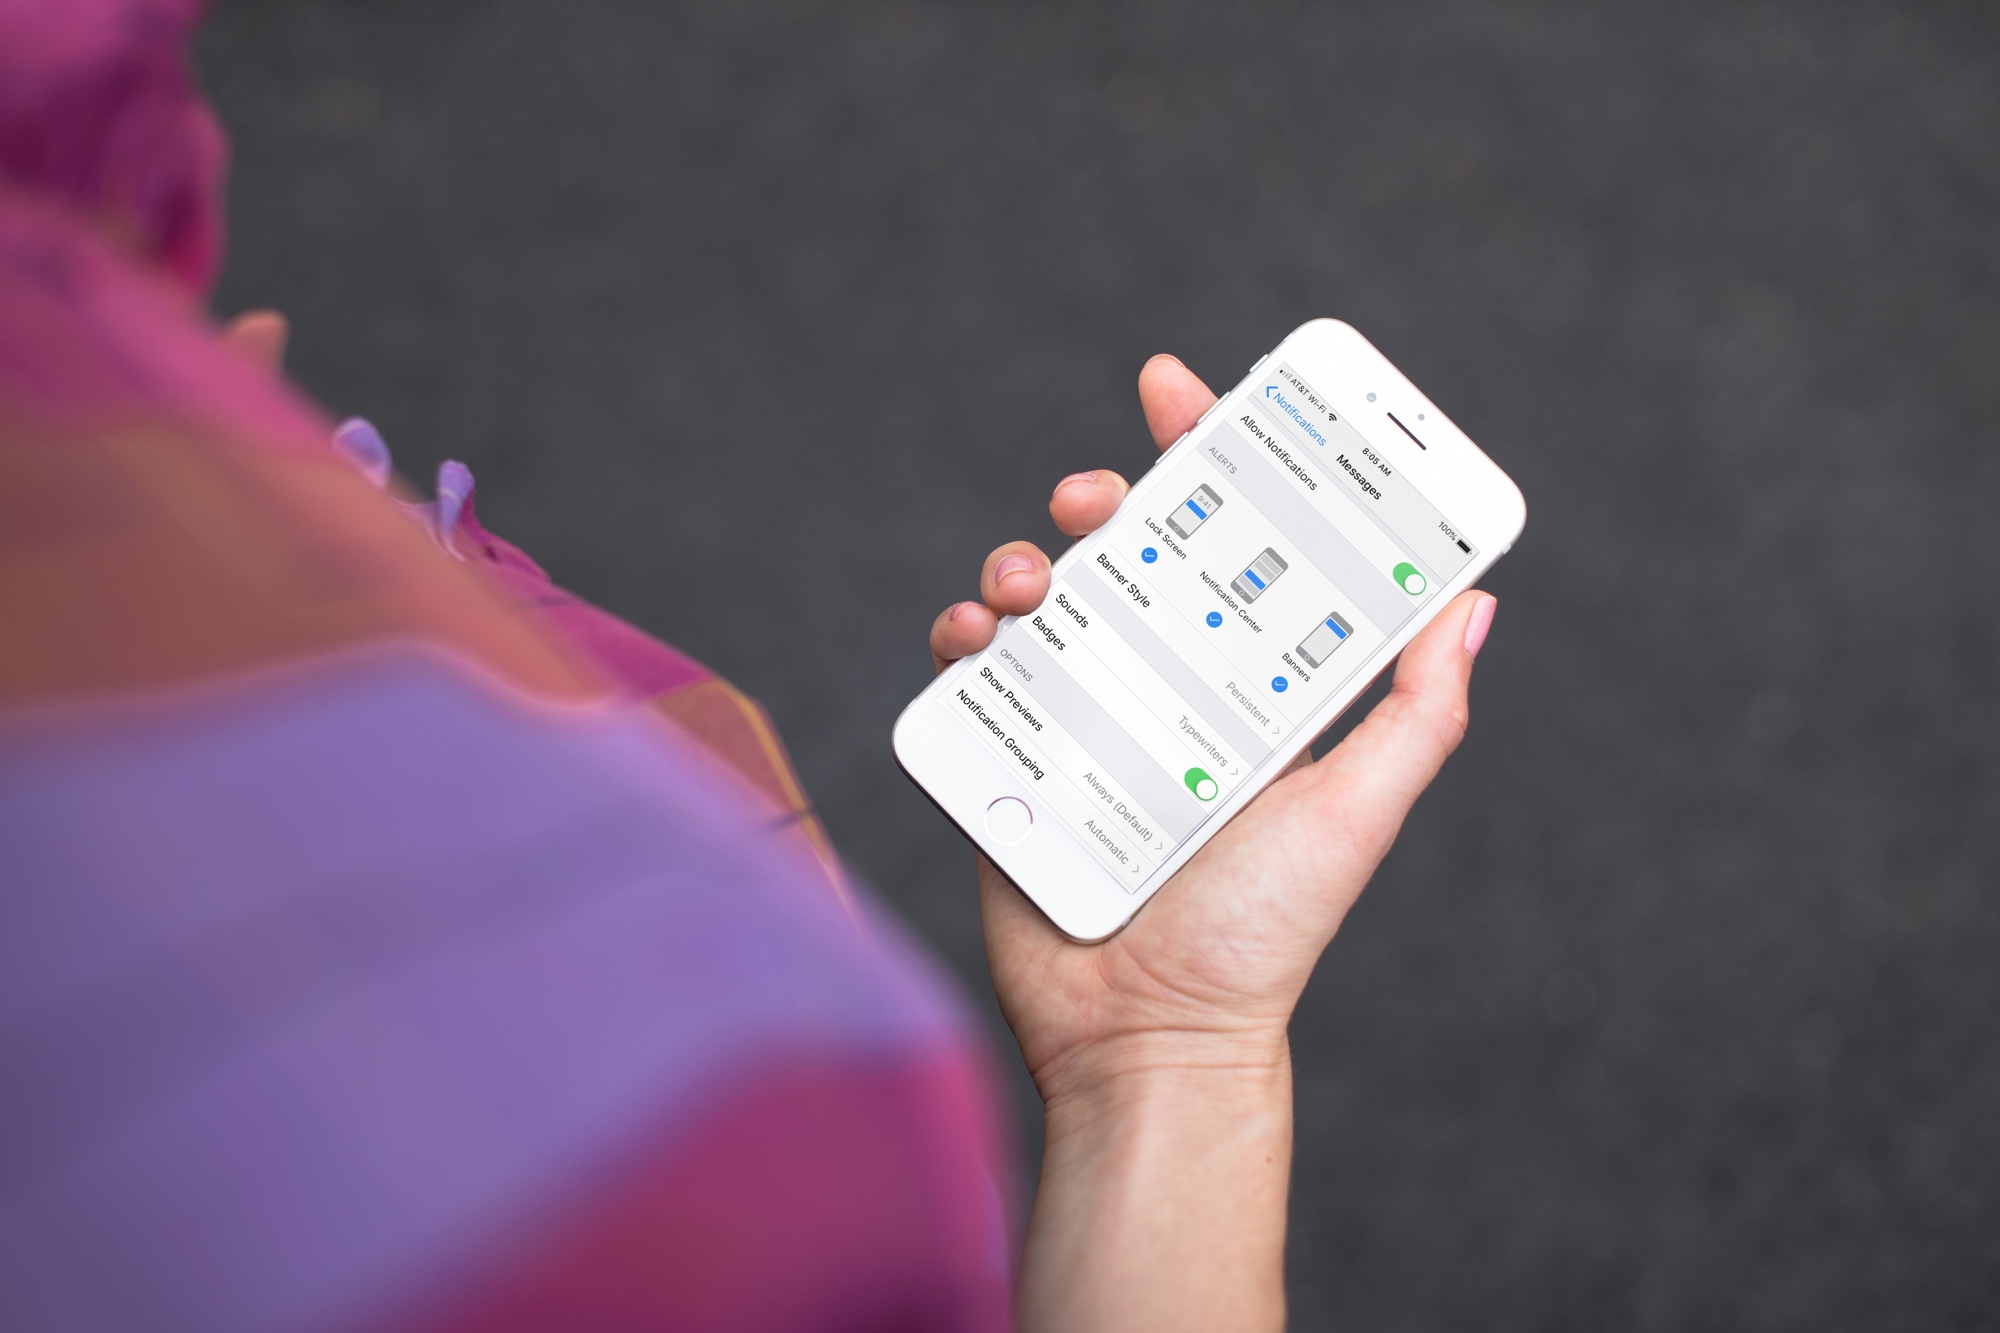
This is when the persistent notifications can come in really handy on your device. They remain on the screen until you interact with them. You can set them up for specific apps and it’s easy to do. Here’s how to make those notifications persistent on iPhone and iPad.
Change your notification settings
Open up the Settings app on your device and follow these simple steps to adjust the notification settings.
1) Tap Notifications.
2) Scroll to and tap the app you want to set as persistent.
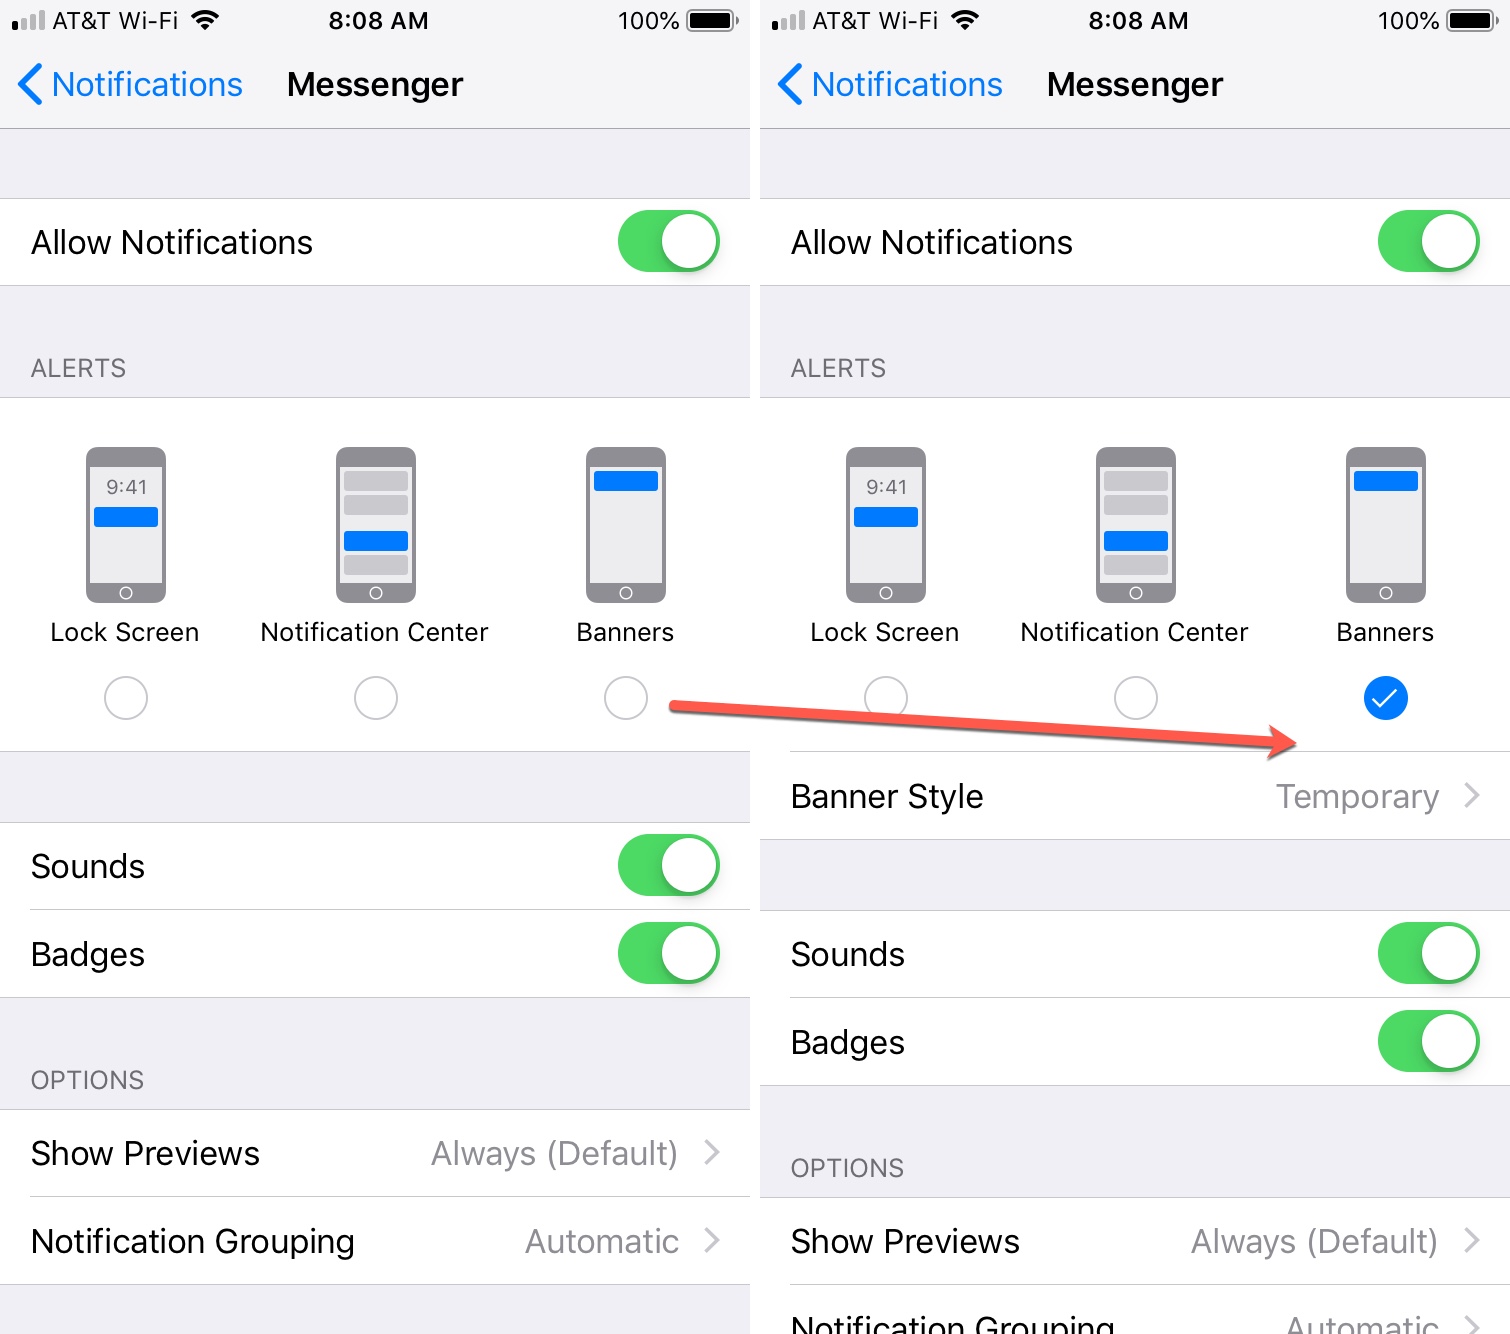
3) Under Alerts, tap Banner Style.
4) Select Persistent.

Now you can tap the arrow on the top left to go back and change additional apps if you like.
Remember, you must have the Banners type (option on the far right) selected to access and change the Banner Style. You can choose to use all three types, but the Banners option must be selected for this.

More notifications tutorials
For additional how-tos related to different types of notifications, check out these tutorials.
- How to enable quiet notifications on iPhone and relax your day away
- How to hide incoming calls and notifications while using your iPhone
- Finally! iOS 12 lets you clear all notifications with a tap and hold, no 3D Touch required
- How to stop notifications for specific SMS or iMessage conversations
- Make critical notifications stand out from the rest with Priority
Wrapping it up
Make sure that you never miss an important notification. With one simple adjustment, you can create persistent notifications on iPhone and iPad for the apps you need. Is this a feature that you already find handy or are you now going to give it a try? Let us know!
Source link: https://www.idownloadblog.com/2018/12/31/persistent-notifications-iphone-ipad/


Leave a Reply