How to repair facial blemishes in your photos with Pixelmator for iOS
Pixelmator is a powerful and extremely useful image editor for both Mac and iOS. While its features and applications are numerous, one its most common and easy to use is the ability to remove facial blemishes via the retouch brush.
I am going to show you how to remove facial blemishes using the iOS version of the app. If you do not already own Pixelmator for iOS, it is a fantastic image editor that is absolutely worth its $4.99 price tag. I will be using the app with an iPad Pro 12.9” aided by the Apple Pencil, but Pixelmator is also functional on iPhone and iPod touch.
Finding the tool
As you can see above there is a variety of retouching tools available to the user. But how do you find these tools?
![]()
As you can see in the photo above, there is a row of icons lining the right side of the upper toolbar. All tools available within Pixelmator for iOS can be found by tapping the paintbrush icon in the list of icons to the right. In this list, you will want to select the retouch option, and this will open up into a new menu presenting you with a grid of nine retouch tool options. As denoted by the red arrow above, you should select the Repair tool represented with a bandage icon.
Once you have selected this option you can begin to retouch and remove unwanted blemishes from your photographs, but first you should select how big you would like your repair tool to be. You can do this by tapping the percentage icon located at the upper right of your screen. This menu is pictured below.
![]()
Editing your photo
Once you have found the repair tool, you can begin to carefully retouch commonly found blemishes in your photographs by simply painting with your finger, stylus or Apple Pencil. As you do this, I suggest you zoom in closely on the area you are retouching in order to be as precise as possible.
An Apple Pencil will provide an additional level of precision, but it is by no means necessary. As you brush, be careful to only brush over the area of the blemish and avoid brushing over wide swaths of area with dissimilar textures. Doing this will maintain the natural and unedited look of your photos.
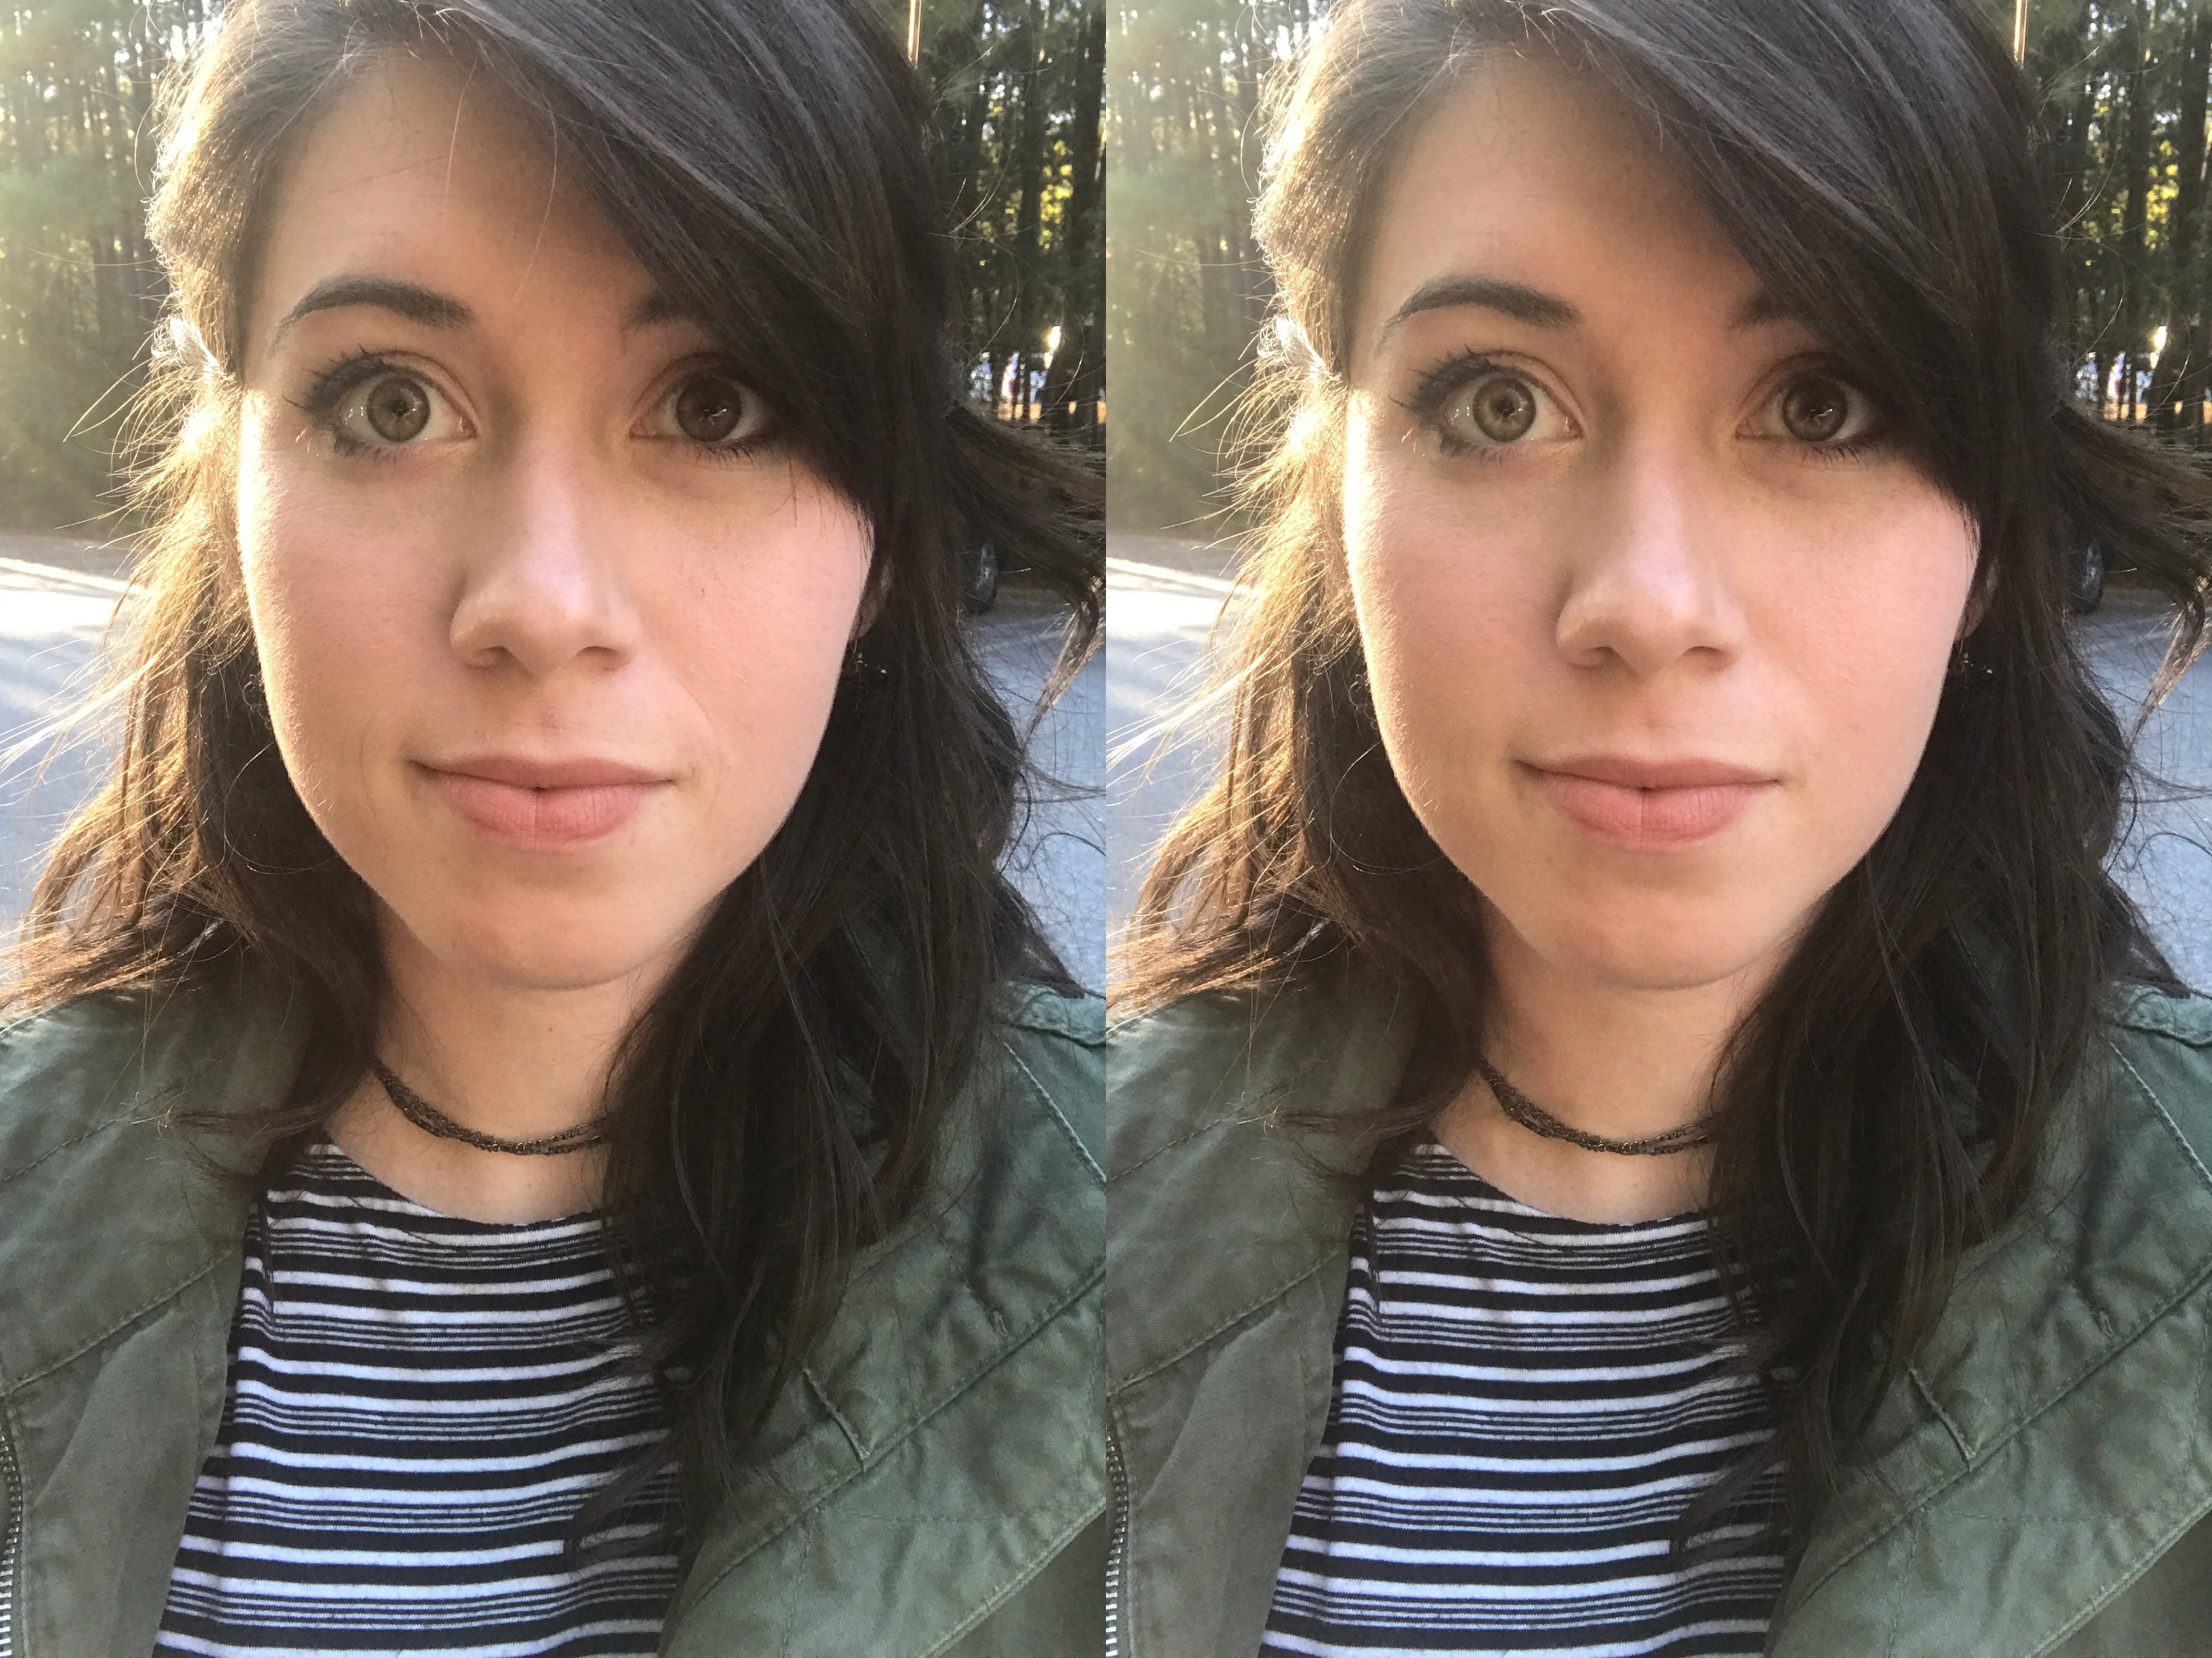
As you edit, be on the look out for common blemishes such as wrinkles, smile lines, stray hairs, unwanted freckles, and moles. Be mindful and careful with your editing in order to maintain a natural look. An over-edited photo is often just as unpleasant as an under-edited one. I have provided example before and after shots below.

As you can see, the changes can often be very subtle, and this is not a bad thing. The changes do not have to be jarring. In fact, when your changes are almost unnoticeable, it can be a strong testament to the quality of your initial photo and the purity of your subject. This natural look is almost always the best way to go when editing, and I would advise you to avoid an over-edited, airbrushed look in most cases.
Recap
This retouching ability is just one of the many features available in Pixelmator for iOS, and if you do any amount of image editing on iOS, I strongly encourage you to go right now and drop the $4.99 for an excellent experience. Pixelmator is a key part of my workflow, and there is a strong chance it is powerful enough to be a key part of yours as well.
Special thanks to Hannah Wilson for modeling.
Are you a Pixelmator user? Do you have any other image editing tricks you use regularly? Let us know in the comments.
Source link: http://www.idownloadblog.com/2017/10/18/how-to-repair-facial-blemishes-in-your-photos-with-pixelmator-for-ios/


Leave a Reply