Touch ID not working? Try this

Has your Touch ID experience been a little flaky lately? There are various reasons that you might not be having the best of luck unlocking your iPhone or iPad with your Touch ID fingerprint sensor.
It is the fastest way to unlock your device, give permission to digital content store purchases, and authenticate supported third-party app logins, but no one likes it when problems arise. In this tutorial, we’ll take you through the steps to recalibrate your Touch ID sensor when it feels like Touch ID fails to authenticate more than it actually authenticates.
Potential causes for problems
Touch ID may stop working in conditions where your fingerprints become wet or dirty; this may happen while exercising, cooking, changing your oil, doing outside work, and other similar activities. Likewise, cuts, lotions, oils, sweat, and even dry skin can affect the accuracy of reading your fingerprint, so before you take any drastic measures, you should check for these issues as noted by one of Apple’s support pages.
When you are absolutely sure that none of these reasons are affecting your Touch ID accuracy, then you probably have a problem on your hands, so continue reading to get to the bottom of things once and for all.
Recalibrating the Touch ID sensor
Whether it’s because you set up Touch ID incorrectly from the beginning, or you believe it’s become unreliable over time, there are all sorts of reasons why your iPhone or iPad’s Touch ID fingerprint sensor may not be picking up your fingerprint as well as it used to, or as well as it should. Sometimes in these kinds of scenarios, the best thing to do is just start all over.
To do that, you’ll just need to follow these simple steps:
Step 1: Launch the Settings app and open “Touch ID & Passcode;” enter your passcode when prompted.
Step 2: Tap on the fingerprint you’re having problems with, then tap the “Delete Fingerprint” button.
Step 3: Tap on the “Add a Fingerprint…” button to begin re-scanning the finger you deleted.
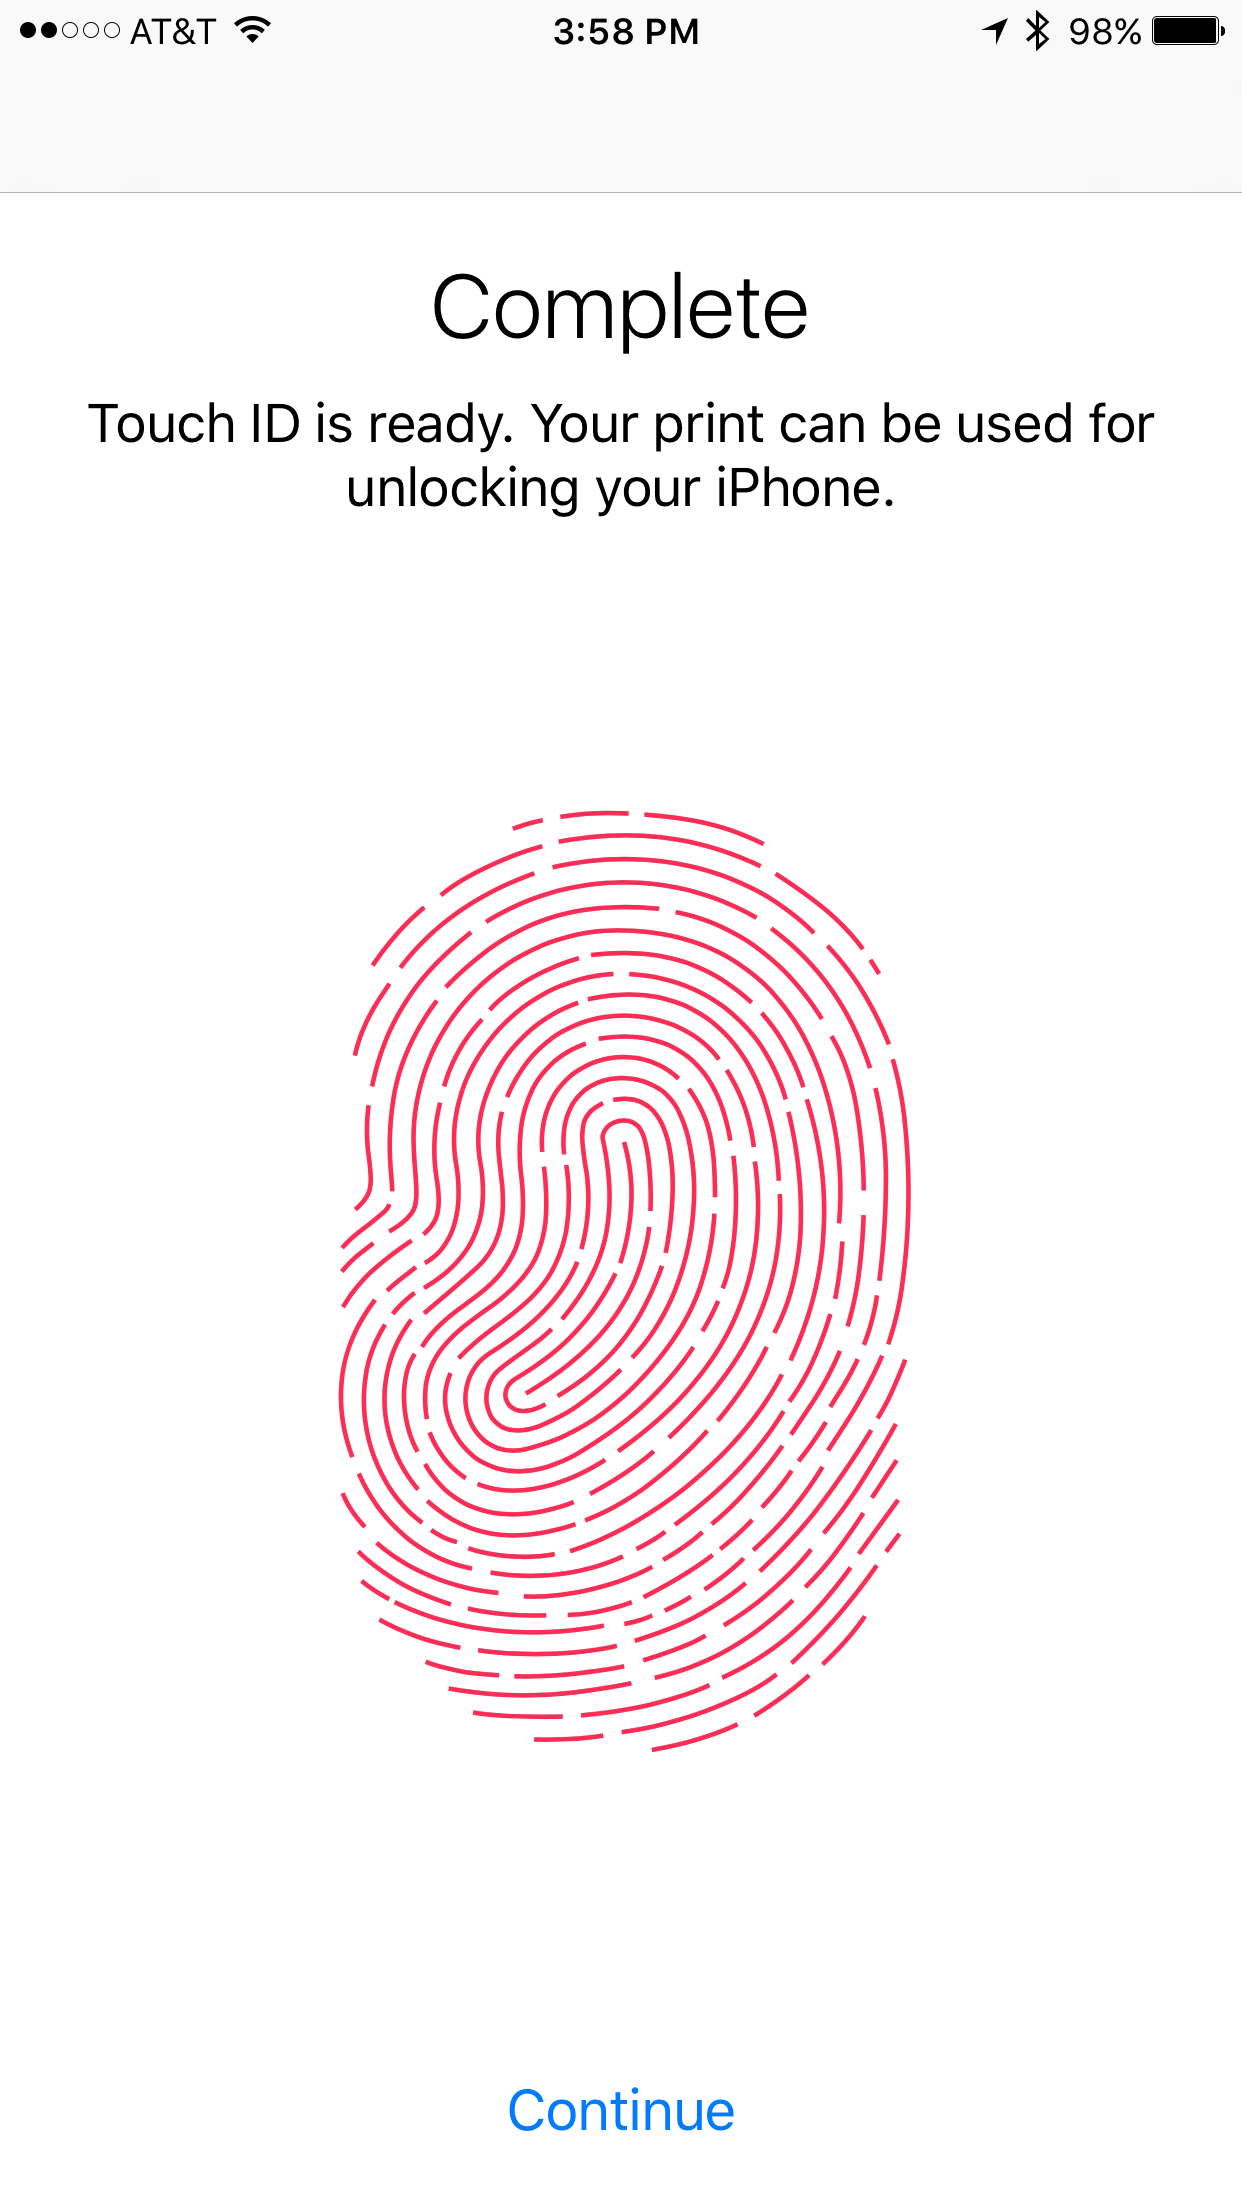
Step 4: Place your finger on the Touch ID sensor in various ways – right-side-up, up-side-down, and sideways until the fingerprint icon becomes fully colored.
Step 5: When asked to adjust your grip, scan the edges of that finger until the fingerprint icon becomes fully colored.
Note: Scan the front, the back, and the sides of that finger in ways you think you will unlock your device in situations where your grip isn’t the best.
Step 6: Tap on the “Continue” button when the process is complete to save your fingerprint.
Step 7: Lock your device and verify that the fingerprint works; if it does, congratulations!
Touch ID still not working properly?
If after taking these steps to recalibrate your Touch ID fingerprint sensor, you still can’t unlock your iOS device with your fingerprint, there may be something else wrong other than user error. Consider these troubleshooting steps:
- Clean the Touch ID sensor with a microfiber cloth to remove finger oils and residue.
- Use a different finger; the one you’re trying to use may not have a bold fingerprint.
- DFU Restore your device to factory settings through iTunes and try again.
- Contact AppleCare and have Apple check to make sure your Touch ID sensor isn’t malfunctioning.
Conclusion
No one likes a finicky Touch ID fingerprint sensor, but hopefully after trying these steps, you’ll have been able to get back to unlocking your iOS device with your fingerprint in no time.
Did this tutorial help you get back up and running again? Share in the comments below!
Source link: http://www.idownloadblog.com/2016/01/14/touch-id-not-working-try-this/


Leave a Reply