

How to create a bootable USB installer for macOS Tahoe 26
Learn how to create a bootable macOS Tahoe beta installer on a USB thumb drive to deploy macOS 26 on multiple Macs without downloading anything.
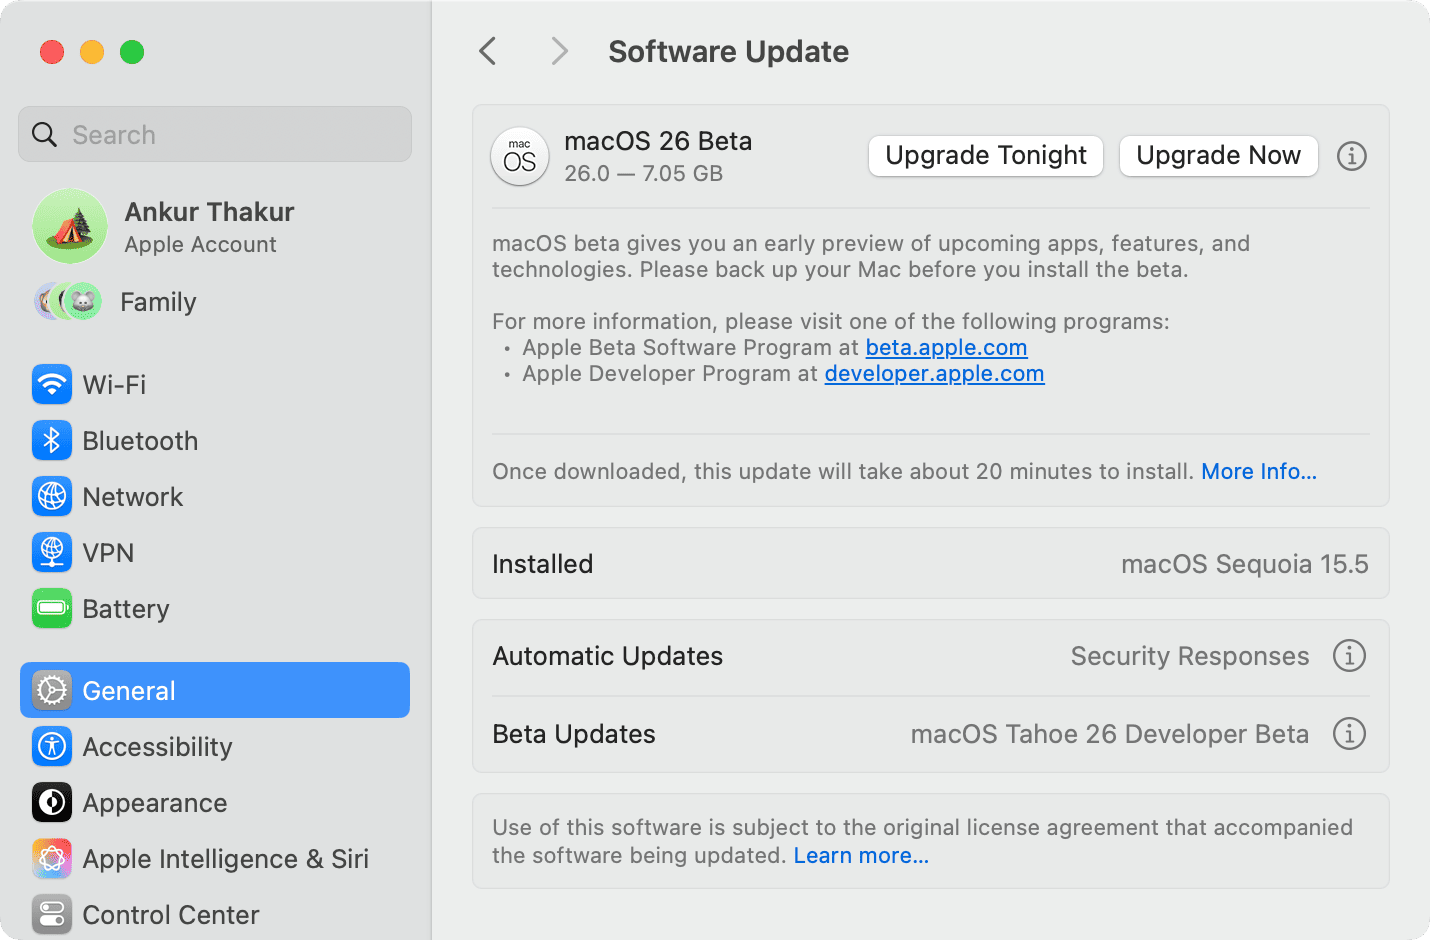
Apple released the first developer beta of macOS 26Tahoe on June 9, 2025, with a public beta following in July via beta.apple.com. Installing the macOS 26 beta follows the same logic as the steps to install the iOS 26 beta.
Basically, registered developers and public beta testers can upgrade to macOS Tahoe by clicking the info icon ⓘ next to Beta Updates in System Settings > General > Software Update to select macOS Tahoe 26 Developer Beta or macOS Tahoe 26 Public Beta (when it becomes available) from the menu.
You can also install the macOS Tahoe beta on another partition so you can test the new features without affecting your current environment. To update multiple Macs to the macOS 26 beta, however, you’re advised to create a bootable installer to avoid downloading the massive package on each computer separately.
Here’s what you need:
- Internet connection to download the macOS Tahoe installer.
- A USB flash drive with at least 32 GB of free space.
If you can, get a USB 3.0 thumb drive instead of a slower USB 2.0 one to reduce wait times when copying files. Also, make sure to back up any existing files on the USB drive as the drive will be formatted and erased in the process.
Create a bootable USB installer for macOS Tahoe 26
1) Open this link in Safari on your Mac to download the 16-gigabyte macOS Tahoe installer from Apple’s website. When done, double-click the archive in the Downloads folder to unpack and open the install assistant. You don’t have to change the install location or do anything out of the ordinary, so click the Install button.
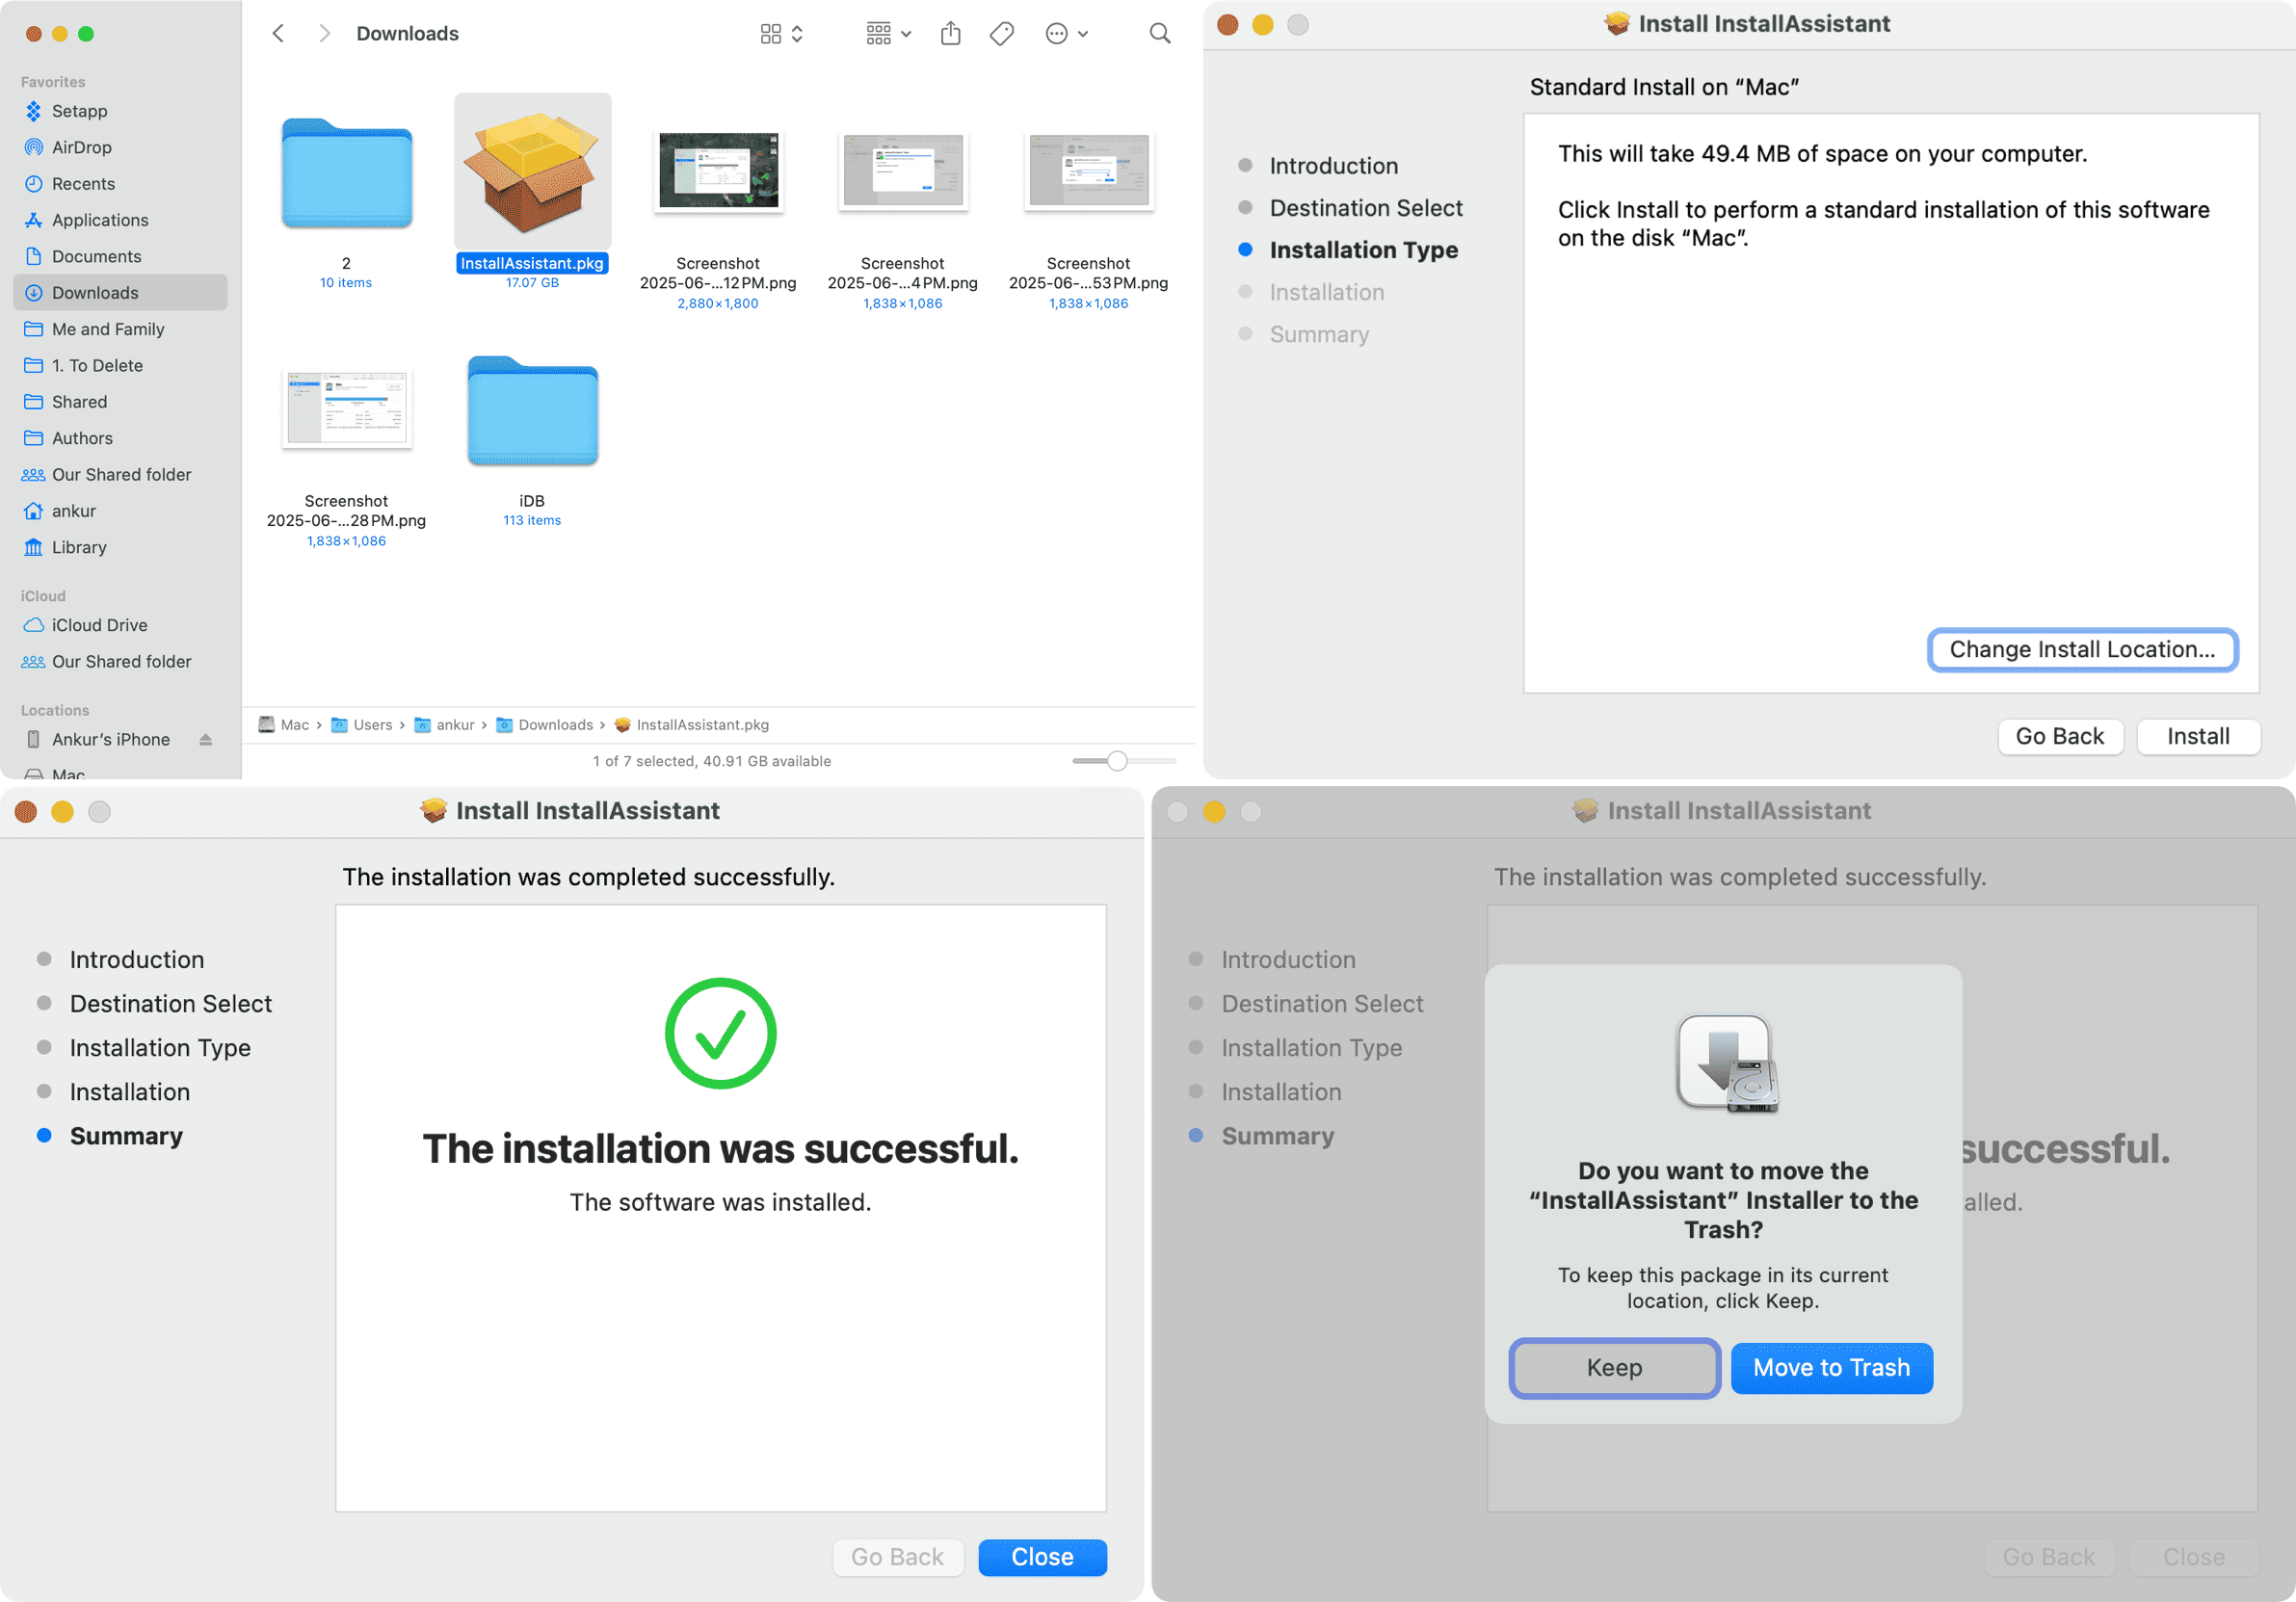
2) When done, open your Applications folder and check that “Install macOS Beta.app” is there. If you set a custom install path in the previous step, move the installer from there to the Applications folder.
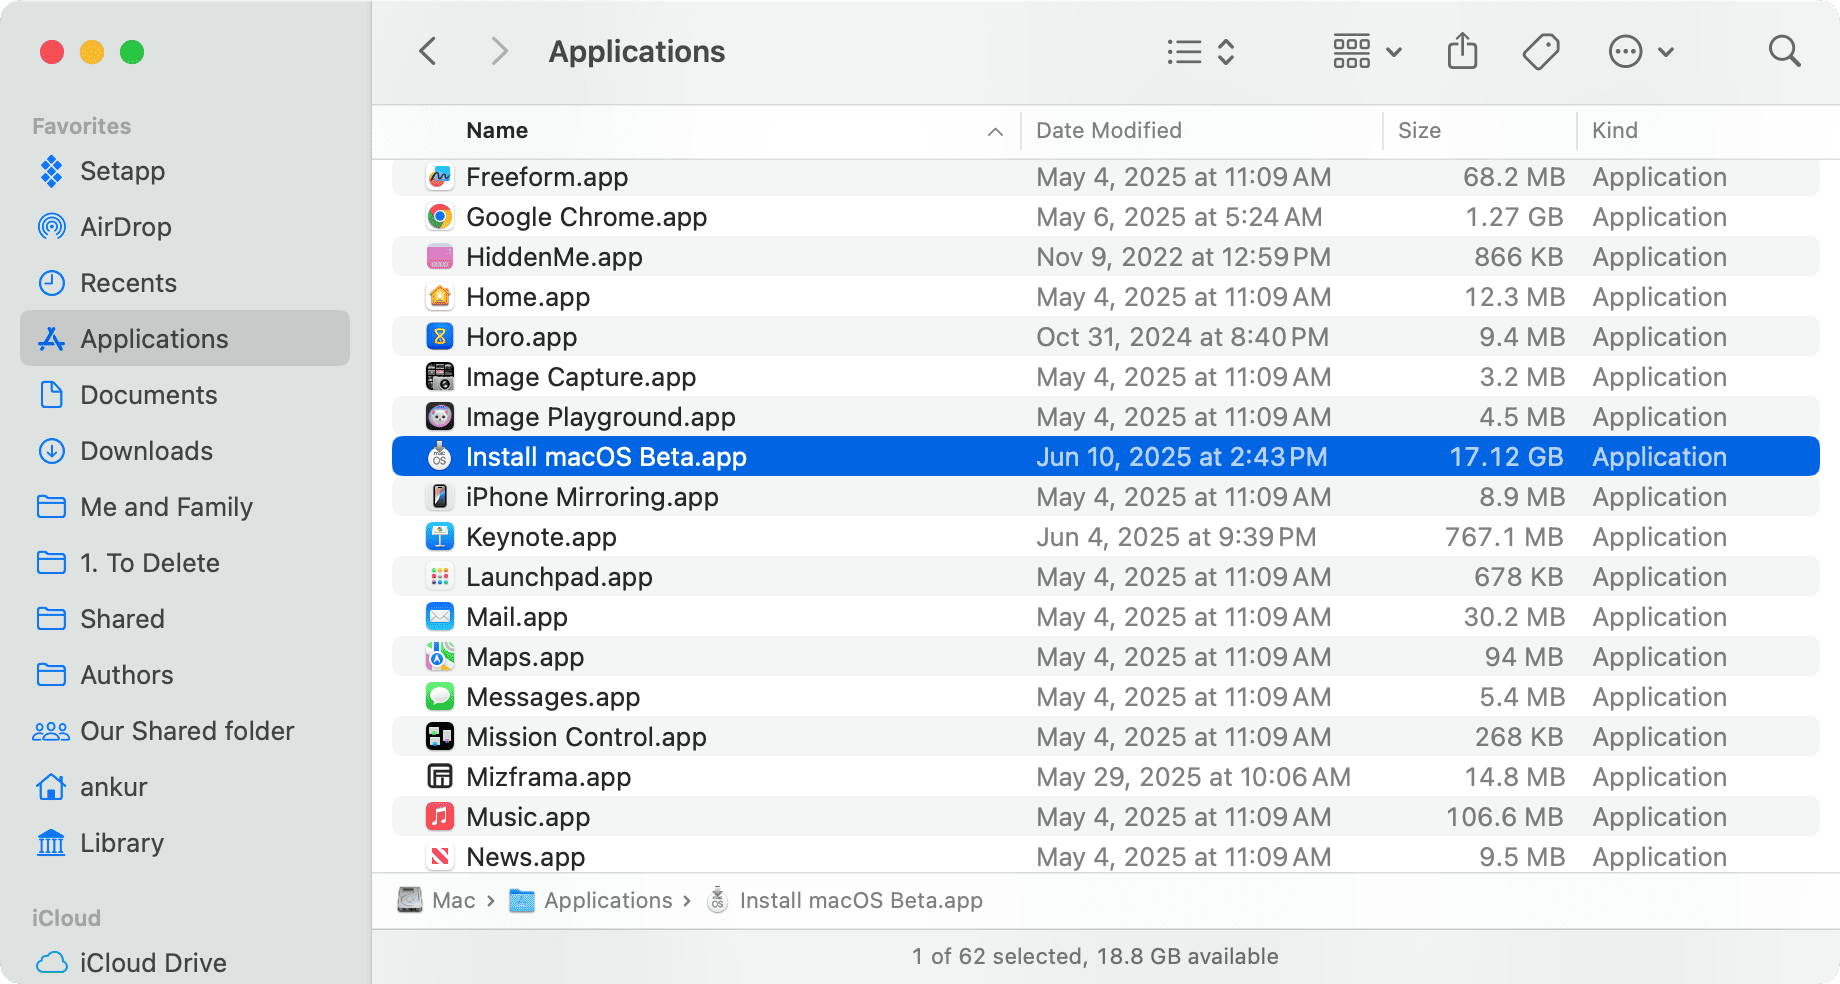
3) Rename “Install macOS Beta.app” as “Tahoe.” This isn’t necessary, but will make your life easier when running the required Terminal commands.

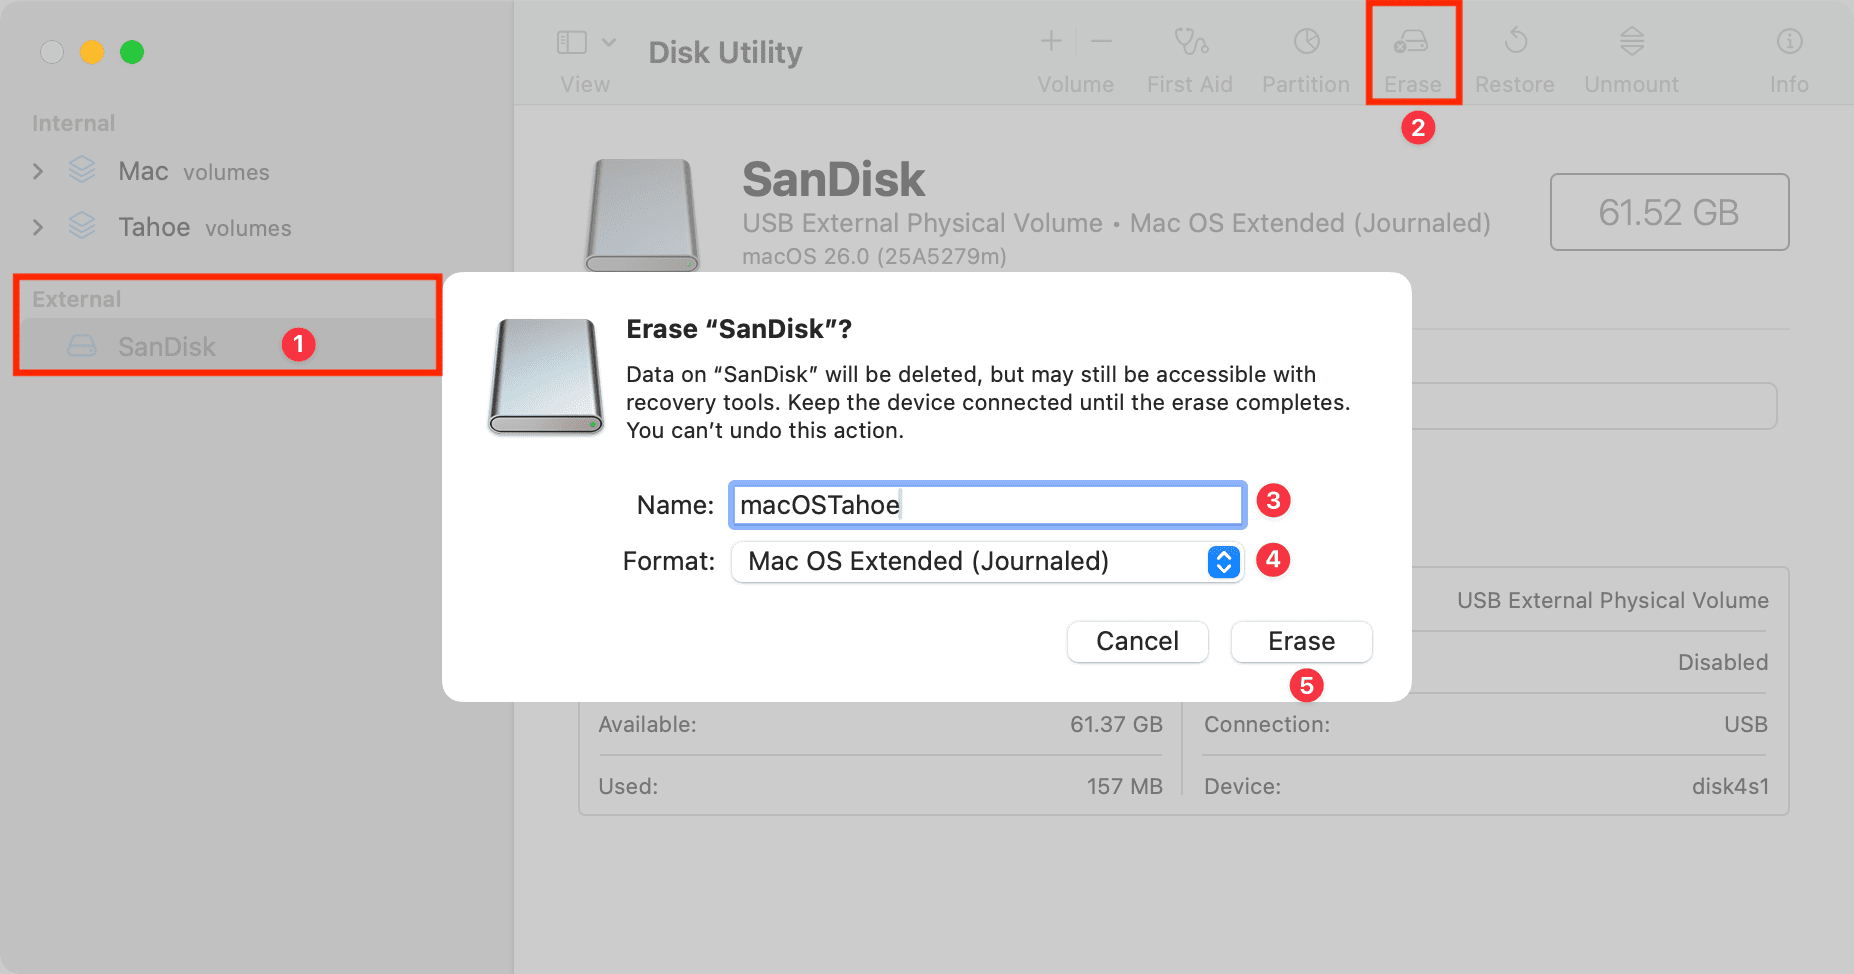
4) Plug a thumb drive into your Mac’s USB port and open the Disk Utility app from the Applications/Utilities folder, then select your thumb drive in the sidebar and hit the Erase icon to format the drive.
Be sure to type “macOSTahoe” in the Name field, then select “Mac OS Extended (Journaled)” in the Format menu and hit Erase. If you also see an option for Scheme, select GUID Partition Map.
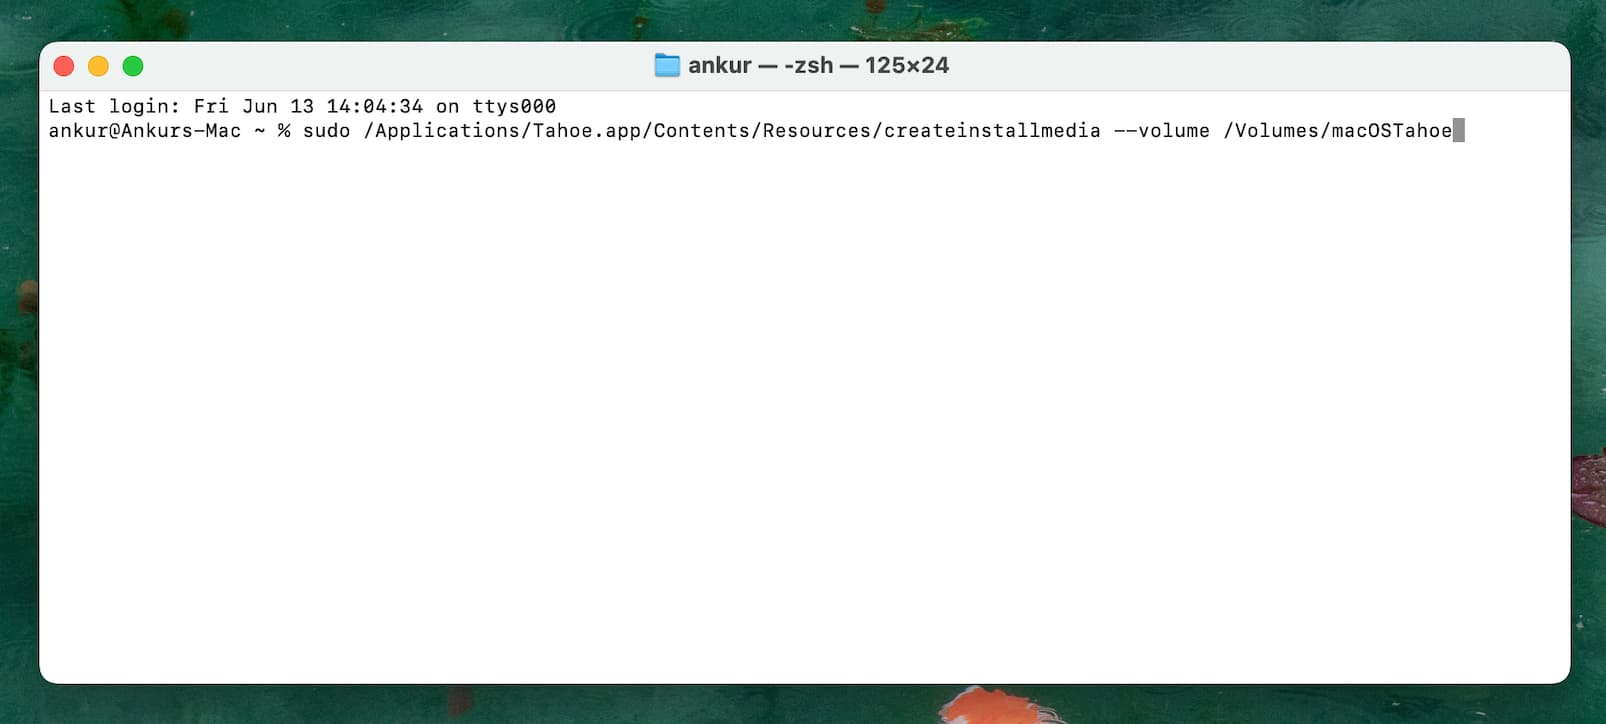
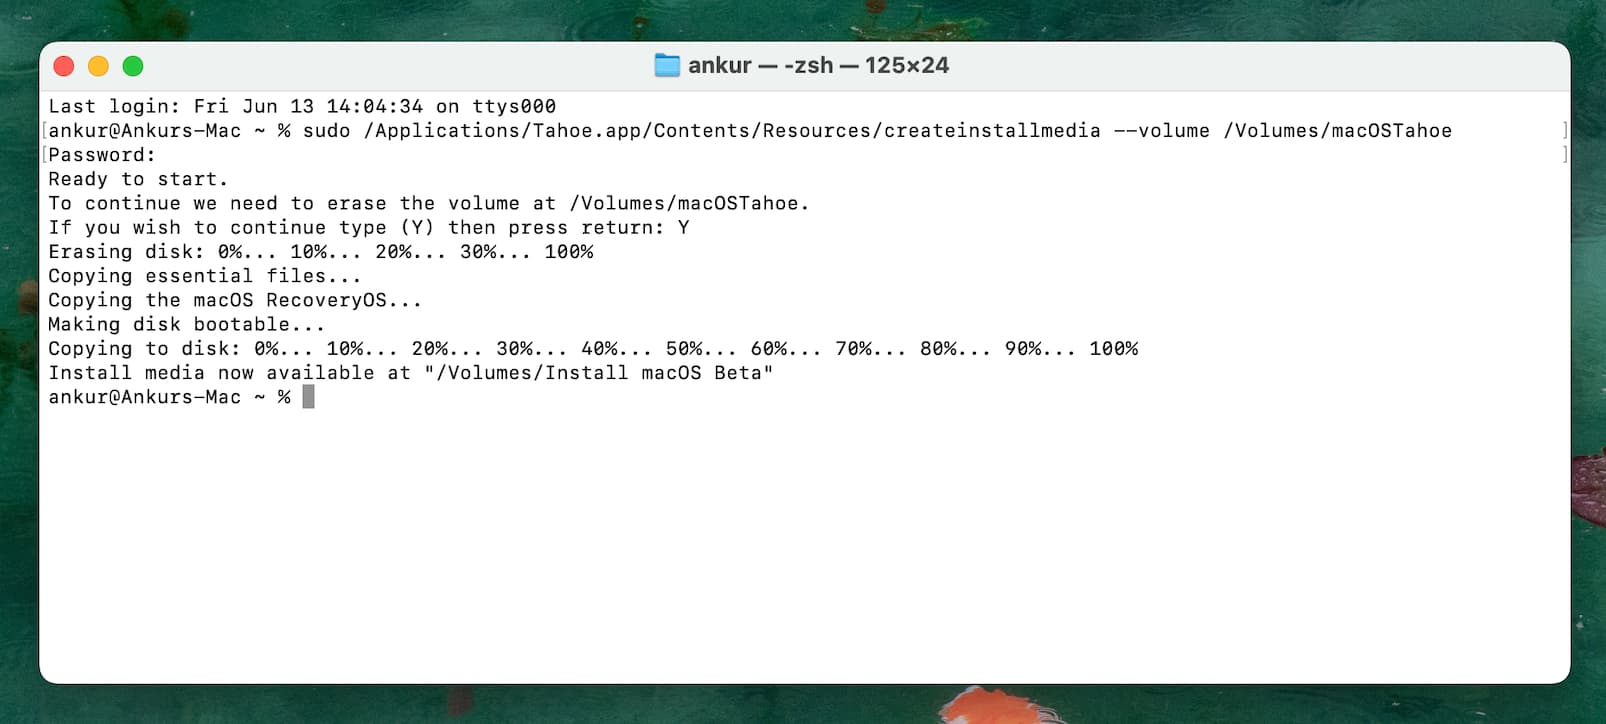
5) With the drive erased, open Terminal from the Applications/Utilities folder, paste the following command, and press the Enter key to run it:
sudo /Applications/Tahoe.app/Contents/Resources/createinstallmedia --volume /Volumes/macOSTahoe
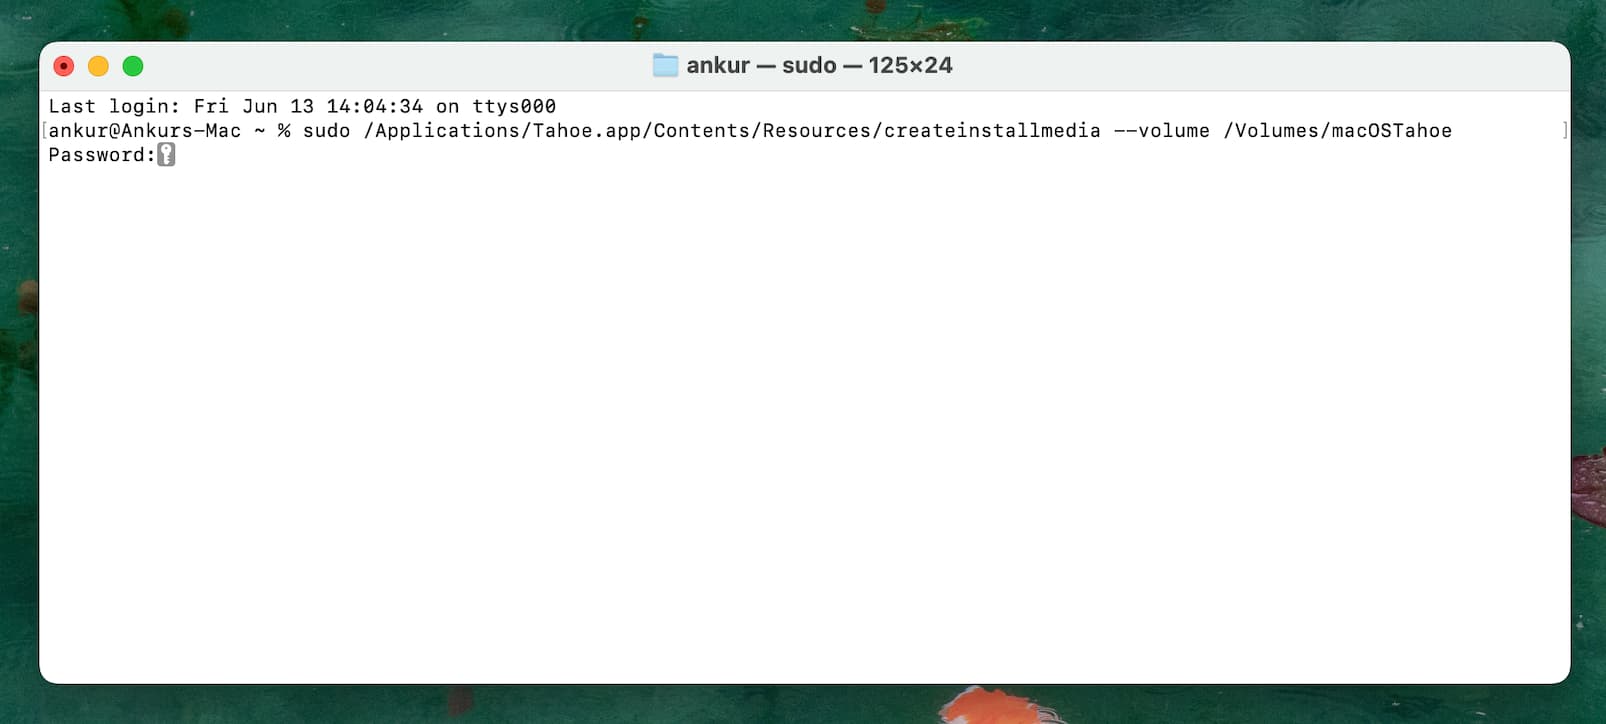
6) Type the admin password of your macOS account and press the Enter key. For security reasons, Terminal won’t show the password being typed.
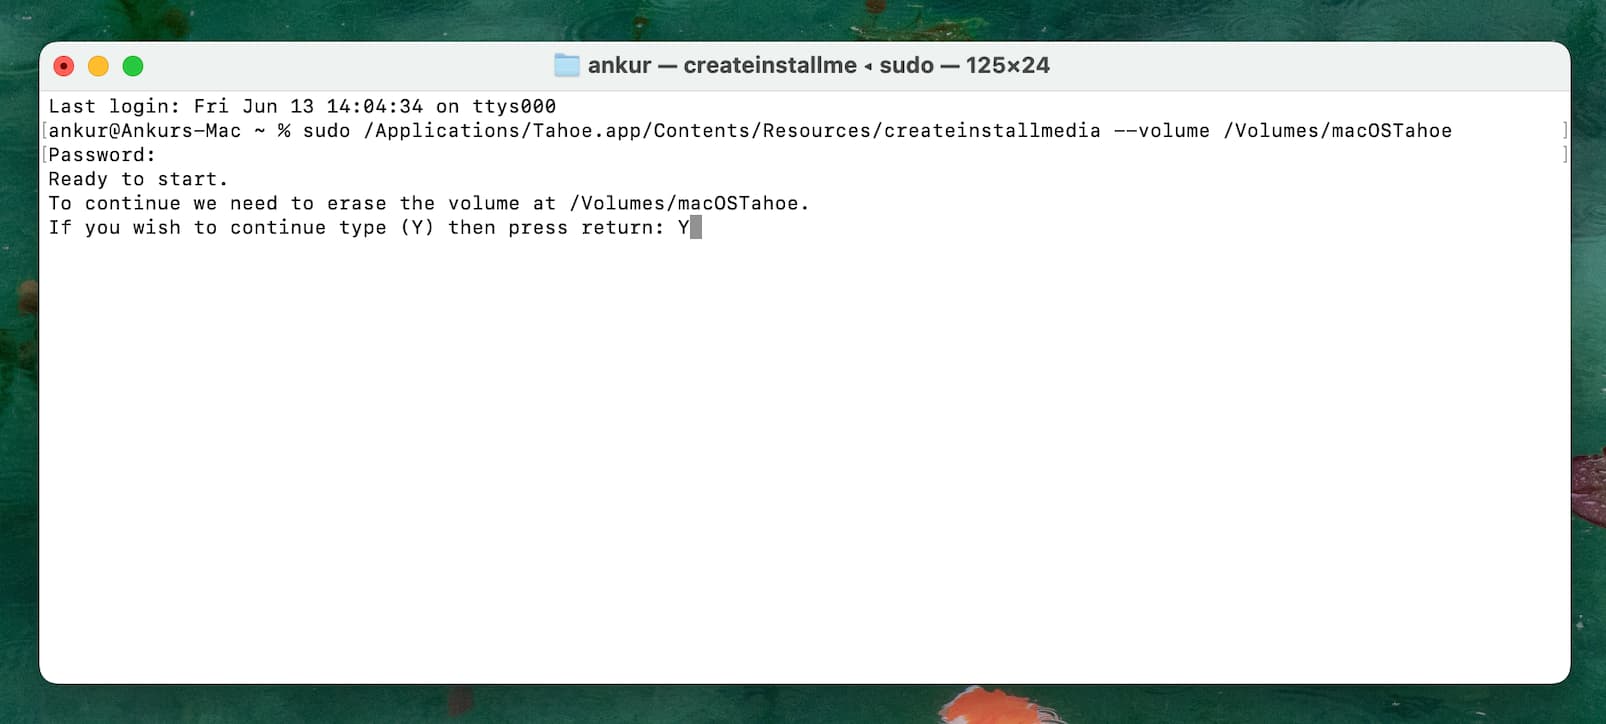
7) Press the “Y” key to confirm you’d like to erase your external disk and continue.
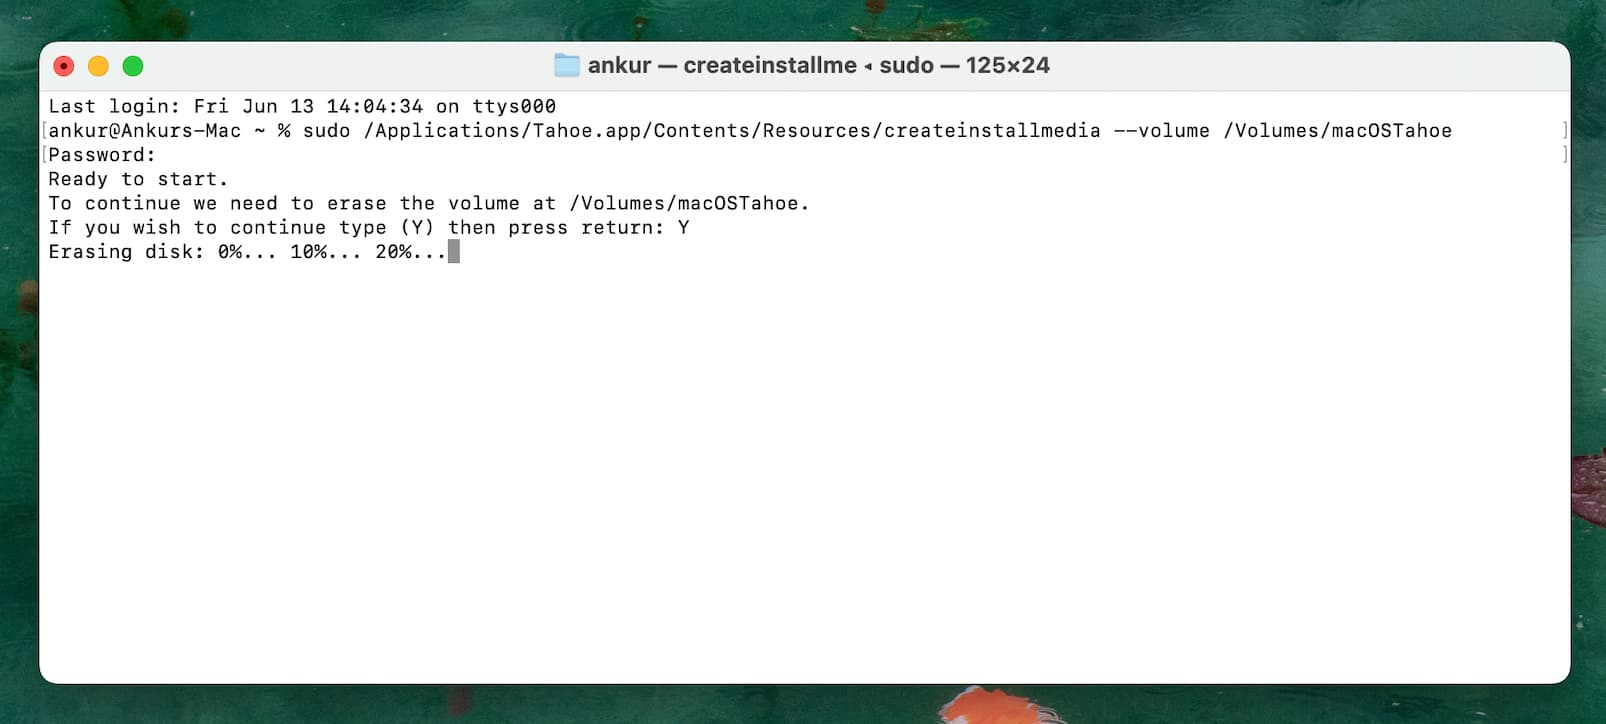
Sit back and relax as your Mac needs to first erase the disk before copying essential files, making the disk bootable, and performing house cleaning operations.
Don’t quit Terminal or eject the drive when “Copying to disk” reaches 100%. The process will be finished when you see a message, saying Install media now available at “/Volumes/Install macOS Beta.”
You now have a USB drive with a macOS Tahoe 26 installer that you can open at boot time to install the macOS Tahoe beta on multiple Macs.
Install macOS Tahoe 26 using a USB bootable installer
Check that your Mac meets the hardware requirements for macOS Tahoe. Apple silicon Macs and 2019 or later Intel-based Macs are compatible. Your Mac must be connected to the internet via Wi-Fi so it can reach Apple’s authentication servers.
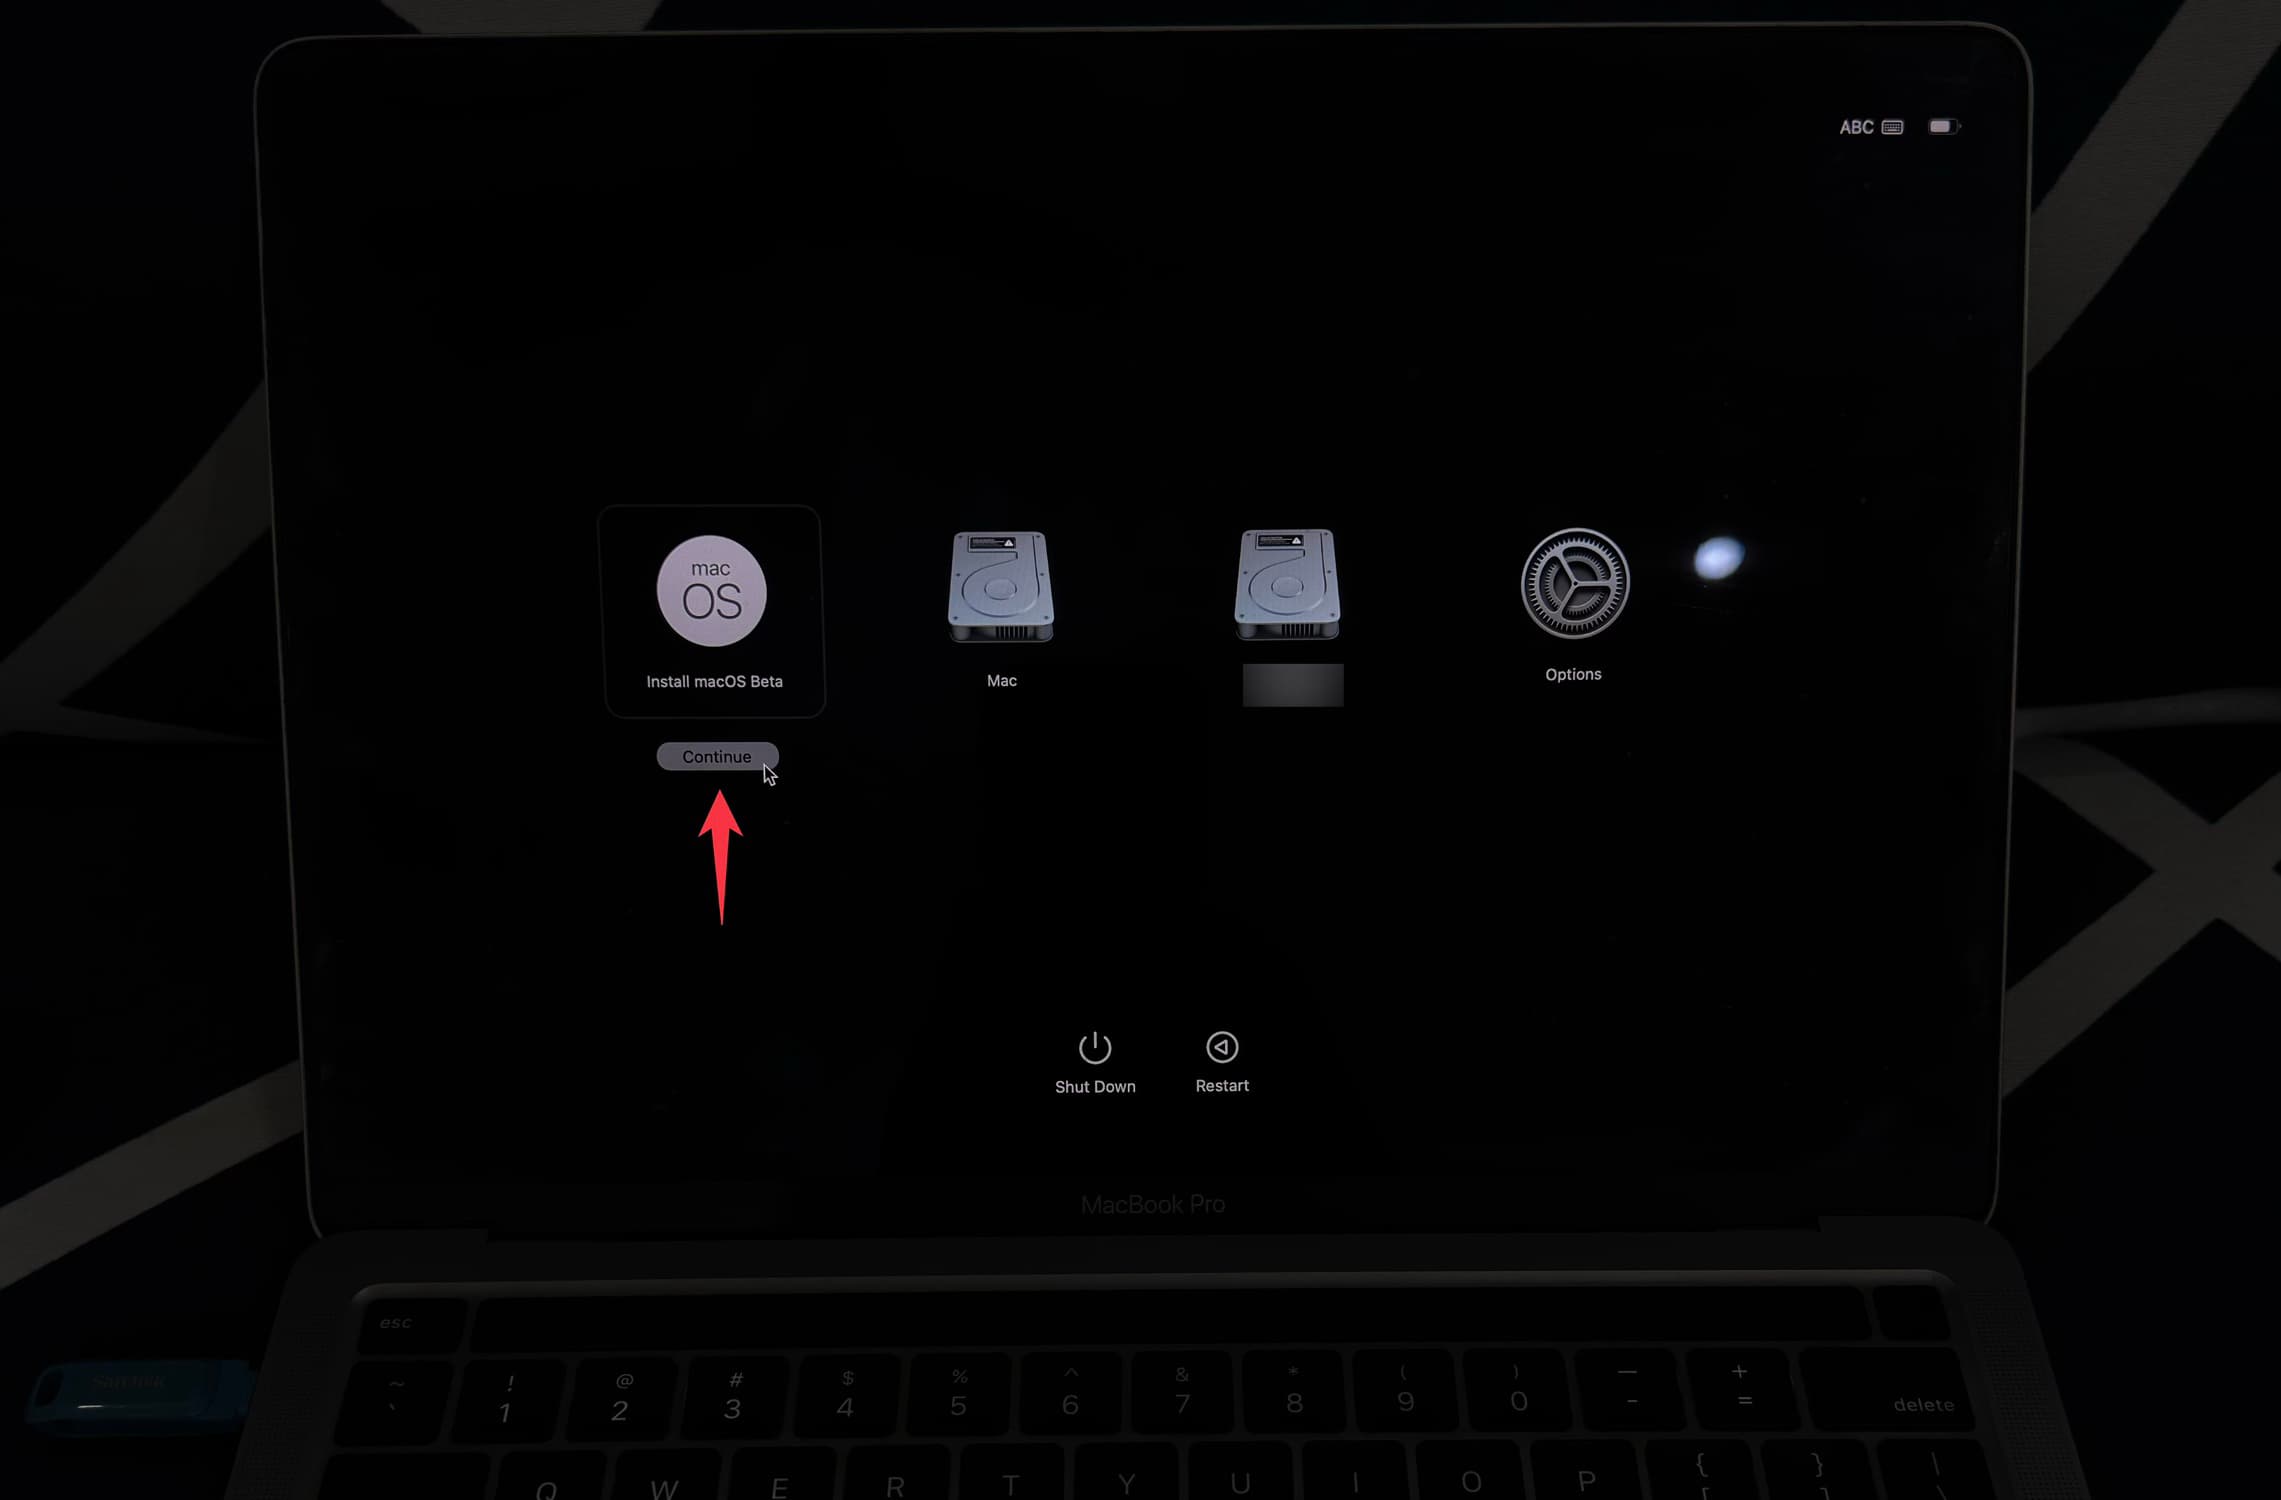
Shut down your Mac and wait 30 seconds, then plug the USB drive and hold the power button until you see “Loading startup options” on the screen.
Intel Macs owners will instead hit the power button and immediately hold the Option key, as explained here.
Startup Manager displays icons of all bootable volumes detected on the computer; pick the one labeled “Install macOS Beta,” click Continue, and follow the onscreen instructions to install the macOS 26 beta on this Mac.
Other ways to get the macOS 26 installer
You can also get macOS installers via the App Store and Terminal. As of writing, however, macOS Tahoe is still in beta and the installer won’t hit the App Store until the software is publicly realized in the fall. The same goes for Terminal; though you can download both beta and stable macOS versions in Terminal, the macOS 26 installer is unavailable to download via Terminal as of now.
Also, check out: How to downgrade your iPhone or iPad from iOS 26 beta to iOS 18
Source link: https://www.idownloadblog.com/2025/06/16/create-usb-installer-macos-tahoe/

Leave a Reply