

Using a disk speed test on macOS to troubleshoot or decide when it’s time to upgrade
If you’re a techie like me, then you may on occasion have the desire to run a disk speed test for the purpose of evaluating the performance of your Mac’s storage system. Regardless of whether you’re a professional, an enthusiast, or a contemporary user, there are benefits to understanding your system’s disk speed.
In today’s tutorial, we’ll be showing you how you can measure your Mac’s disk speed with free software for macOS.
Why measure your disk speed?
There are two primary reasons why someone might want to check their Mac’s disk speed: 1) troubleshooting performance issues; and 2) deciding whether it’s time to upgrade.
You may want to troubleshoot performance issues when your Mac boots up slower than usual, or when applications take longer to launch than they did when you first bought your Mac. Alternatively, if you experience hanging or crashing applications, or your system struggles to handle larger files, then a sluggish storage system may be to blame. Measuring the disk’s read and write speeds can help you determine whether there are any bottlenecks or performance issues that need addressing or not.
Additionally, hard drive and solid-state drive technology continues to evolve, with drives getting faster over time. Moreover, your storage space needs might change over time. If either of these are of any concern to you, then you might consider upgrading your Mac’s storage drive(s) so that you can either take advantage of faster read and write speeds or hold more files on your machine. Note that not all Macs have removable disk drives, but some still do; those that don’t are stuck with whatever internal storage they were configured with at the time of purchase, making external storage a more viable option.
You can use software to measure your Mac’s disk speed. Disk speed is measured in both read and write speeds, and they’re exactly what they sound like – one is a measure of how fast you can read files from the disk drive, while the other is a measure of how fast you can write files to the disk drive.
How to run a disk speed test in macOS
There are two pieces of software that I like to use to measure my Mac’s storage disk speed: AmorphousDiskMark and Blackmagic Disk Speed Test. The former is available as a download from the internet, while the latter is available as a free download from the Mac App Store. We’ll show you how to use both in today’s tutorial.
AmorphousDiskMark
To run a disk speed test on your Mac with AmorphousDiskMark, you can follow the steps outlined below:
1) Download and install AmorphousDiskMark for macOS from the software’s website.
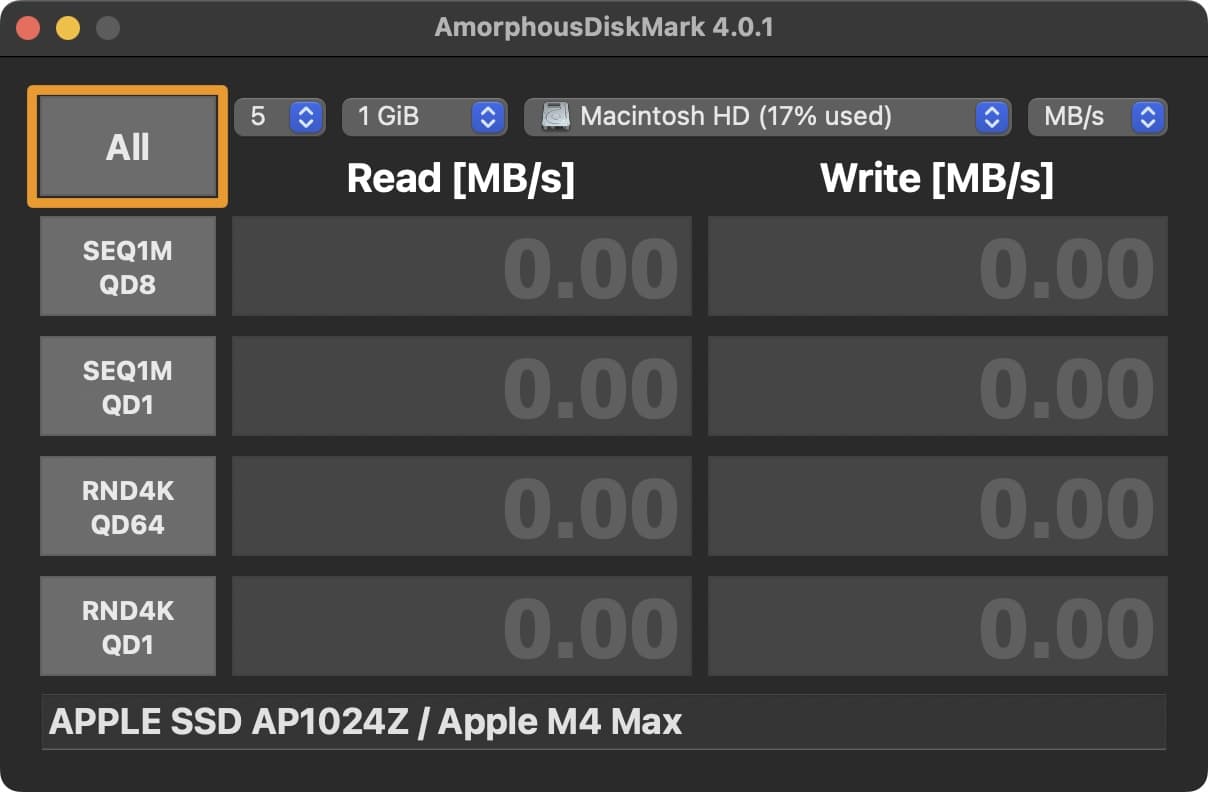
2) Launch AmorphousDiskMark and click the All button at the top-left of the application:
3) Wait for all the tests to complete, and you’ll receive your test results within a couple of minutes:
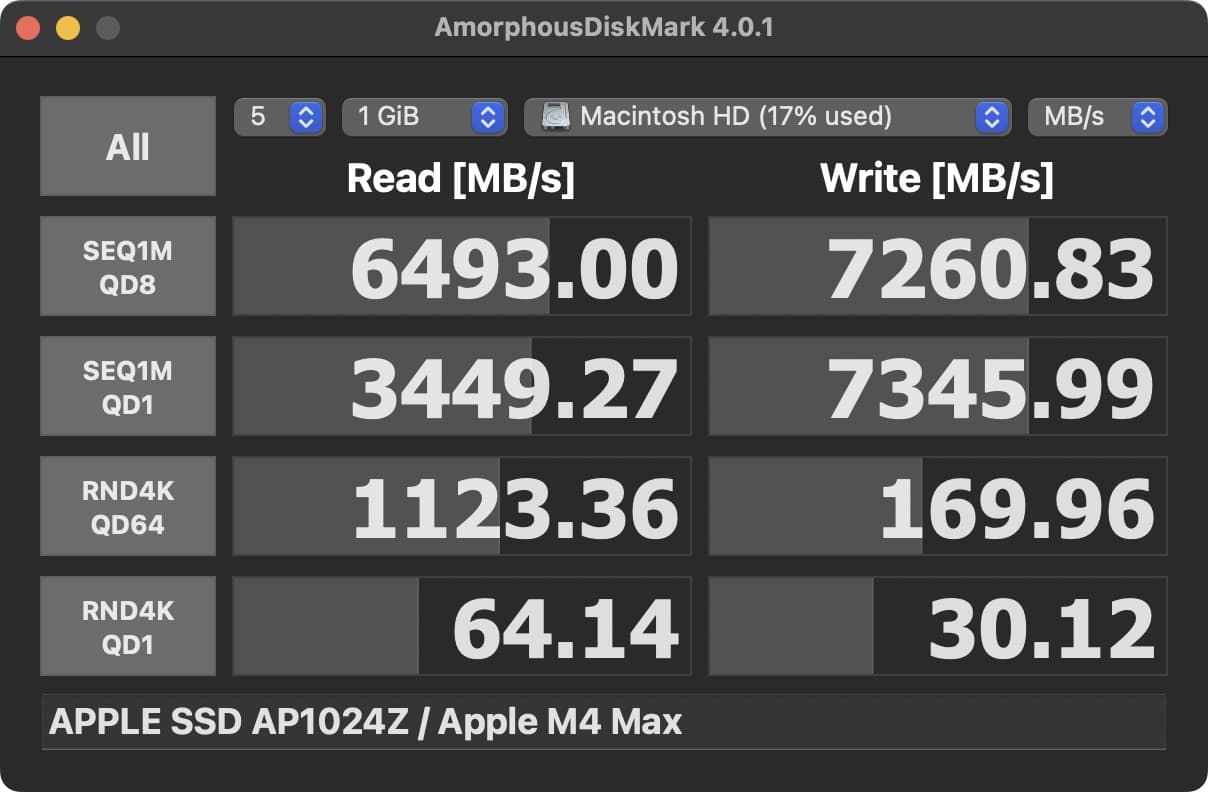
4) Observe your results, and you’ll have a pretty good idea about how well your drives are performing.
Blackmagic Disk Speed Test
To run a disk speed test on your Mac with Blackmagic Disk Speed Test, you can follow the steps outlined below:
1) Download and install Blackmagic Disk Speed Test for macOS from the Mac App Store.
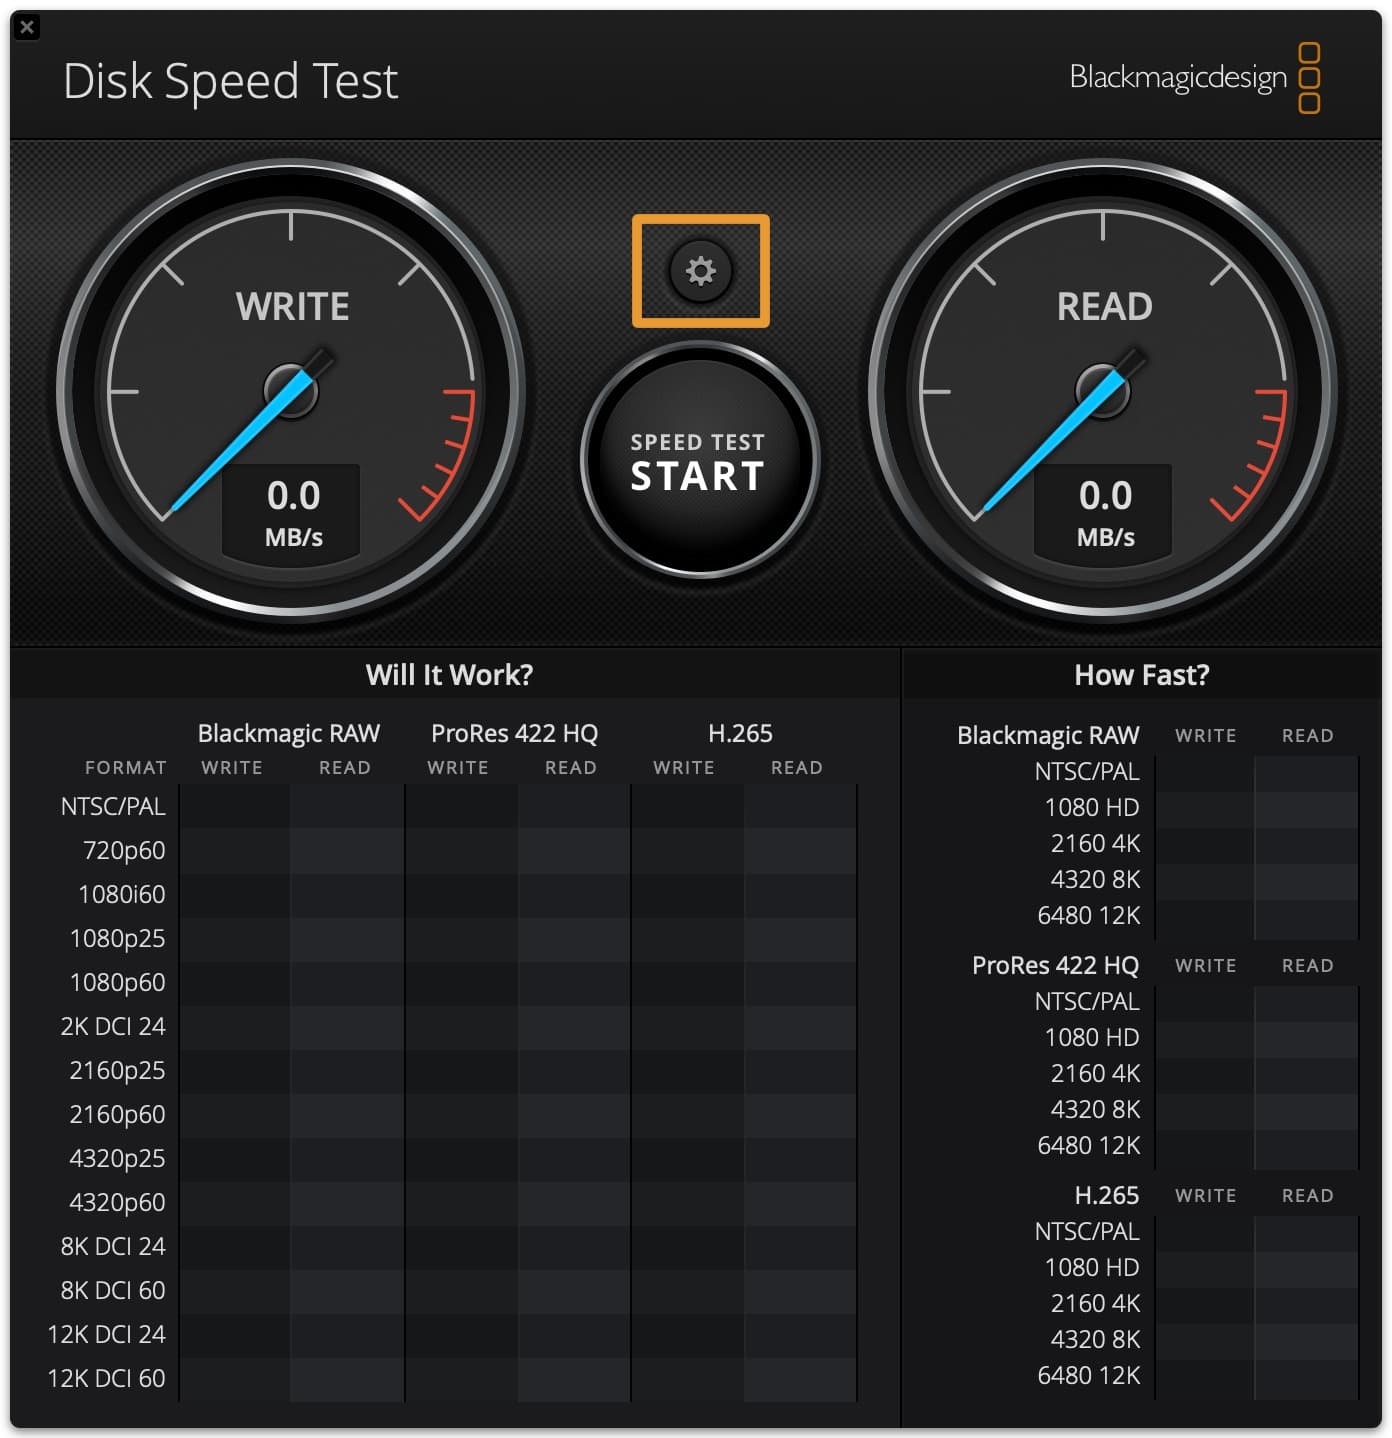
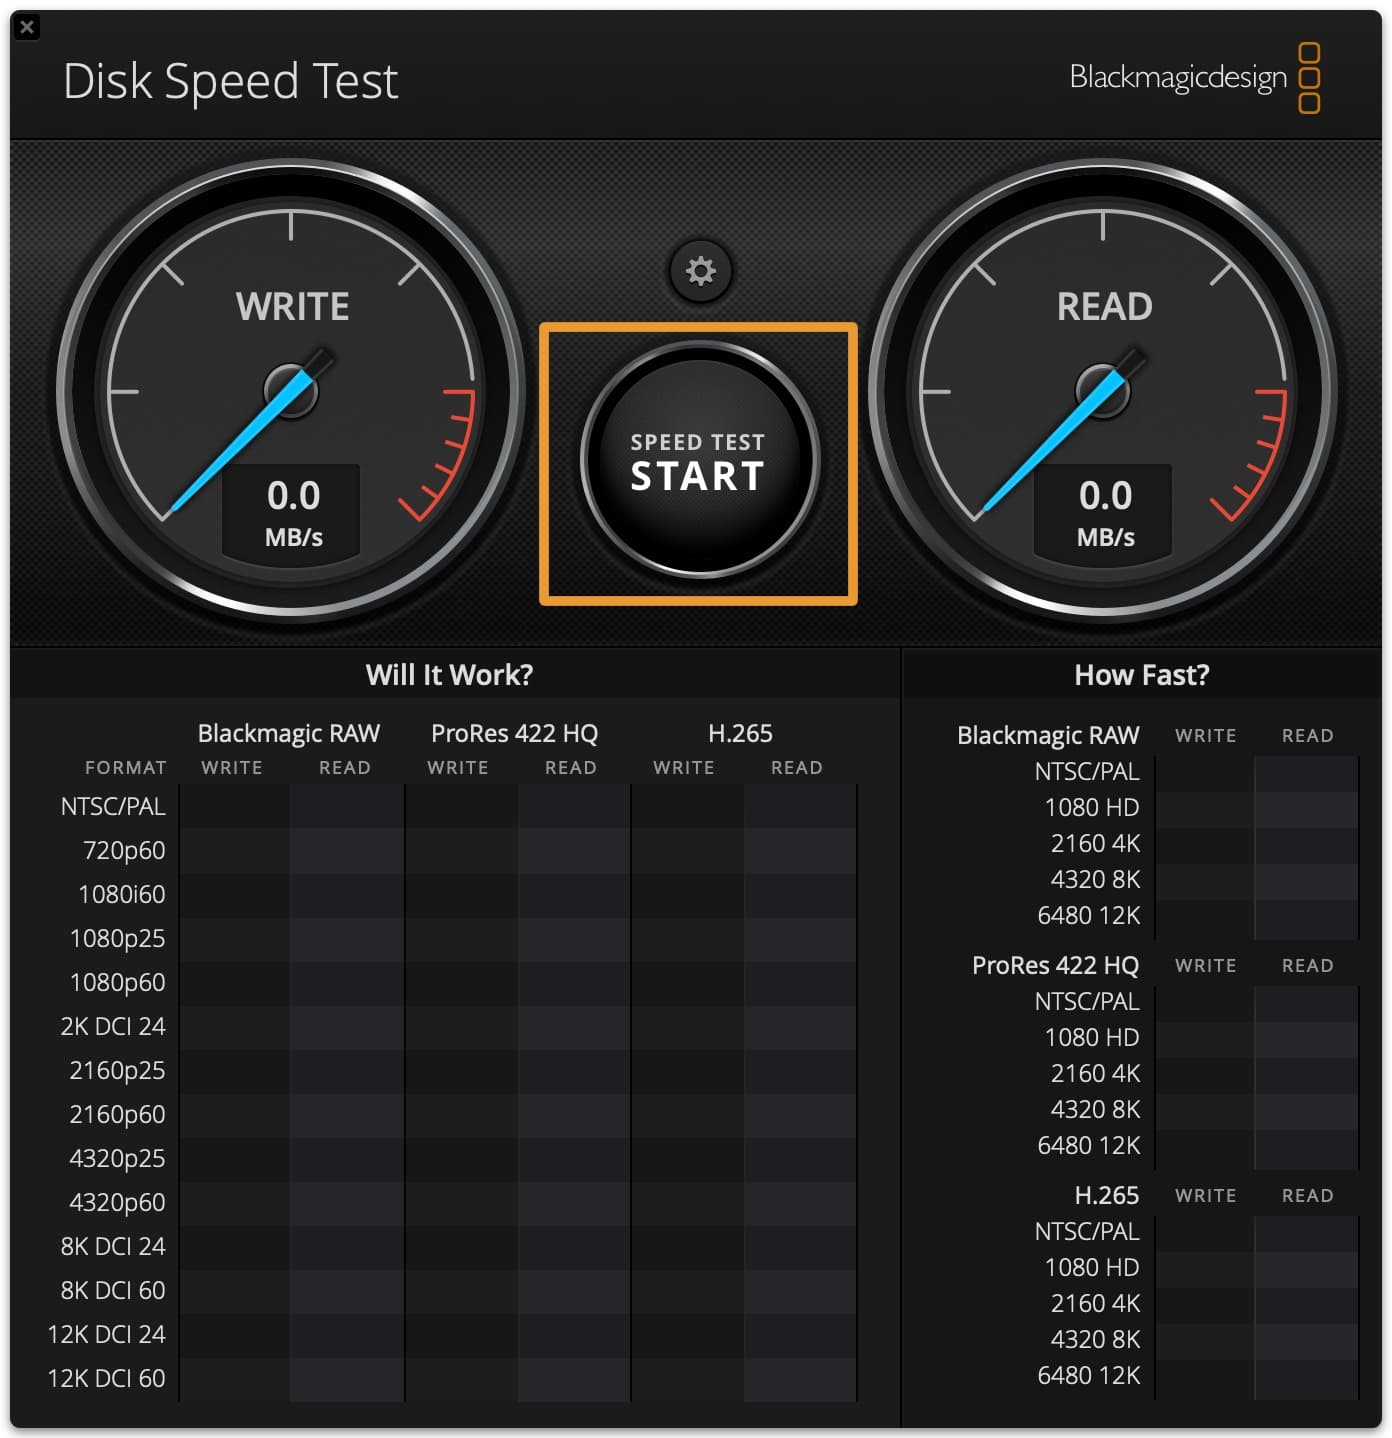
2) Launch Blackmagic Disk Speed Test and click the gear cog button above the start button:
3) Click Select Target Drive… from the menu list:

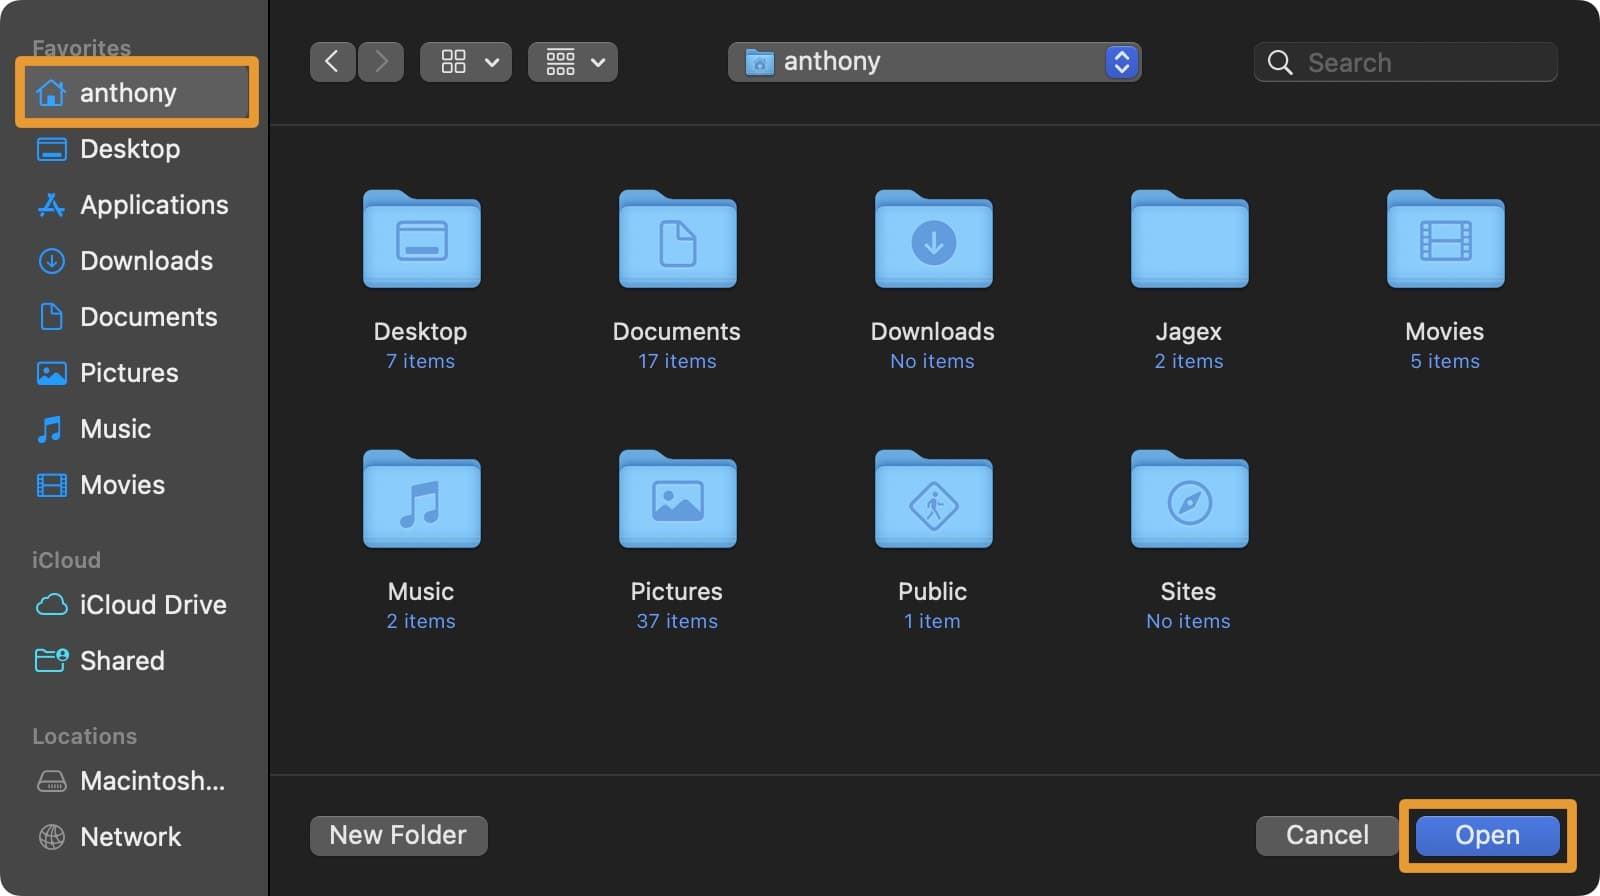
4) Choose a folder on your Macintosh HD drive with write privileges, such as your Mac’s home folder, then click the blue Open button:
5) Click the Speed Test Start button in the Blackmagic Disk Speed Test application:
6) Wait for the tests to complete, and you’ll receive your test results within a few moments.
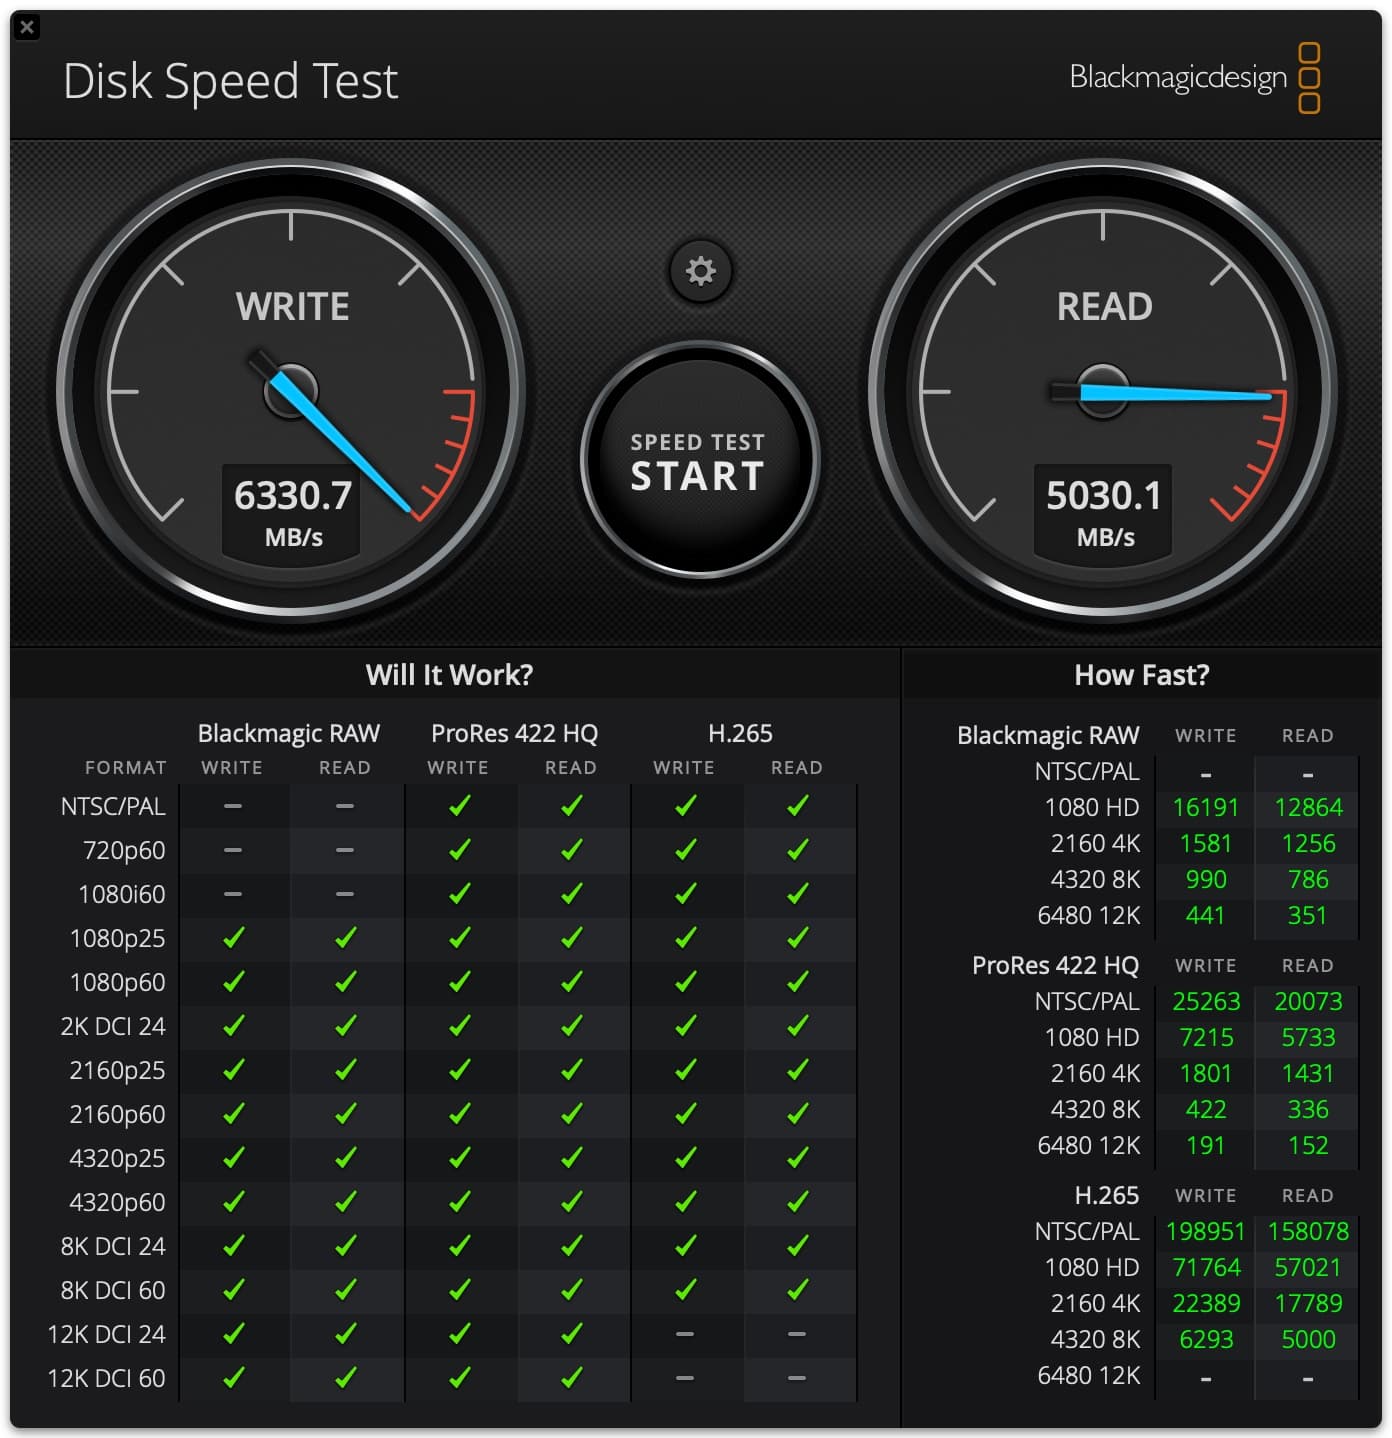
7) Observe your results and you’ll have a decent idea about the disk speed of your Mac.
Considerations about disk speed tests
Depending on who you ask, people will tell you that certain disk speed test applications are better than others. There’s truth and fallacy to this because each piece of software not only measures disk speeds differently, but they also provide varying forms of information.
For example, AmorphousDiskMark is our preferred disk speed test because it shows more real-world use cases than Blackmagic Disk Speed test. That’s because it shows not only your continuous disk speed, but also random data block read and white speeds. This can be more useful when trying to troubleshoot a failing or slow drive.
On the other hand, you will see that Blackmagic Disk Speed Test shows a comprehensive dataset toward the bottom of the application about whether the drive is sufficiently fast enough for reading and writing various forms of high-resource media. This can be more useful toward creative professionals like photographers and videographers who want to know if a computer performs to their needs.
If you find that your speed tests are in line with what the manufacturer said you’d get, then you’re golden. But if you see speeds that aren’t quite right, consider troubleshooting steps like closing extraneous applications, freeing up disk space, or performing a disk error check. If that doesn’t help, it might be time for an upgrade, whether that means a plug-and-play replacement or an entirely new Mac with modern storage tech.
Wrapping up
Regularly running disk speed tests on your Mac can help you ensure that the system is performing optimally and give you a heads up about when it’s time to fork out for an upgrade. People often look at things like RAM and CPU when it comes to a machine’s speed, but the storage can be a common bottleneck.
Checking your system’s disk speed isn’t hard, and with the steps outlined above, hopefully you will make the right decision as it pertains to your machine.
Source link: https://www.idownloadblog.com/2025/04/16/disk-speed-test-macos-tutorial/

Leave a Reply