

Four ways to transfer media from a camera to a computer
Photography is one of my favorite hobbies, so it may come as no surprise that I often transfer images from my camera to my Mac, iPad, or iPhone for post-processing in various photo editing applications.
Note: Purchases made on this page help support iDownloadBlog. We may earn a small commission when you complete a purchase using affiliate links shared on our website.
There are several ways to move media from a camera to a Mac, iPad, or iPhone. While you might be familiar with some of them already, you may find an alternate method more convenient in certain situations. So today, we’ll show you all the best methods for transferring data from camera memory cards to Mac, iPad, and iPhone so you can pick the one that’s right for you.
Transferring media from a camera to a workstation
Your workstation may be a full-blown computer such as a Mac or Windows PC, or it could be a mobile device such as an iPad or an iPhone. You can find professional photo-editing software on virtually any of these platforms, so it doesn’t matter which one you choose – merely that you’re comfortable using it.
Most modern DSLR and mirrorless cameras from the major manufacturers (Canon, Nikon, Sony, etc.) support multiple transfer methods. Some of those necessitate additional software, while others call for additional hardware. Be sure to investigate all options before choosing one, as it can make all the difference in a photographer‘s workflow.
Wireless app-based media transfers
The first, and perhaps the easiest, way to transfer media from your camera’s memory card(s) to your workstation is via a wireless app-based transfer.
Wireless file transfers generally happen over some form of Bluetooth or Wi-Fi connection, and they don’t require you to buy any additional hardware. You may, however, need to download an app made by your camera’s manufacturer on the device you plan to transfer files to.
I like to edit photos on my 13-inch iPad Pro with M4 chip because it’s the most capable device I can carry around that isn’t a full-blown computer.
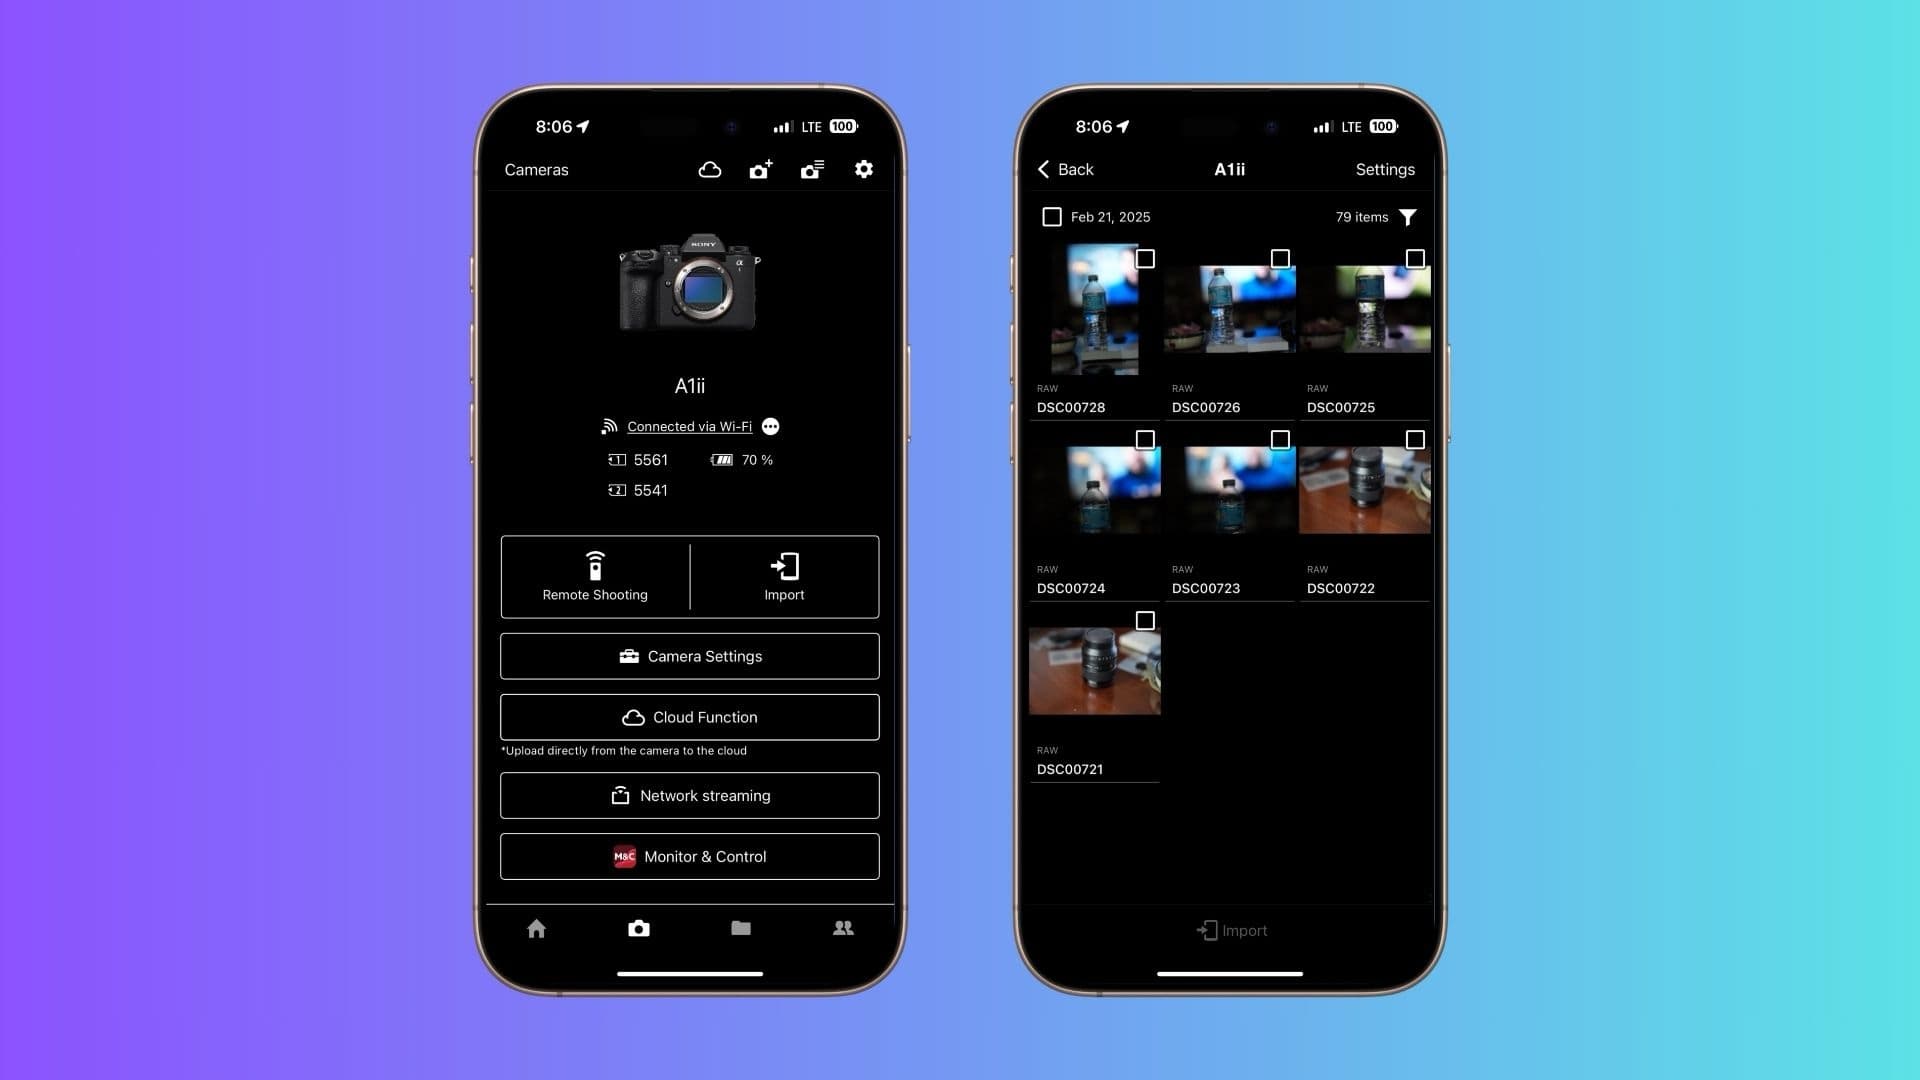
I have previously used Nikon cameras and Nikon’s free SnapBridge app from the App Store to transfer files from my camera to my iPad Pro via Bluetooth, but since transitioning over to Sony cameras, I now use Sony’s free Creators’ App app from the App Store to do the same. If you have a Canon camera, then you will use Canon’s free Canon Camera Connect app from the App Store. We’ll link those three most common apps below for your convenience:
After establishing a Bluetooth connection between your camera and your device, you can browse your camera’s memory card contents in the app without connecting any wires or removing memory cards. You can then select the files you want to share and initiate the transfer. Depending on the camera manufacturer, you may need to establish a two-way Wi-Fi connection between the camera and the device for the transfer.
Bluetooth is often used for communicating with the camera and browsing available files because it’s a low-power wireless connection with limited bandwidth. Wi-Fi may only be used for file transfers because it uses more power and provides more bandwidth for faster file transfers than would be possible over Bluetooth.
Once finished, transferred files typically end up in an album in the Photos app of my iPad Pro or iPhone, which allows me to quickly check them out before editing them and deciding which ones are keepers.
Another reason that I really like this method of transferring files from my camera to my device is that the app often doubles as a remote so that you can operate your camera from afar and see what your camera sees from your device’s screen. While a little bit off-topic, this is a nice reason to choose this file transfer option.
Wired direct plug media transfers
Perhaps the second-easiest way to transfer media from your camera to your workstation is via a wired transfer. This method requires a data cable to perform, but not much else.
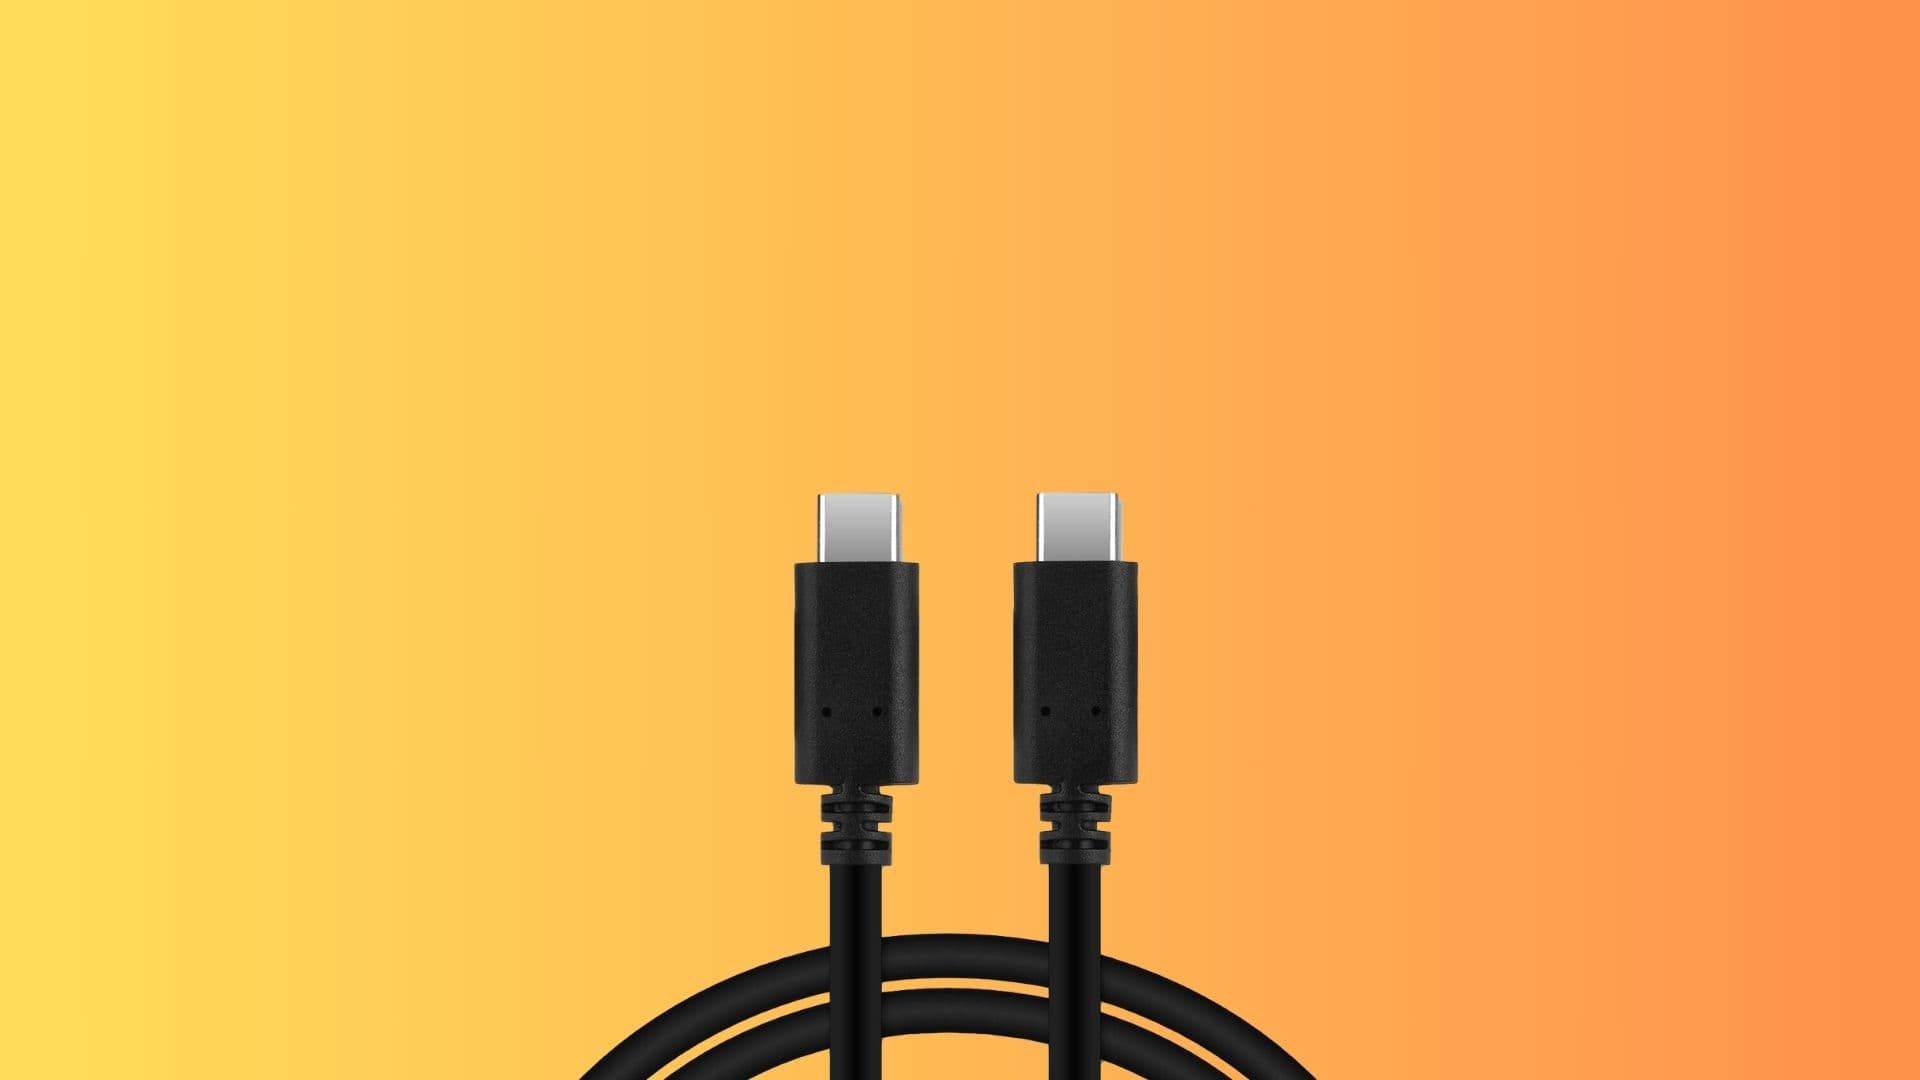
Wired transfers typically utilize a USB cable, with most modern cameras using some form of USB-C. All my mirrorless Nikon and Sony cameras have used USB-C, and this seems to be the way of the future for camera manufacturer’s going forward. You may also find older cameras that utilize mini-USB type B, micro-USB, or FireWire; however, these are slower in terms of file transfers than modern iterations of USB-C.
Transferring data over a wire like this is as simple as keeping your memory card in your camera and linking it to your computer or device with a compatible cable. My iPad Pro has a USB-C port, so I can simply plug my camera into my iPad Pro with a lone USB-C to USB-C cable. If you have a device without USB-C, such as an iPhone with the Lightning port, then you may need to invest in an adapter to use this method.
After connecting a camera to your device, a photo viewer application should launch automatically. On the iPad Pro, that’s the native Photos app, and it reads every media file stored on the memory card of the attached camera. If connecting to a Mac, then either the Image Capture or Photos app appears, depending on what you’ve set to open by default. Windows machines may utilize their native Photos app or Windows Explorer.
While you might assume that the files are on your computer already because you’re seeing them on your screen, they’re not. You need to import them first. Most photo viewers have an import button, and after you click or tap on it, those files are copied from your camera to your computer or device so that you can keep viewing and editing them even when you disconnect your camera.
When dealing with a lot or RAW files or video files that have large file sizes, this is often my favorite way to import those files to my computer or device because the USB-C connection is faster than a wireless connection. Your mileage may vary if you use another type of connector, such as mini-USB type B or micro-USB.
I can recommend a few low-cost cable options if you’re in need of one for yourself:
- Cable Matters USB4 Cable (USB-C)
- Cable Matters mini-USB B to USB-C Cable
- Cable Matters micro-USB Cable
- LBSC Firewire 400 Cable
Memory card reader media transfers
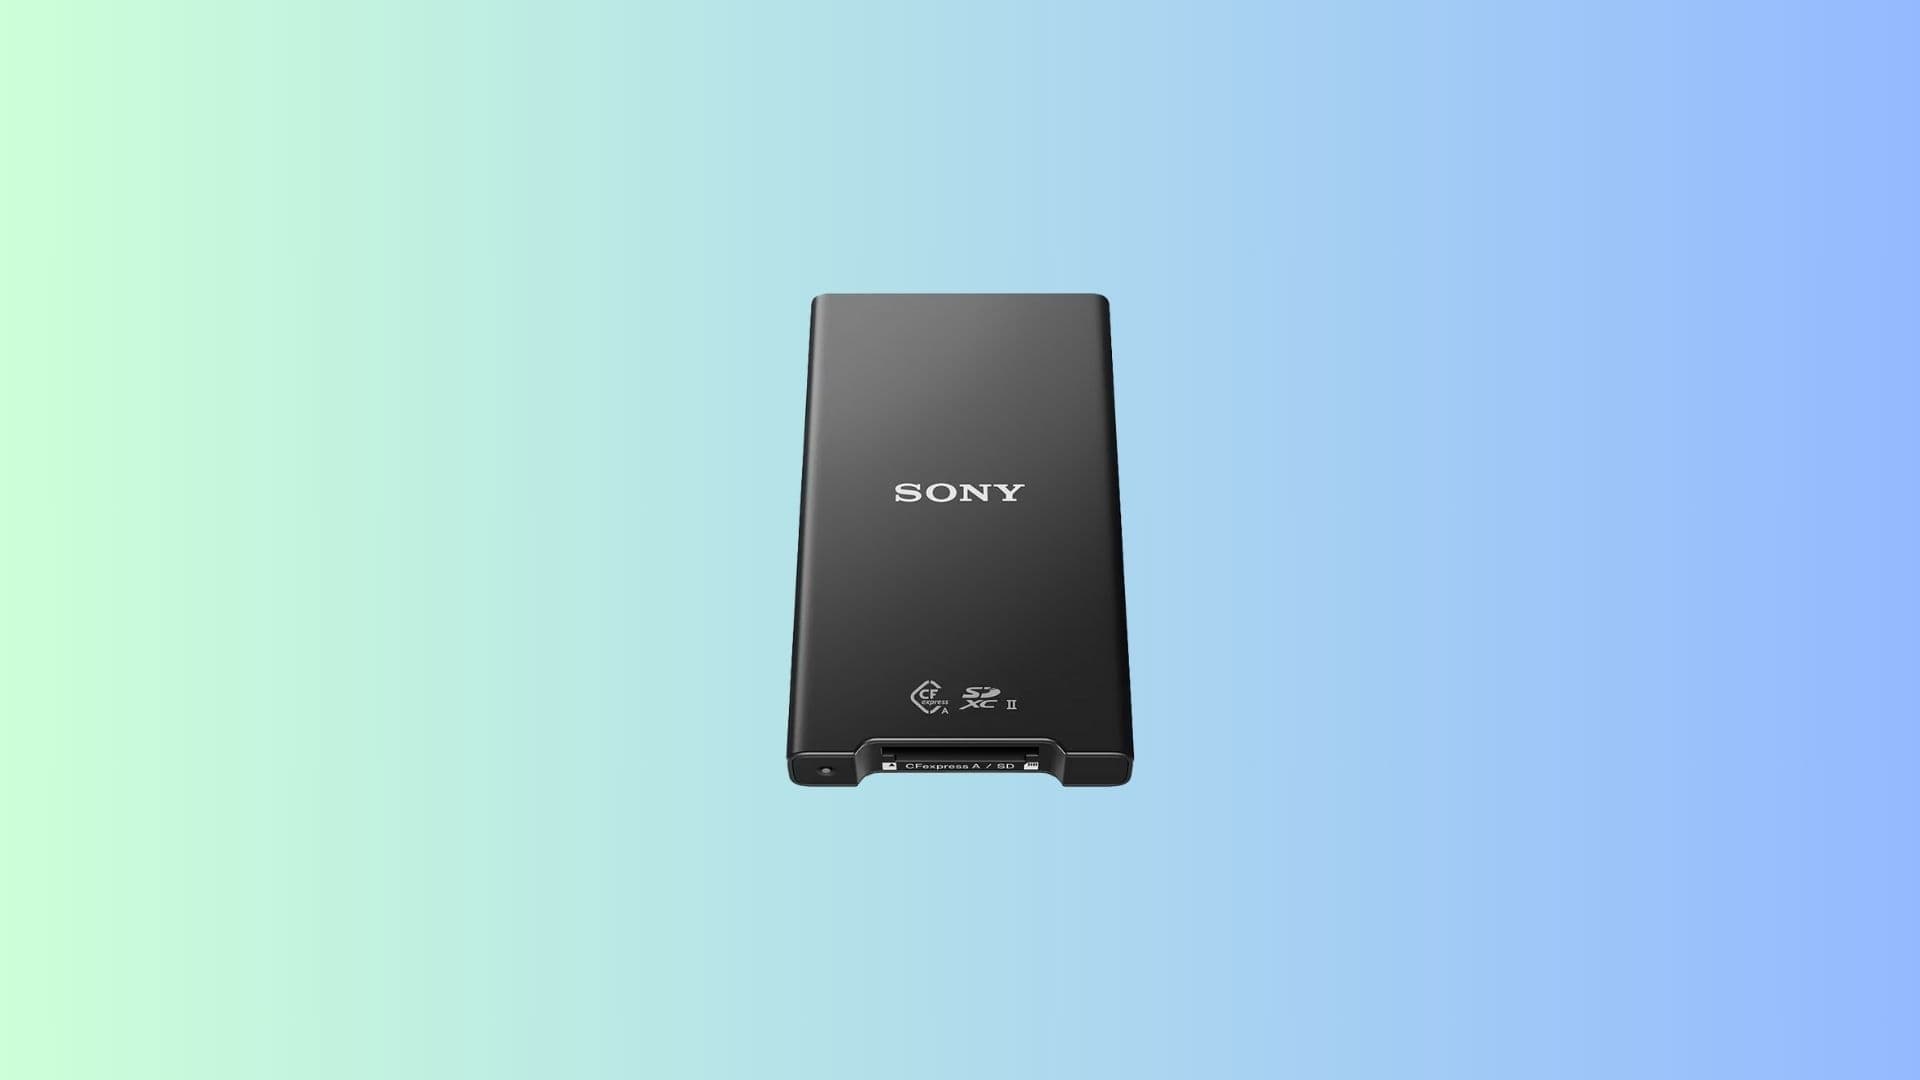
A third way to transfer files from a camera to a computer or device is with a dedicated memory card reader. Today’s cameras use different forms of memory cards ranging from CFExpress Type A to CFExpress Type B to SD Cards to microSD cards. You will want a card reader that fits your camera’s memory card type. Some card readers even support multiple card types.
Memory card readers plug right into your post-processing computer or device. Most memory card readers utilize USB-A or USB-C connections, but some support ultra-fast Thunderbolt connections that can unlock some of the fastest data transfer speeds available today. The latter can really go the extra mile when you need to transfer several high-megabyte (or gigabyte) files between devices very quickly.
Unlike the direct wire connection method above, the memory card reader method requires you to physically remove memory card(s) from your camera and insert them into the card reader. Upon plugging the card reader into your computer or device, a photo viewer or file browser app should open automatically just as it would when connecting the camera directly to the computer or device, allowing you to browse and manage stored media.
Using a card reader incurs additional cost at the user’s expense, so it may not be worth it for certain hobbyist photographers to invest in one. On the other hand, if you make money with your media and you capture several gigabytes’ worth of media, then the faster data transfer speeds and hot-swappability of memory cards can be a valuable endeavor that saves you a lot of time in your workflow.
I can recommend a few low-cost memory card reader options if you’re in need of one for yourself:
- uni SD Card and microSD Card Reader
- Sabrent CFExpress Type B Card Reader
- Sabrent CFExpress Type A Card Reader
- Sony MRWG2 CFExpress Type A and SD Card Reader
FTP media transfers
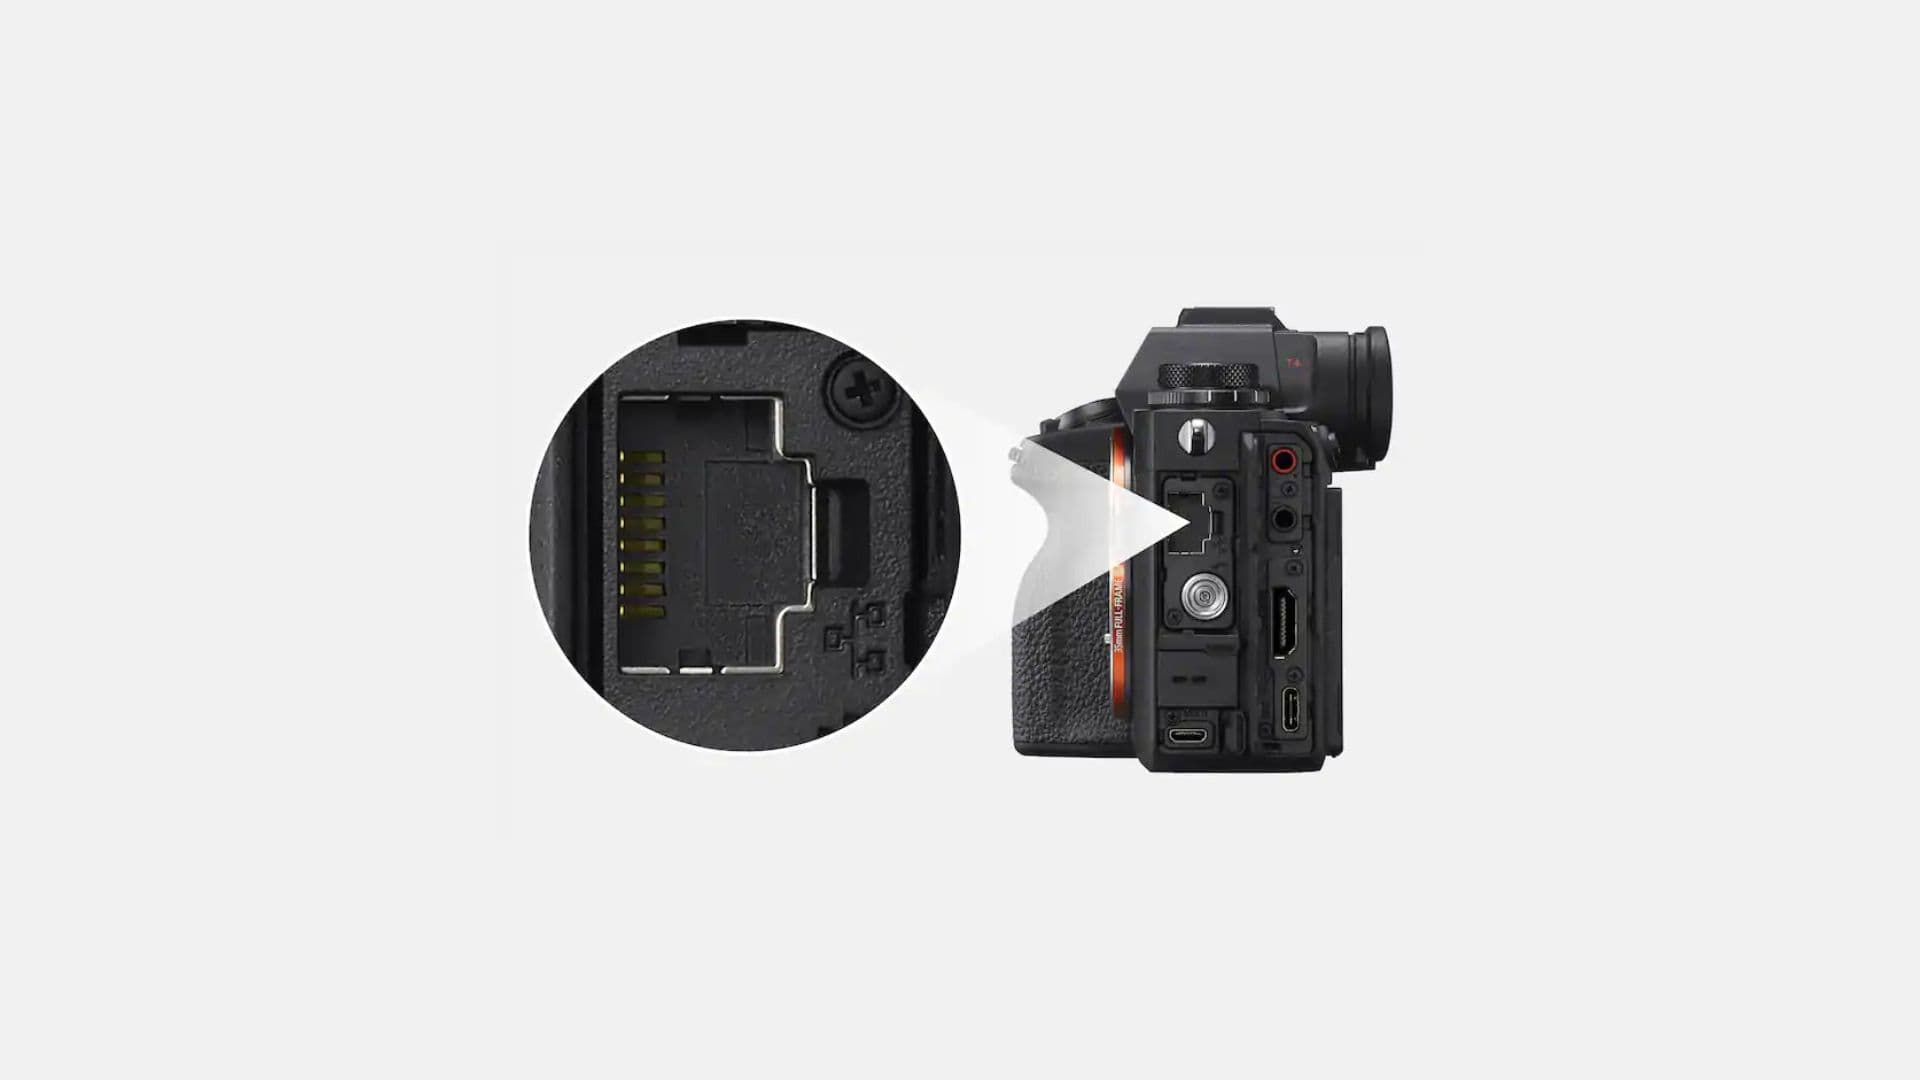
A less common way to transfer files from your camera to your workstation is via a wired LAN-based FTP connection. This involves linking an Ethernet port on your camera to a router with a Category 5e or higher Ethernet cable and then configuring networking settings within the camera itself as to link it to a file transfer protocol (FTP)-enabled server off-site.
You’d be hard-pressed to find this feature on non-professional cameras, but it’s worth mentioning because it can be useful in certain scenarios. For example, if you have a team of photo editors off-site and they need to receive your files in real time for editing while you continue to take pictures, you can use this LAN-based FTP connection to send media to your team while you focus on your job as the photographer.
An example of when this method might be used is when sports photographers are capturing images of players at a major sports game, and they need their off-site photo editing team to handle images within a strict timeframe. This serves as an alternative to the editing team waiting for the photographer to return to office with the physical media storage devices, especially when they’ve traveled a great distance from their photo editing team.
If you’re just getting into photography, and even if you’re a seasoned photographer, you’re unlikely to come across the wired LAN-based FTP method of media transfers. You’ll see this more frequently used by professional photographers who work for larger media organizations as opposed to one-off photographers snapping off shots for themselves.
Considerations & my thoughts
For the types of photography that I do, I prefer to skip over the app-based transfers and either use a card reader or just plug my camera directly into my computer or device. That’s because I often shoot photographs in an uncompressed RAW format that results in larger file sizes. Many mobile apps only support JPG file transfers, or the wireless media transfers would take too long for my taste. That said, I stick to using cables.
For most photographers though, the app-based transfer method is good enough, and they’ll have the added benefit of a software-based remote as opposed to buying a new piece of hardware to control their camera remotely. This is particularly useful for family photos or tripod photography where you don’t want to shake the camera by pressing the shutter button with your finger.
Lastly, I want to mention the importance of using your computer or device’s Eject feature if you’re connecting your camera or your memory card via wire or via card reader. Mac and Windows machines want you to Eject your media before unplugging it. Failing to do so can cause data corruption, so it’s problematic when you forget. Fortunately for iPhone & iPad users, there is no Eject function, so this isn’t a worry on those platforms.
Wrapping up
With all the different ways you can transfer files from your camera to your computer or device, it may seem like it doesn’t matter which one you choose. But each method comes with its own unique set of pros and cons that can help or hurt you depending on how you use your camera in the field.
What is your preferred way to transfer images from your camera to your computer or device? Let us know in the comments section down below.
Source link: https://www.idownloadblog.com/2025/02/26/four-ways-to-transfer-media-from-camera-to-computer/

Leave a Reply