

How to set up and use iCloud Photos on your Windows PC
In this comprehensive tutorial, we explain how to set up iCloud Photos on a Windows PC, allowing you to view and manage your iPhone pictures and videos on your PC.
In addition to accessing iCloud Photos in a browser like Edge or Google Chrome, you can sync them directly to your Windows computer. This lets you easily browse your entire library, download pictures and videos for offline viewing, delete them, and even add new items.
Of course, all these changes you make to iCloud Photos on your PC will sync to your iPhone, iPad, Mac, Apple TV, Vision Pro, and other places where you use iCloud Photos.
Set up iCloud Photos on your Windows PC
1) Head to the Microsoft Store on your Windows computer and download Apple’s official iCloud app.
2) Open the iCloud app and sign in with your Apple Account email and password.
3) After signing in, you’ll see an introductory screen asking you to sync your iCloud Photos to the Microsoft Photos app on your PC. You can click Sync Photos here.
If you’ve already set up the iCloud app on your Windows computer without turning on sync, go inside the app and click the arrow next to iCloud Photos.
Enable the switch for iCloud Photos, as shown in the screenshot below, and click Done.
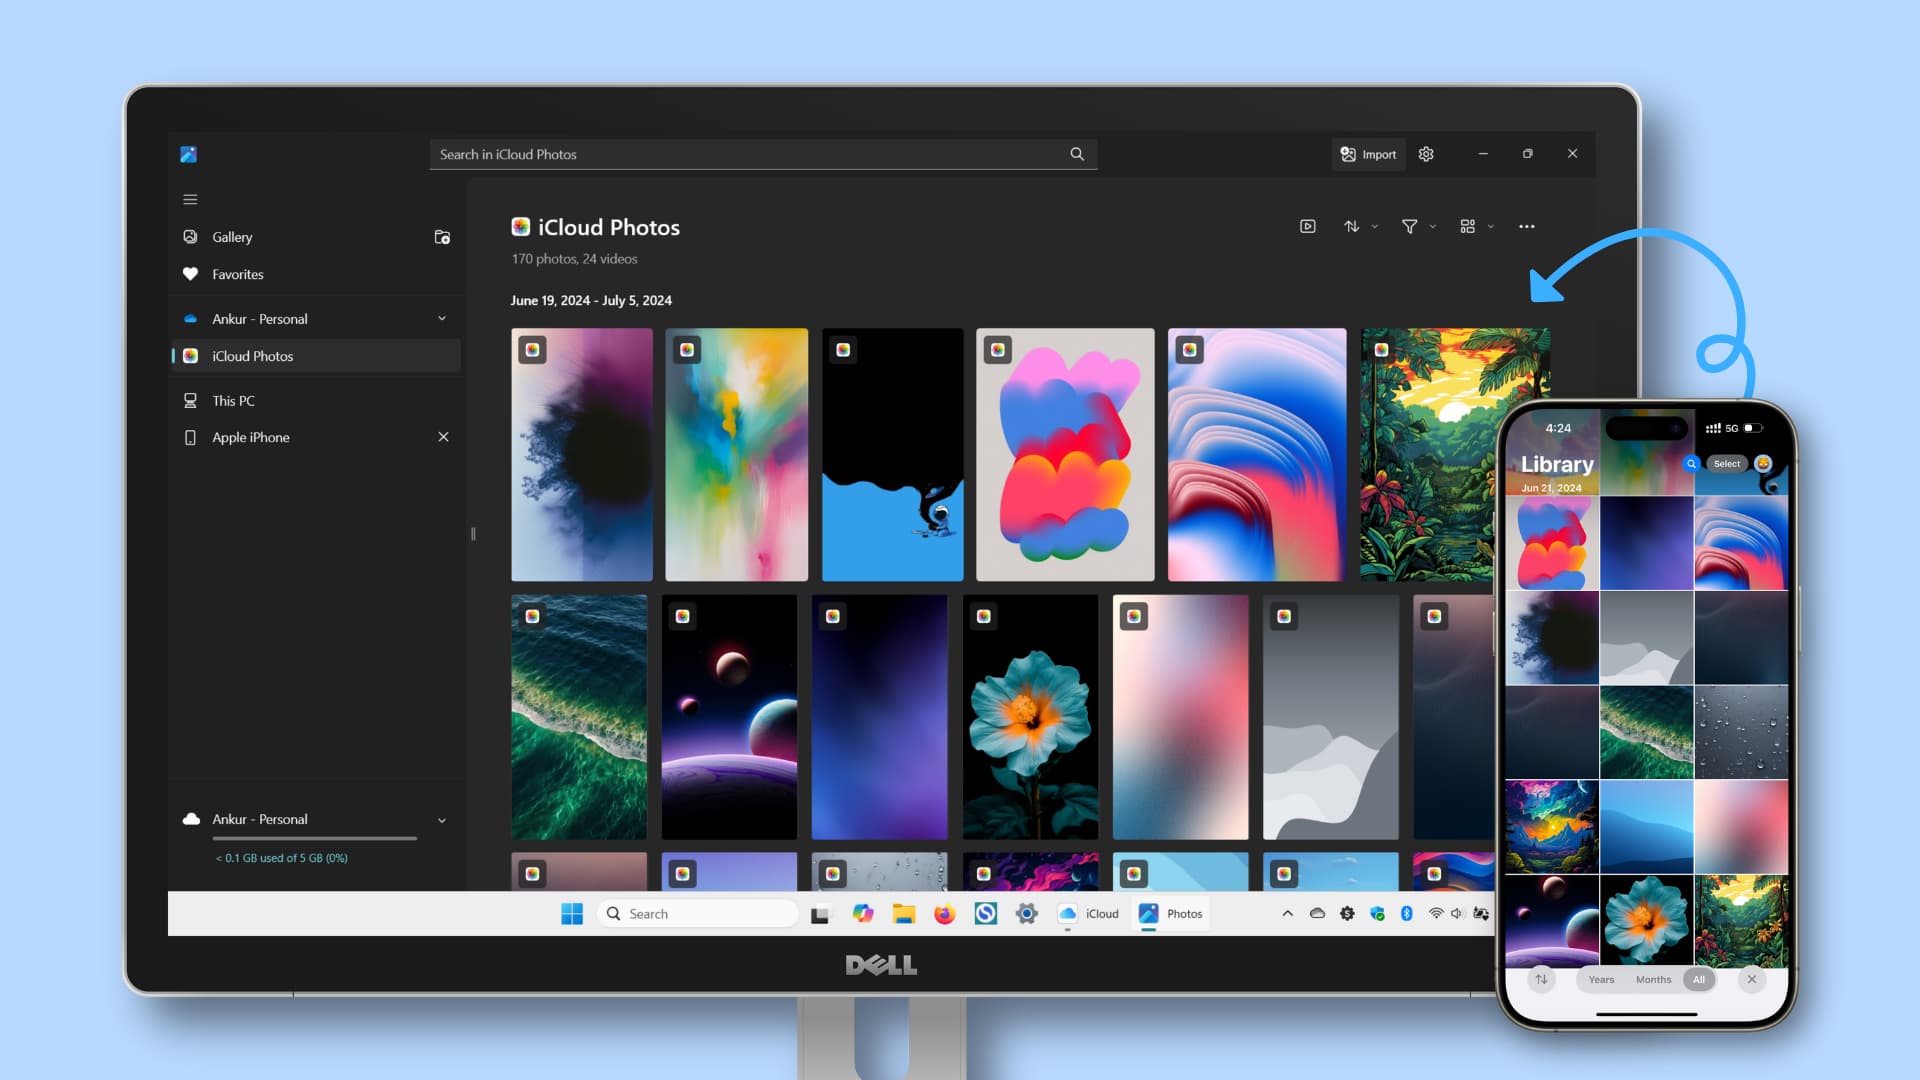
4) After enabling iCloud Photos, all your existing pictures and videos stored in iCloud will sync as thumbnails to your Windows PC. You can see them in File Explorer and the Photos app, as shown below.
See your iCloud Photos on Windows computer
After configuring iCloud Photos on your PC, you can view them in these two spots.
In File Explorer
Open File Explorer on your Windows desktop and click iCloud Photos in the Navigation pane. You’ll see all your images and videos from iCloud here.
Note: If you don’t see the iCloud Photos section in the Navigation pane of File Explorer, check your PC’s Pictures folder for an iCloud Photos folder. You can pin this folder to the Navigation pane for quicker access.
The iCloud app shows you the exact folder location where your iCloud Photos are saved. By default, they are saved to your PC’s Pictures folder: C:Users[username]PicturesiCloud PhotosPhotos.
However, if you already use OneDrive to back up your computer’s Pictures folder, the iCloud Photos folder is automatically moved out of the Pictures folder and is instead stored in C:Users[username]iCloud PhotosPhotos.
In the Microsoft Photos app
Your iCloud pictures and videos also show up in the official Microsoft Photos app. Simply open the app on your Windows computer and select iCloud Photos from the left sidebar. You’ll see all images and videos from your iPhone, iPad, Mac, and Vision Pro here.
If iCloud Photos doesn’t appear in the left sidebar of the Microsoft Photos app, go to the app’s settings and toggle on the Show iCloud Photos option.
Add new pictures and videos to iCloud Photos from your Windows PC
Adding media to iCloud Photos from any device will sync across your iPhone, iPad, Mac, Apple TV, Vision Pro, Windows PC, and the web via iCloud.
Although the Microsoft Photos app doesn’t support adding media to iCloud Photos, you can easily do so using File Explorer. Navigate to the iCloud Photos section in File Explorer and drag images or videos from another folder or external storage device into it. The files will upload to iCloud and become accessible on your other devices.
Edit iCloud Photos on PC
You can open an iCloud image in the Microsoft Photos app on your Windows computer and edit it using the available tools. However, unlike edits made in the Photos app on iOS and macOS, edits made on a PC won’t sync to your other devices unless you save the edited version as a separate file.
So, after you edit an image, click Save options, followed by Save as copy. Now, add it to the iCloud Photos section of File Explorer with a new name. This edited image will sync to your iPhone, iPad, Mac, and other devices.
Delete iCloud Photos
Once you delete an item from iCloud Photos on your Windows PC, it’s deleted from all your other devices where you’ve set up iCloud Photos.
You can delete items in iCloud Photos on your PC using the Microsoft Photos app or File Explorer. It’s similar to how you’d remove other media in these apps.
Know what the various iCloud Photos icons mean
You’ll see three main icons before the name of an iCloud photo or video in File Explorer:
- Blue cloud icon: The full version of this file is available when your PC is connected to the Internet
- Green checkmark: Available on this PC even when it’s offline
- Green solid checkmark: Always available on this PC
Here’s more on it.
After you set up iCloud Photos, smaller thumbnail versions of your pictures and videos are downloaded locally and appear in File Explorer and the Photos app.
When you go to iCloud Photos in File Explorer, you’ll see a blue cloud icon next to the image name, signifying this photo or video is just a thumbnail — its full version is in iCloud. But you can double-click to open the image in either File Explorer or the Photos app, and it will automatically download to your computer.
Once the photo or video is downloaded, you’ll see a green checkmark instead. This green checkmark solidifies if you instruct File Explorer to always keep this photo or video on the computer (explained below). You can view, edit, and copy such media even without the Internet.
In addition to these two icons, you’ll also see a circular arrow icon confirming the photo or video is waiting to download from iCloud. When you see a progress bar, that means the file is currently being downloaded for offline viewing.
Keep some iCloud Photos always saved offline on your PC
You can ask Windows File Explorer to save iCloud Photos to local storage ensuring they are always available on your computer. This ensures you can view or copy the full version of these images and videos without an Internet connection. Furthermore, the offline version of these files will not be removed to free space when your PC storage fills up or when you perform maintenance tasks like clearing the cache.
1) Open File Explorer on your Windows computer and go to iCloud Photos.
2) Select one or more photos and videos.
3) Right-click over the selected items and choose “Always keep on this device.” This feature is officially called “pinning,” and after you pin a photo or video, it displays a solid green checkmark before the file name.
If you no longer want to keep an item pinned or saved offline, right-click again and uncheck “Always keep on this device.”
Free space on your PC by removing iCloud Photos
You can remove offline copies of downloaded or pinned iCloud Photos to make space on your computer’s local drive. Note that this does not delete the photo from iCloud or other devices, such as your iPhone or Mac.
1) Go to iCloud Photos in File Explorer.
2) Right-click over one or more images that have a green or solid green checkmark.
3) Select Free up space. These files will no longer stay downloaded to your computer. They will now show a blue cloud icon next to the name. You can re-download them when needed.
Just like your iPhone, iPad, and Mac, you can view, create, add to, and manage your shared iCloud photo albums on a Windows PC.
1) Open the iCloud app on your Windows desktop. Click the arrow button next to iCloud Photos and enable the switch for Shared Albums.
2) Go to your PC’s app list, and you’ll see an iCloud Shared Albums app, which is an extension of the main iCloud app.
3) Open the iCloud Shared Albums app to view your shared photo albums. You can also check your album activity, create new shared albums, and add photos or videos to it.
All your shared iCloud photos and videos are stored in C:Users[username]PicturesiCloud PhotosPhotosShared or C:Users[username]iCloud PhotosPhotosShared. But you can change this by going to iCloud Photos settings inside the iCloud app on your PC.
More tips for your PC:
- How to use the Apple Devices app on your Windows PC
- How to transfer files using Bluetooth on Mac and Windows PC
- How to set up and use Find My Windows PC like you do on Mac
Source link: https://www.idownloadblog.com/2025/01/27/how-to-use-icloud-photos-on-windows-pc/

Leave a Reply