How to schedule Instagram messages on iPhone and Android

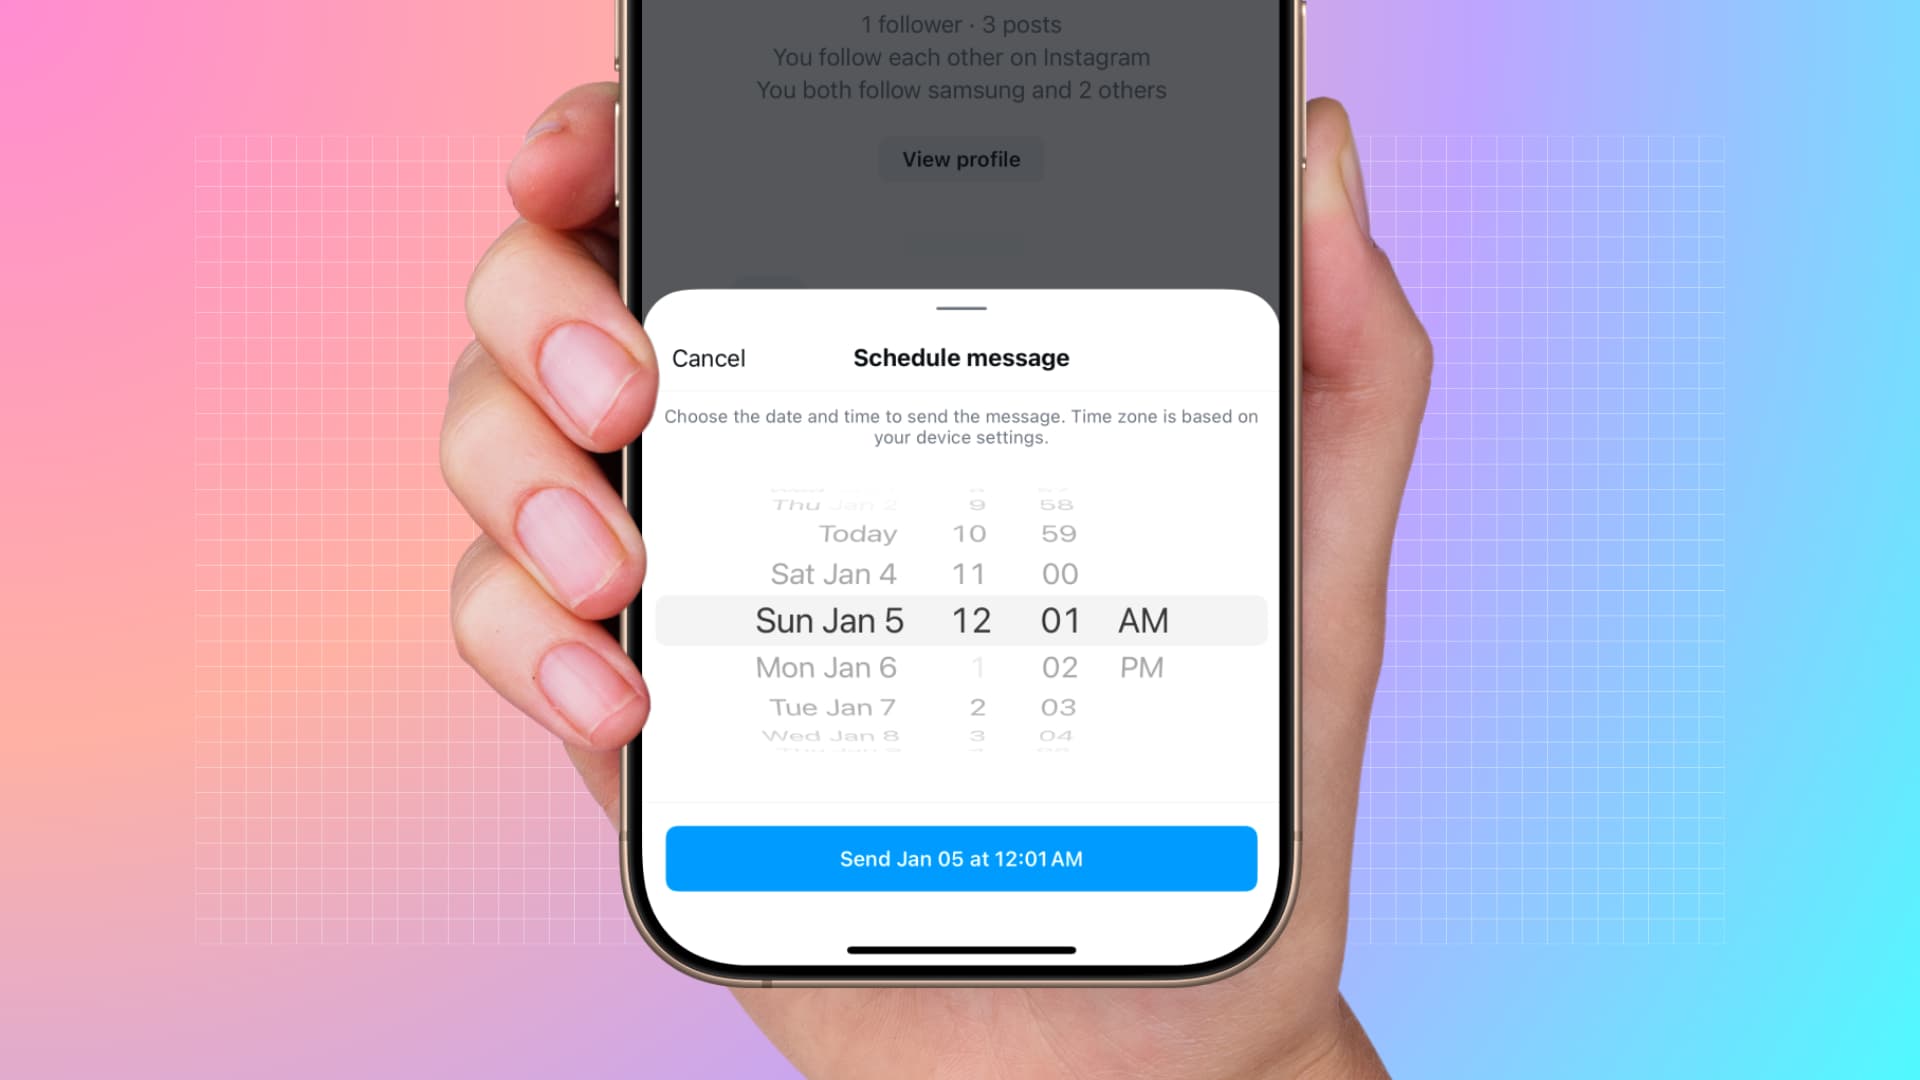
Learn how to schedule Instagram messages on your iPhone or Android phone so they’re automatically sent at the future date and time of your choosing.
Message scheduling frees you from setting reminders to wish that special someone happy birthday. It’s also a convenient way to have a message hit the inbox of a recipient in another time zone at the right time, like at 10am when they’re at work. You may also want to schedule texts before going on a vacation.
Apple’s Messages and Mail apps have built-in message scheduling, and so do third-party apps like Telegram, Slack, and Instagram. WhatsApp lacks this feature, but you can use iOS automation to schedule WhatsApp messages.
Follow along with our step-by-step tutorial right ahead as we show you how to schedule messages on Instagram. Before we get to it, be sure to download the latest available version of Instagram from Apple’s App Store or Google’s Play Store.
Schedule DMs on Instagram
- Open Instagram on your iPhone or Android phone and open an existing chat or start a new conversation.
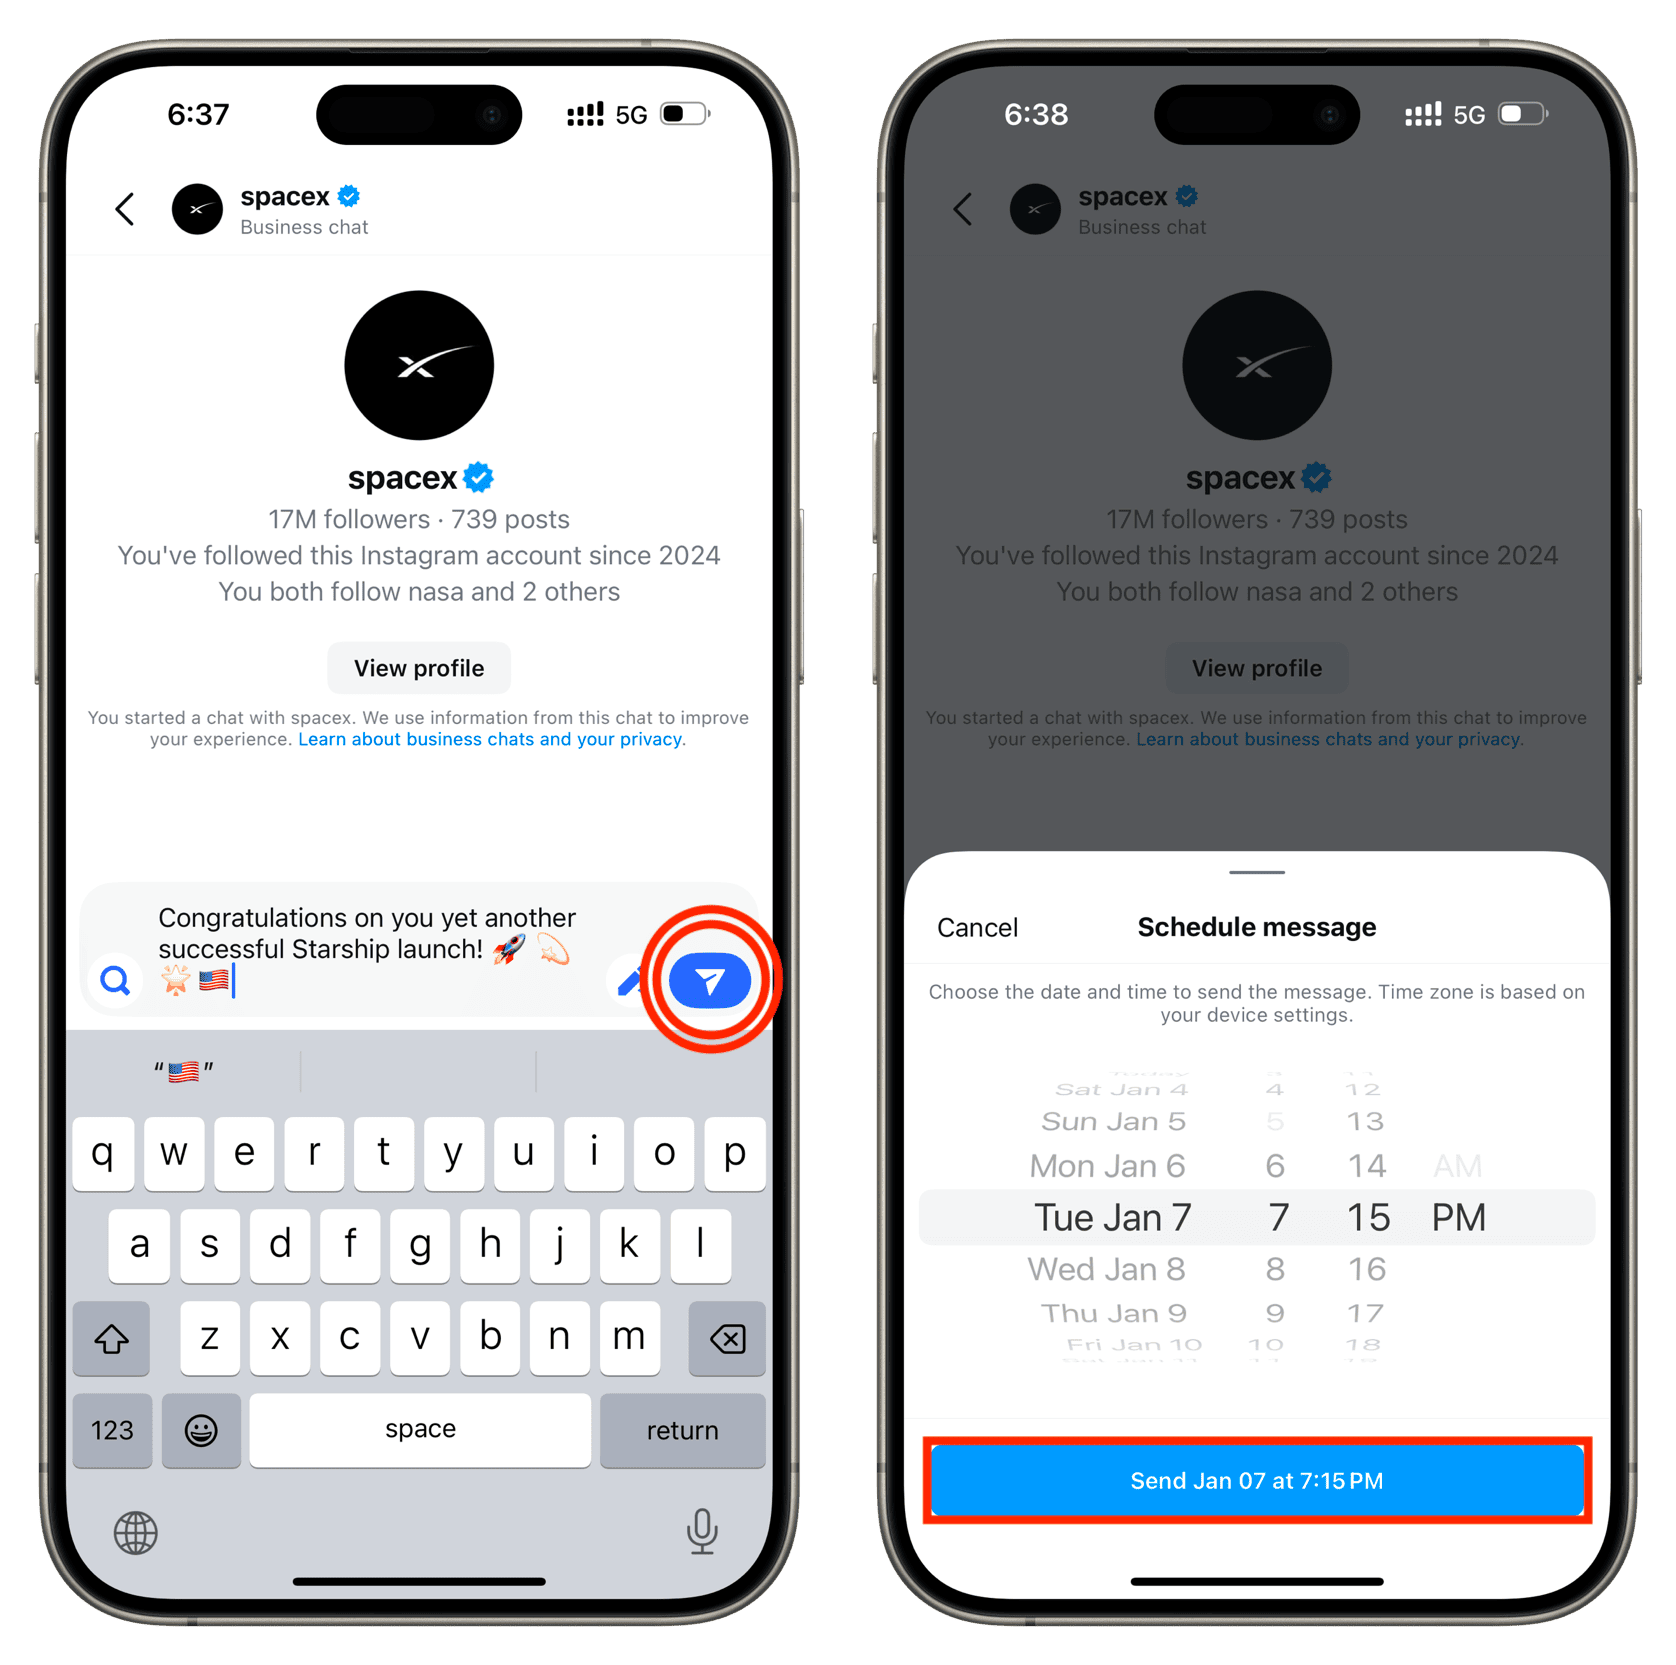
- Type what you want the message to say.
- Touch and hold the blue arrow button to bring up a Schedule Message box.
- Adjust the date and time, and make sure not to confuse your AM and PM times.
- Tap the Send Date at Time button.

This message will be sent at the designated time.
- Scheduling uses device time. To schedule a message for a different time zone, be sure to convert the time zone or use the world clock on your iPhone.
- You can schedule Instagram messages up to 29 days into the future (the date picker always spins back to the farthest date you can schedule for).
- You can schedule text messages, but not media like photos, videos, and GIFs.
- Vanishing messages cannot be scheduled.
- You cannot schedule messages using Instagram’s web interface.
See your scheduled messages
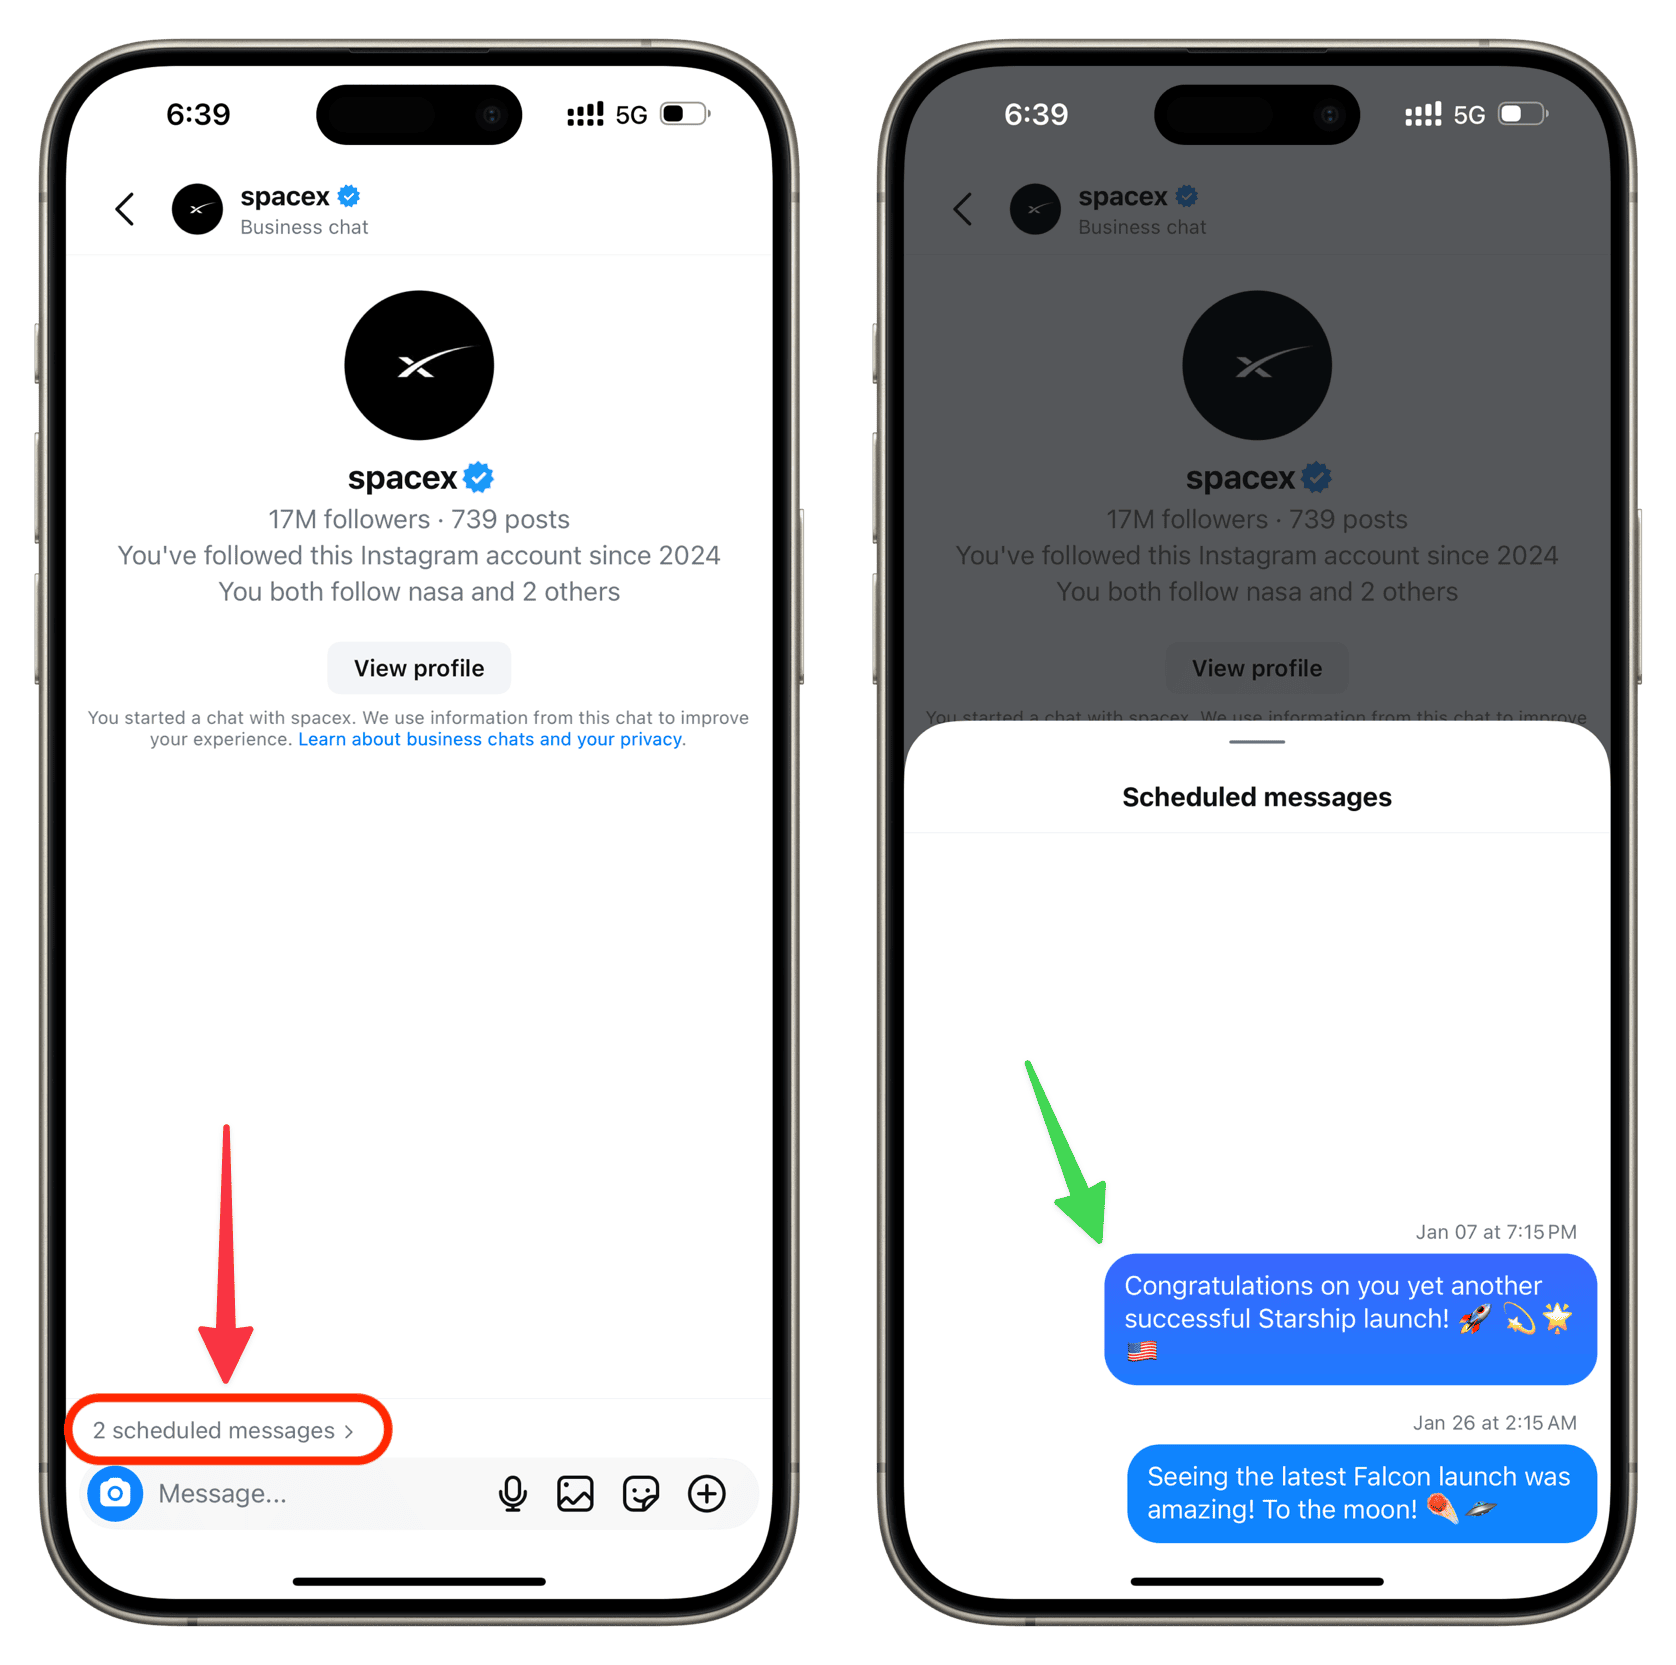
Tapping the n Scheduled Message link in the bottom-left corner of the chat reveals all scheduled messages in this conversation, each with a timestamp.

Note: Scheduled messages appear on all devices where you’re logged into Instagram.
Immediately send a scheduled message
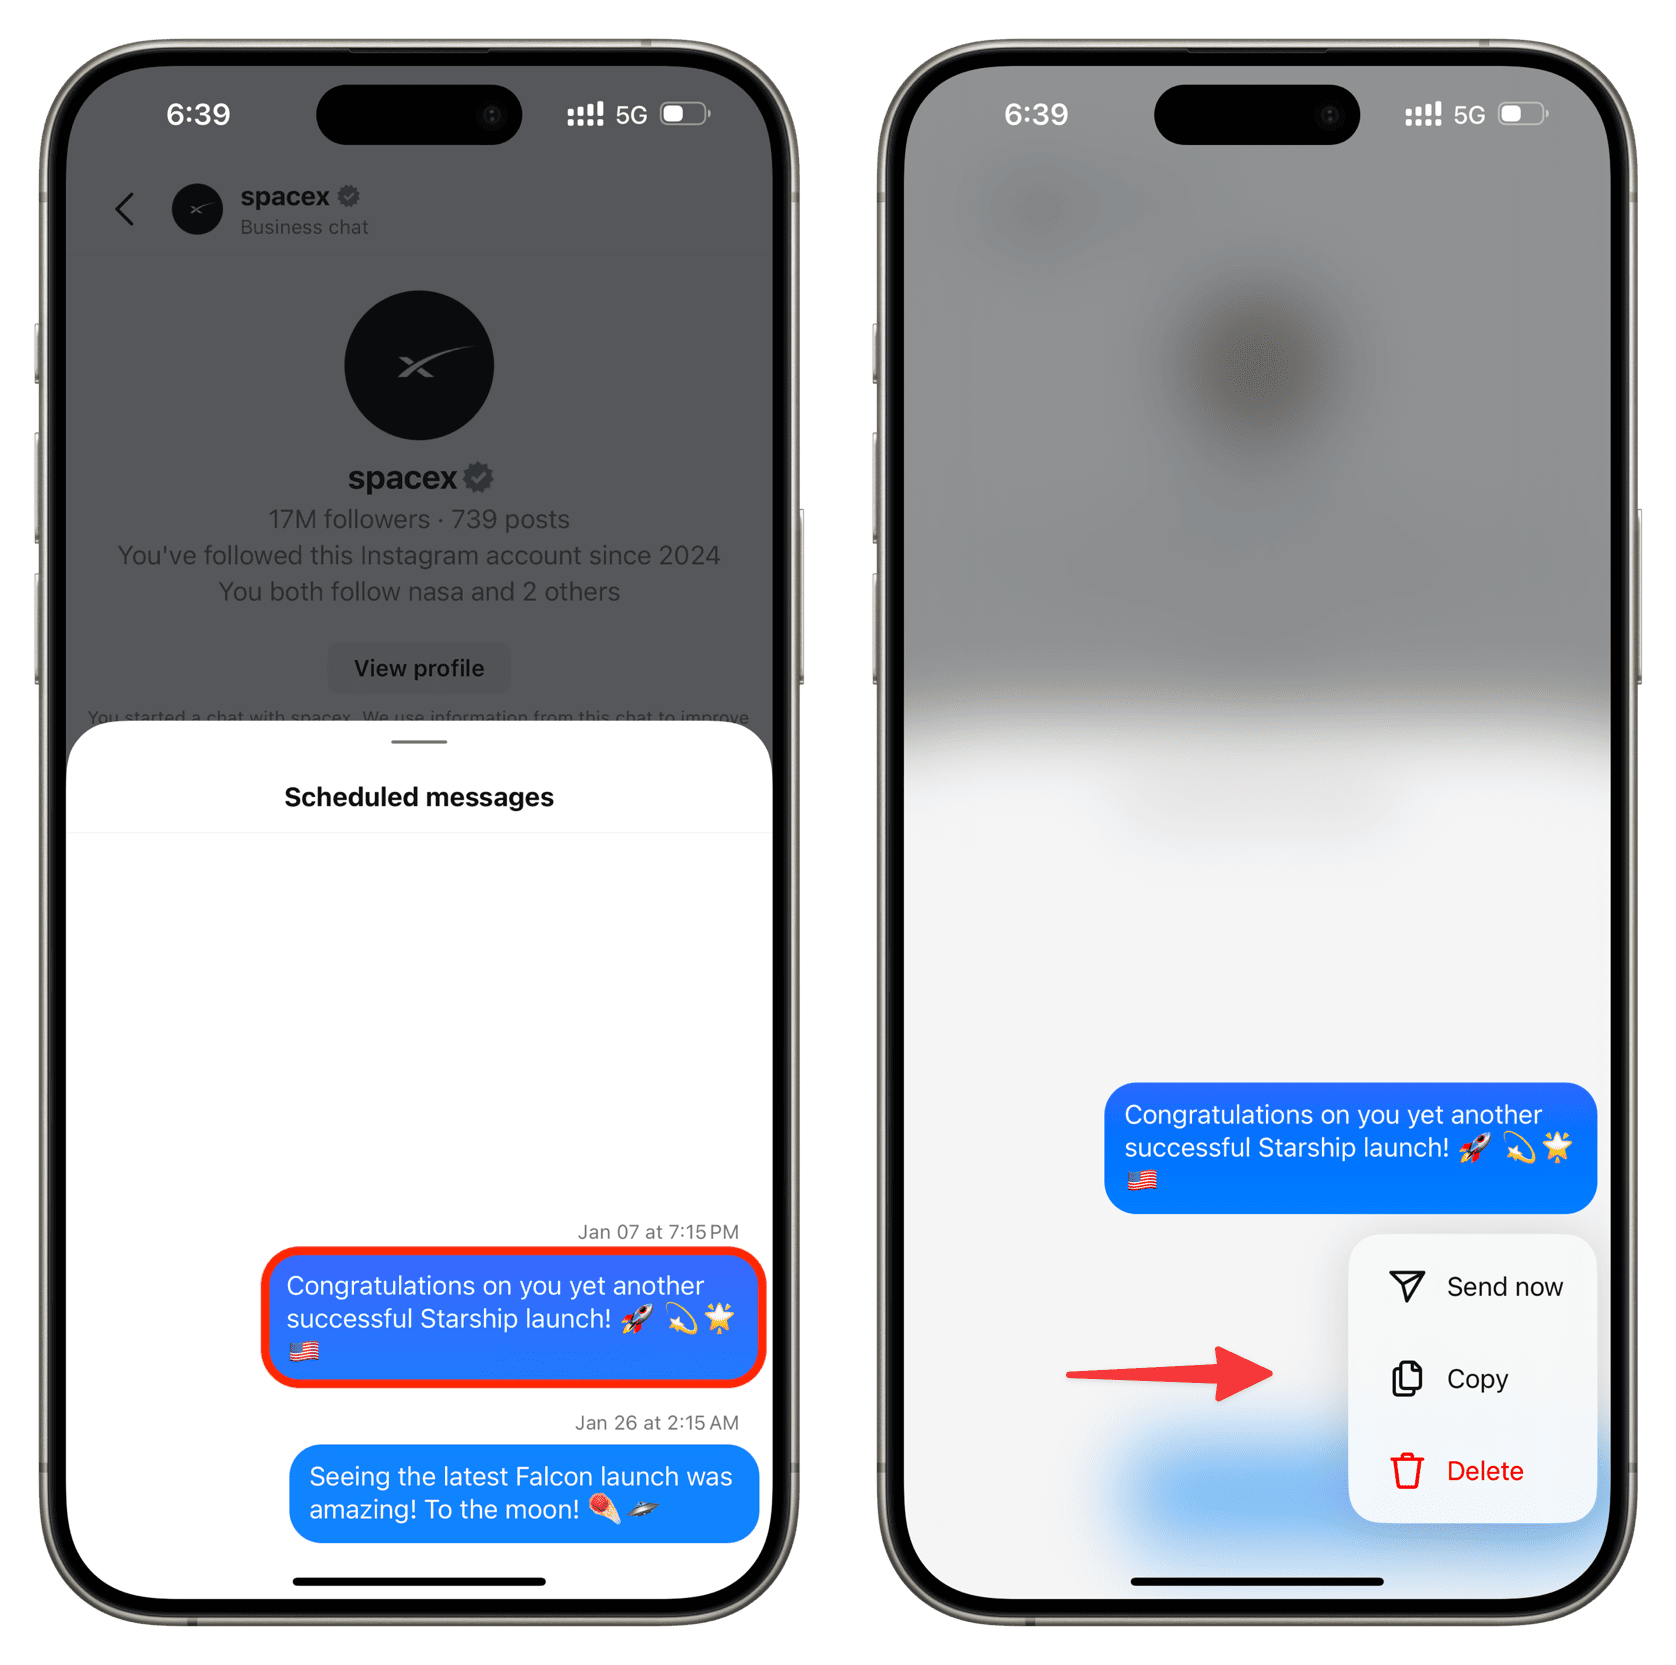
Launch the Instagram app and open your scheduled messages, then touch and hold the message and hit Send now to remove the schedule and send it right away.

Cancel a scheduled message
If you change your mind and would like to unschedule a previously scheduled message, touch and hold it and choose Delete from the menu.
Other Instagram tips for you:
- How to turn off message read receipts on Instagram
- How to stop others from seeing when you’re online or last active on Instagram
- How to add music to your Instagram profile page
Source link: https://www.idownloadblog.com/2025/01/21/how-to-schedule-instagram-messages/


Leave a Reply