

Internet not working on your Mac? Here’s how to fix it
When Wi-Fi or Ethernet is not working on your Mac, you are cut off from accessing the web. This affects everything from using essential work apps like Slack, to browsing social media, enjoying YouTube, or shopping online. If you are in a similar situation, this guide will help.
We show you the solutions to fix MacBook not connecting to Wi-Fi, connected to Wi-Fi but no internet, and other similar network connectivity issues.
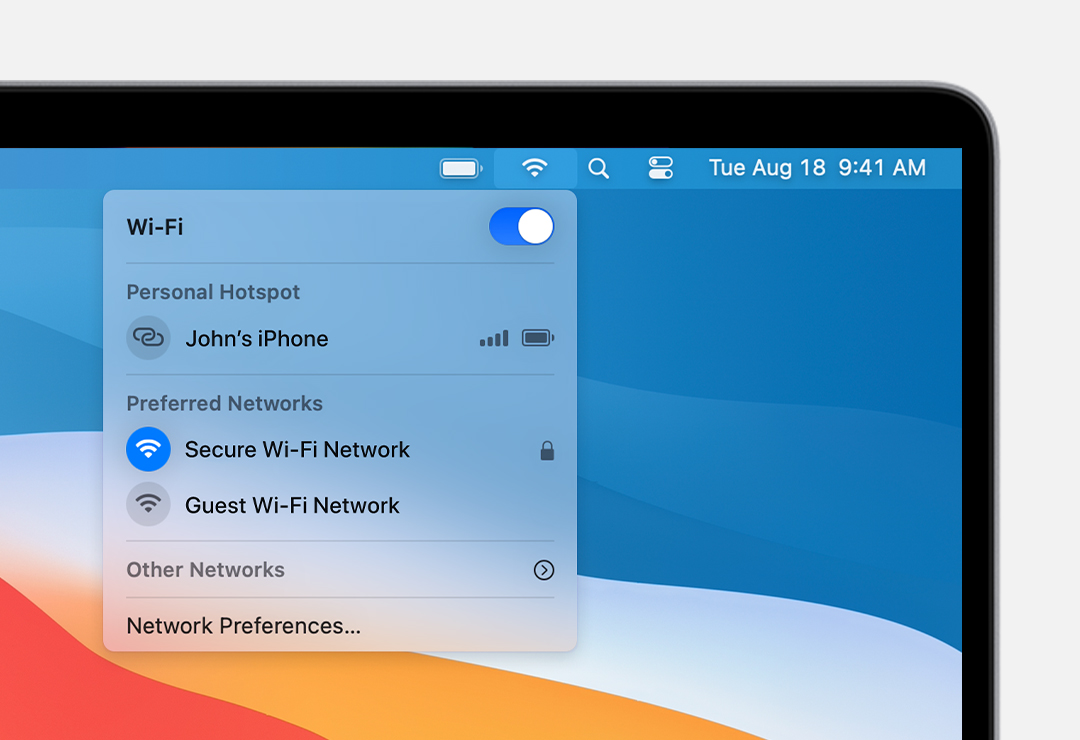
macOS Control Center.
Do you see an exclamation mark next to a Wi-Fi name? If so, that means the network currently has no internet. In this situation, your Mac will stay connected to this Wi-Fi, but you cannot access the web. To fix this, switch to another Wi-Fi and follow the other solutions mentioned below.
3. Disconnect Wi-Fi and connect again
While pressing the Option key, click the Wi-Fi icon from the top menu bar. Now click Disconnect from [network name]. You may stop pressing the Option key now. After a few seconds, reconnect to the same or other known Wi-Fi network.
the new iMac.
7. Set correct date and time on Mac
You can have the correct date and time by letting Mac set it automatically. To do this, open System Preferences > Date & Time and enable Set date and time automatically. Next, click Time Zone and ensure it is correct. If not, check the box for Set time zone automatically using current location.
If it’s grayed, click the lock icon and enter your Mac’s password.
have the Wi-Fi password for this network.
- Open System Preferences > Network.
- Select Wi-Fi from the left sidebar and click Advanced.
- From the Wi-Fi tab, select the network. Now, click the minus icon > Remove > Ok > Apply.
- Restart your Mac.
- Click the Wi-Fi icon in the top menu bar, choose the Wi-Fi network and enter its password to reconnect. Everything should work correctly now.
Slack was down, changing the DNS helped access it. You can also refer to these easy steps to use the free Google DNS on your Mac.
13. Renew the DHCP Lease
If your MacBook connects to Wi-Fi but does not load webpages, renewing DHCP Lease can solve this issue. Here’s how to do that.
- Go to System Preferences > Network.
- Select Wi-Fi from the left sidebar and click Advanced.
- Click TCP/IP.
- Click Renew DHCP Lease > Ok.
follow the instructions.
15. Reset your Mac’s network preferences
When the above solutions do not work for you, consider resetting all network connections by following these steps.
- Be on your Mac’s Desktop. It should show the word “Finder” next to the Apple icon.
- From the top menu bar, click Go > Computer.
- Click your drive name (or Macintosh HD if you do not see your name) > Library > Preferences > SystemConfiguration.
- From here, delete the network plist files. Note: You may not see all of these here. Delete the ones you see, like:
- com.apple.airport.preferences.plist
- com.apple.wifi.message-tracer.plist
- NetworkInterfaces.plist
- preferences.plist
- com.apple.network.identification.plist
- Restart your Mac and connect to Wi-Fi. Your computer should let you access the web now.
Run Apple Diagnostics to identify if there are any serious issues related to Wi-Fi hardware.
Source link: https://www.idownloadblog.com/2021/11/01/fix-internet-not-working-mac/

Leave a Reply