How to boost your landscapes, cityscapes and architecture photos with Luminar AI [sponsor]
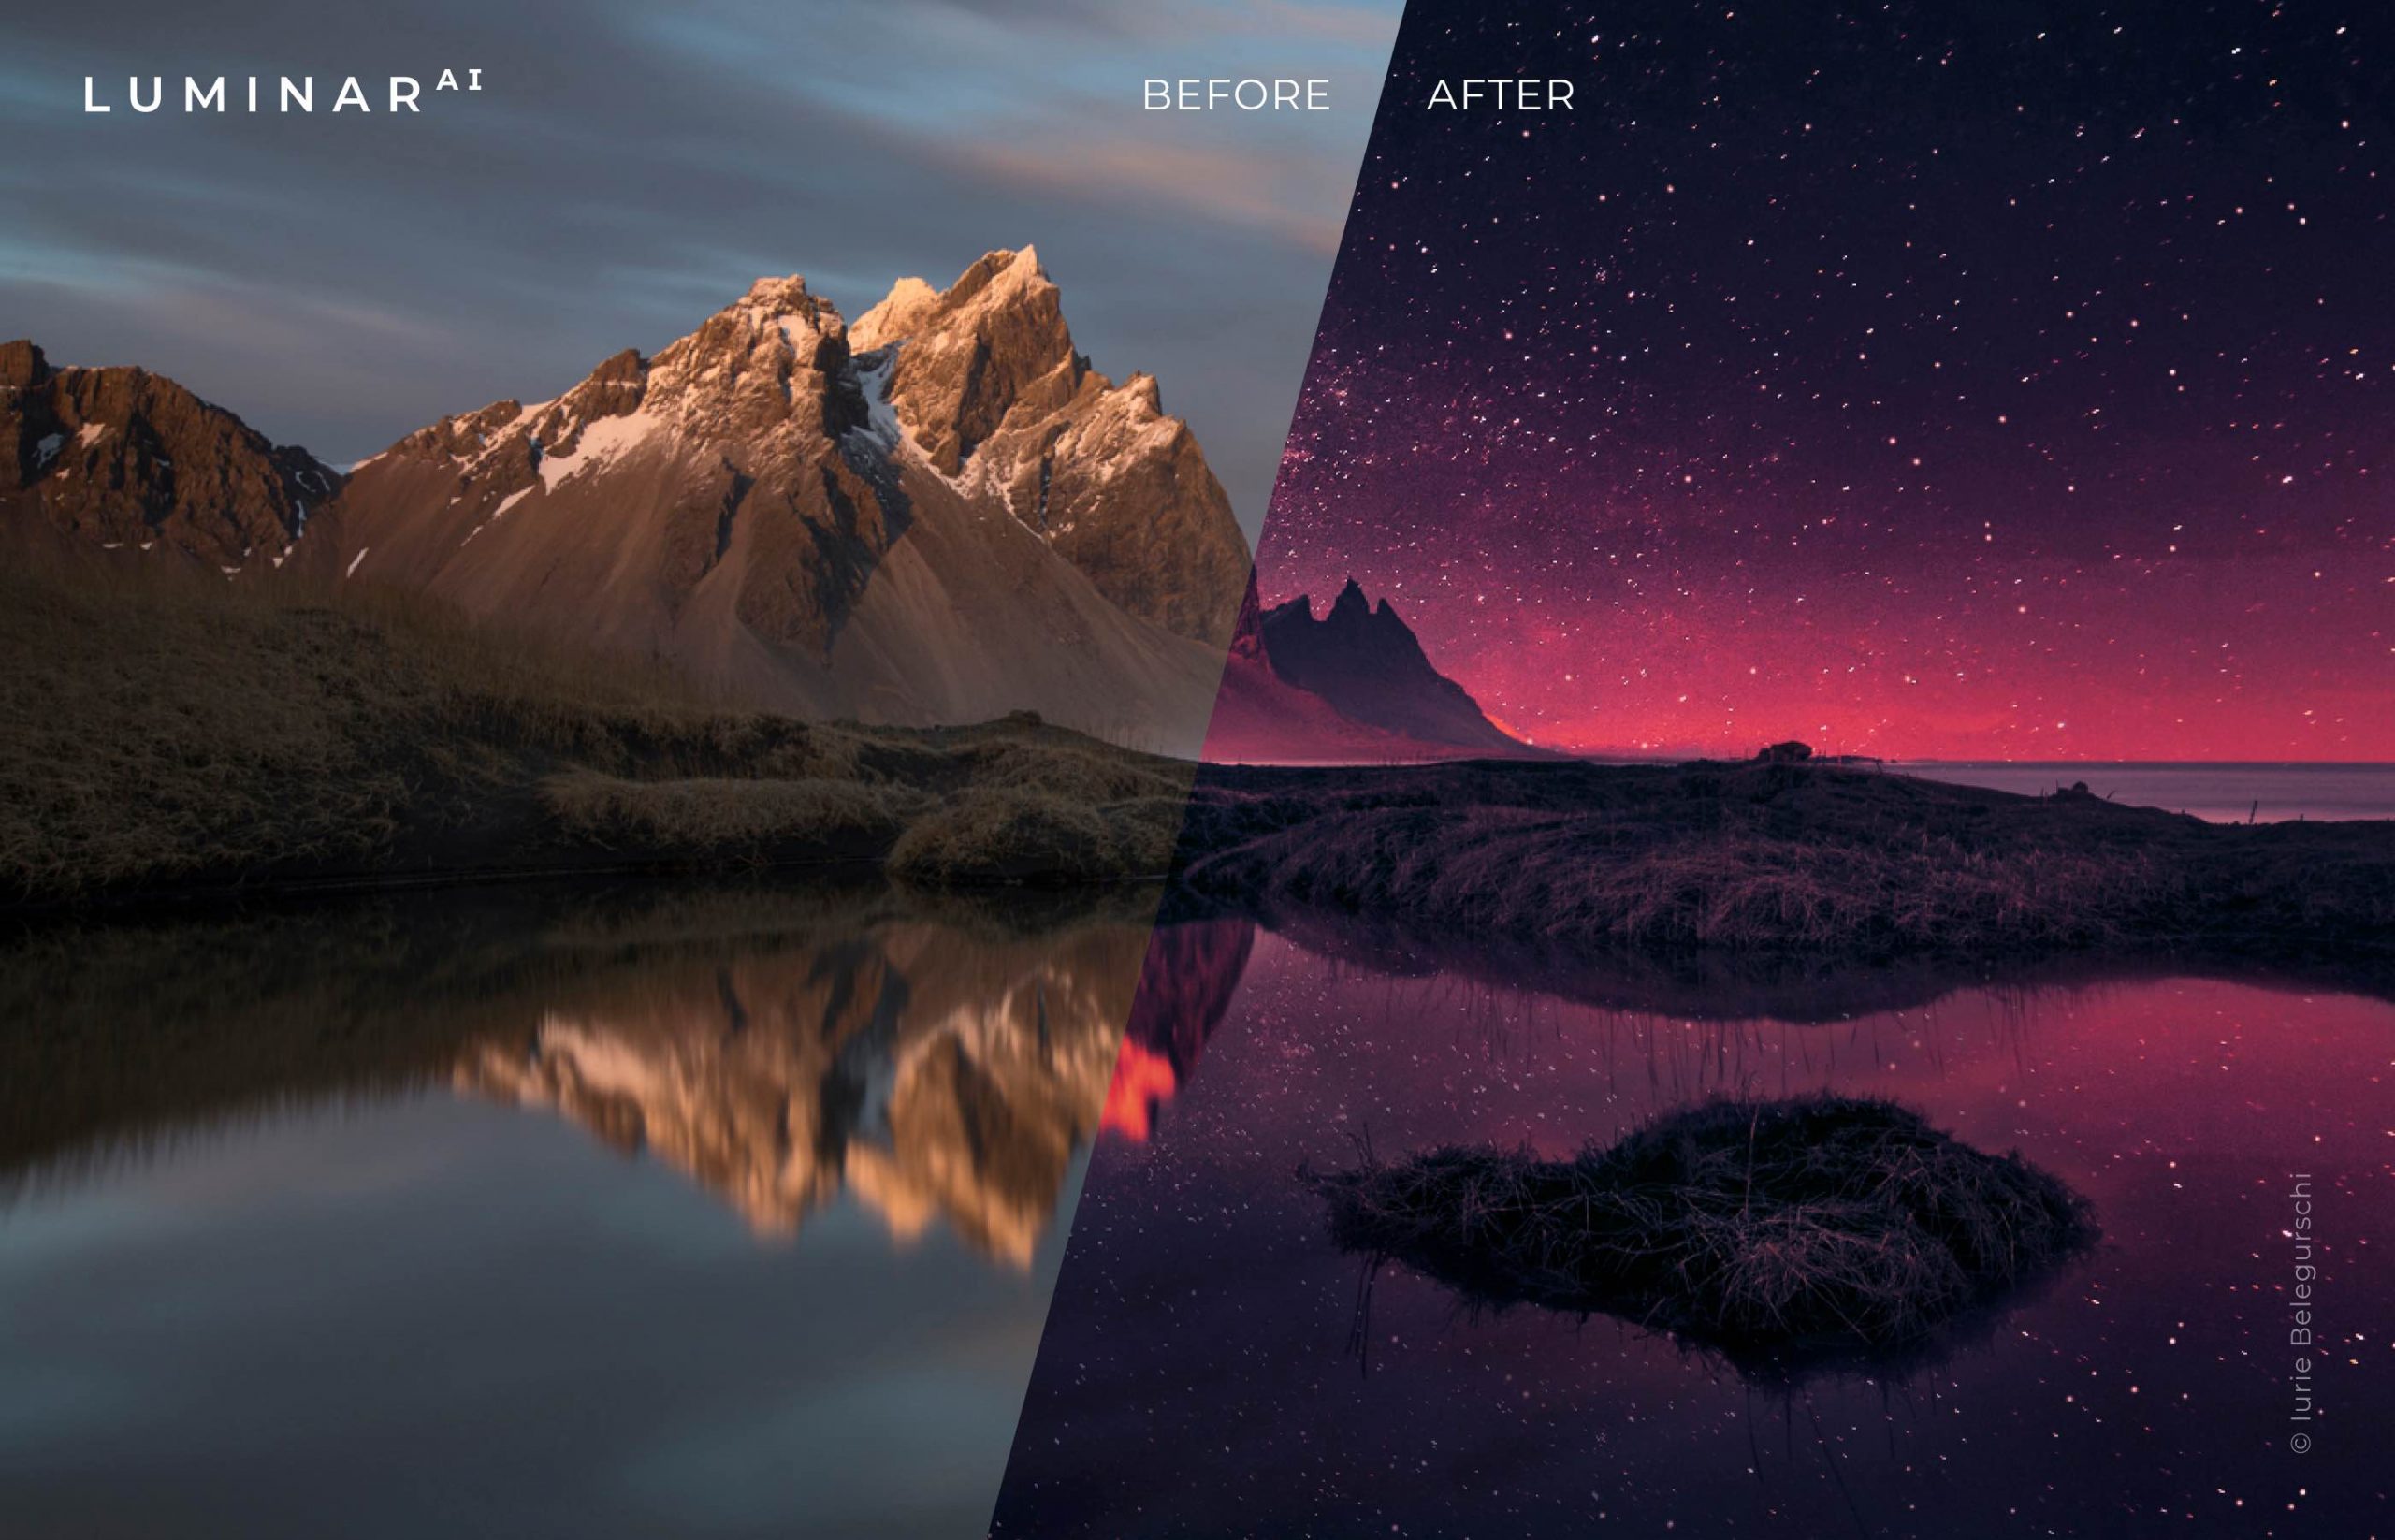
The Luminar AI image editor lets you edit landscapes, cityscapes, nature portraits and architecture photos with ridiculous ease—no need to deal with complex layers and palettes or adjust countless knobs. In this tutorial, we’ll demonstrate how easy and fun achieving eye-catching landscape looks can be by with Luminar’s rich assortment of AI-powered tools.
Edit landscapes with AI tools
Luminar AI applies artificial intelligence and computational photography techniques to identify key elements in the frame, like the sky, sun, stars, clouds, etc. It also calculates a depth map defining objects’ relationships to one another in 3D space. This is similar to how your iPhone uses the TrueDepth camera to create a 3D depth map of your face for unlocking with Face ID.
As a result, you can edit landscapes with just a few clicks.
A depth map allows Luminar AI to apply various atmospheric/weather effects, as well as cool replacement tweaks, in a way that naturally interacts with a photo’s objects. With Atmosphere AI, for instance, you can add realistic fog, mist, steam, drizzle, haze and more to your photo with a click, no need to use masks and complex layers at all.
How to edit landscapes in Luminar AI
We will show you how Luiminar’s AI-powered tools make it simple to achieve professional results when editing various landscapes or cityscapes. You’ll first choose a template as a starting point, then customize suggested edits. Lastly, you’ll optionally add some creative effects before exporting the edited image as a JPG file on your hard drive.
Choosing a template
Machine learning and computer vision analyze your photo to find key objects. This allows the app to apply complex effects that help the user edit landscapes with just a few clicks. Next, hit the Templates tab at the top of the window and check out the listed effect suggestions for your particular scene under the For This Photo heading in the sidebar on the right.
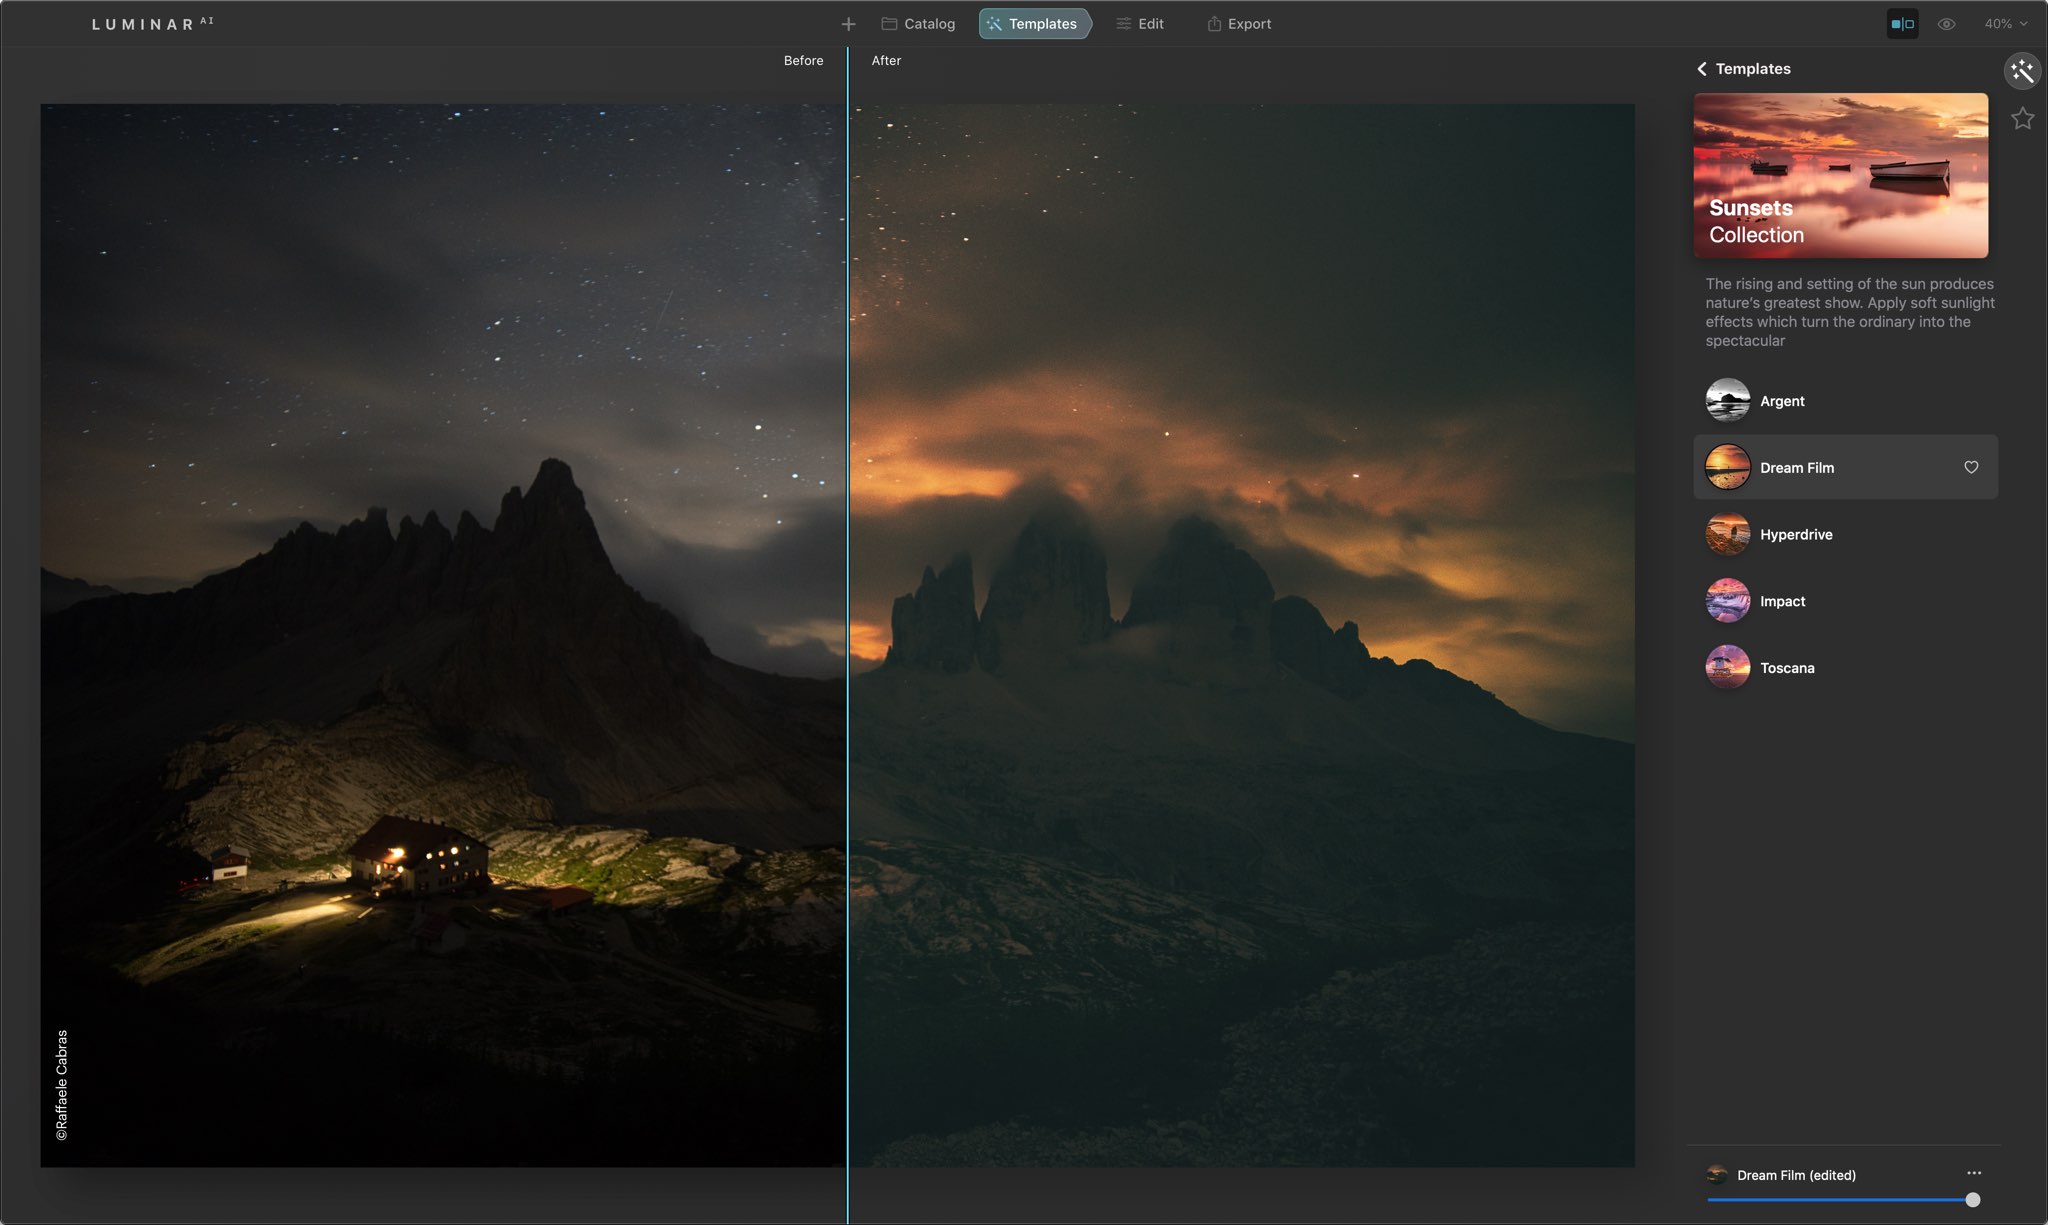
Scroll to the Easy Landscapes collection and click to select it, then choose an effect. For instance, the Long Exposure template will reveal details in the dark areas of the image. NOTE: Press and hold the “/” key at any time for a quick before/after comparison of your edits. You can read our separate tutorial for detailed instructions on how to use templates in Luminar AI.
Applying smart edits
Click the Edit tab to access the editing tools. For your convenience, tools that are currently used by your applied template are brighter than the others. This lets you quickly spot those edits for those times when you might want to intensify them. When done, click Composition AI at the top of the Essentials tools to access your composition tools. For instance, Luminar automatically adjusts the crop and position of the image based on its content.
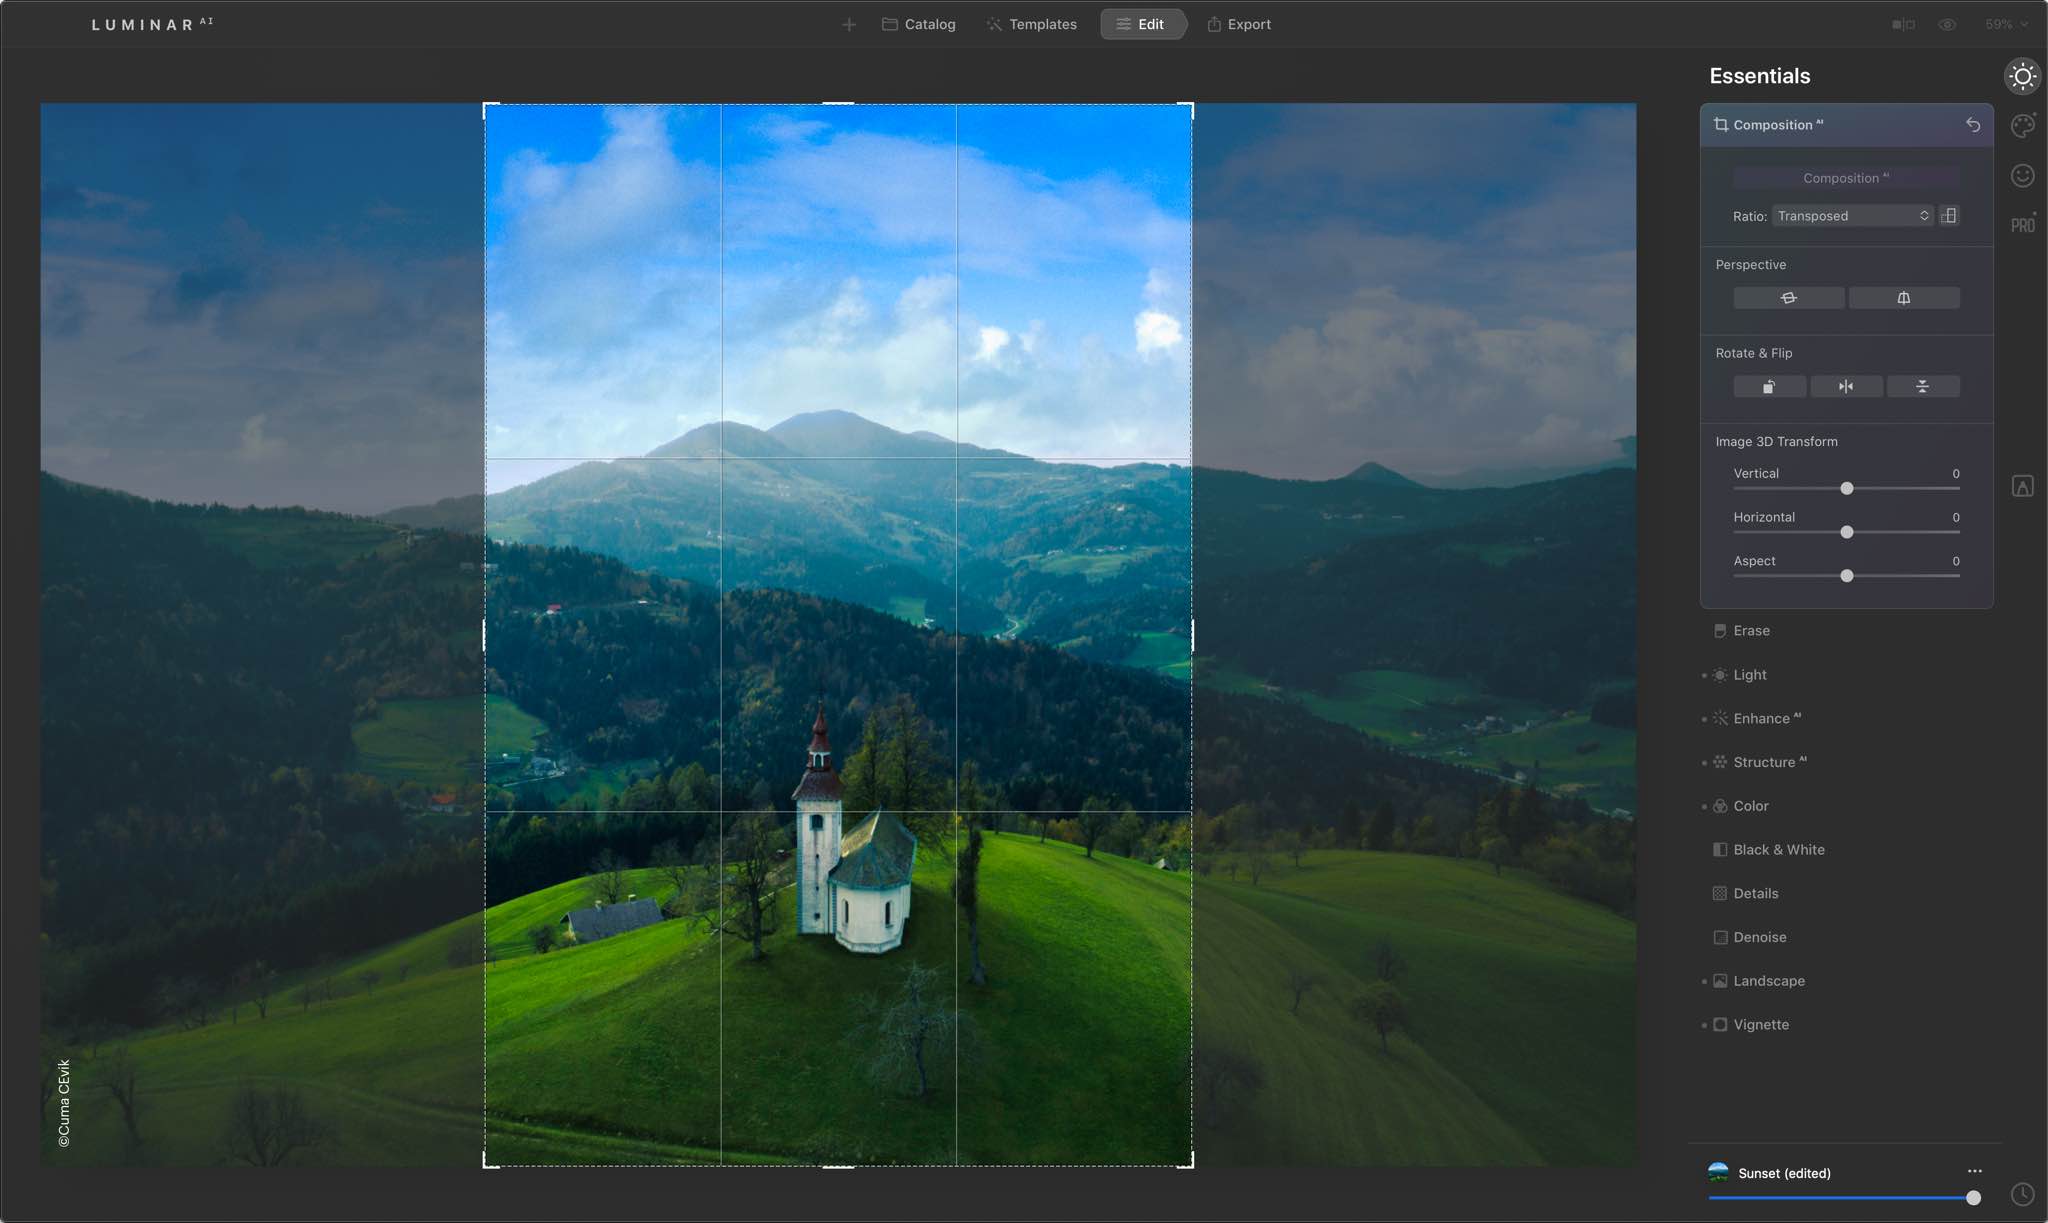
The best framing is suggested based on the rule of thirds and other composition rules. Moreover, Luminar can automatically fix alignment for a level horizon, un-skews perspective to remove unwanted tilt/distortion and more. Feel free to edit your landscapes further with tools for adding more brightness (Accent) or enhancing the details (Structure).
Satisfied with your edits so far? Good, because now it’s time to get creative.
Getting creative with filters
Click Creative in the sidebar to reveal a new set of AI-powered tools such as Sky, Atmosphere, Structure, etc. Sky AI enhances the sky and works great even if tiny details intersect your sky, such as branches and wires. And with just a few clicks, you can even bring sharpness to your out-of-focus skies or make the rest of the image match the lighting and colors of the sky.
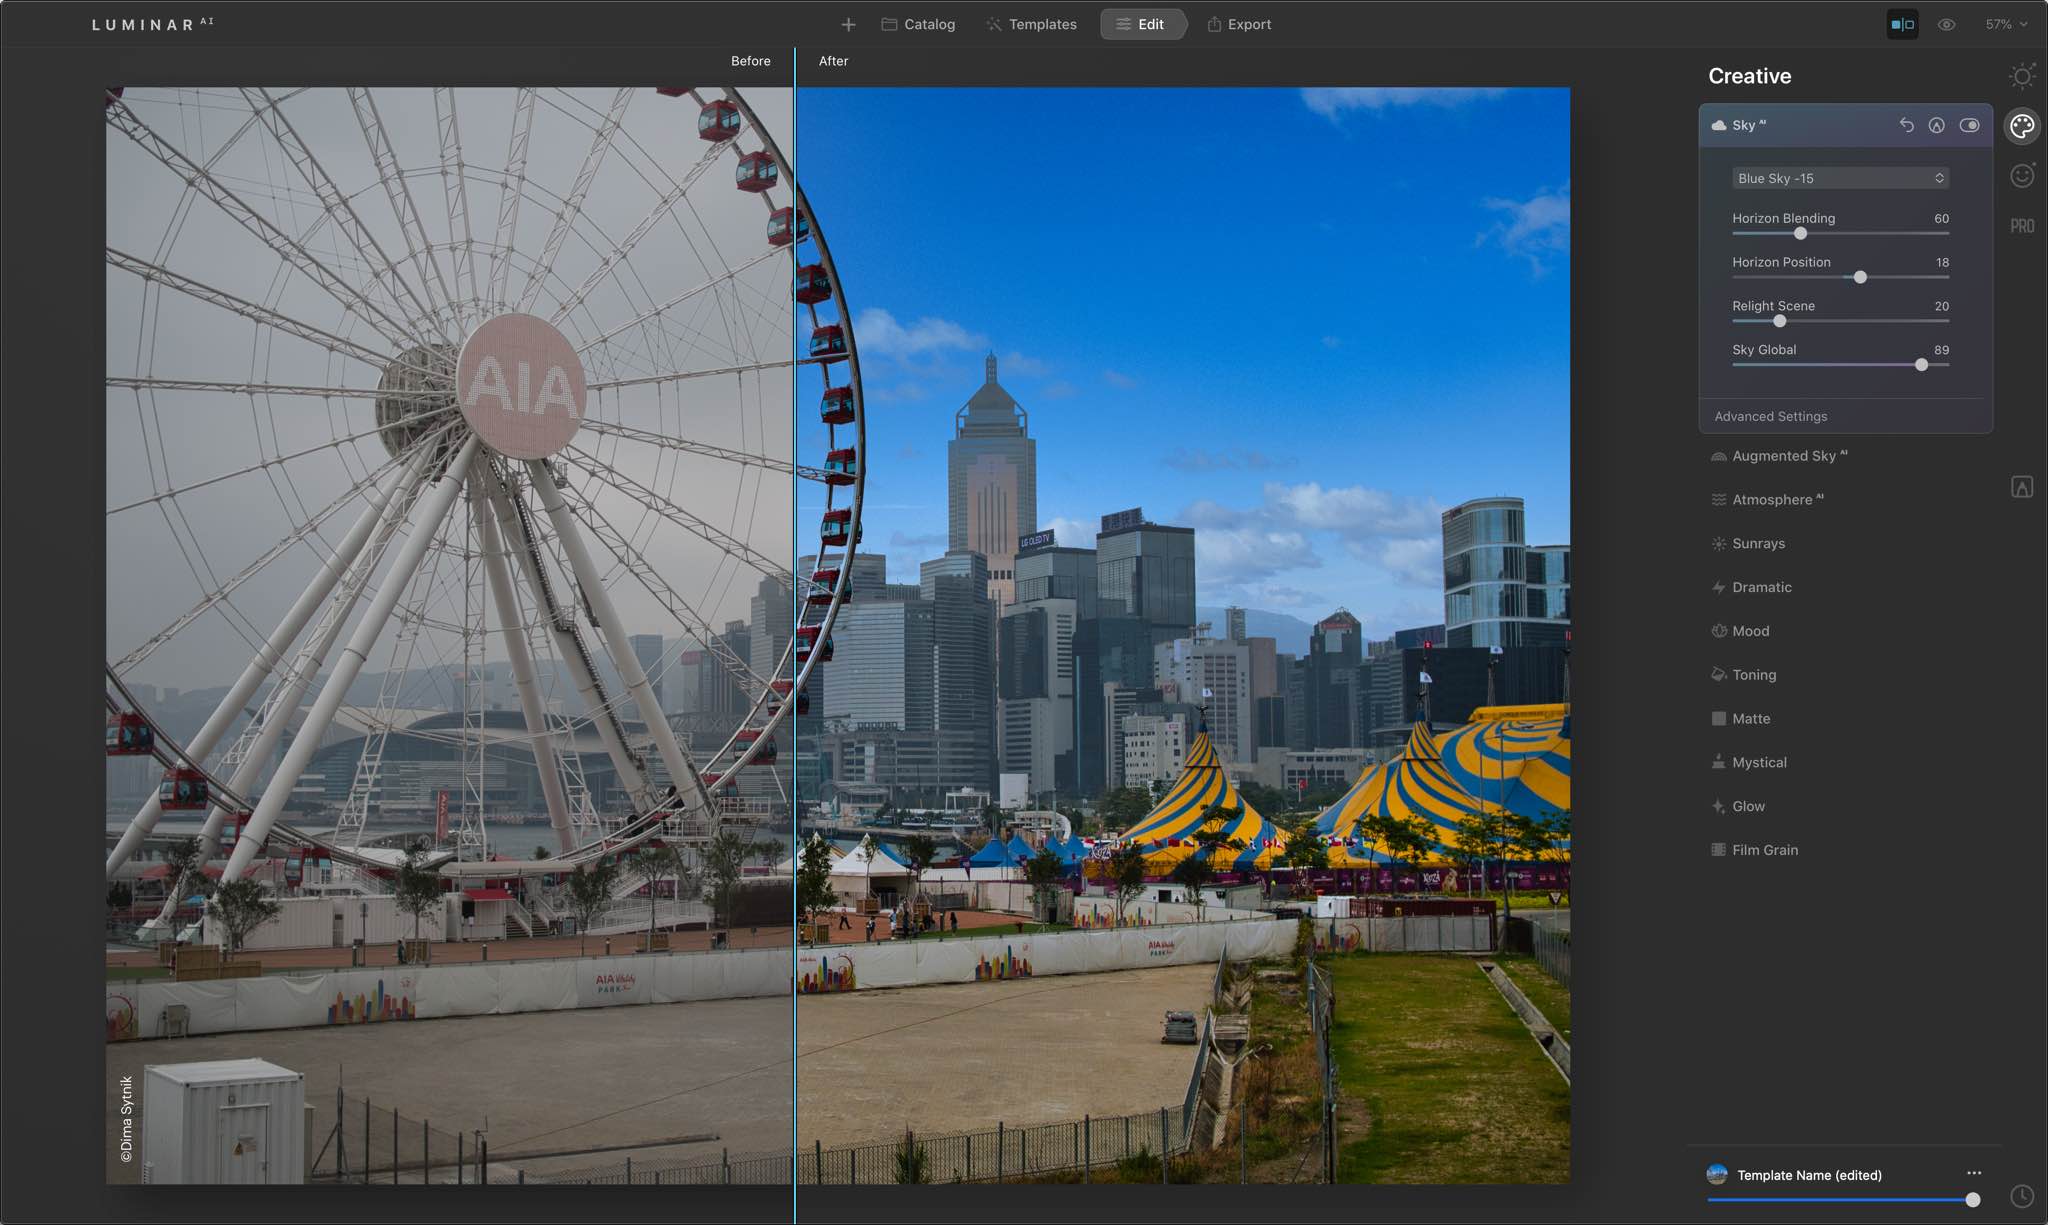
A boring sky? Shouldn’t be a problem for Luminar’s Augmented Sky AI. Not only does this tool allow you to add various elements to the photo’s sky but also makes it pop without looking unnatural. And the more advanced Sky Enhancer AI produces amazing results while saving you time in the editing process, similar to the magic wand in the Photos app on your iPhone.
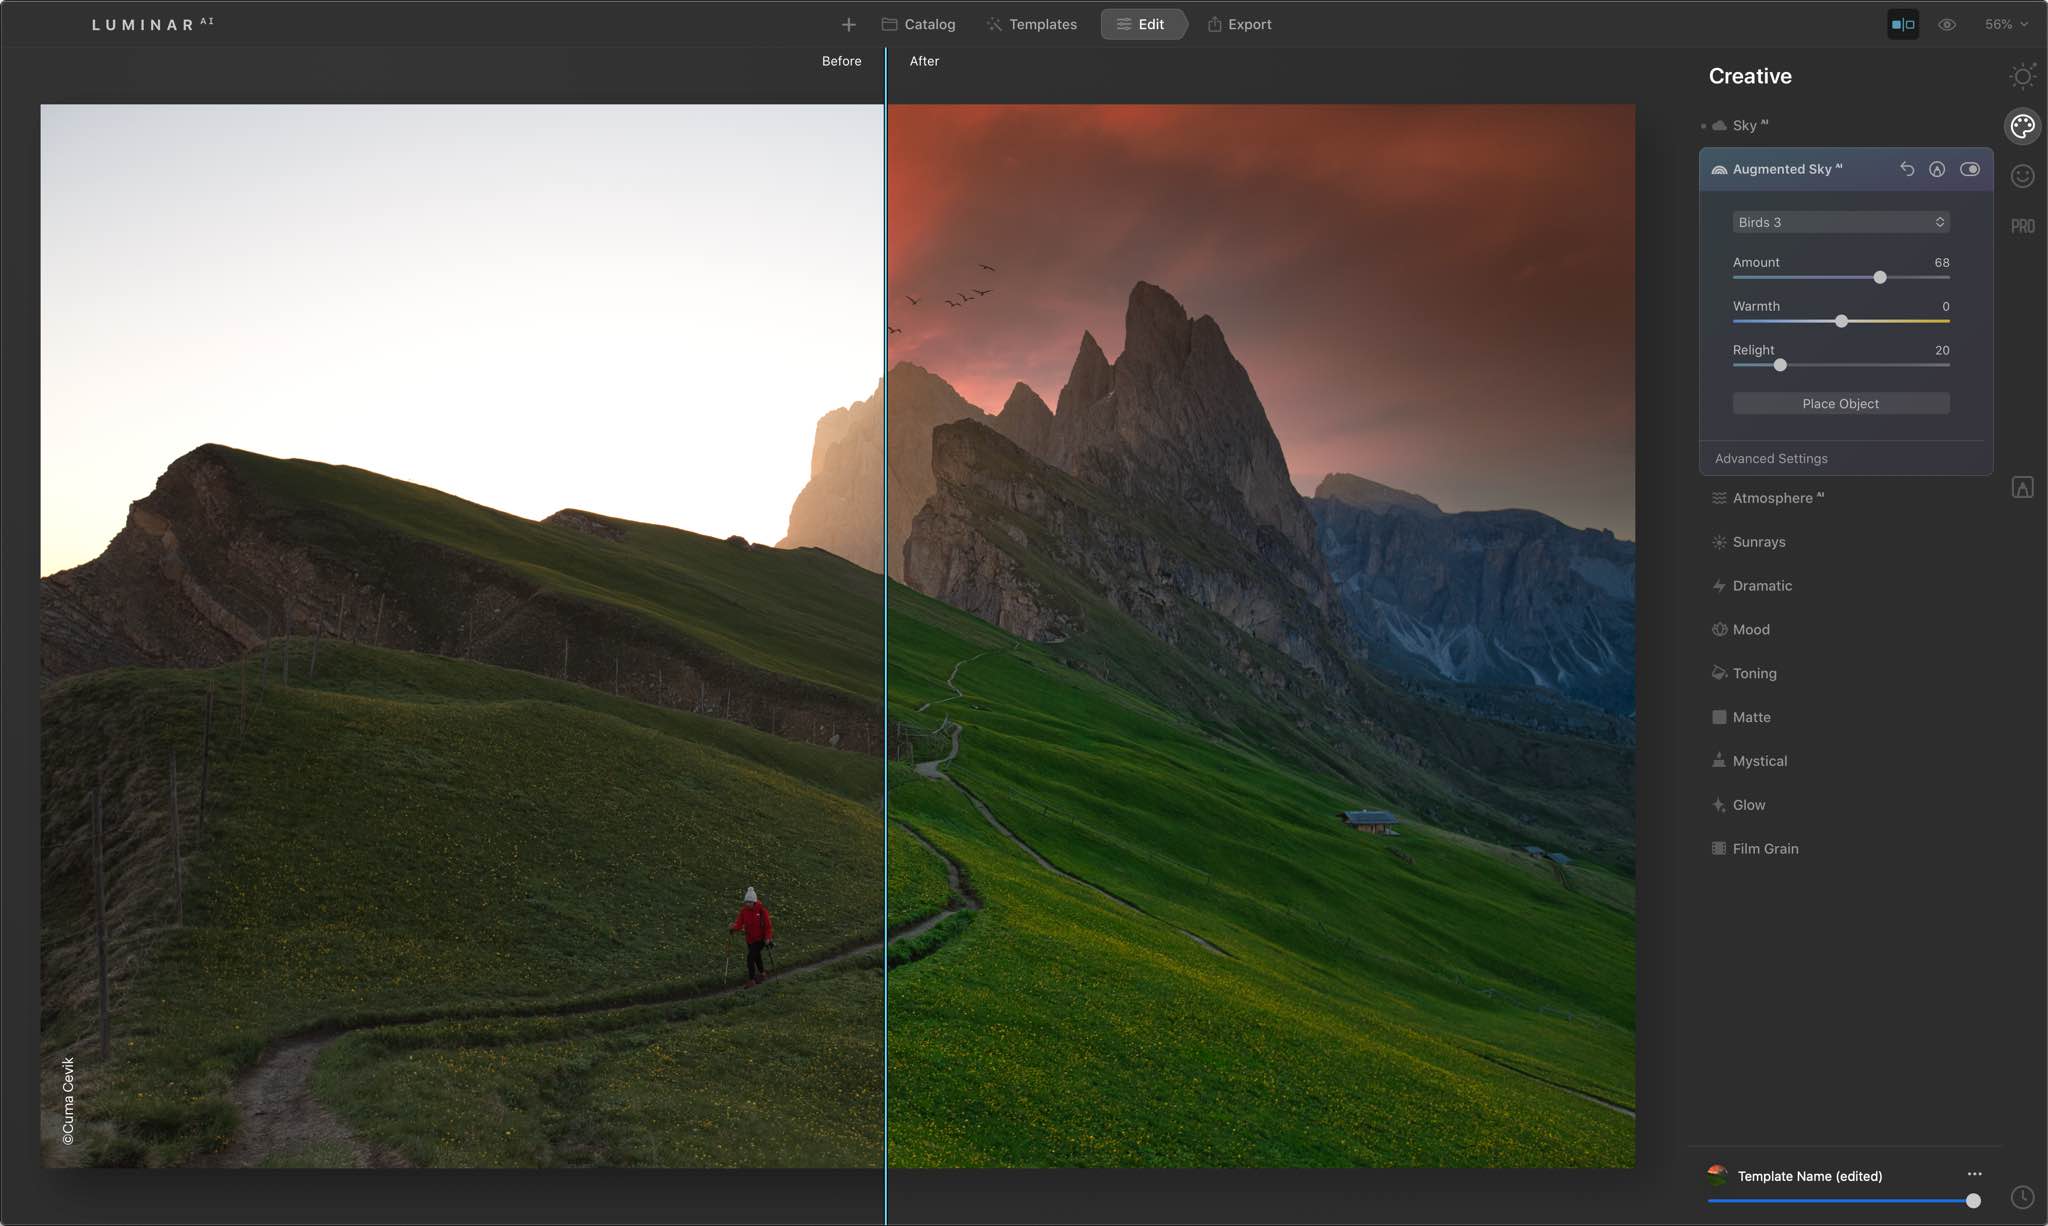
Worried about clipping when shooting the sun? The Sunrays tool adds a sun even if there’s none on the photo! You can adjust the sun’s warmth/glow and position it wherever you like to relight the scene. It also lets you combine sun rays with blending modes for even finer control.
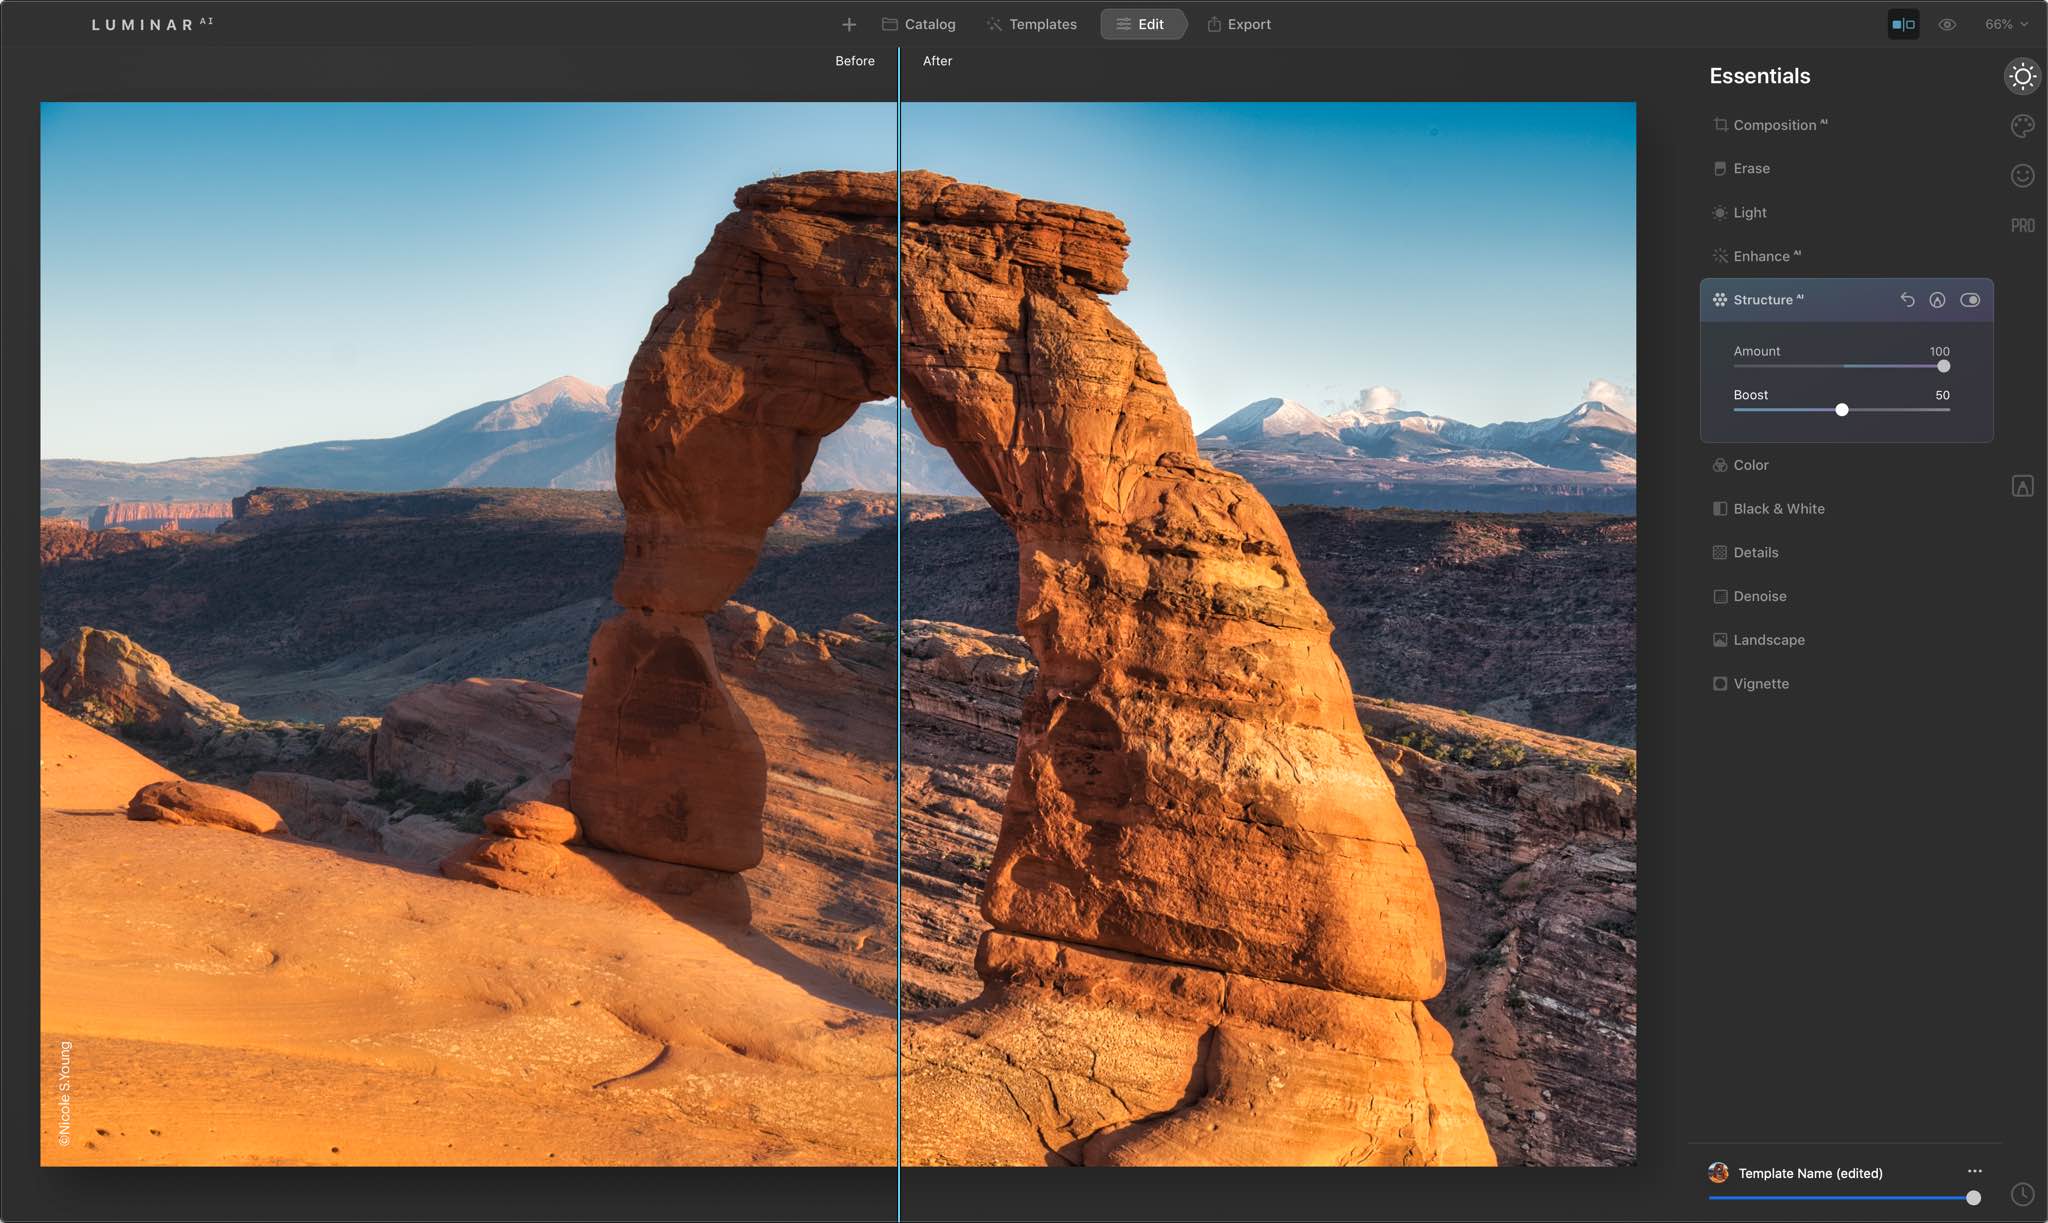
Structure AI is another amazing tool worth mentioning. It recognizes critical detail in all the right places, including people, water, skies, skyscrapers and more. As such, Structure AI is well-suited for architecture, cityscape, landscape and environmental portraiture photography.
Exporting the edited image
When satisfied with the edited landscape, click the Structure AI tab and choose Save to Disk, then select a location for the exported image and click Save. Doing so will export the edited image in the format of your choosing, such as the ubiquitous and widely accepted JPEG file.
Other creative filters in Luminar
Aside from the aforementioned creative tools, Luminar offers many others. The Mood brings a bunch of color palettes for achieving a specific emotion. And with Load Lookup Tables (LUTs), you can further explore color as a means of establishing mood.
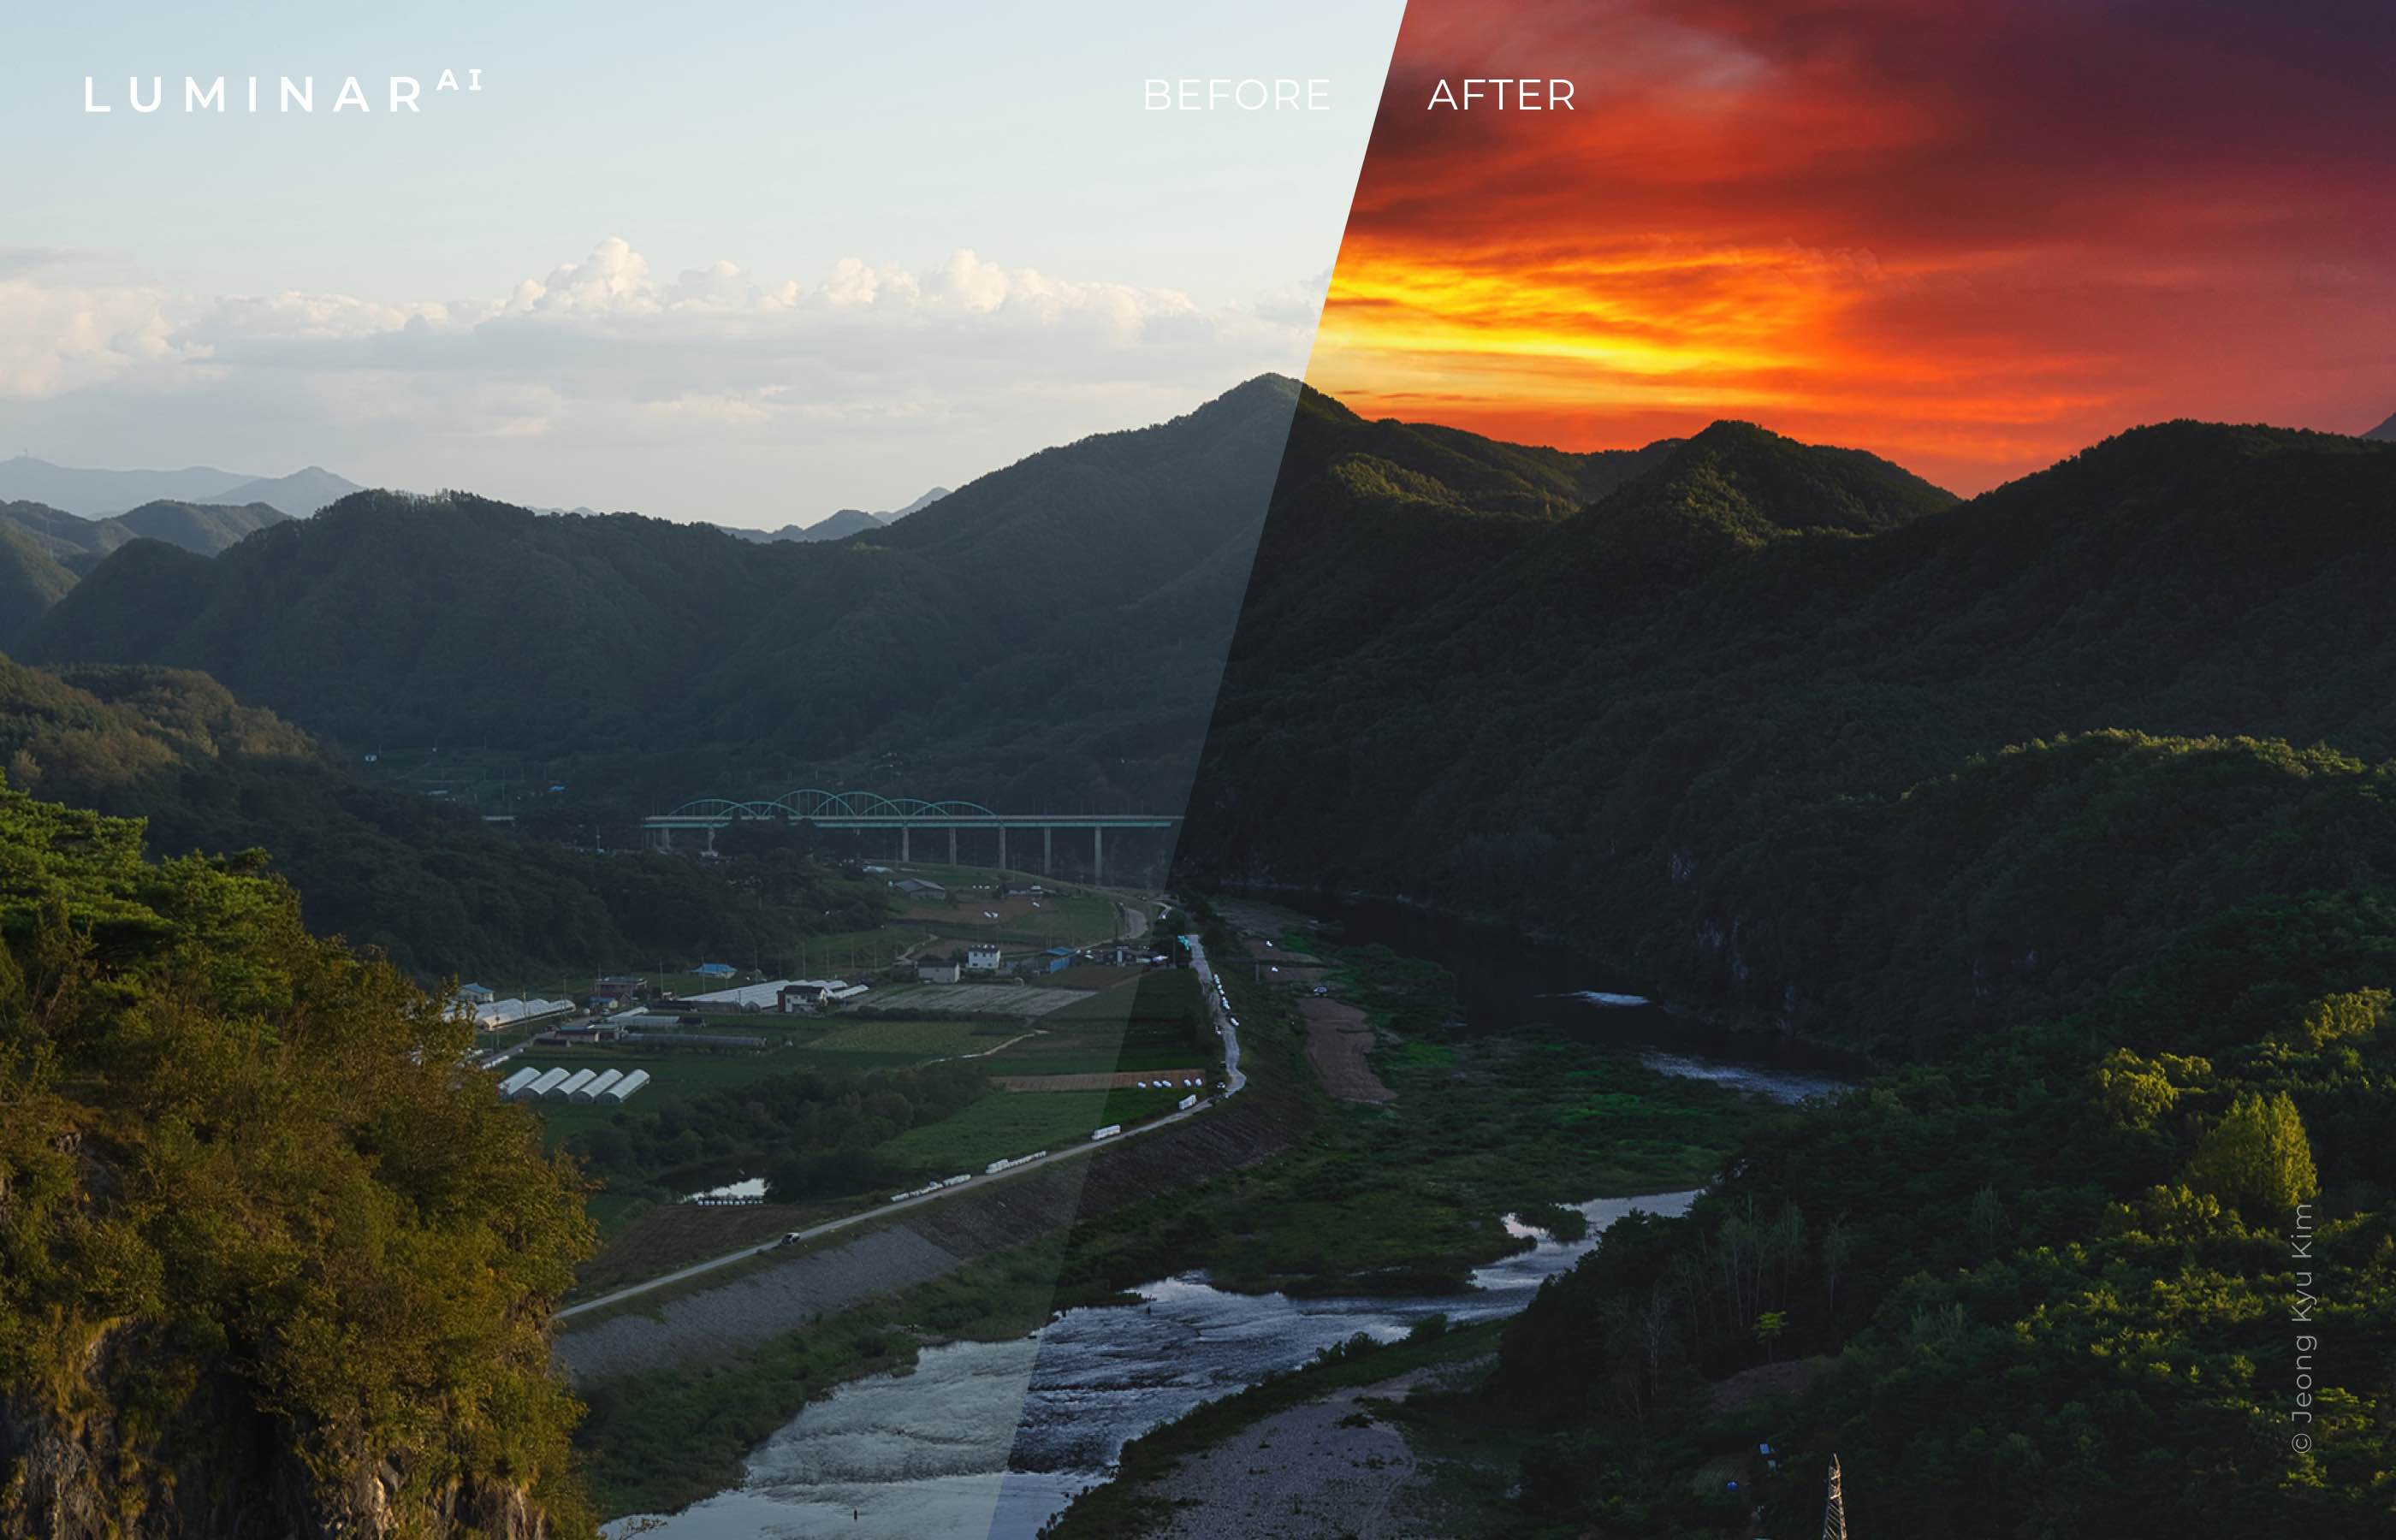
For the perfect finishing touch, refine your color for balance with the Color Harmony tool. And if you ever need to precisely adjust an image’s tone with six controls spanning highlights, mid-tones and shadows, you’re wholeheartedly recommended to use the Supercontrast tool.
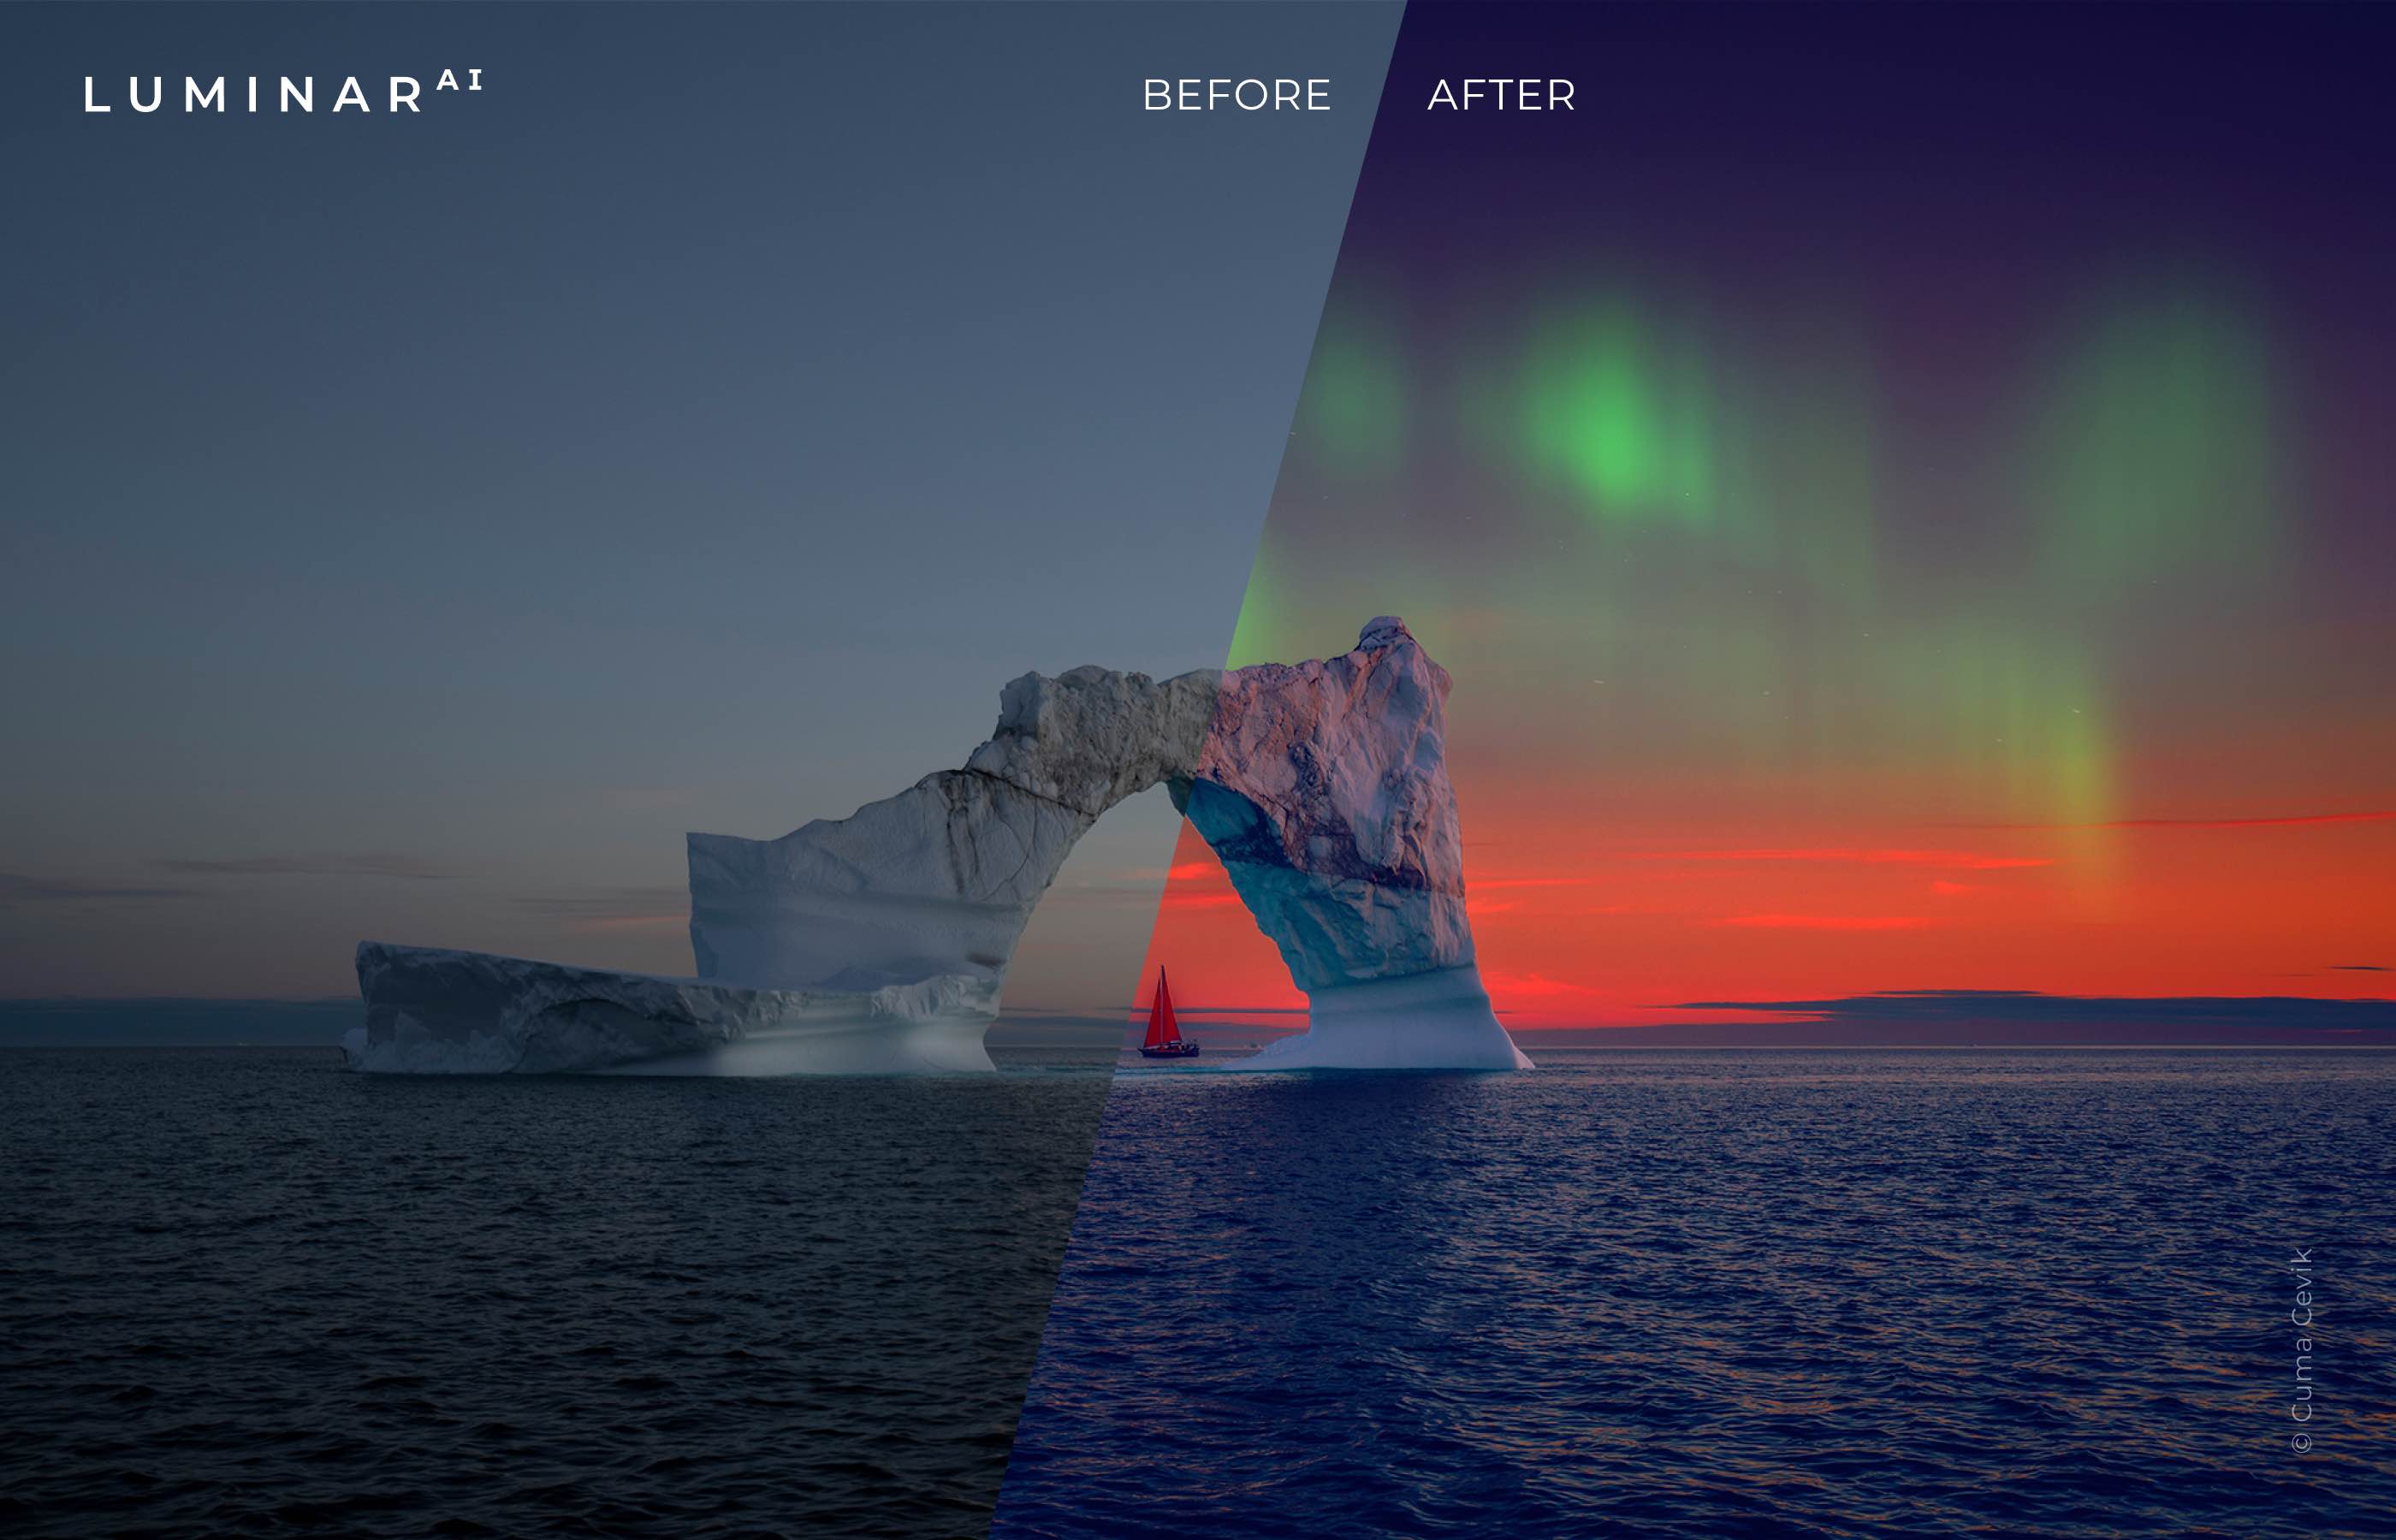
And that’s how you edit landscapes in Luminar AI! Before signing off, this app is especially great for batch editing—you can easily apply one photo’s edits to one or more additional images to achieved the uniform look across a series of photographs
For further information about Luminar AI, read the manual and the official FAQ.
Pricing and availability
Luminar AI is available as a standalone app, a plugin for Adobe Lightroom Classic and Photoshop, as well as an extension for Apple’s preinstalled Photos app. Luminar AI is available to download from the Mac App Store or through the Skylum website.
For further information, visit the official Luminar AI website.
Source link: https://www.idownloadblog.com/2021/01/30/edit-landscape-luminar-tutorial/


Leave a Reply