Review: Dockcase MagSafe SSD enclosure: Portable storage expansion well-suited for ProRes shooting and USB-C file transfer
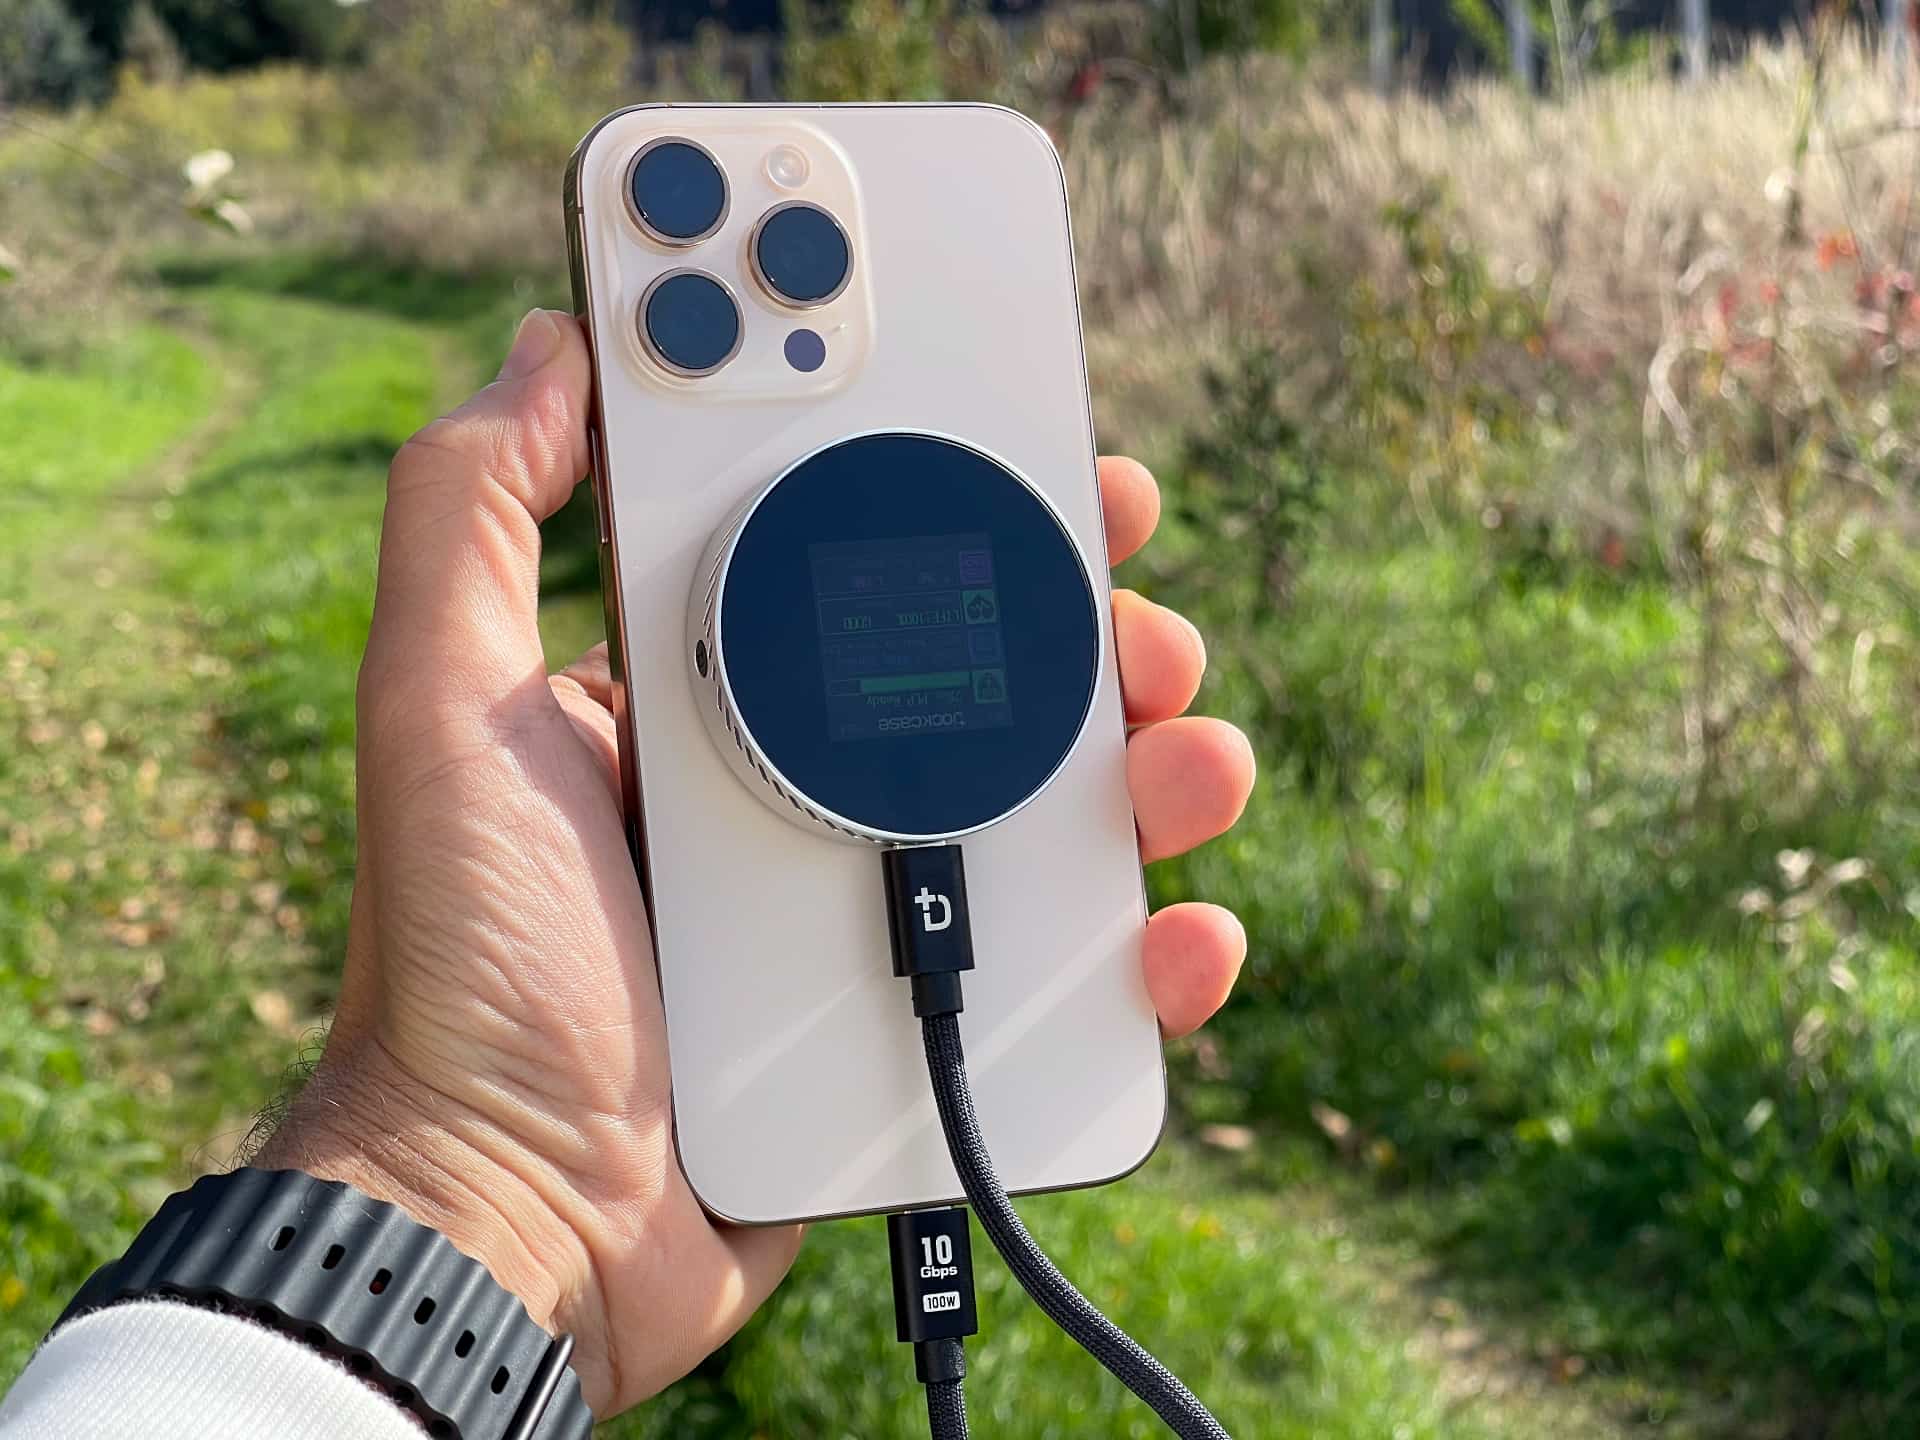
We review the attractively designed Dockcase MagSafe SSD enclosure bringing compact flash storage for ProRes video recording, file transfer, etc.
DISCLAIMER: Neither iDownloadBlog nor I was compensated for this article. Dockcase sent me review samples of an enclosure and an SSD for this review, which I got to keep. Dockcase did not see or have input in the review before publication. iDB only reviews and recommends products we personally use. We may earn an affiliate commission if you purchase via the shopping links in this article.
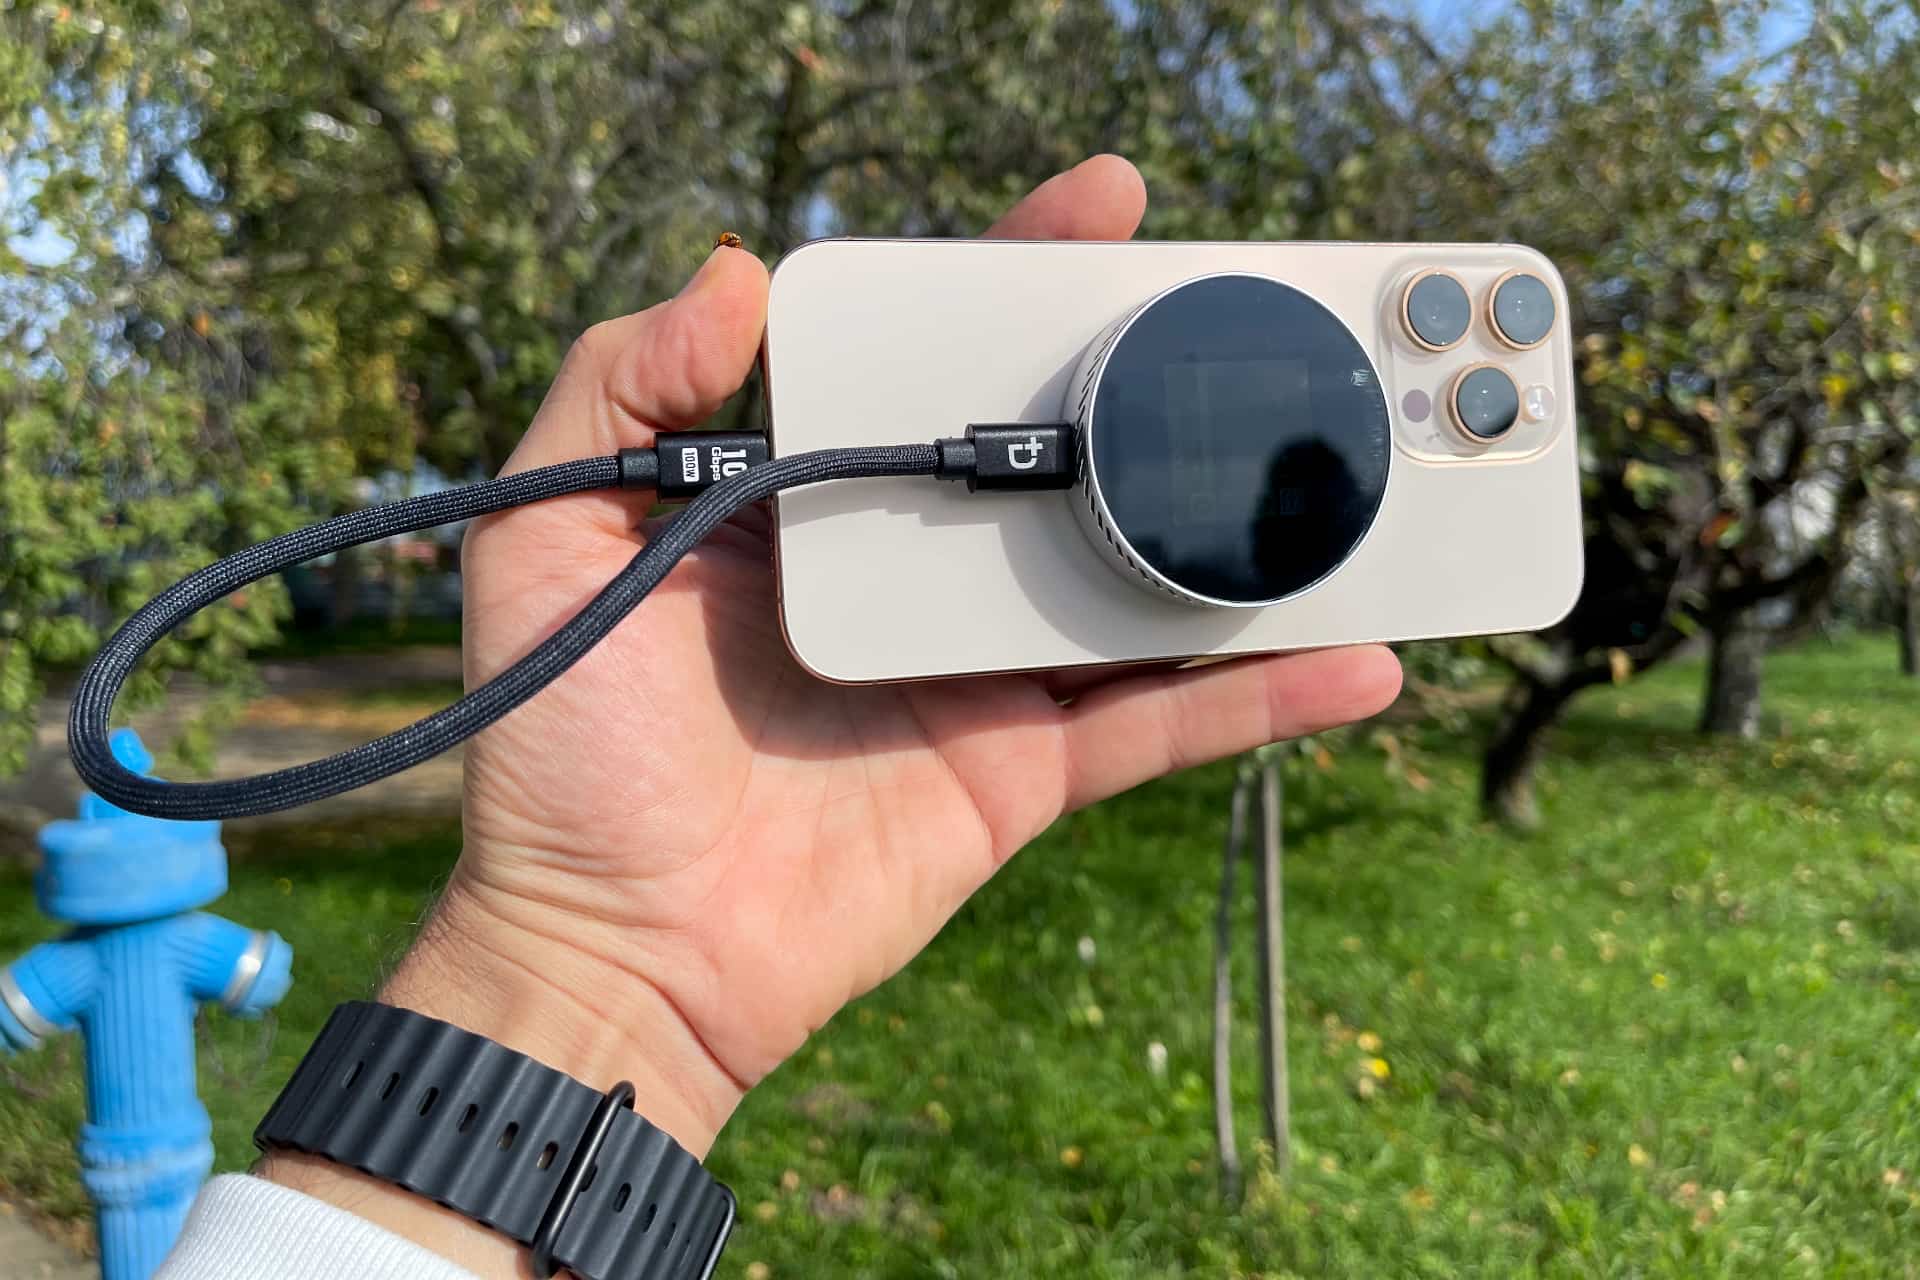
The Dockcase MagSafe SSD enclosure is an attractive external storage enclosure made from an aluminum alloy and tempered glass that holds tiny SSD modules up to two terabytes in size—enough for 150 minutes of 4K ProRes video at 60 fps. The minuscule accessory is circular and weighs just 53 grams. Dockcase calls it the smallest SSD on the market, and I can confirm that it’s really tiny. The accessory sports an integrated display, comes with a lanyard, snaps magnetically onto your phone and transfers data over the included USB-C cable.
I woudl recommend the Dockcase MagSafe SSD enclosure not only to creators, photographers and videographers looking for an ultra-compact M.2 storage solution, but also to iPhone owners wishing to record high-quality ProRes LOG video and just about anyone who needs a stylish external drive to move stuff around.
The Dockcase MagSafe SSD enclosure is available to purchase through the Dockcase website in the 15W and 100W versions, costing $80 and $100, respectively. The price is a bit high for a storage enclosure with noThunderbolt compatibility, but it makes up for that with the convenience of MagSafe snapping, easy SSD installation, an included lanyard and a built-in status display.
Review: Dockcase MagSafe SSD enclosure
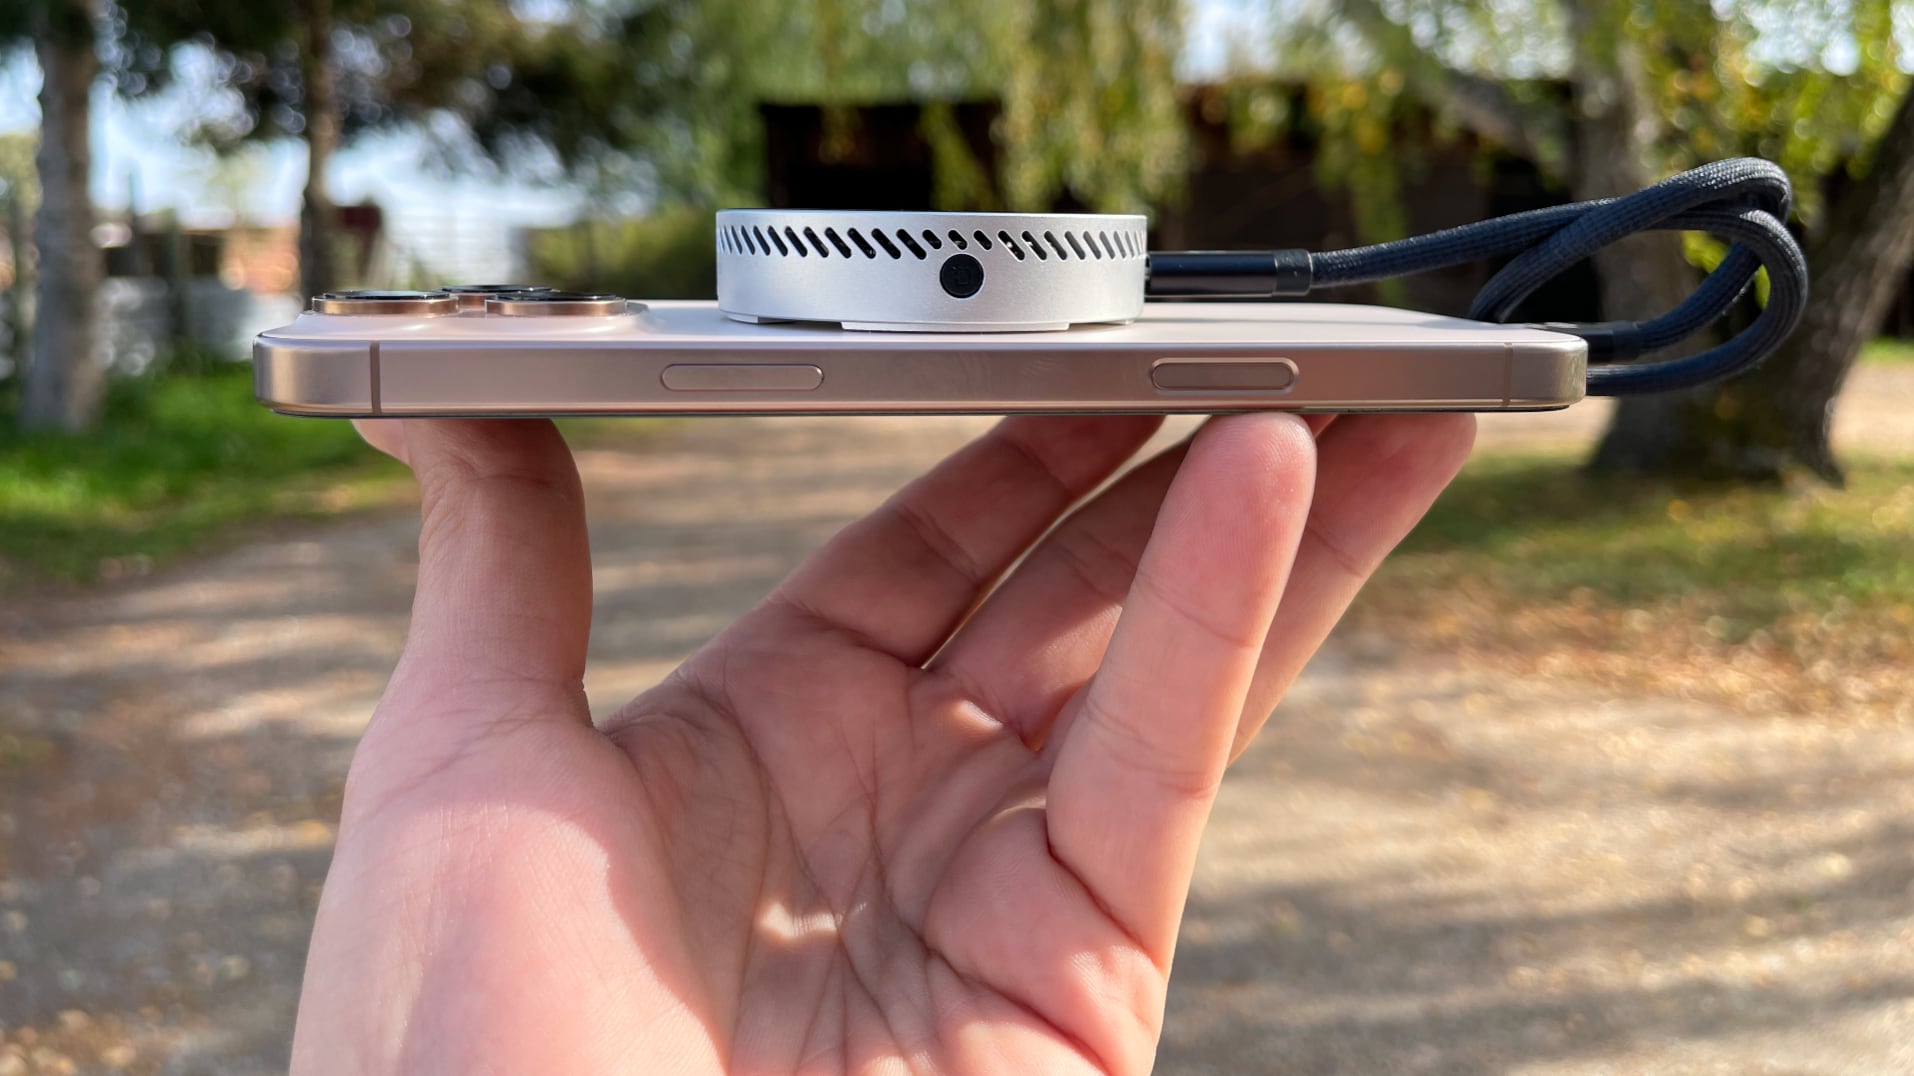
I don’t like when companies overuse the term MagSafe. Dockcase went one step further by putting “Magsafe” in the very name. Yes, there are built-in magnets, so you can snap the enclosure on the back of an iPhone 12 or newer, but that’s it.
No wireless charging via MagSafe is happening here. I’d recommend Dockcase and other companies stop misusing the MagSafe term to avoid confusion.
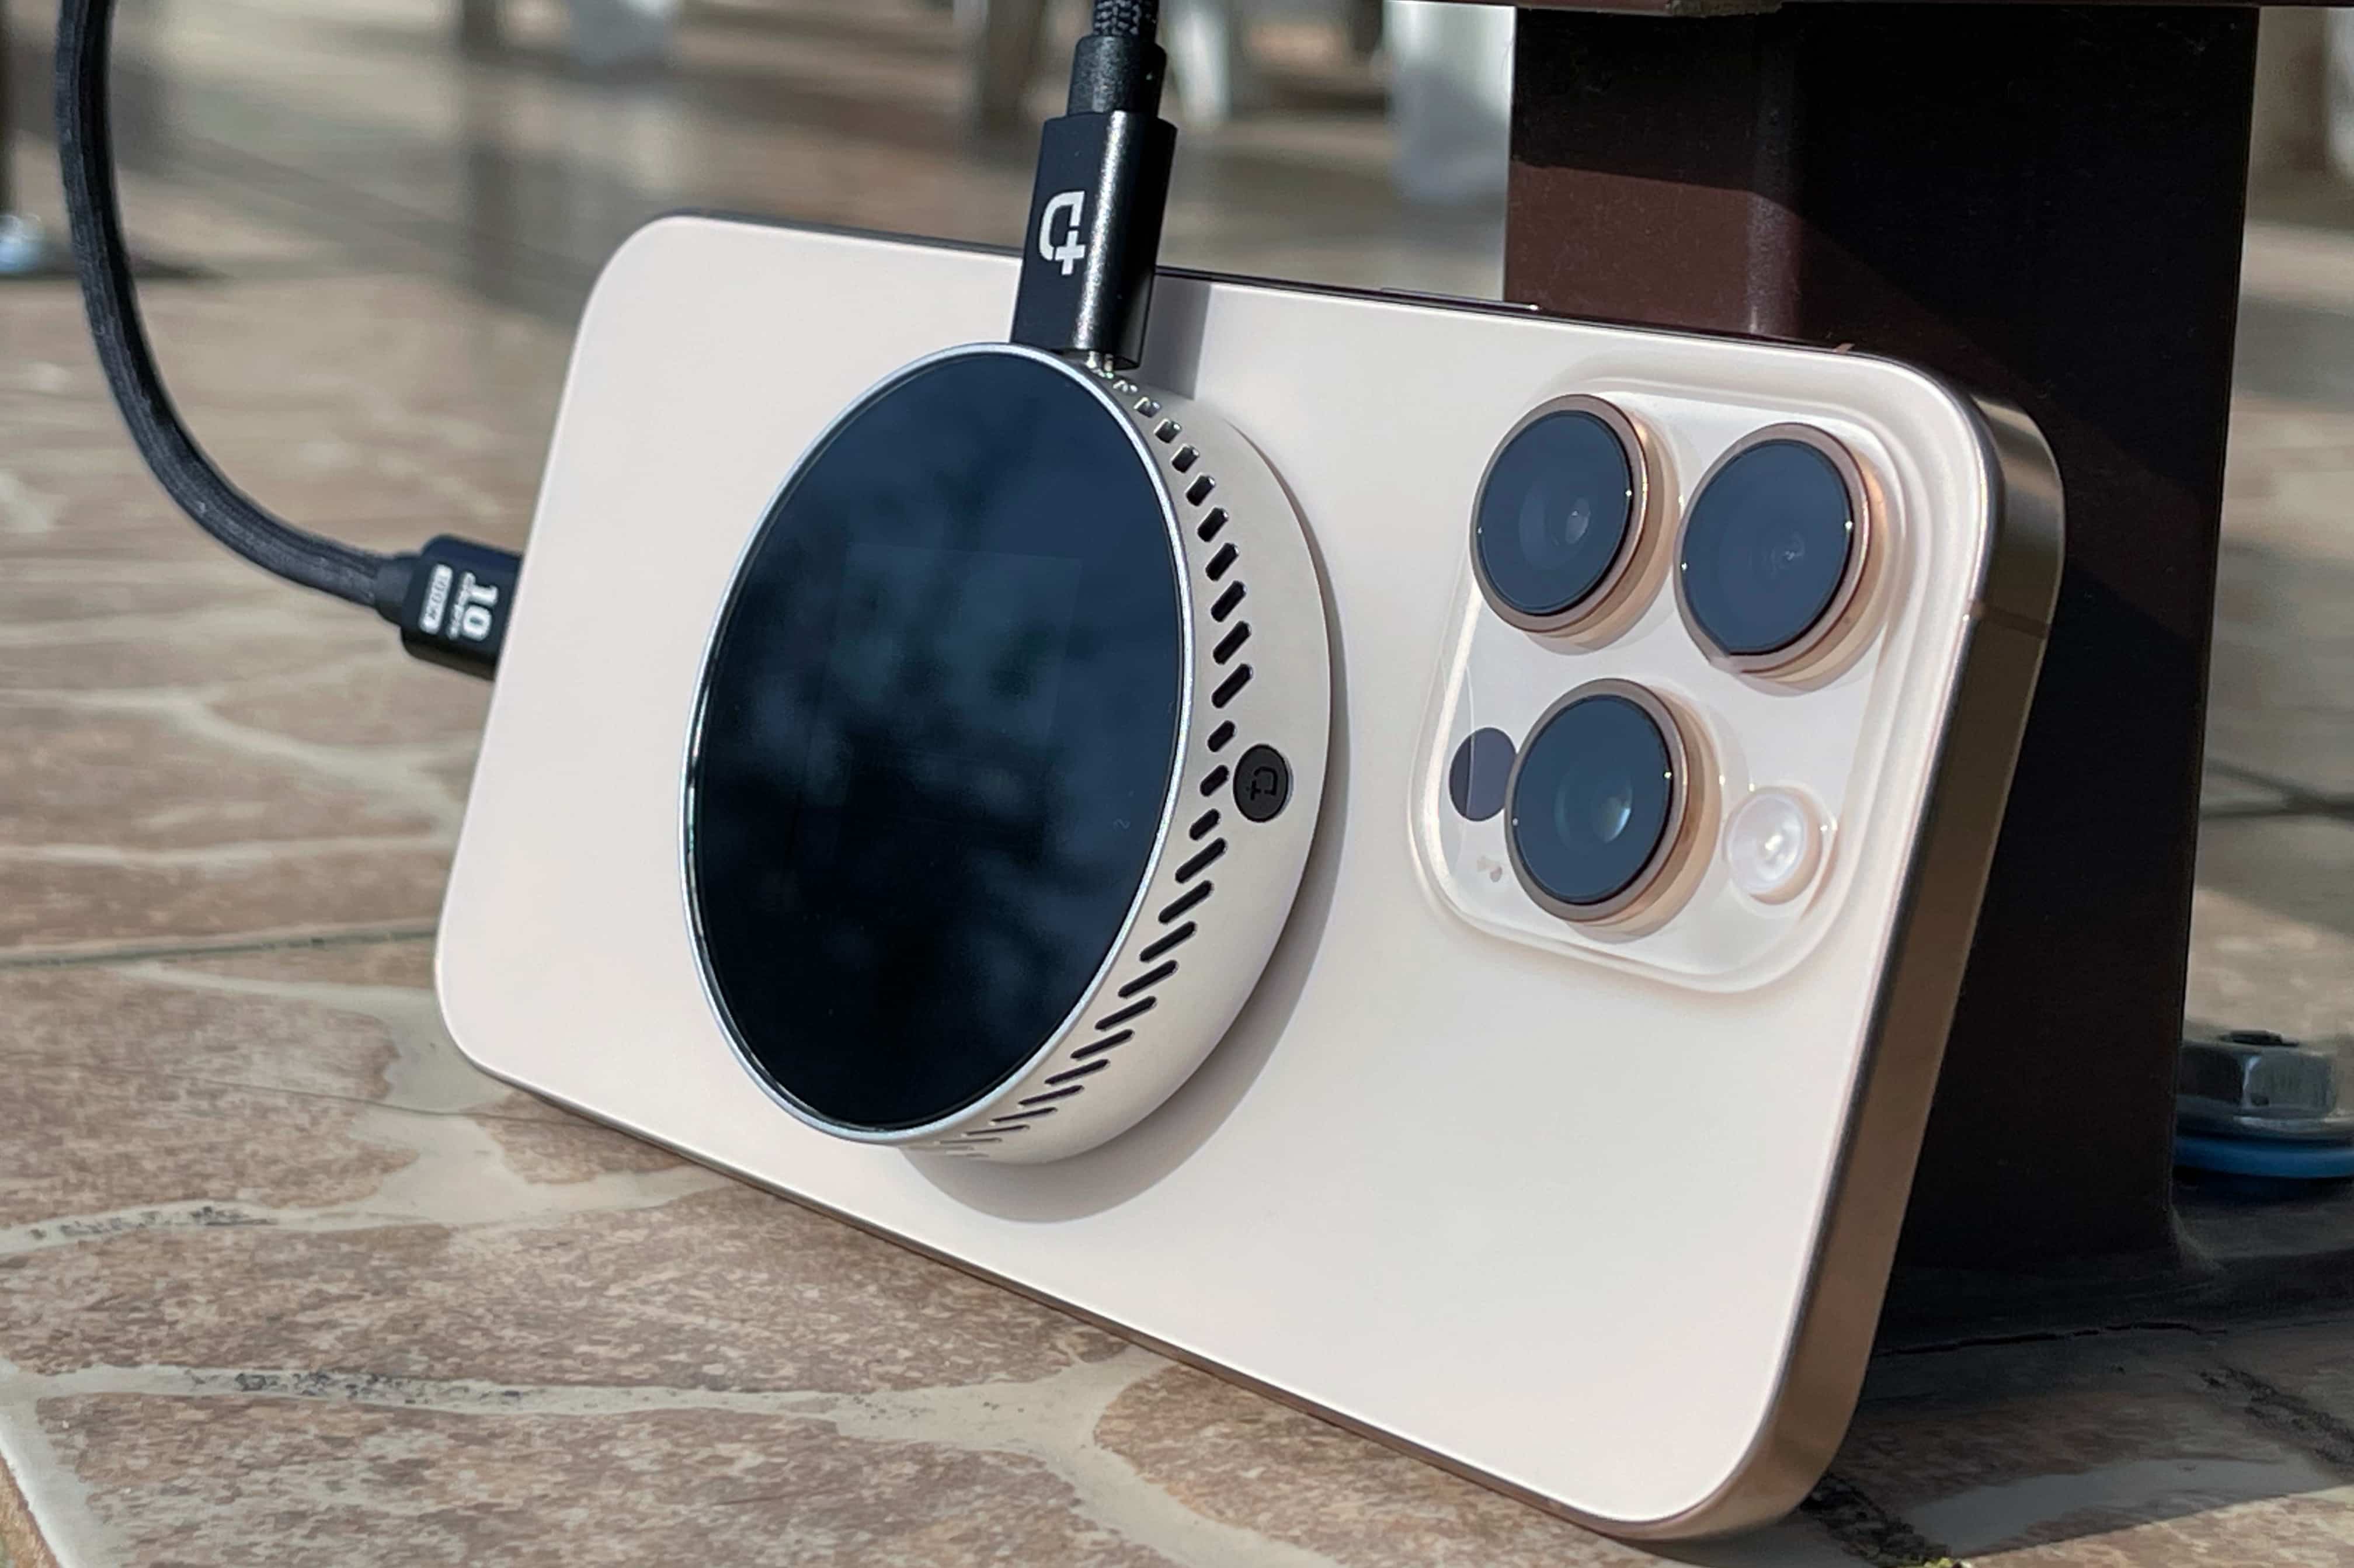 That aside, MagSafe snapping is very convenient and it works through MagSafe cases. You want your external storage device magnetically attached to the back of your iPhone instead of dangling freely on a cable (I had this problem with the Dockcase Pocket M.2 NVMe SSD enclosure I previously reviewed).
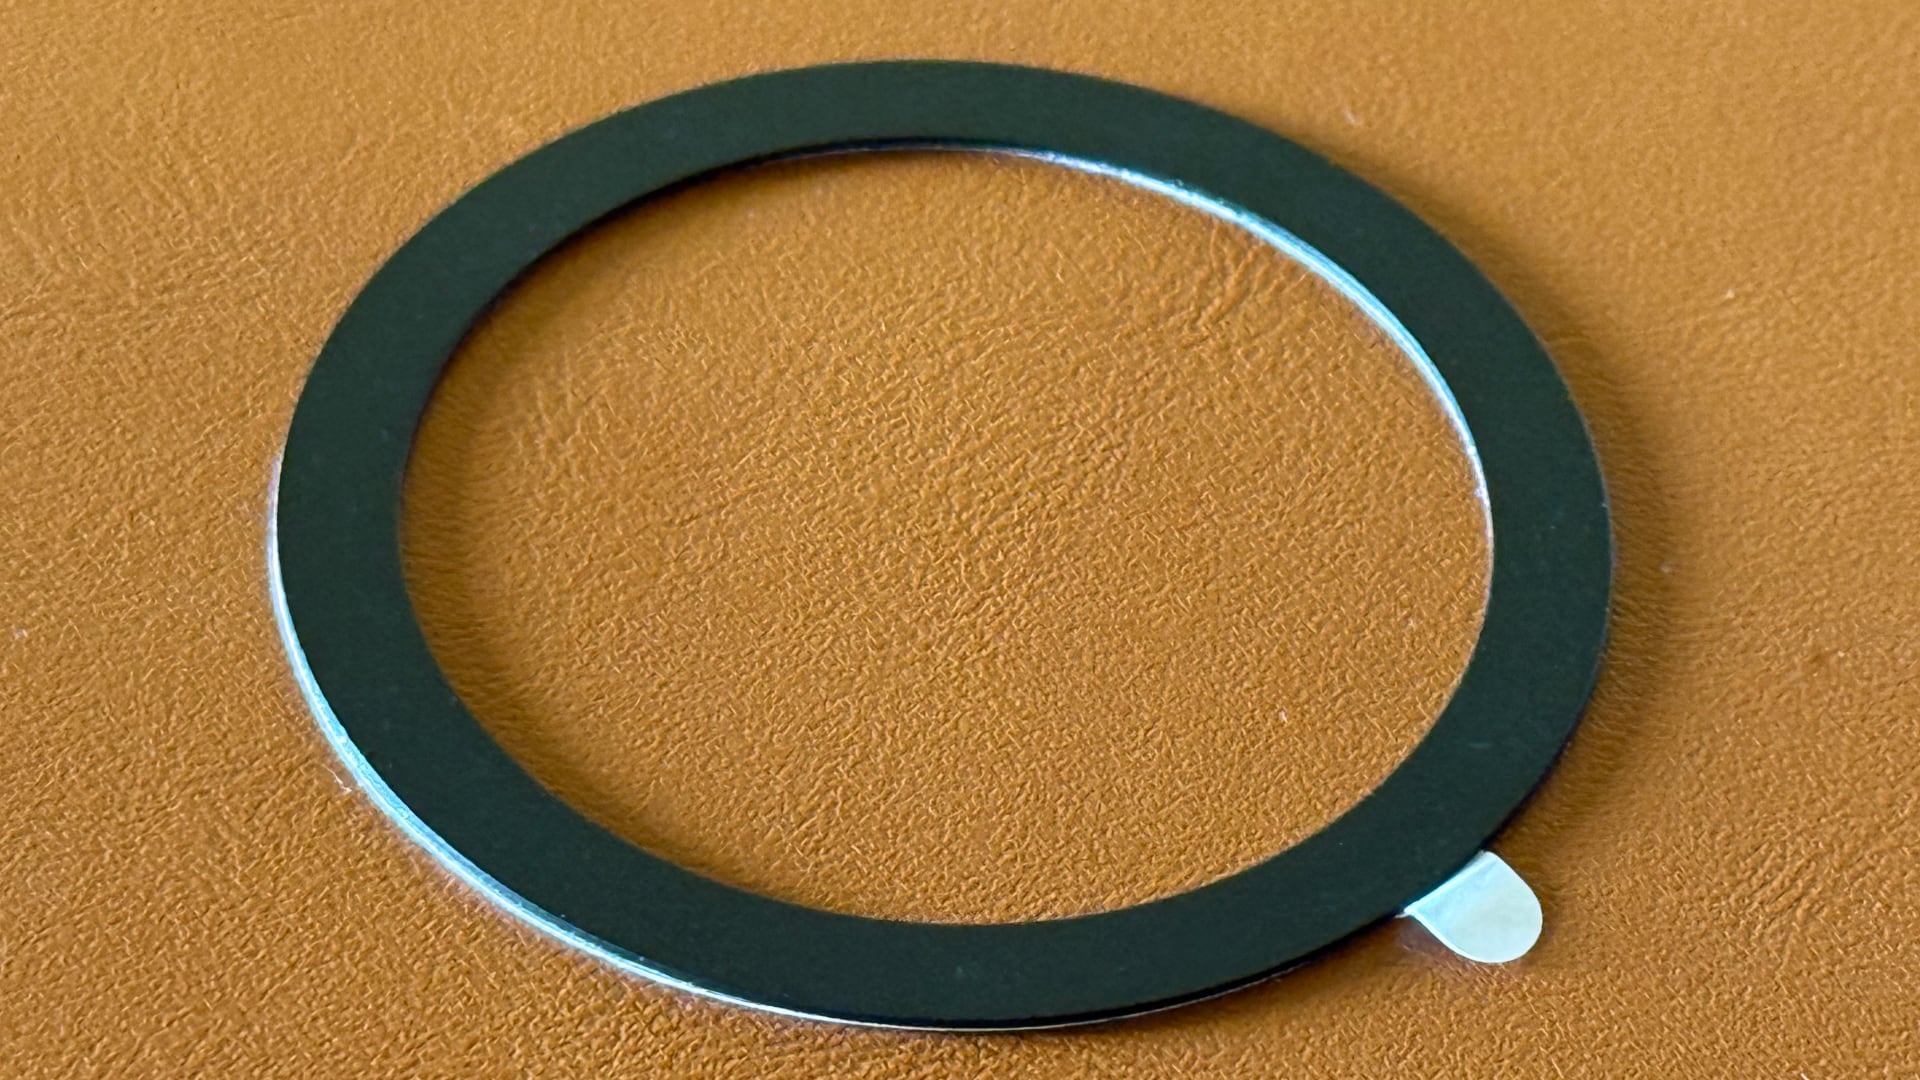 If you have an Android phone, you’ll slap the included sticker ring onto the back of your phone and snap the enclosure onto the sticker. If your Android handset supports Qi2 wireless charging, the magnetic ring is not required because it is already equipped with magnets (Qi2 is compatible with MagSafe because Apple contributed the MagSafe specification to the Qi2 standard).
Anyway, I connected the enclosure to my iPhone using the included braided USB-C cable, which is a bit stiff at first but gets more flexible over time.
It comes in 15W and 100W versions
The Dockcase MagSafe SSD enclosure is available in two versions. The more affordable version has a USB-C input port to feed it 15W of auxiliary power.
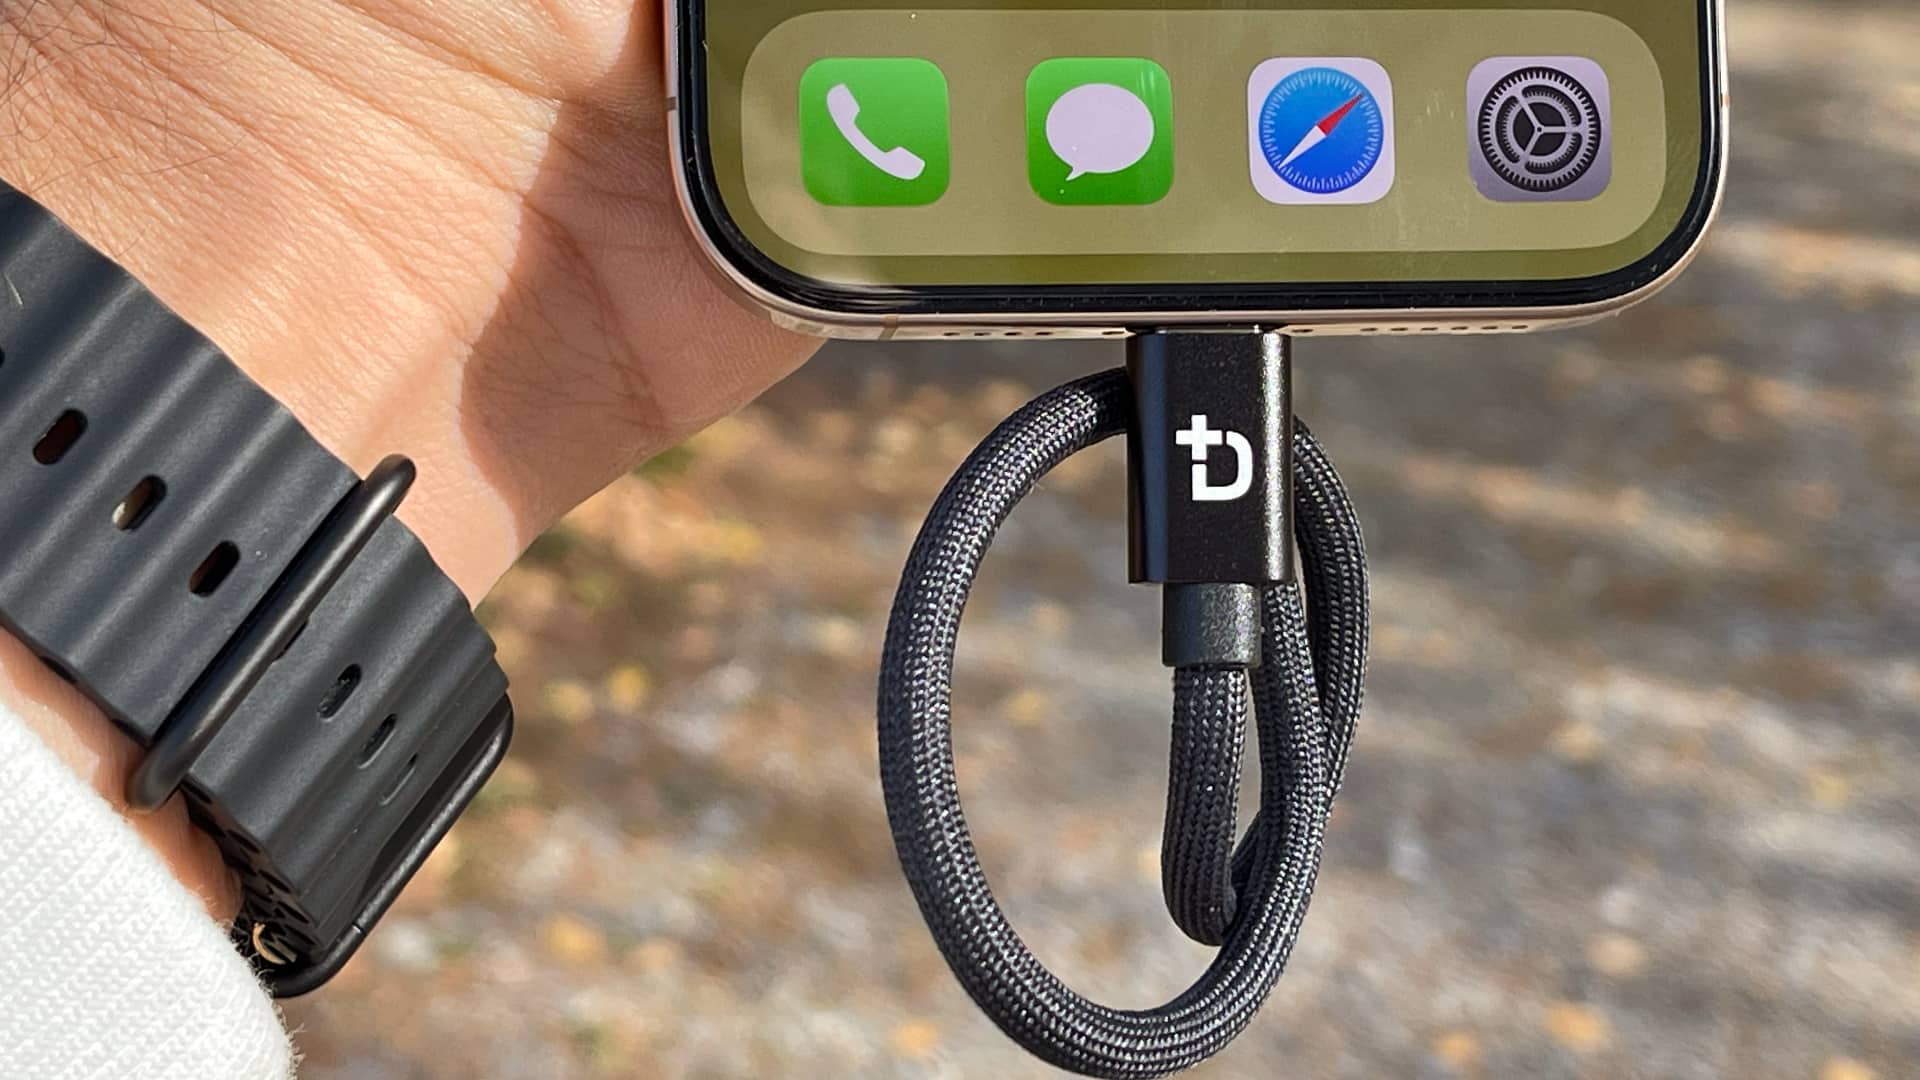 Or, you can get a version equipped with a 100W port for an extra $20 that can deliver 90W of passthrough power to the host device like your MacBook Pro. The enclosure gets its power from the host device to run the internal SSD but can also be powered externally (for high-power SSDs).
USB 3.2 Gen 2 but no Thundebolt
Aside from the USB-C Power Delivery input port, the enclosure has a separate USB-C port to connect it to a host device like your smartphone or computer with simultaneous charging and data transfer. It supports USB 3.2 Gen 2 transfer speeds of ten gigabits per second, which works out to 1250 megabytes per second. I’ve used BlackMagic’s Disk Speed Test app to measure drive performance when working with high-quality video, and it didn’t disappoint. I could get about 950 megabytes per second write speed out of the enclosure, putting it comfortably above Apple’s recommendations for ProRes video recording.
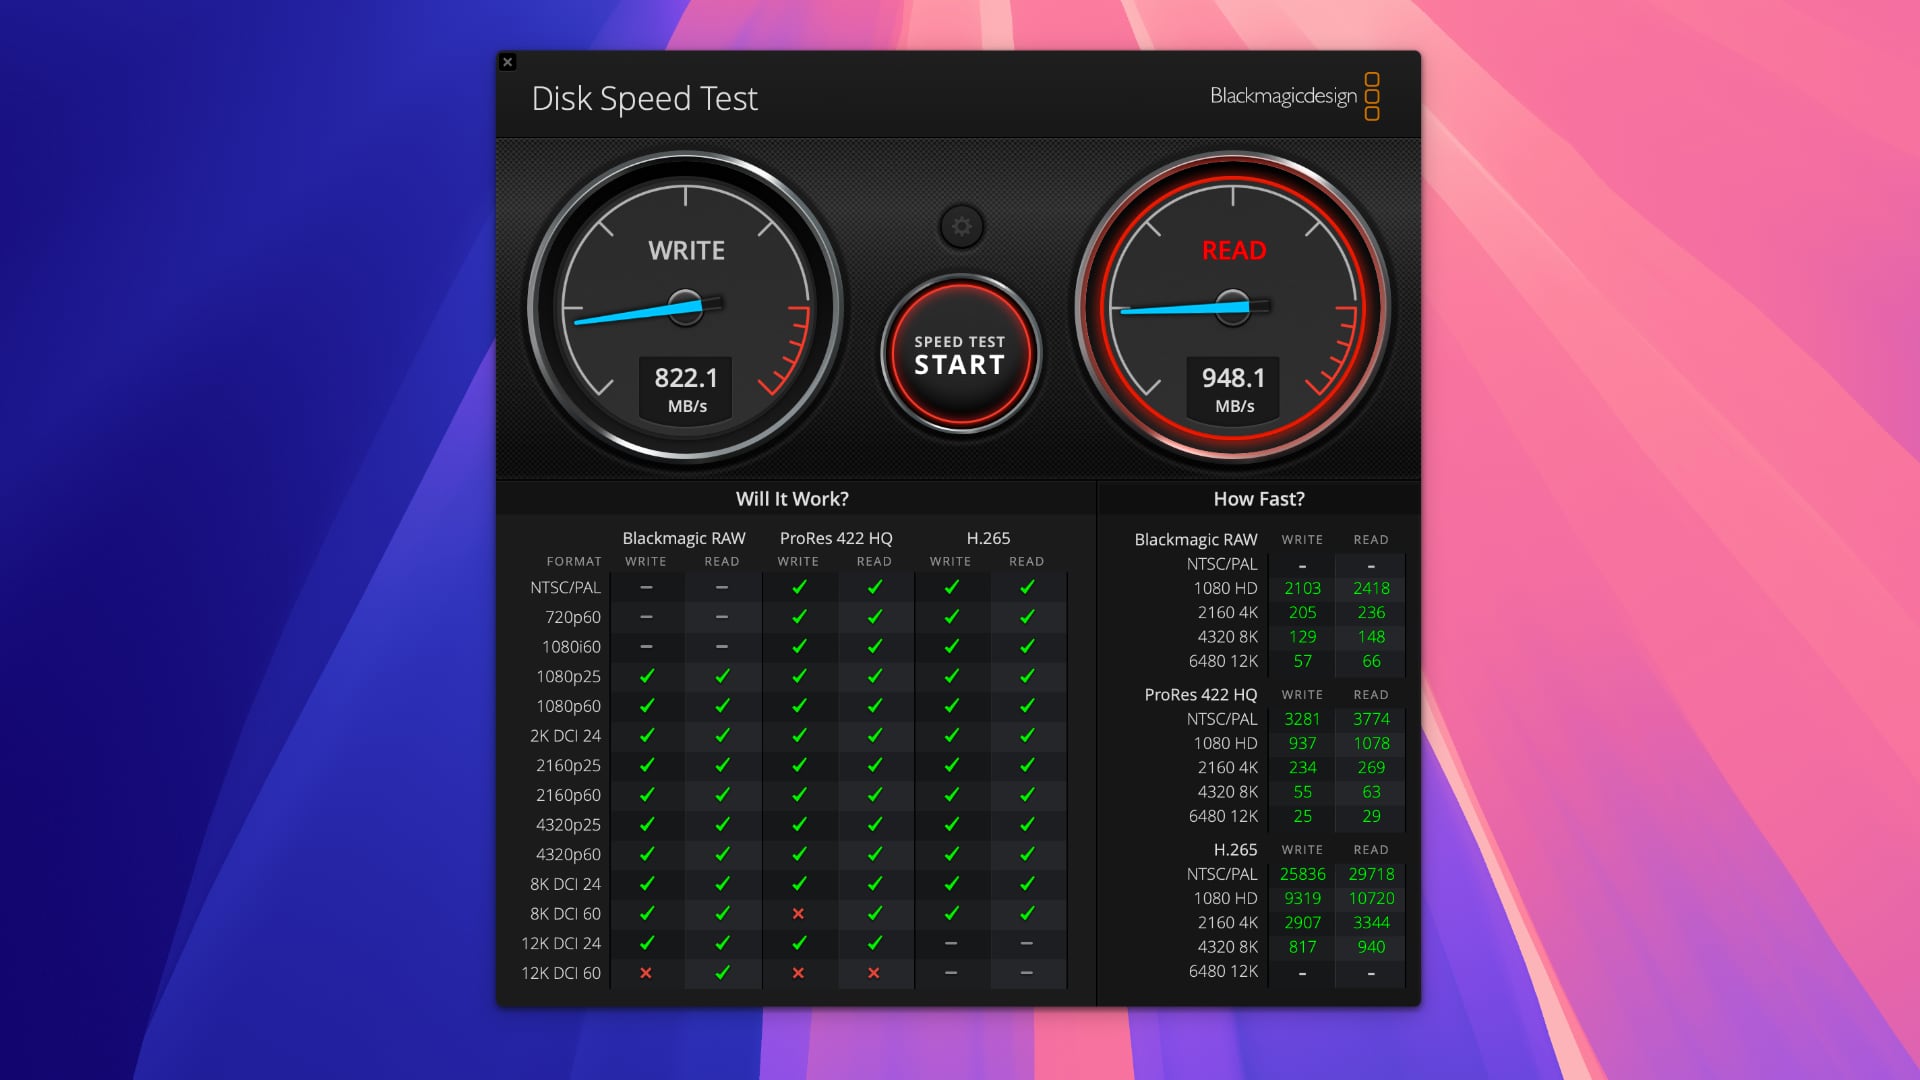 Apple’s support page clarifies that shooting ProRes HDR video in 4K resolution at 60 fps directly to an external storage device requires at least 220 megabytes per second transfer speeds and a maximum power draw of 4.5W.
Doubling the frame rate to 120 fps requires at least 440 megabytes per second. I was happy to shoot both 60 and 120 frames per second ProRes videos with my iPhone 16 Pro Max to the Dockcase enclosure without a single frame dropped.
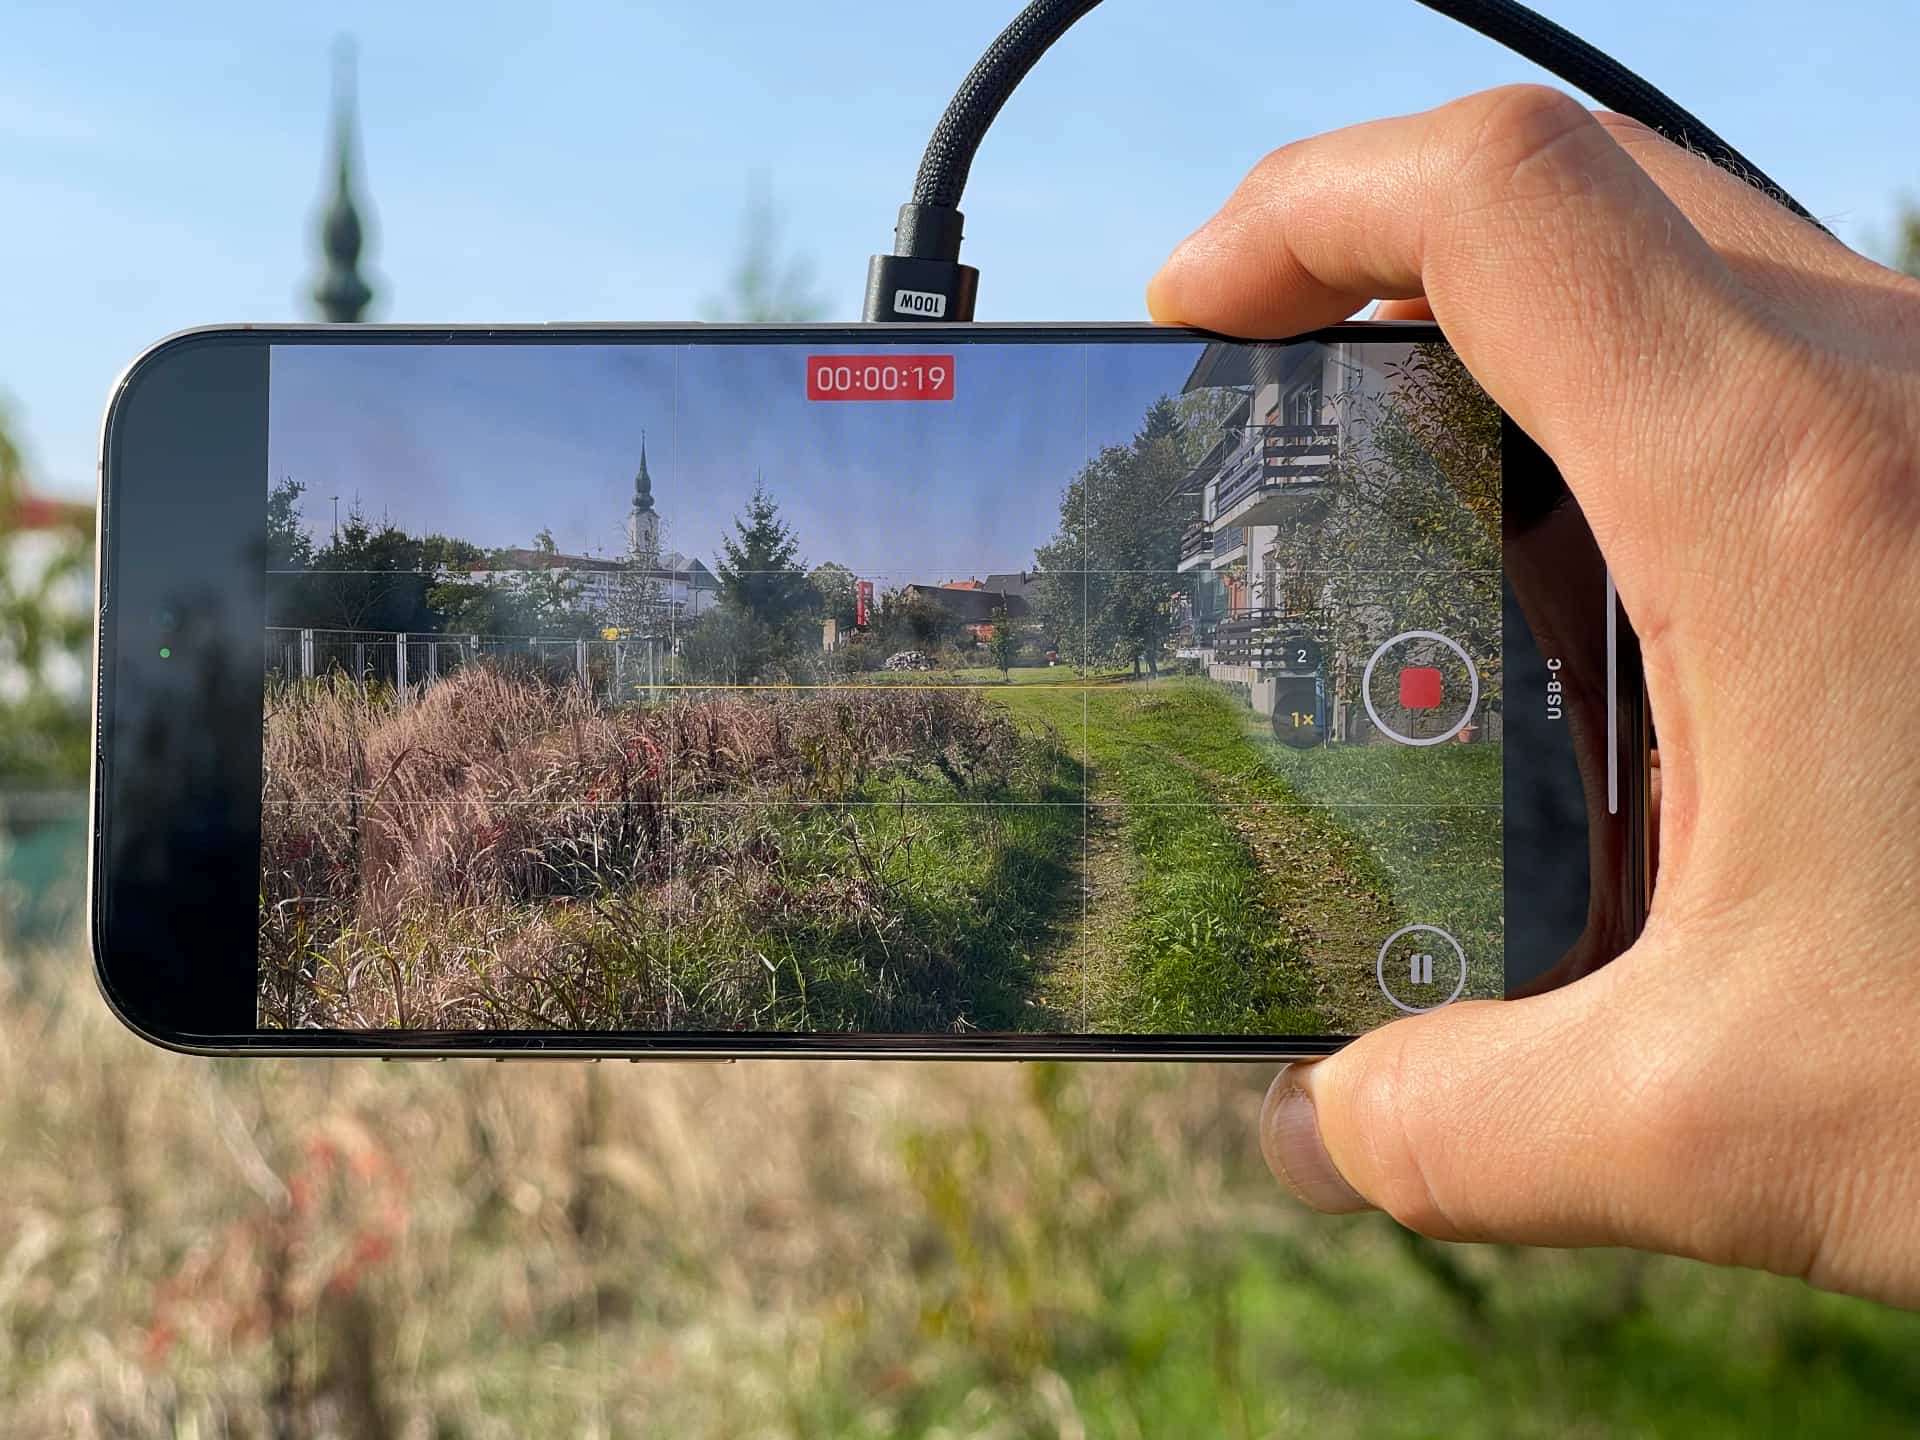 I did get an iOS warning that the cable doesn’t support the required speeds even though the video was successfully saved. However, this can be chalked to an iOS 18 beta I was running at the time, as the message disappeared on the stable build.
It accepts M.2 2242 and 2230 drives
The enclosure is built around the M.2 specification for internally mounted SSDs no bigger than a stick of chewing gums. M.2 modules come in different sizes expressed in codes. For example, “2242” denotes a module that’s 22 mm wide and 42 mm long. The Dockcase holds both M.2 2242 and 2230 drives up to 2TB in capacity.
 It uses the Realtek RTL9210 chip and the PCIe 3.0 interface to connect your SSD to the logic board. The enclosure accepts PCIe 4.0 SSD but only works in PCIe 3.0 transmission mode with a maximum rate of 10Gbps. The enclosure supports the mSATA, SATA and B Key-M.2 interfaces, but not SATA M.2.
The accessory ships without storage, so you must bring your own SSD (be careful to pick either a 2242 module or a 2230 one). Dockcase has tested the enclosure with the Western Digital PC SN530/SN740, Kioxia BG4, Hynix BC711, Samsung PM991/PM991a and HikVision DK4000 drives.
Swapping an SSD in sixty seconds
Thankfully, no prior experience is required to install an SSD. After unscrewing two screws on the back and removing the backplate, you’ll marvel at clever engineering with densely engineered components and tight tolerances.
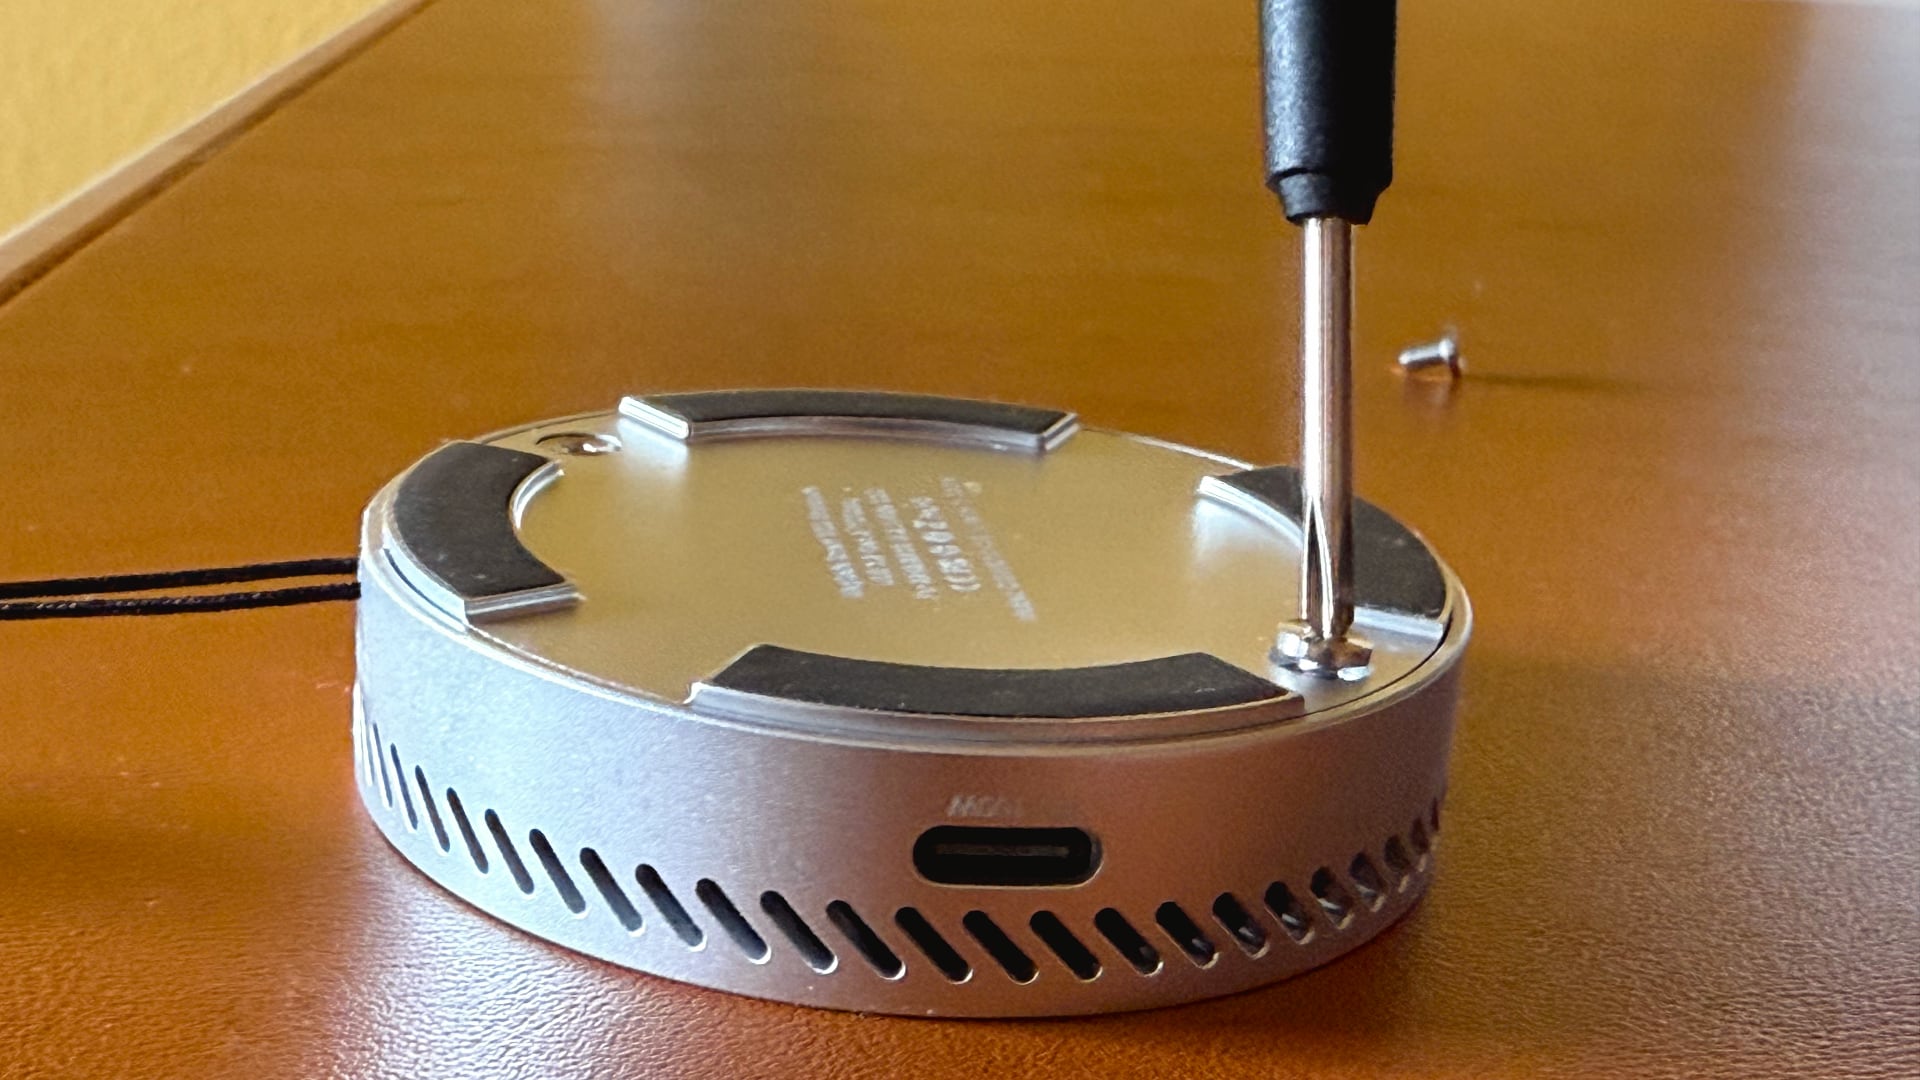 I immediately noticed a purple capacitor, which holds up to three seconds of electric charge (depending on the SSD size and brand). This lets the enclosure finish writing data in case of power loss or improper unplugging (to avoid this in macOS, right-click the drive and choose the Eject command from the menu).
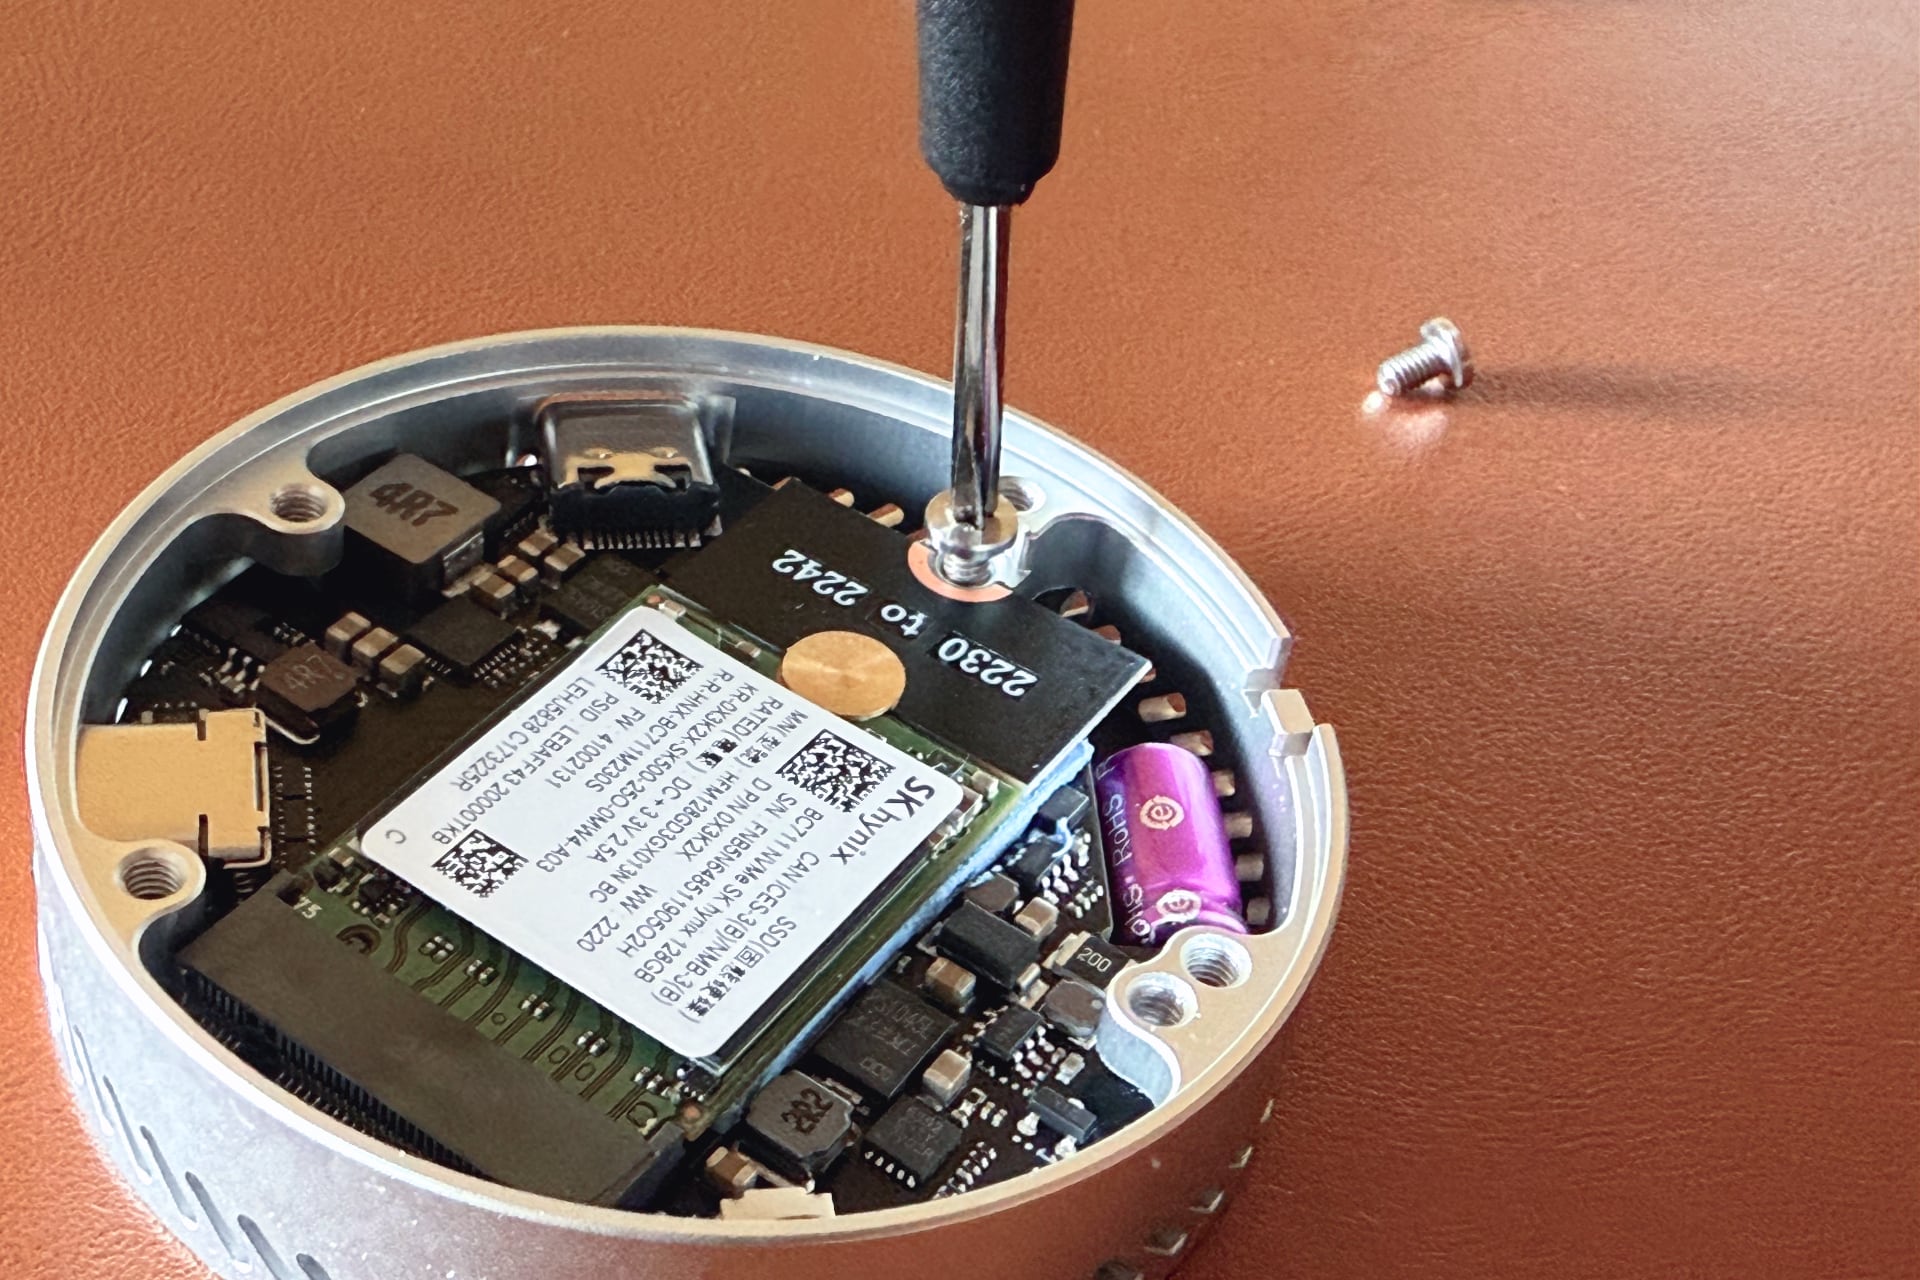 There’s also an M.2 slot on the logic board; that’s where I’ve plugged in my SSD. The only thing left to do before screwing the backplate was to slide in the lanyard.
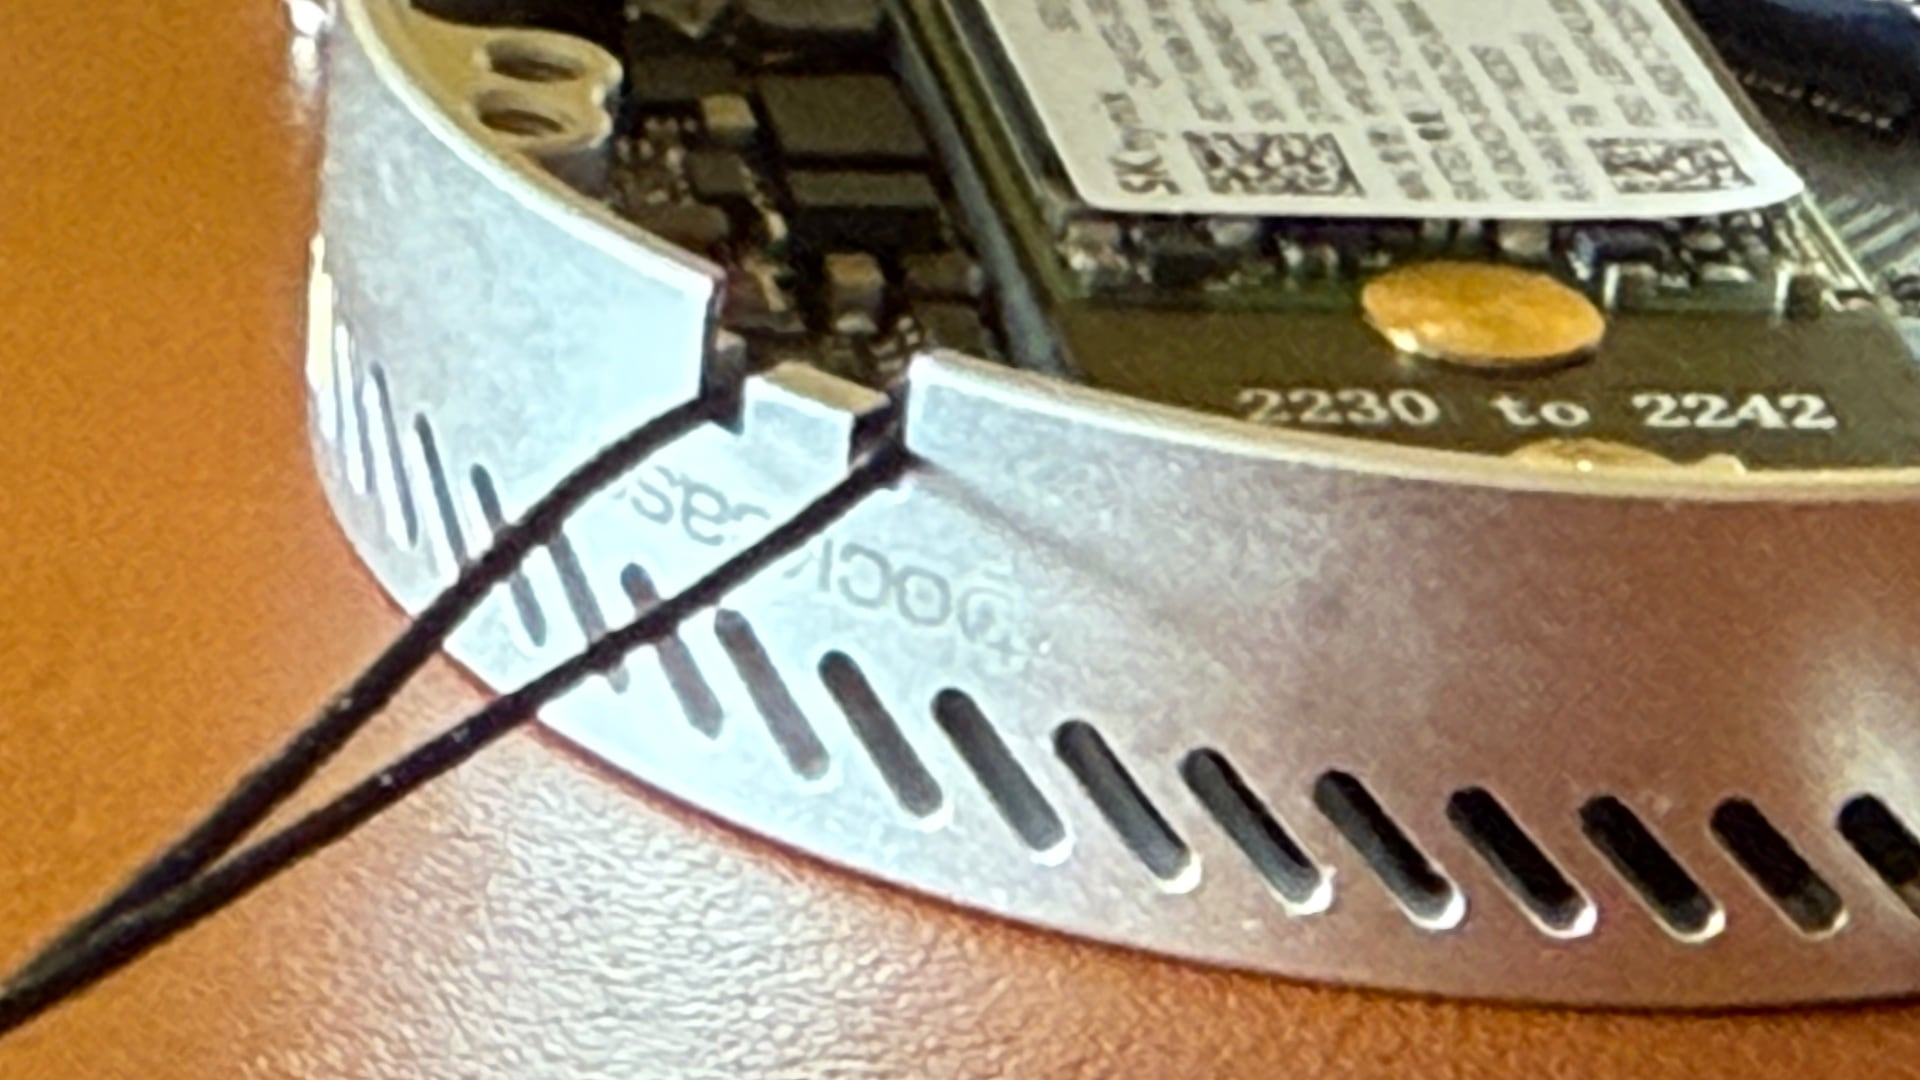 Installing an SSD as quick as possible is crucial for demanding shoots when you might need to swap your storage multiple times per session.
The built-in status display could be more useful
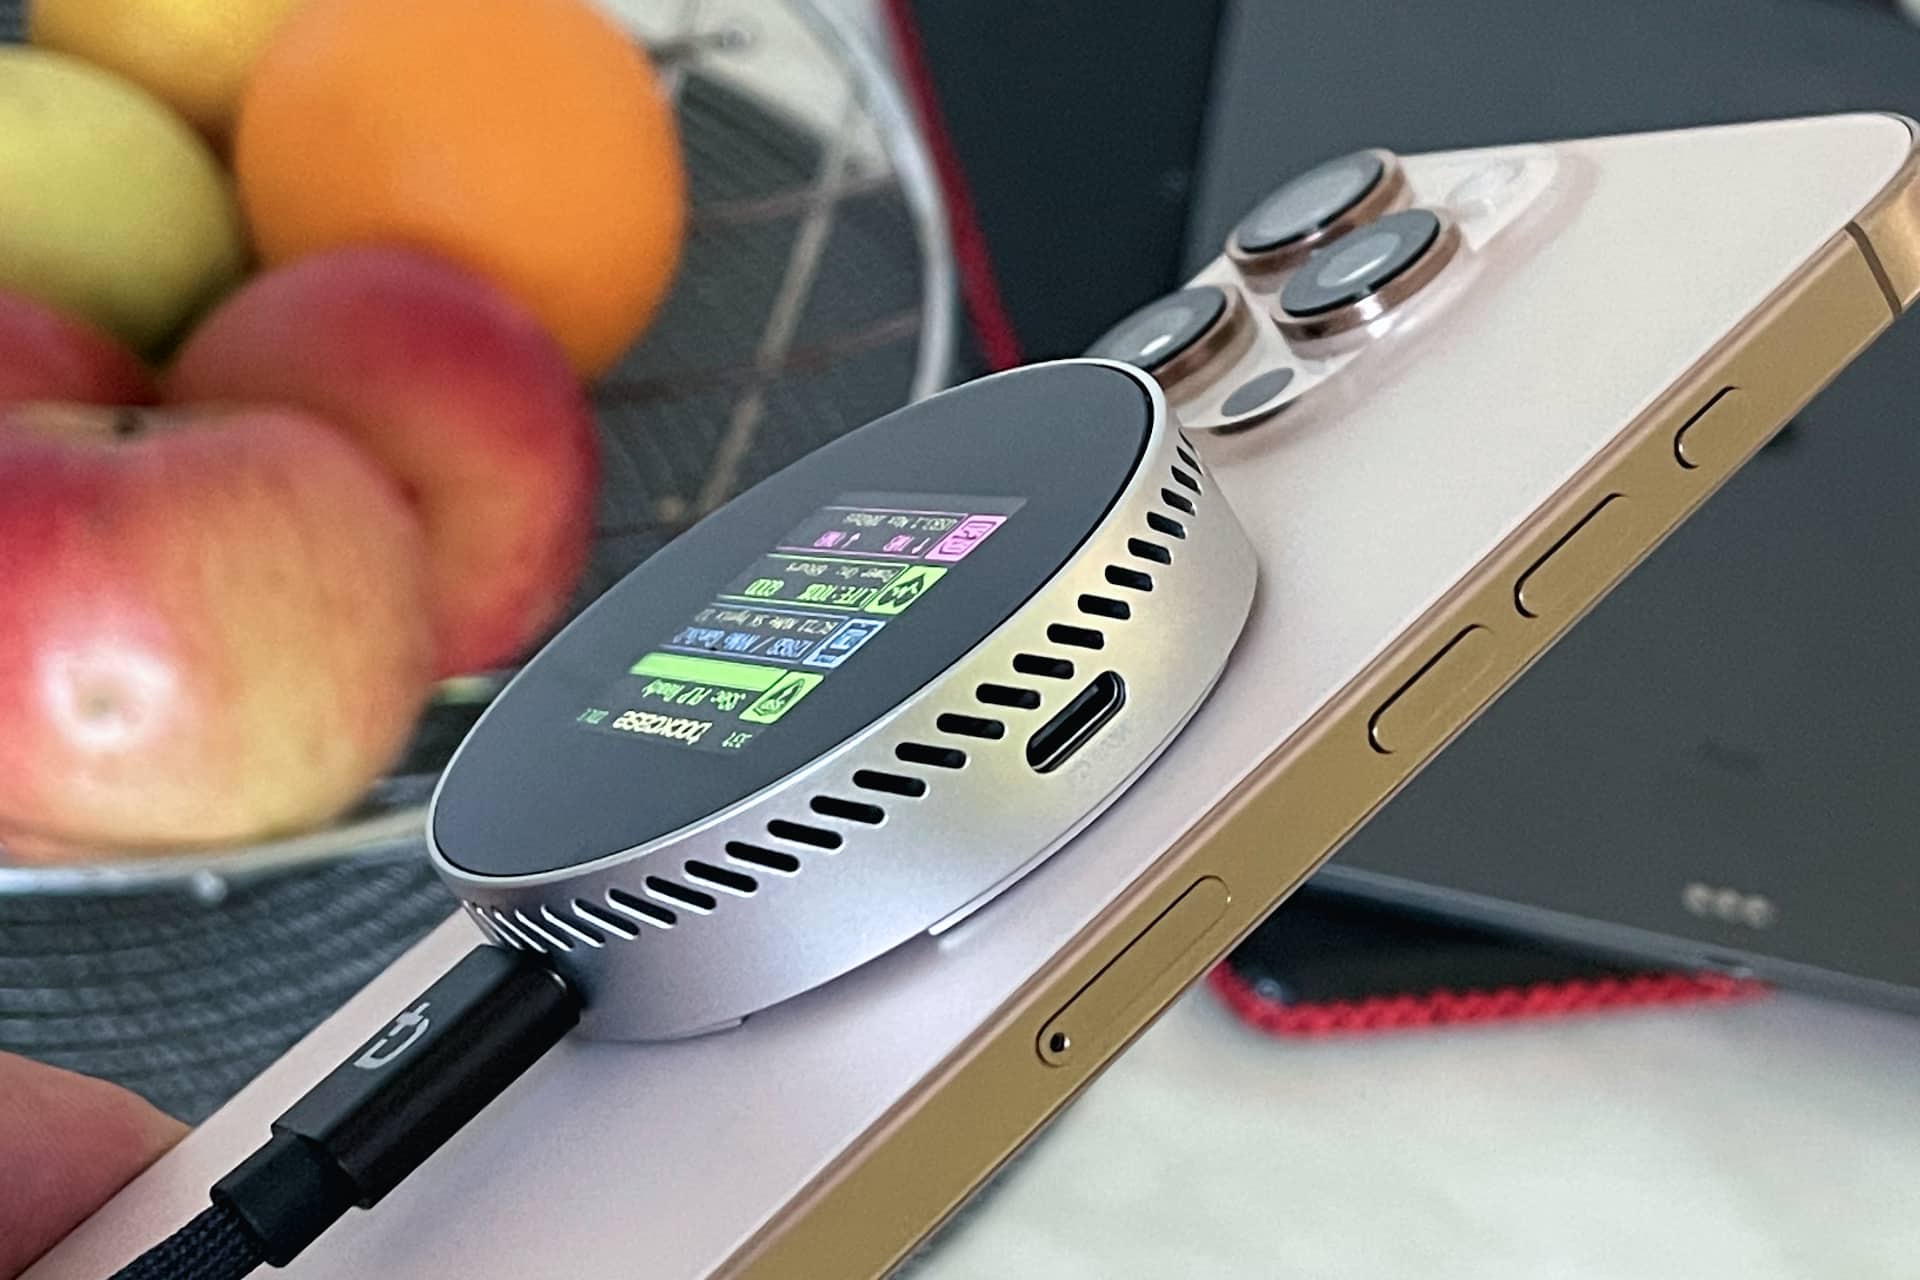
Many Dockcase hubs and enclosures have an integrated display to show the status of various functions, with a dedicated D-pad button on the side used to cycle through various real-time information displays.
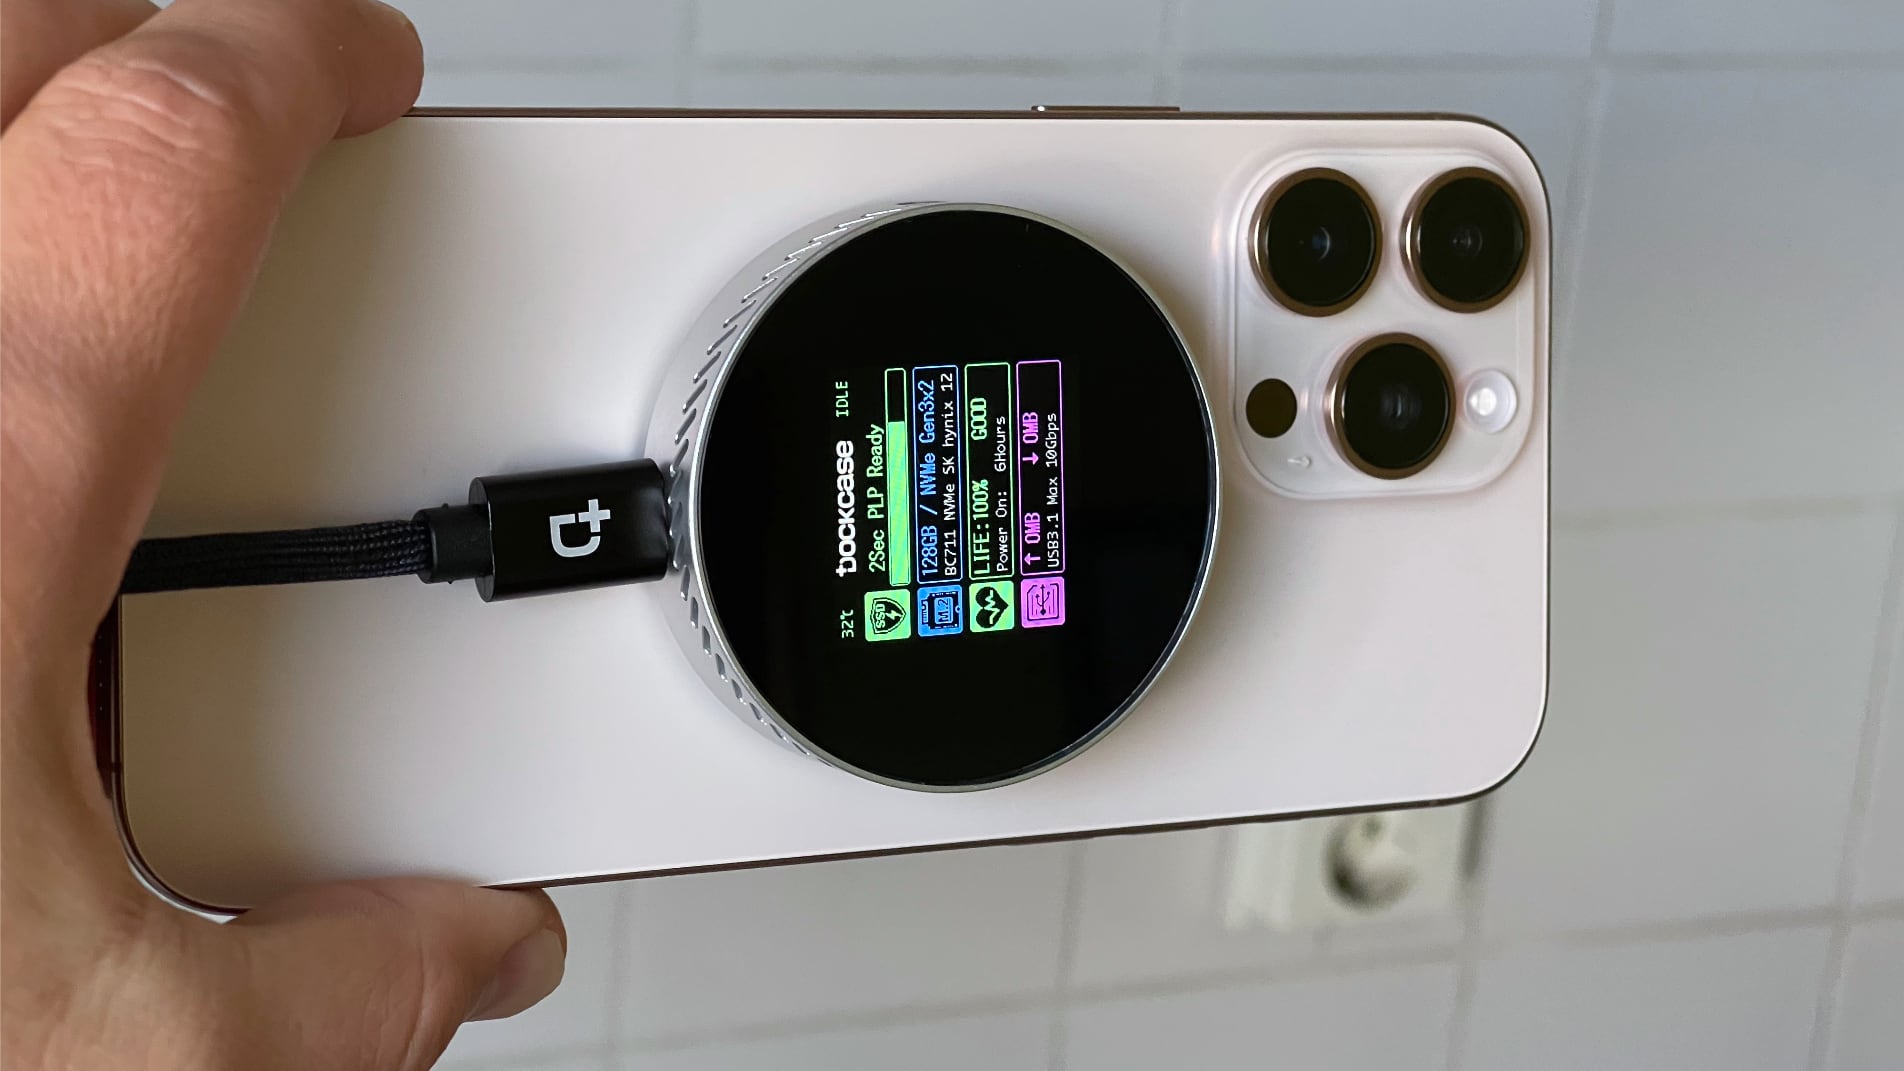 In my experience, however, this is one feature I could do without easily. Don’t get me wrong; there’s value in seeing your current read and write speeds, USB/SSD transfer mode, maximum transfer rate, drive health and power loss protection (which kicks in when the power cuts out or you abruptly unplug the enclosure).
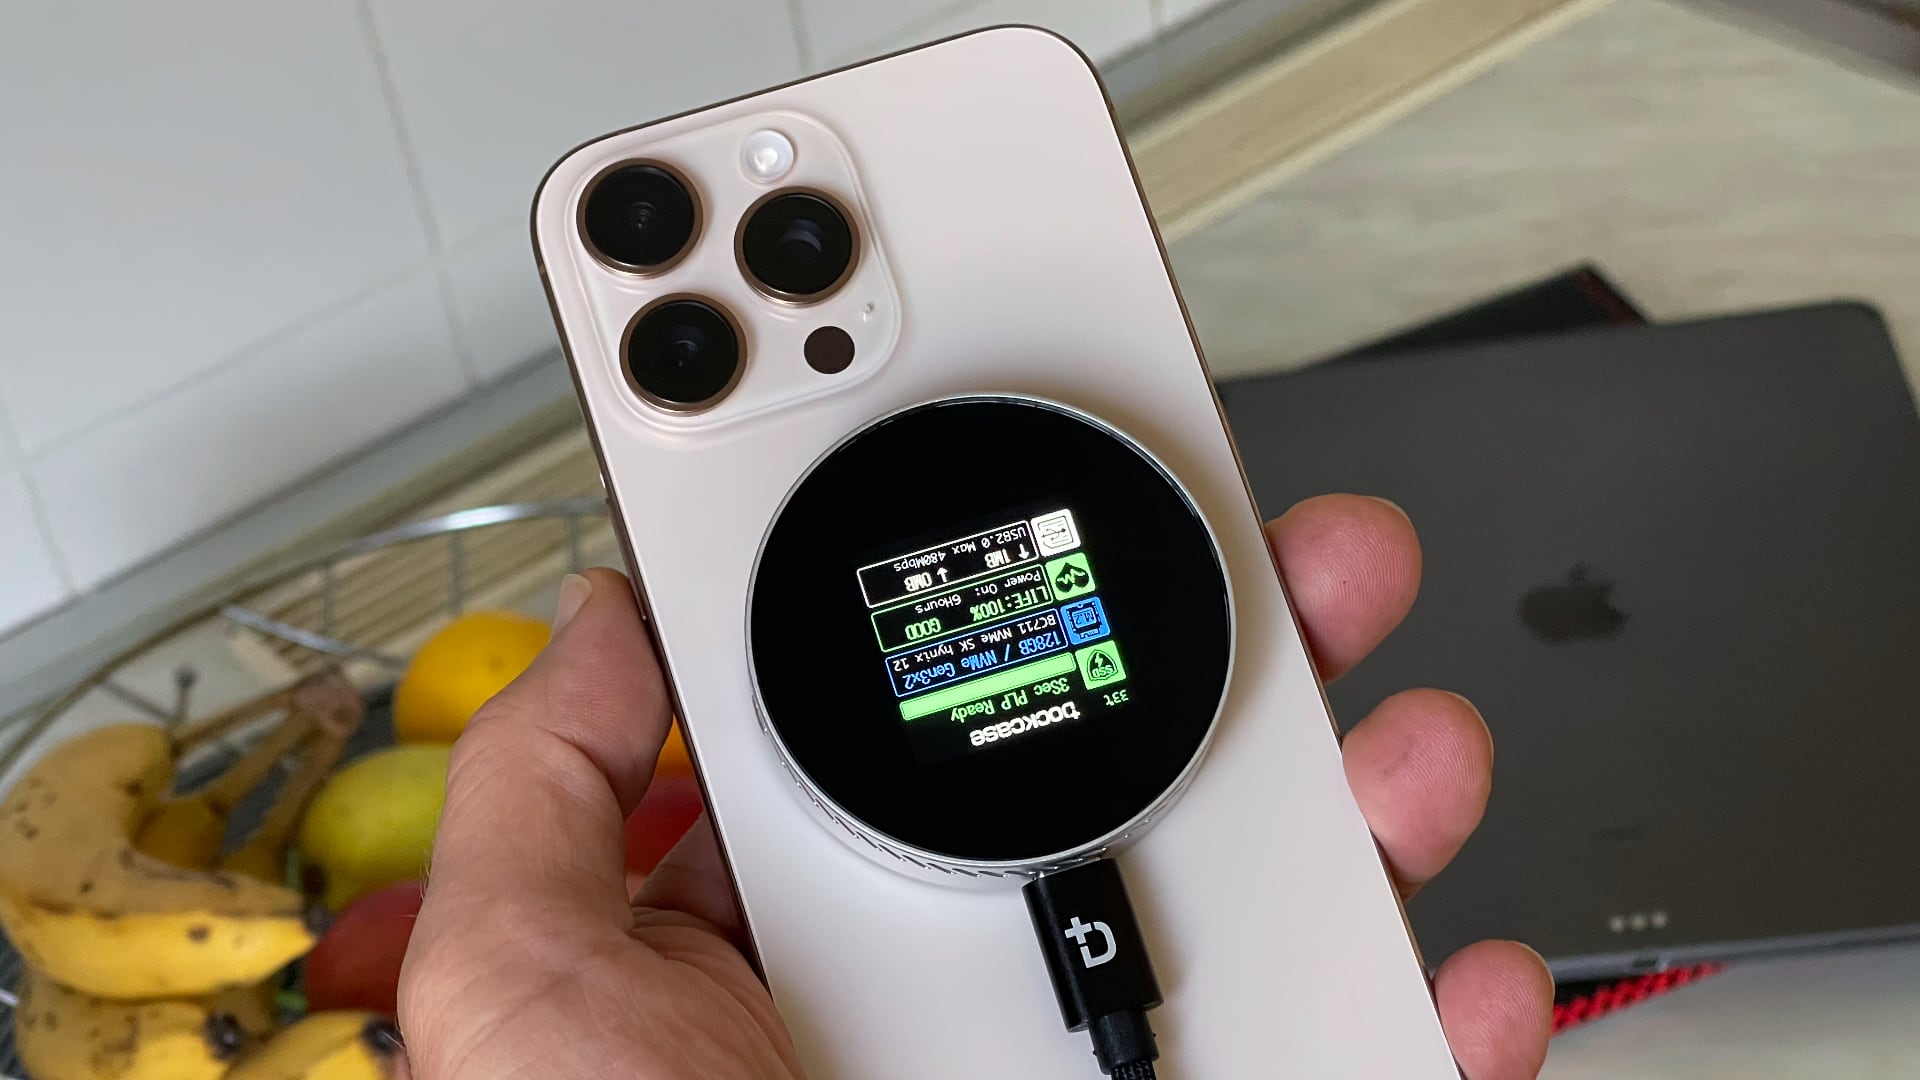 But what I’d really like to know are details about the SSD drive, like the remaining drive capacity. Limited screen functionality could and will be fixed in software. However, I’m not convinced that a built-in screen makes a huge difference.
A pocketable file transfer tool
This enclosure is an excellent file transfer tool. Thanks to its ubiquitous USB-C interface that brings plug-and-play functionality, no additional software is required to use the device. Just plug it into a host’s USB-C port and you’re good to go. I like the read-only mode, which prevents accidental file deletion or modification. One thing to keep in mind is that you cannot encrypt your SSD in this enclosure.
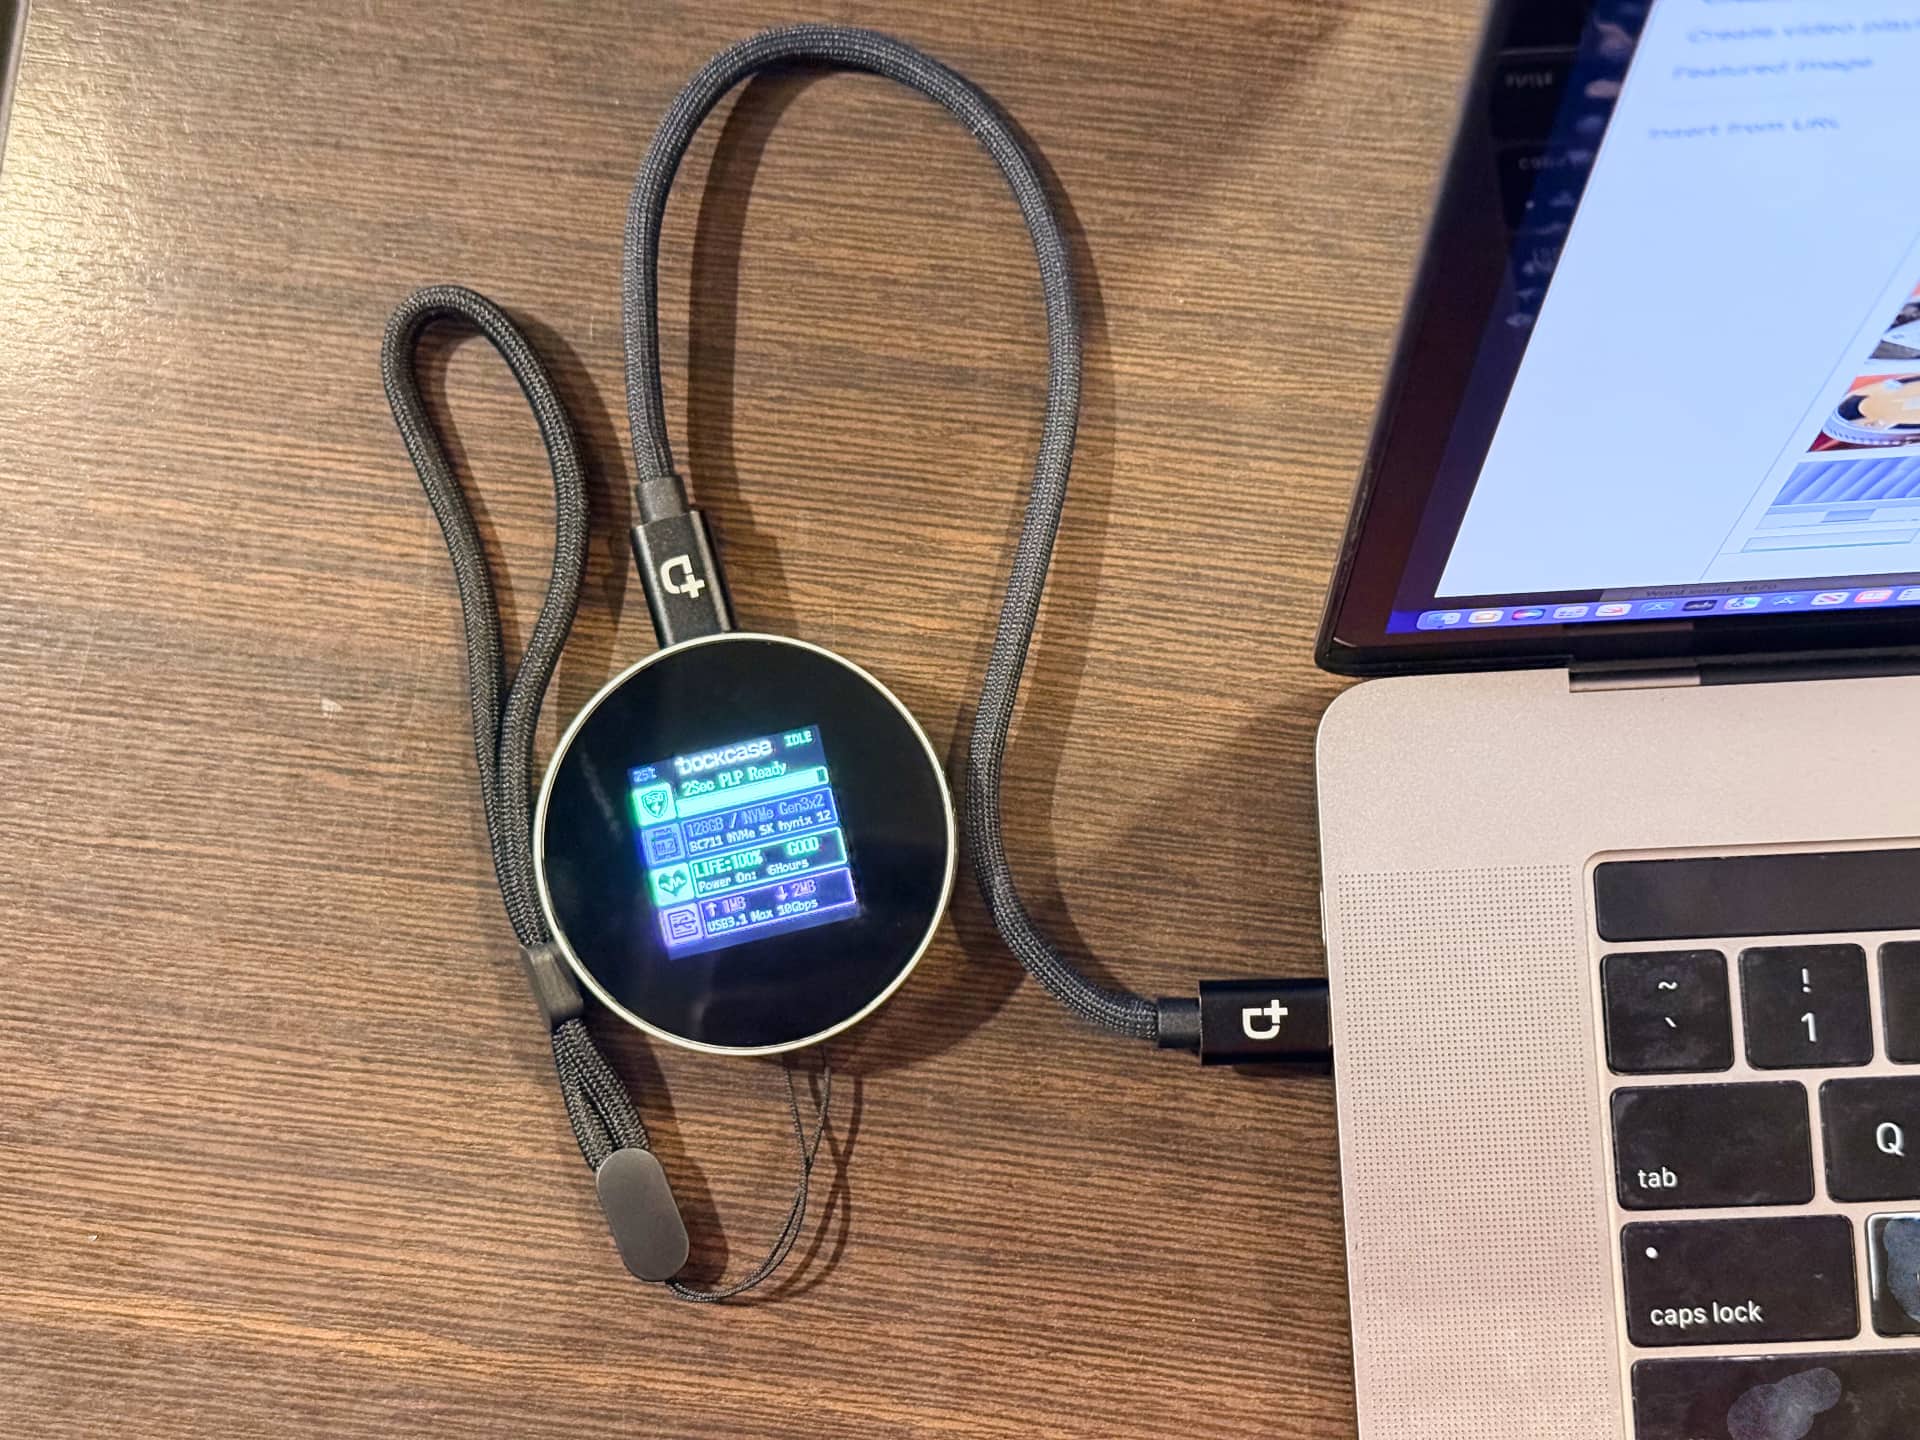
I’ve used it to transfer large project files between my MacBook Pro and my partner’s Windows PC and move videos between my iPhone, iPad, and Android devices. It also worked as USB expansion storage for my PlayStation 5. Other platforms like Linux, ChromeOS, Harmony and others will have no issues with this enclosure.
Dockcase MagSafe SSD enclosure review: Final thoughts
There isn’t a lot to criticize about this neat enclosure. While USB4/Thunderbolt 4 compatibility would have been a great touch, USB 3.2 Gen 2 is already fast enough to shoot ProRes video directly to the internal SSD. While it’s possible to connect the enclosure to a host device via USB 3 or Thunderbolt 3 or 4, the maximum rate can only reach 10Gbps instead of 40Gbps.
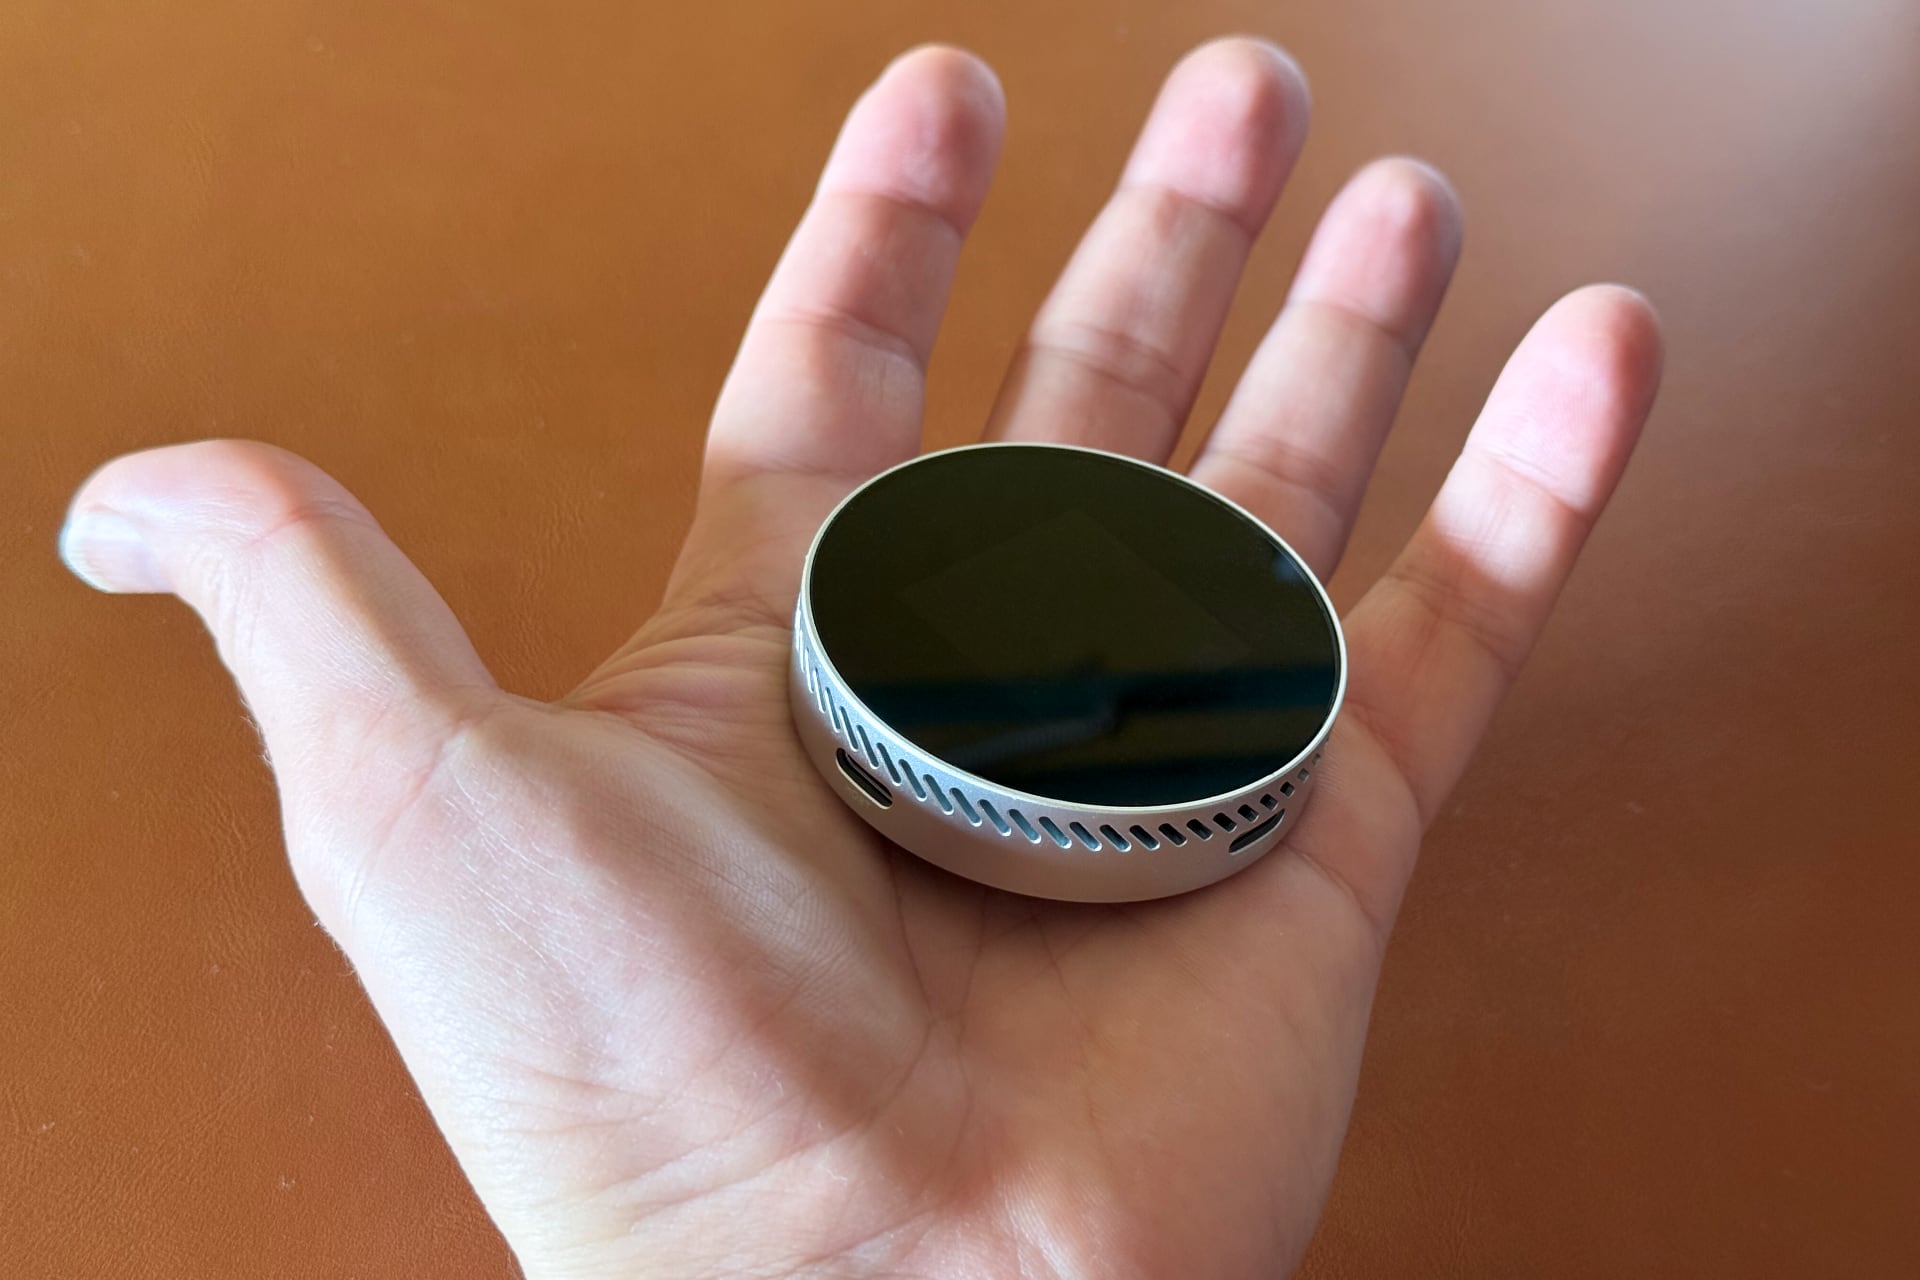
Yes, the price could be lower, but this is one sexy enclosure with built-in magnets and a screen. The only thing I miss that’d make it perfect is an additional USB C port for hooking up an external microphone for video recording.
Dockcase MagSafe SSD enclosure review: Pros and cons
Pros
- Lightweight and pocketable
- Well designed with sturdy build quality
- Convenient magnetic connection
Cons
- No USB4/Thunderbolt 4 compatibility
- Built-in display could be more useful
- Costs more than some of the competition
Pricing and availability
The Dockcase MagSafe SSD enclosure is available in Matte Black and Glossy Silver color finishes, in 15W and 100W versions priced at $80 and $100, respectively. You can purchase your Dockcase MagSafe SSD enclosure through the Dockcase website or wait until it becomes available via the DockCase Amazon store at some point. Deliveries will start from January 2025.
 Dockcase has successfully crowdfunded this project on Kickstarter. We usually avoid Kickstarter projects except for trusted brands like Kickstarter, which has a history of successful crowdfunded projects (it’s their thirteenth project so far).
If you like this enclosure, check out other tested Dockcase accessories, including a Photography Edition of its funky pocket-sized external M.2 NVMe SSD enclosure, an Explorer Edition of its 7-in-1 USB hub, and a Studio portable hub with both CFexpress and UHS-II memory card readers and other handy ports.
Source link: https://www.idownloadblog.com/2024/11/11/dockcase-magsafe-ssd-enclosure-review-m-2-nvme-flash-storage/


Leave a Reply