

How to create shopping lists, to-dos, and checklists in the Apple Notes app
Learn how to create interactive checklists in Apple Notes on your iPhone, iPad, Mac, and iCloud web to keep track of tasks and improve your productivity.
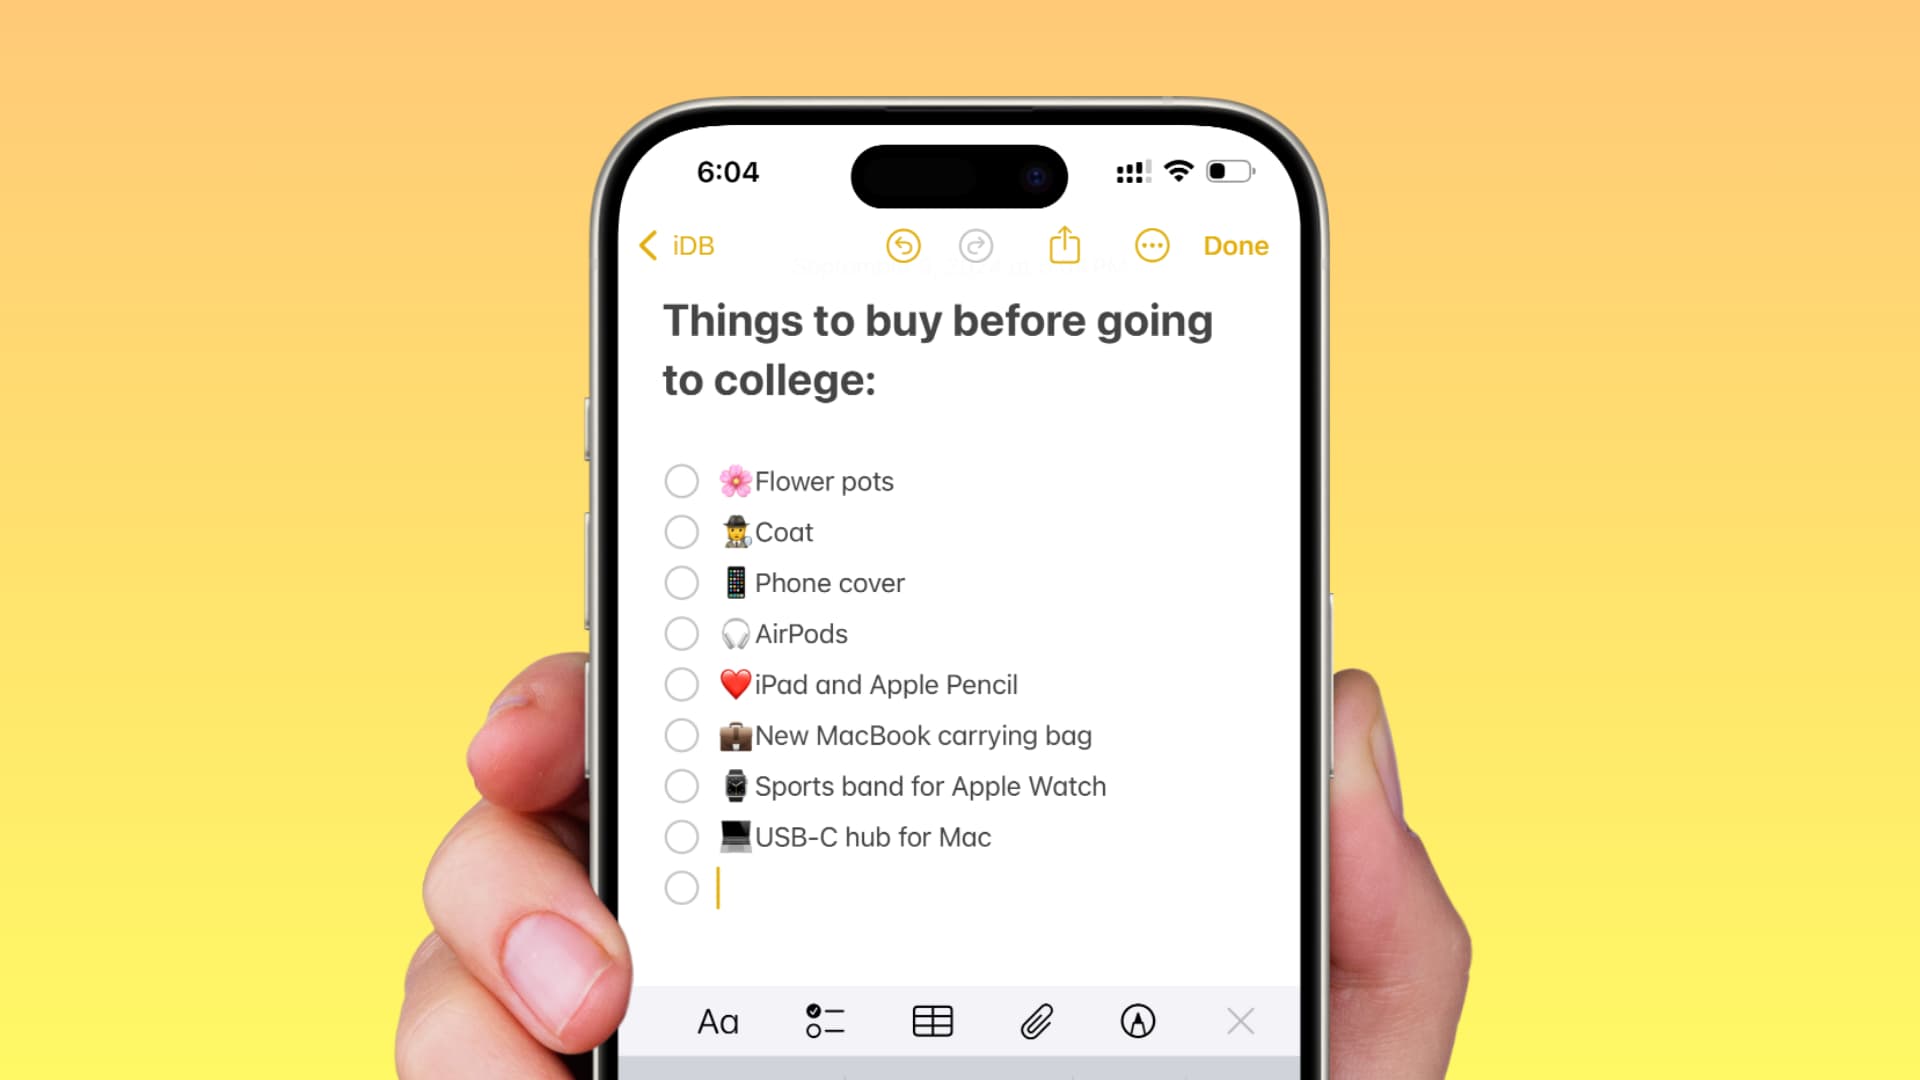
Checklists work great for things like grocery lists, wish lists, quick to-dos, and whatnot. Additionally, they’re interactive, so you can tick off individual items to mark them as completed. And with iCloud, changes to your notes are automatically pushed to all your devices.
Note that the Reminders app also handles to-dos perfectly, with the added bonus of alerting you so you do not forget a task. However, if you use Notes a lot, the built-in checklists feature has you covered.
Create checklists in the Apple Notes app
You can create it on one device, and it will sync on your other devices.
iPhone or iPad
- Open the Notes app and go inside a new or existing note.
- Tap the checklist icon above the iOS keyboard. If you’re on an iPad, tap the checklist icon from the top.
- Type a title for your checklist and hit the return key to add the next one. Repeat this to add as many items as you want.
- Tap Done.
Tip: You can start creating a new checklist quickly by touching and holding the Notes app icon on the iOS Home Screen, App Library, or Spotlight Search and selecting New Checklist.
Mac
You have four easy ways to create a new checklist on Mac. So, open the Notes app and do one of the following:
- Click the checklist icon from the top of a note.
- Right-click in the note body and choose Checklist from the menu.
- Click Format from the top menu bar and select Checklist.
- You can also create a new checklist by pressing Shift + Command + L when you’re inside a note.
After you add an item, press the return key to add another.
iCloud Web
You can create a checklist in Apple Notes using a web browser on your Mac, Windows PC, and other devices.
- Visit iCloud.com and sign in with your Apple Account and password.
- Select Notes and then create a new entry or go inside an existing one.
- Click the checklist icon from the top and add your first entry. Hit the return key to add more.
Note: You can also view your checklists and other notes in Microsoft Outlook on your Windows computer by setting up iCloud Notes using Apple’s free iCloud for Windows client.
Turn an existing note into a checklist
If you already have entries in a note in simple text form, you can turn them all into a checklist in one fell swoop.
Start by selecting the lines inside the Notes app and then hit the checklist icon to turn all lines/paragraphs into tappable checklist items. This works on both iOS and macOS.
Mark a checklist item as completed
Simply tap the circle next to an item in the checklist and it will be marked as completed.
You can even have your device automatically move completed checklist items to the bottom. This way, the uncompleted tasks remain at the top of your list for easy access.
Similar to other notes, you can also share a checklist note with your friends and family. We have explained the entire process in our dedicated tutorial, but here’s a recap.
- Open the note with the checklist and tap the share button.
- Make sure it says Collaborate on the iOS Share Sheet, and then send the invite to your friend or family using Messages or another app.
- Once they accept your invitation, the note is shared.
- Members of the shared note can add new items to this checklist and mark existing ones as completed. All members receive an alert when another one makes an edit.
Also see: How to create a shared family grocery list on iPhone
If you don’t see the option to create a checklist
You can go to your device settings and add non-Apple accounts, such as Gmail and Outlook, to store notes you create in the Apple Notes app. However, these third-party accounts do not support several features like checklists, sketching, adding tables, locking, and more.
So, if you’re creating a note in the Gmail or Outlook section of your Notes app, then you won’t get the option to add a checklist. You can only create one if you select iCloud or the offline On My iPhone/iPad/Mac account.
In rare cases, you may not be able to tap the checklist icon because of temporary system glitches. Simply restart your device and it should fix the issue.
On a related note:
- The best ways to access your iPhone Notes on Windows PC
- How to use live audio transcription in Apple Notes on iPhone, iPad, and Mac
Source link: https://www.idownloadblog.com/2024/09/10/how-to-use-checklists-apple-notes-app/

Leave a Reply