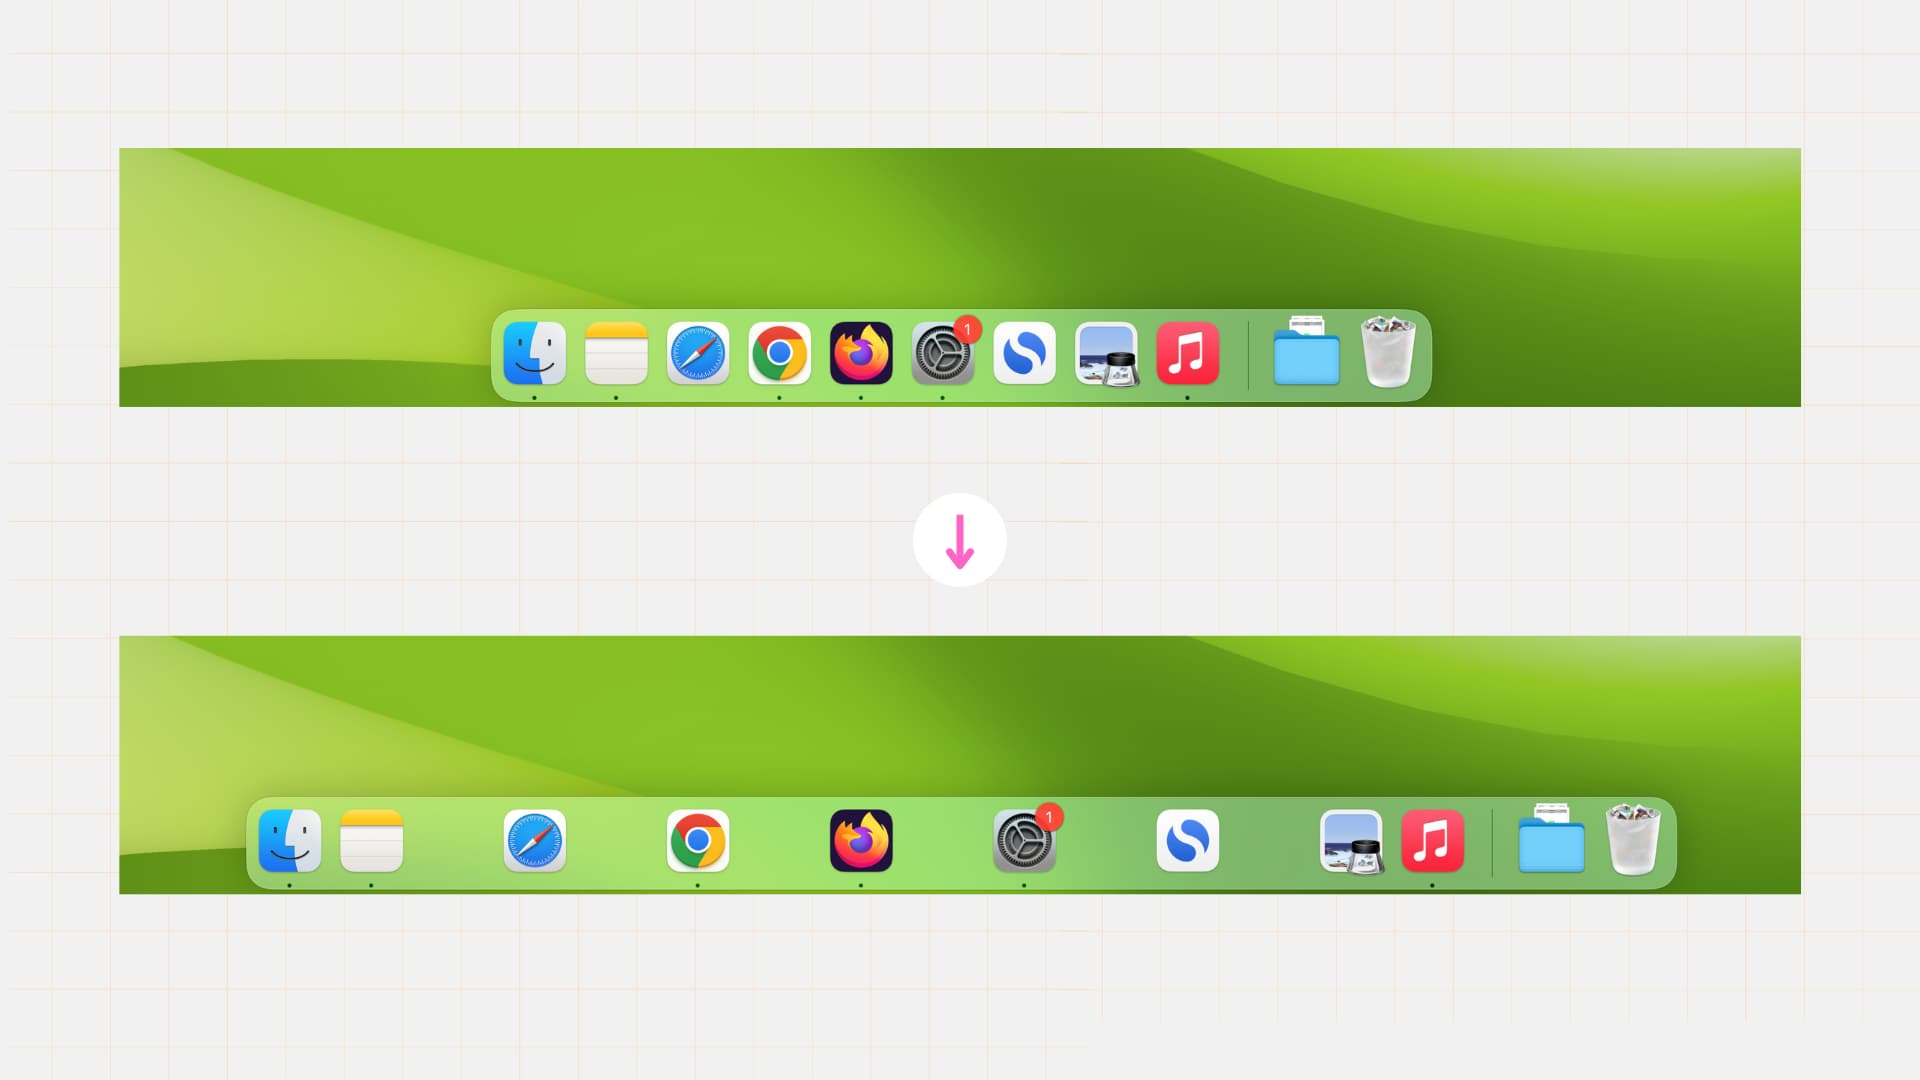
How to add transparent space separators to the Dock on your Mac

Whether you’re a productivity geek or simply want to customize desktop, this simple Terminal command will help you achieve a cleaner and more organized Dock setup in no time by creating clear divisions between app icons..
Add space between the app icons in your Dock
1) Launch the Terminal app on your Mac
2) Type in the following command and press the return/enter key:
defaults write com.apple.dock persistent-apps -array-add '{tile-data={}; tile-type="spacer-tile";}'
3) Finally, you need to refresh the Dock for new changes to show up. To do that, type in the following command and press the return key:
killall Dock
Your Dock will disappear momentarily, and when it comes back, you’ll see an empty blank space on the Dock. You can then drag this empty space to the desired location.
If you don’t see the empty spaces:
- Retry the above steps a few times. When it works, you may see multiple spaces, and you can drag them to your desired spots.
- Restart your Mac.
Add multiple spaces
If you’d like to add multiple spaces to the Dock, you can repeat Step 2 as many times as you would like before executing Step 3.
Remove empty spaces
To remove a blank space, simply right-click on the space and click Remove from Dock. You can also drag the space away from the Dock up to the Desktop to remove it.
Be sure to watch the video tutorial below for a start-to-finish tutorial showcasing how to add and remove spaces on your Dock.
What do you think? Would you consider using spaces to better organize your Mac’s Dock?
Check out next:
- How to reset the Dock of your Mac to its default apps and settings
- How to create a blank iPhone Home Screen with no apps
- How to create blank, empty, transparent app icons on your iPhone Home Screen
Source link: https://www.idownloadblog.com/2023/06/01/how-to-add-space-to-dock-mac/


Leave a Reply