

How to stop your iPhone from converting image file formats (PNG to JPG) when AirDropping them
Are you sending images via AirDrop from your iPhone to Mac, and the image format changes while transferring? For instance, you have the image in PNG format on your iPhone, but after sharing it with AirDrop, it appears on the Mac as a JPG file. If you face a similar situation, here’s how to transfer images from iPhone to Mac in original file format, at full-quality with all its Exif data and everything.
How to access photos on iCloud using iPhone, iPad, Mac, and a web browser
2. Turn on “Keep Original” from iPhone Settings
By default, iPhone running iOS 11 and later takes images in High Efficiency Image File (HEIF) format. HEIF takes substantially less space than JPG. But this format isn’t supported on all devices, operating systems, apps, and websites.
So, either you can set your iPhone to shoot in JPG instead of HEIF. Or, you can choose to shoot in the high-efficiency format (HEIF), thus saving space but have your iPhone convert them to JPG when transferring. You can learn more about all this here and also see the steps to proceed.
Note: This method did not work between my new iPhone running the latest iOS 15.1 and my old Mac running macOS Catalina. Maybe an update will fix this.
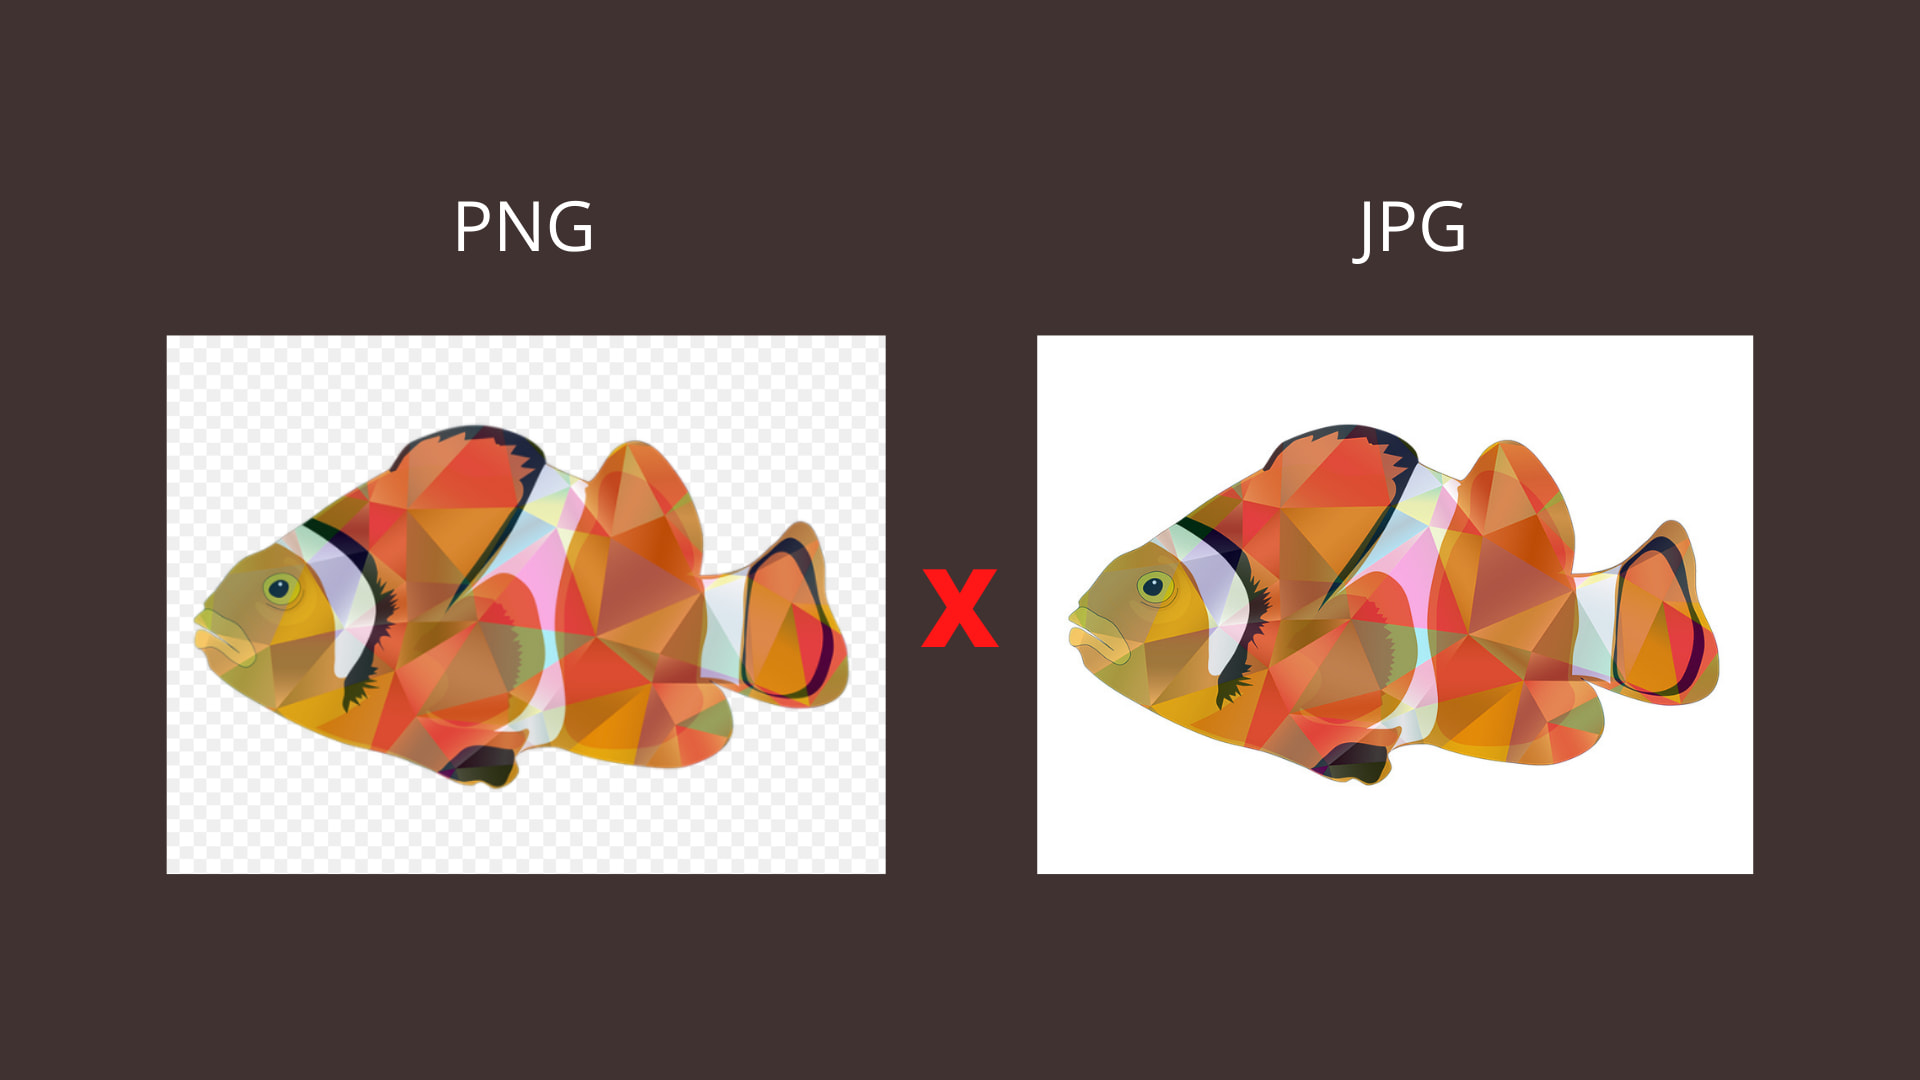
Related: How to convert various image file types to JPG or PNG on iPhone or iPad
3. Bonus Tip: Use Image Capture to get images from iPhone to Mac in original format
Image Capture is a simple yet excellent macOS app by Apple, which is pre-installed on all Macs. I often use this to transfer images between my iPhone and MacBook when AirDrop doesn’t work, I have tons of images to copy, or I face issues like this one where the format changes.
Here’s how to use Image Capture to transfer images from iPhone to Mac in original quality and format.
- Connect your iPhone to Mac using an appropriate cable.
- Open Image Capture by pressing Command + Space Bar and typing its name. You can also open it from the Launchpad or Applications folder.
- Unlock your iPhone using Face ID, Touch ID, or entering its passcode.
- In a few seconds, you should see your iPhone pictures inside Image Capture. Select one image or press Command and select multiple.
- Finally, click Import. You can see these images in Mac’s Downloads folder.
Exif data, which can disclose things like where you shot the picture and more. So, take caution if you would like to hide them before sending the image to someone.
You may find these useful:
- How to edit the metadata of a photo on iPhone with Exif Metadata app
- iOS 15 Photos lets you view EXIF metadata and manually adjust capture location, time and date
- How to access your iPhone Camera Roll on Mac or PC
Source link: https://www.idownloadblog.com/2021/11/16/how-to-stop-iphone-converting-images-airdrop/

Leave a Reply