

How to mark up and annotate Photos on Mac

Whether for business or fun, you may want to mark up a photo on your Mac. Maybe you want to call out part of an image, point to something in a photo, insert additional text, or use another type of annotation.
The Markup tool that you might be familiar with in other apps on your Mac is available in the Photos app too. So to help you, here’s how to mark up and annotate images in Photos on Mac.
Access the Markup tool
Before you can use the tool, you need to know where to find it and open it. Open Photos, select an image you’d like to annotate, and then do the following.
1) Double-click the photo so that it’s in the full screen of Photos.
2) Click the Edit button on the top right.
3) Select the Extensions option (three dots) in the toolbar and pick Markup.

Note: If you prefer to keep a copy of your original before you mark it up, you can duplicate the photo first. Right-click the image and select Duplicate 1 Photo.
Mark up your photo
Once the Markup tool is open, you can annotate your photo easily with the tools in the bar across the top.
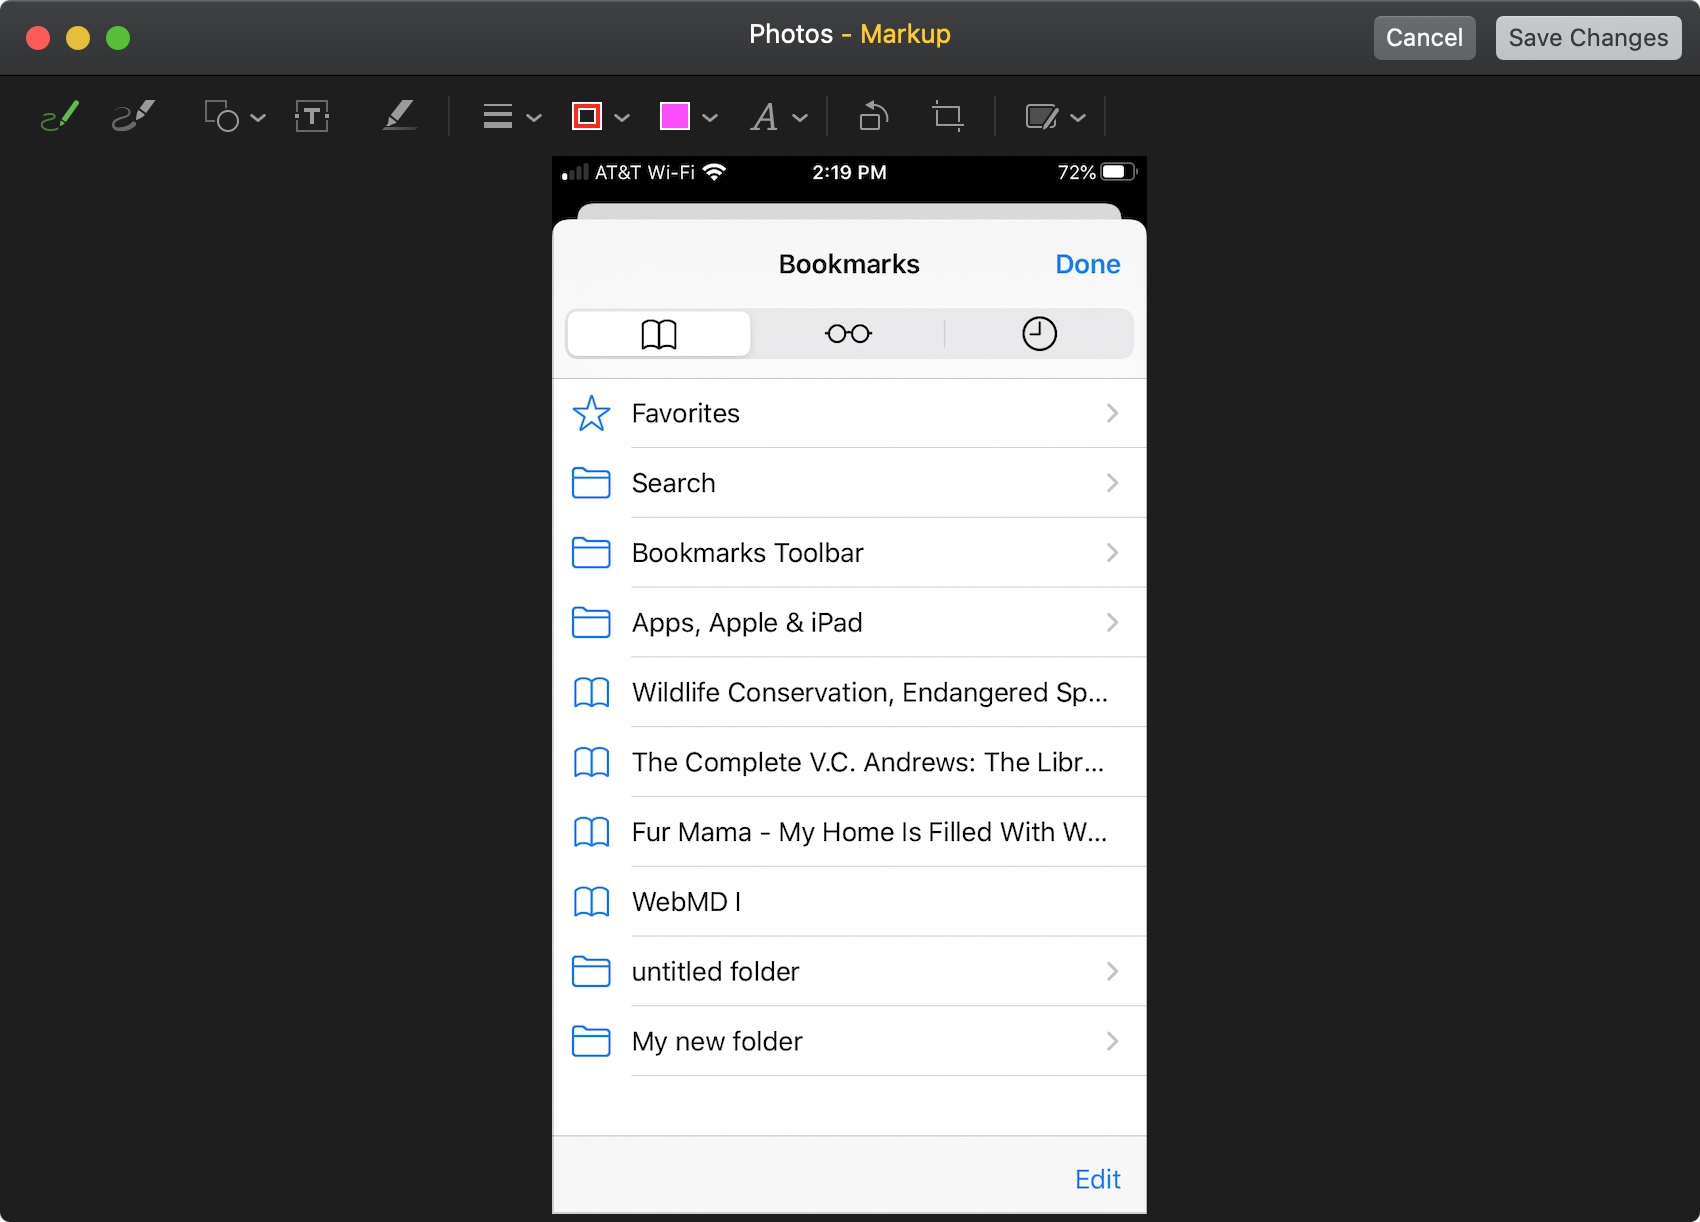
Here they are, from left to right:
Sketch and Draw: When you use the Sketch tool, you’ll see a pop-up right below the button if your sketch resembles a shape. This lets you pick one for a nicer looking markup.
Shape: Along with shapes like squares, circles, and stars, this area includes the Mask and Loupe tools. If you do select a shape, you can use the style tool further to the right on the toolbar.
Text and Highlight: If you use the Text option, a text box will appear on your image. You can then just type the text you want and use the button further to the right to format it.
Shape Style: Once you insert a shape, you can use the options here to change the line style or the arrow type.
Border Color and Fill Color: These tools add your color of choice for shape borders and fill colors.
Text Style: Here you can pick the font style, color, size, alignment, and format for text boxes you insert.
Rotate and Crop: The Rotate button will turn your image with each click. And if you use the Crop tool, drag the edges to contain the portion you want to keep and click Crop.
Annotate on iOS Device: If you have other devices like an iPhone or iPad, you can select one here. That will pop the image onto the device you choose in the Markup tool.
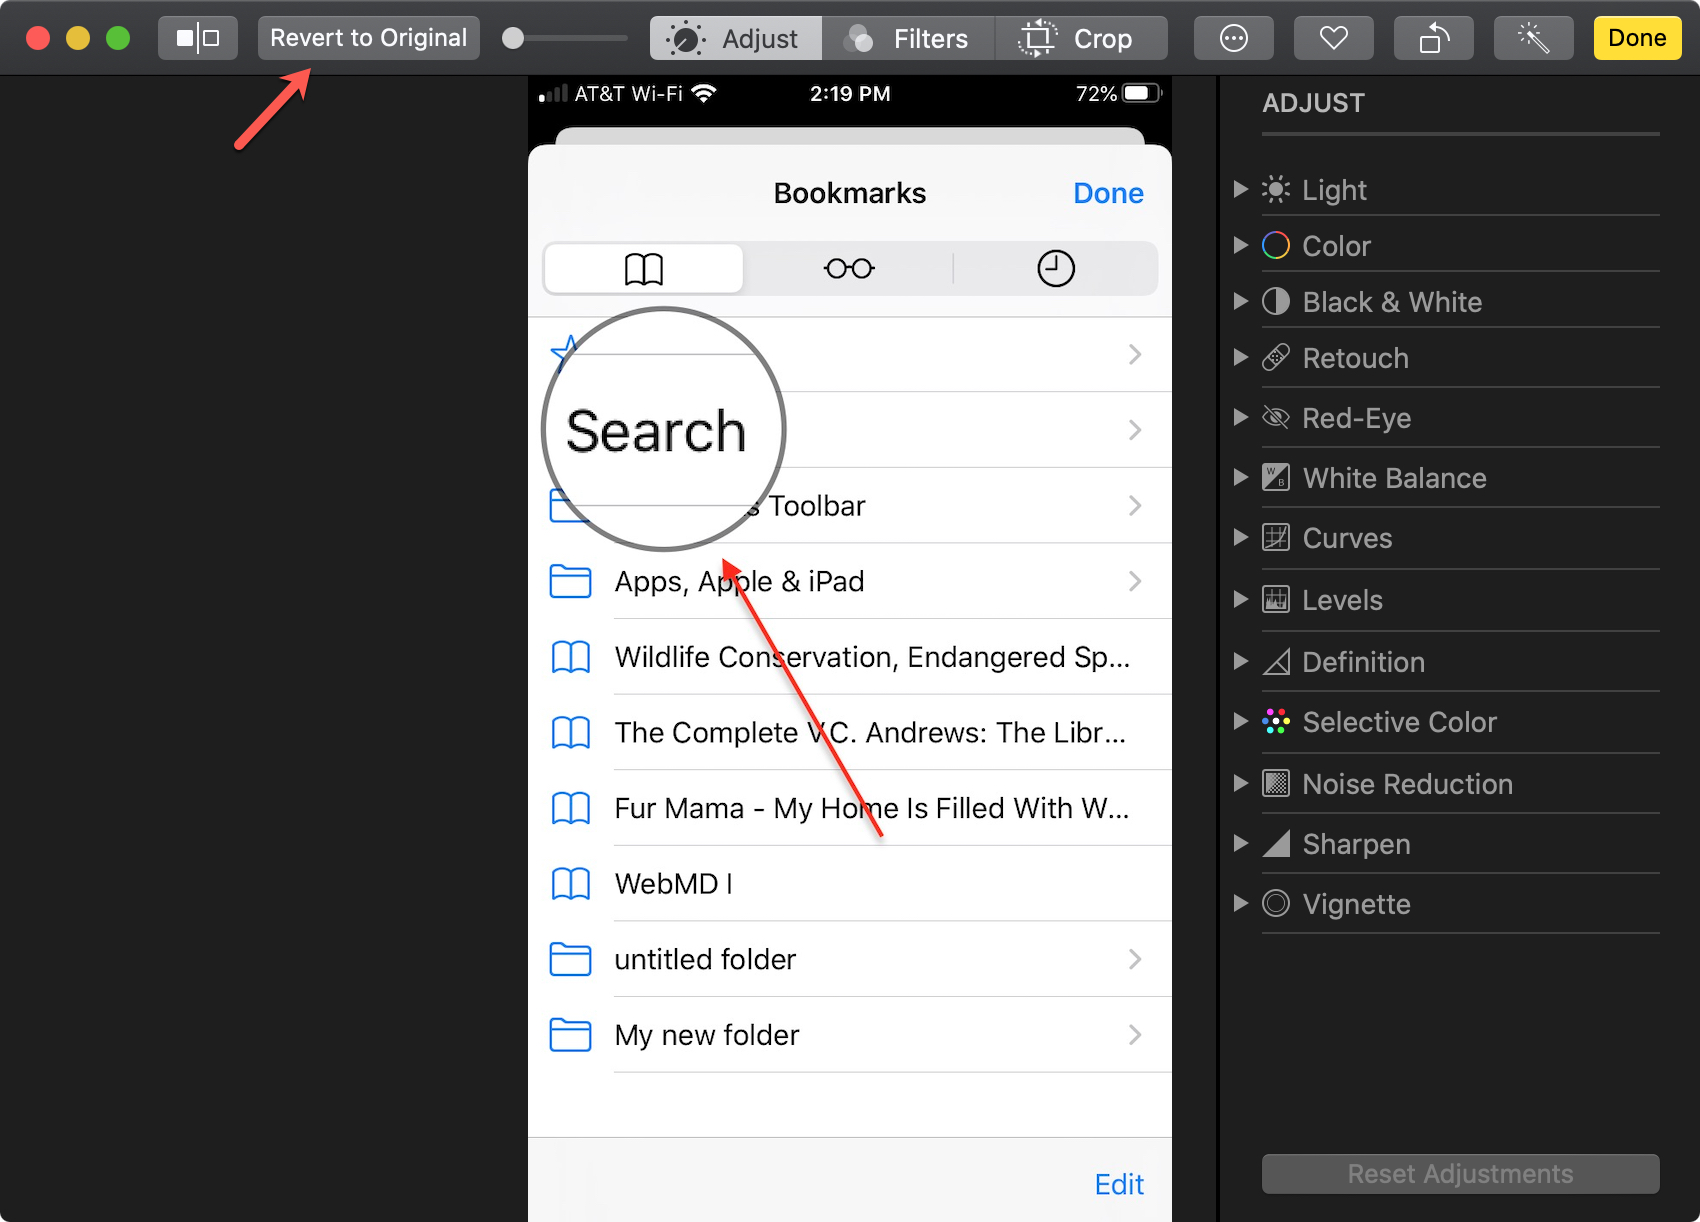
Save or revert
When you finish making any changes with the Markup tool, click Save Changes at the top. Then click Done in the photo editing window. The annotated image will then replace your original.
If you don’t like the way the annotated image turned out, you can select the image you marked up and click Edit. In the editing window, click Revert to Original.
Wrapping it up
For a quick and easy way to annotate your photos, remember that you can use the Markup tool in the Photos app on Mac.
And if you have any tips for using the Markup tool in general, feel free to comment below!
For more, check out how to mark up photos on your iPhone and iPad as well.
Source link: https://www.idownloadblog.com/2020/07/21/annotate-mark-up-photos-on-mac/

Leave a Reply