

How to name Voice Memos with your location on iPhone, iPad and Mac
If you use the Voice Memos app when you travel, conduct interviews, or when you’re in different spots, you might appreciate the location-based naming feature.
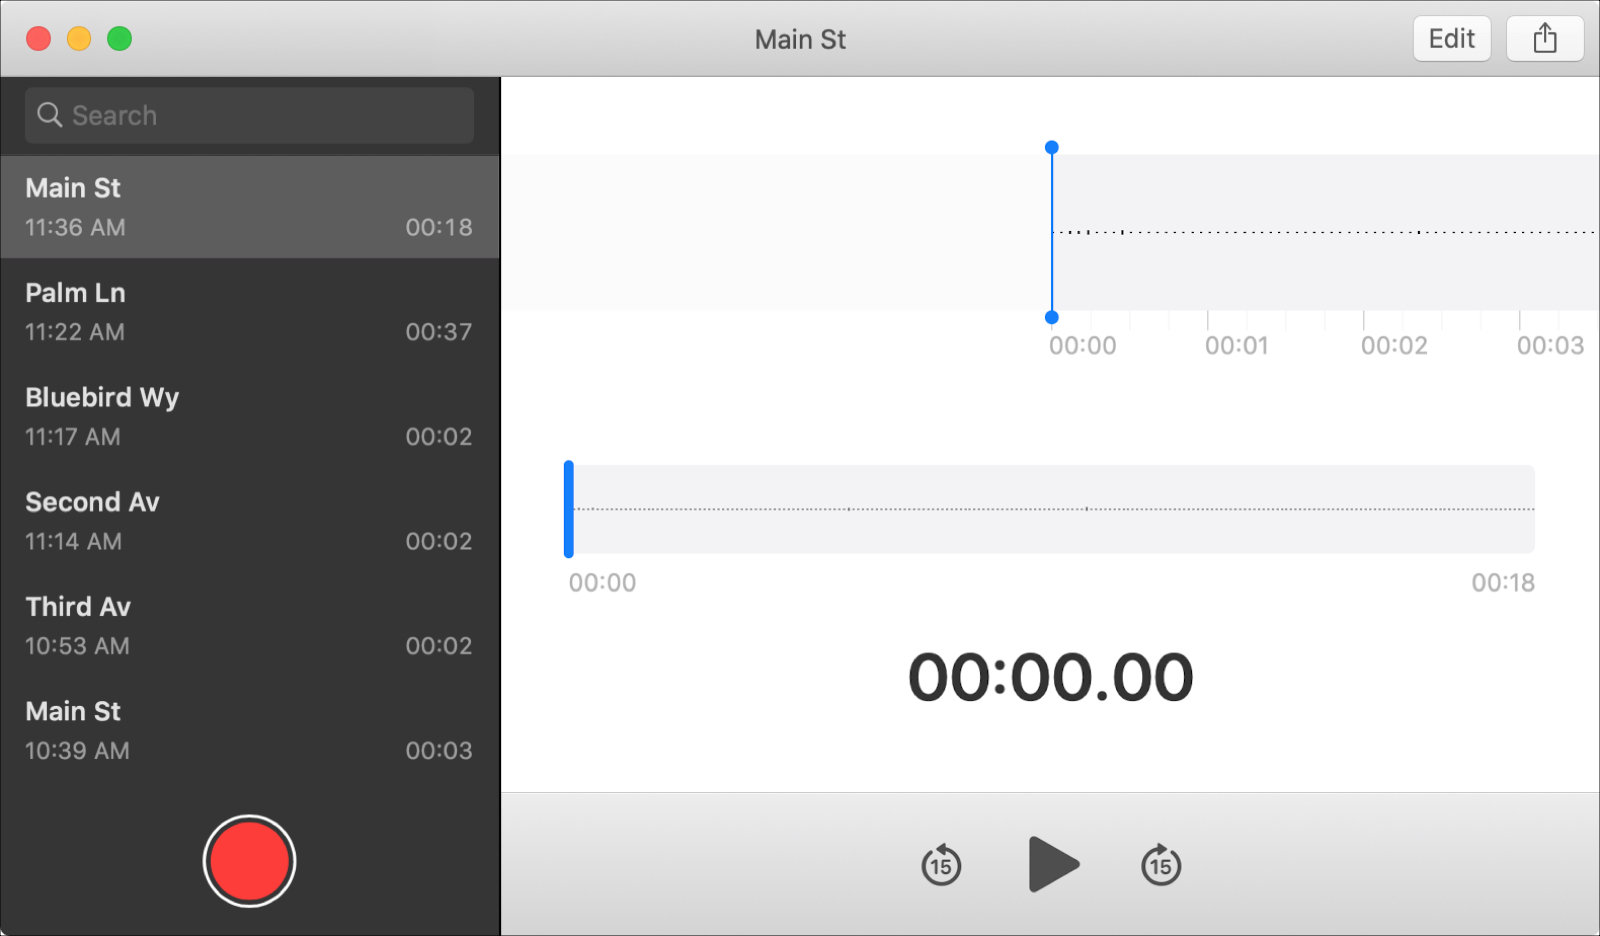
Instead of your recordings using the default names assigned or having to rename them later, you can have them named with your current location. This is handy for those situations above and if you still want to rename them later, you can.
Here’s how to automatically use location-based names for your Voice Memos .
Name Voice Memos with your location
Enable location-based names in Voice Memos on iPhone and iPad
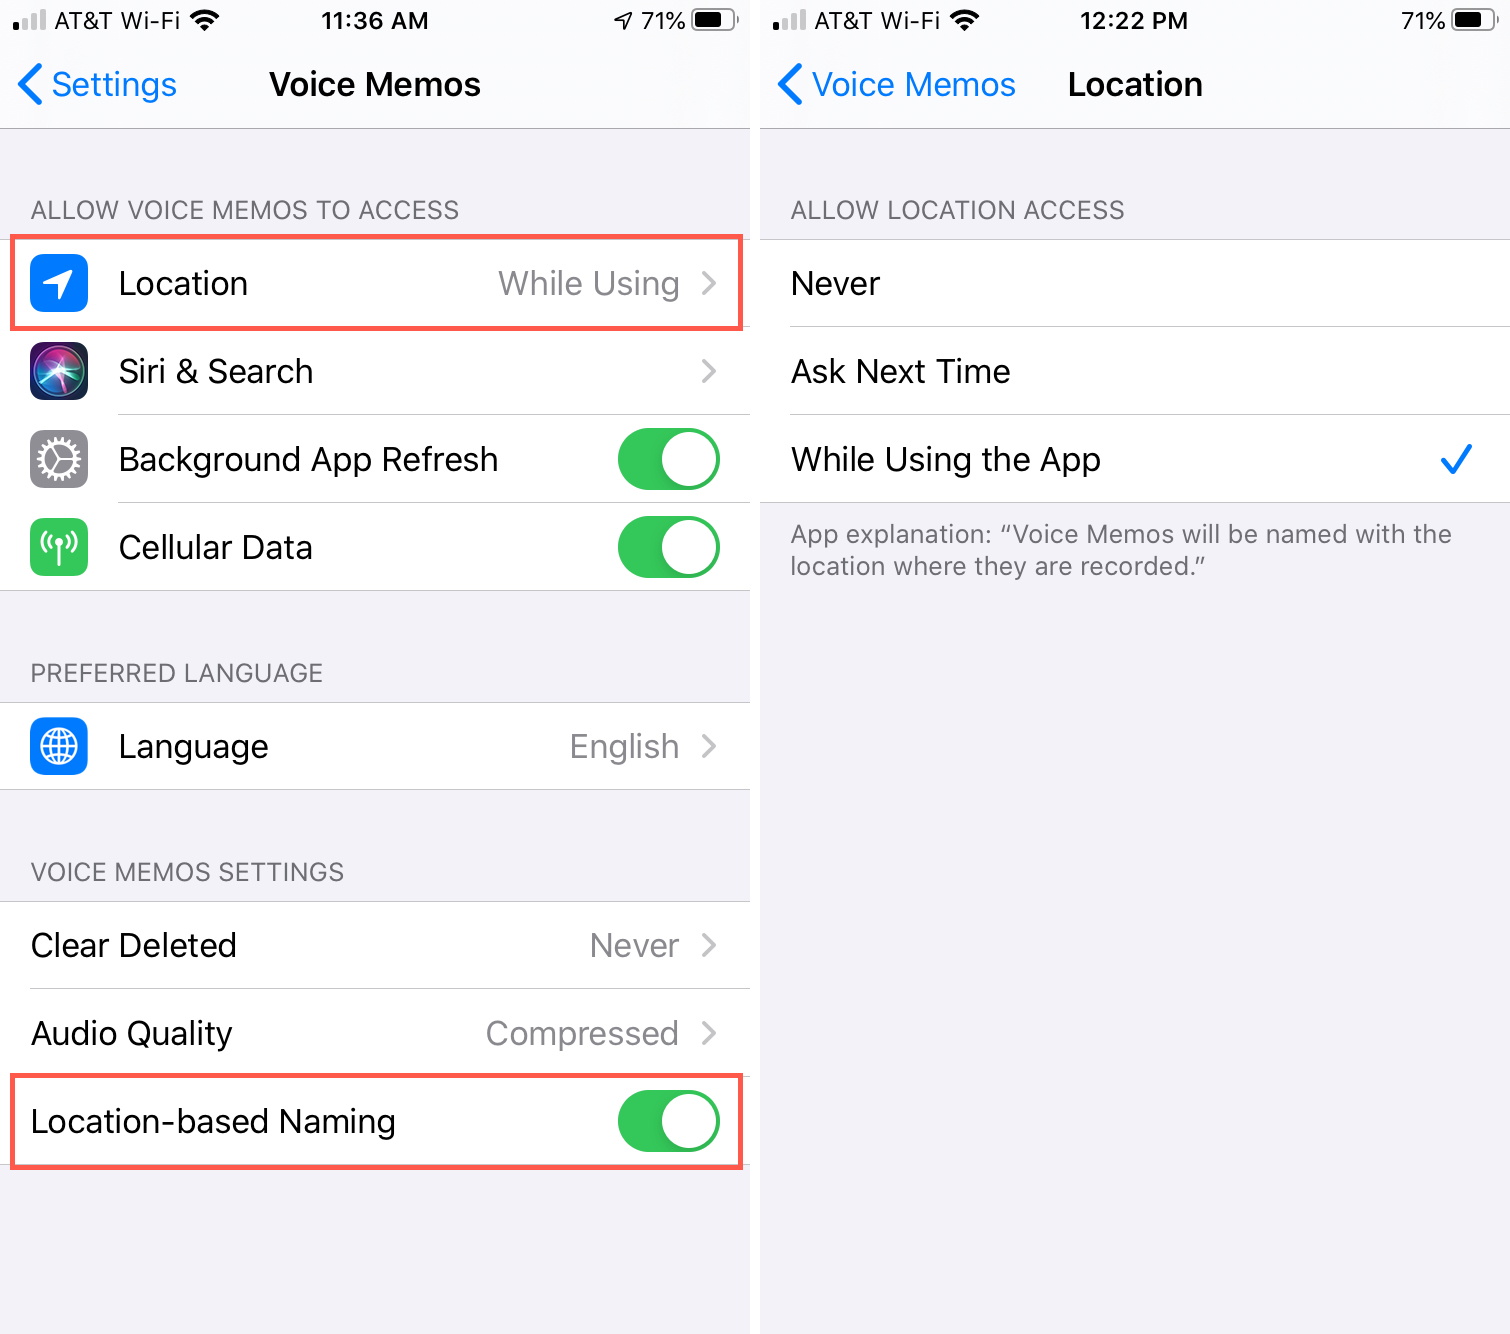
In order to name your Voice Memos based on location, you need to have Location Services enabled for the app. This is a good first step to double-check and you can do it from the same screen where you’ll enable the feature.
1) Open Settings and select Voice Memos.
2) At the top, Location Settings should be set to While Using (the App). If it’s set to Never tap and change it.
3) Next go to the bottom of the Voice Memos settings screen and enable the toggle for Location-based Naming.
Now head to the Voice Memos app and test your change!
Enable location-based names in Voice Memos on Mac
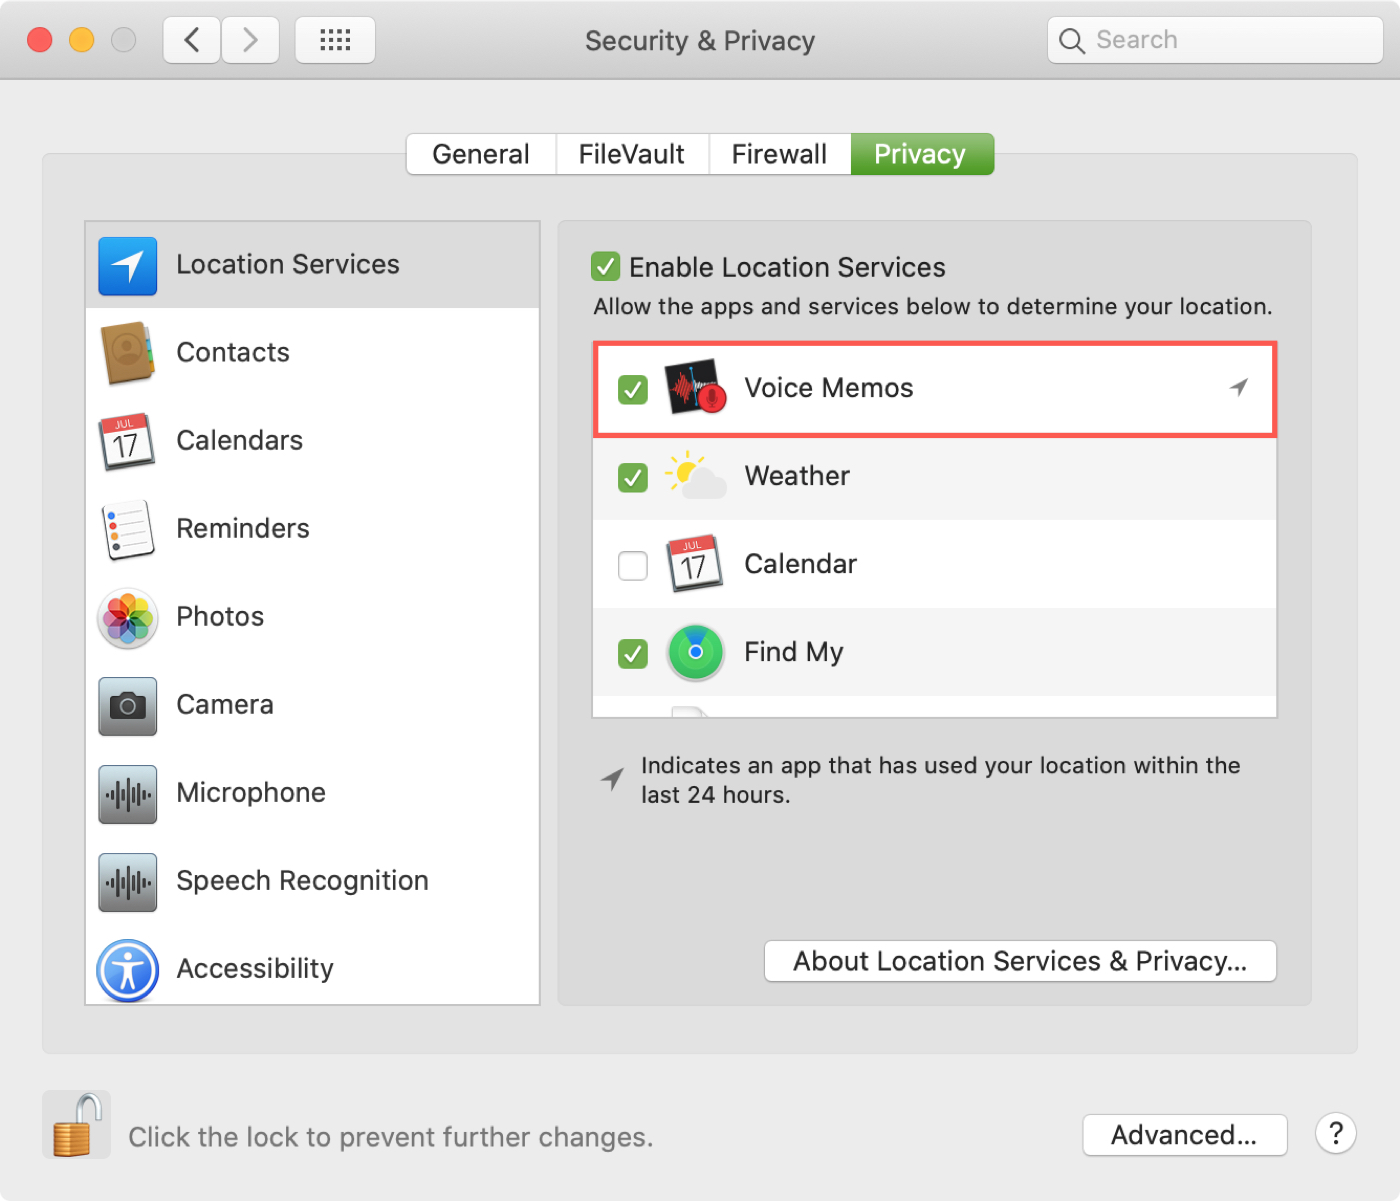
You also need to make sure your Location Services are enabled for Voice Memos on your Mac. But you’ll do this separately from enabling the feature.
Check Location Services
1) Open System Preferences with the icon in the Dock or Apple icon > System Preferences from the menu bar.
2) Select Security & Privacy and click the Privacy tab.
3) Choose Location Services on the left. And on the right, make sure the Enable Location Services box is checked.
4) Scroll through the apps to see if Voice Memos is enabled.
If it is, you can jump down to Enable the Feature.
If it’s not, click the padlock on the bottom left corner, enter your password, and then check the box for Voice Memos in the list.
Now that you’ve checked that Location Services are turned on for Voice Memos, it’s time to enable the feature!
Enable the feature
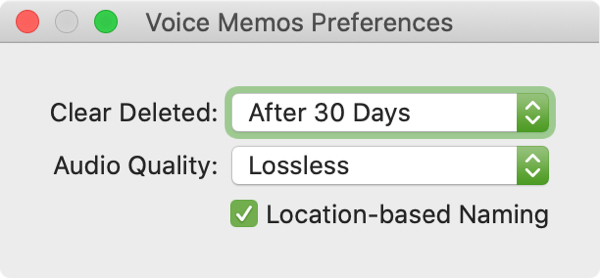
Open Voice Memos on your Mac and click Voice Memos > Preferences from the menu bar. Check the box for Location-based Naming.
Then, give your new naming convention a try!
Having trouble?
If you go through the steps above and your Voice Memos are still being named with the default naming convention, you’re not alone.
While the feature works perfectly on my Mac and iPad, I cannot get it to work on my iPhone.
I’ve gone through the steps multiple times, turned them off, turned them back on, restarted my iPhone, and even uninstalled and reinstalled the Voice Memos app from the App Store to no avail.
I’ve posted a question in the Apple Community Forum and am hoping for some assistance! So if I get this resolved, I’ll update this post.
Until then, I’ll use the feature on my other devices!
Wrapping it up
Location-based naming for Voice Memos is a great feature when you’re using the app in various places. Whether in different buildings for work, spots for interviews, or traveling for business, it’s a convenient feature.
What are your thoughts on your Voice Memos being named based on your location?
Source link: https://www.idownloadblog.com/2020/04/29/name-voice-memos-location/

Leave a Reply