

How to customize Calendar notifications on iPhone, iPad and Mac
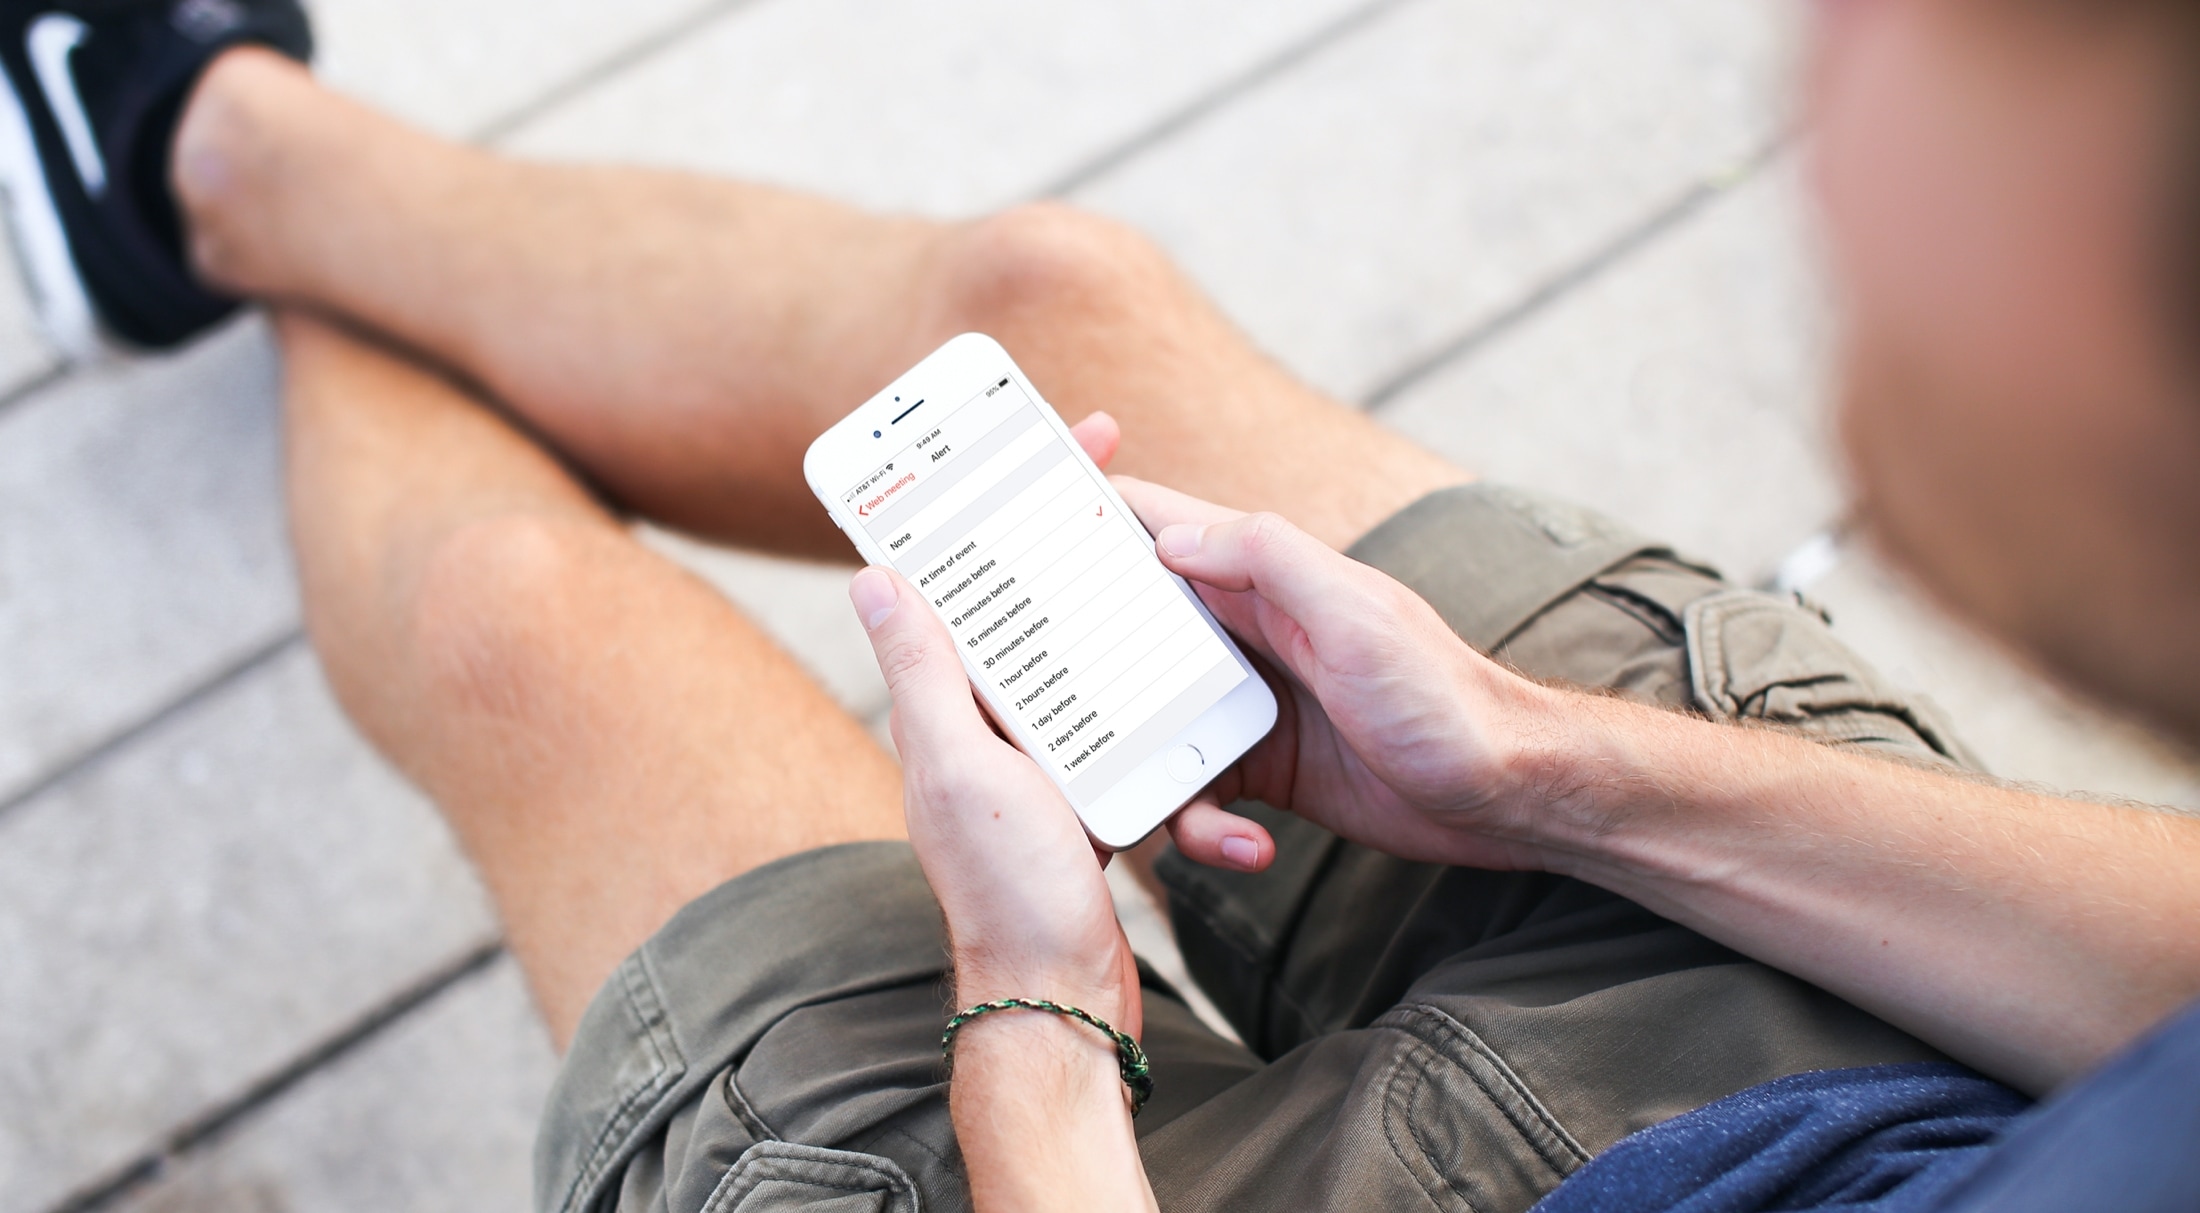
There are plenty of great features in the Calendar app. You can integrate with other calendar services, easily invite people to events, and attach files and notes to meetings and appointments. And of course, you can receive notifications.
The thing about the notifications in the Calendar app is that they are more flexible than many probably realize. You can receive more than one alert for a single event, create Travel Time notifications, and set up custom alerts on Mac.
For both iOS and Mac, we want to make sure that you’re taking advantage of all you can do. So, here’s how to customize and effectively use Calendar notifications.
Customize and use Calendar alerts
Calendar notifications on Mac
Default Calendar alerts
A good way to get started customizing Calendar alerts on Mac is by setting up your defaults. So, open the Calendar on your Mac, click Calendar > Preferences from the menu bar, and pick the Alerts tab.
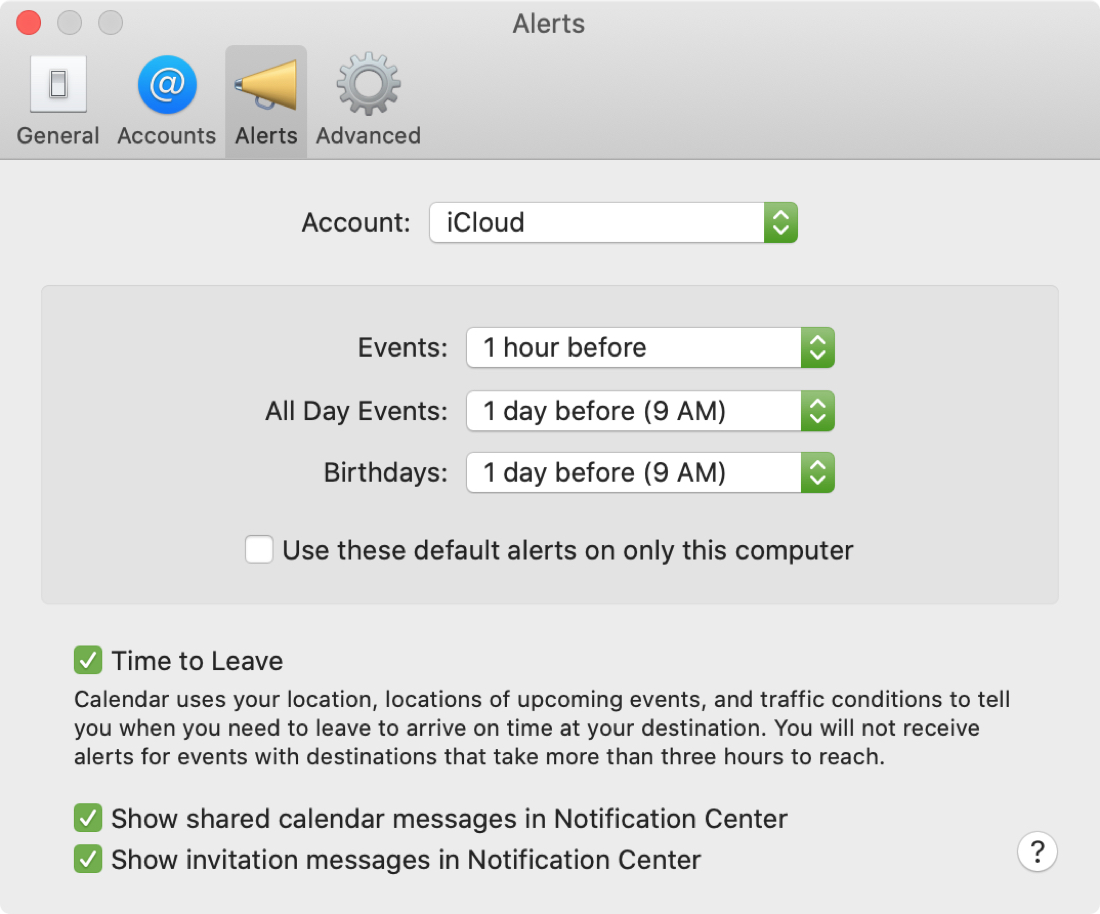
The top drop-down box is for your default calendar Account. If you integrate with other calendars like Google, you can select that account here.
The next section is the default alerts you want for all events, all-day events, and birthdays. You can select a different default notification for each of these three. These will apply to Calendar on your other devices as well, unless you check the box for Use these default alerts on only this computer.
This type of flexibility lets you receive alerts differently than on your iPhone or iPad. So it’s quite handy if you only use your Mac for personal tasks but your Calendar for work and personal on your iPhone.
The Time to Leave settings is another convenient feature. By checking this box, you can be reminded based on your location and traffic conditions when you should leave for your event.
Once you set up the default alerts for Calendar on your Mac, the customization options don’t stop there because you can still create notifications as you like for individual events as needed.
Individual Calendar event alerts
Open the Calendar and select an existing or create a new event. Below the date and time for the event, you have Alert options. Obviously, this will default to what you set up in the Preferences above, but you can change or add another notification.
- To change the notification, click the Alert drop-down box and pick a new time.
- To add another notification, click the plus sign next to the Alert drop-down box and pick an additional time.
- To remove an alert, click the Alert drop-down box and pick None.
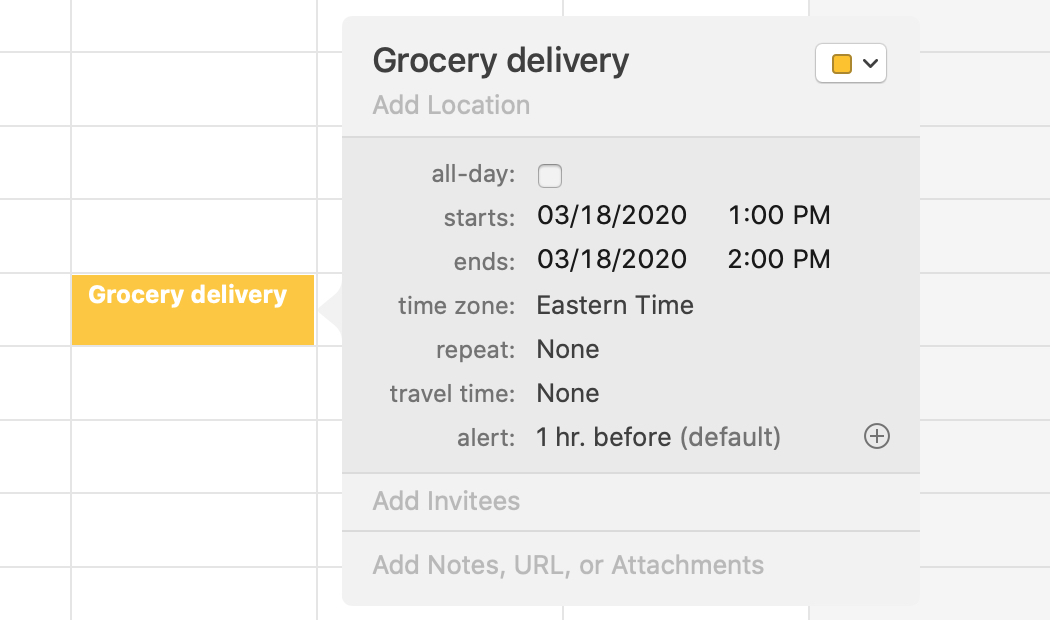
Remember, you can use Travel Time for any of your events by selecting that drop-down box and picking a time.
Custom event alerts
Along with the built-in times you can select from for your event alerts, you can set up custom notifications.
In the Alert drop-down box, pick Custom. Here, you can choose to see a message and hear a sound, send an email, or open a file based on a time you pick in relation to your event. Just select the type of alert, complete the remaining fields for that type, and click OK.
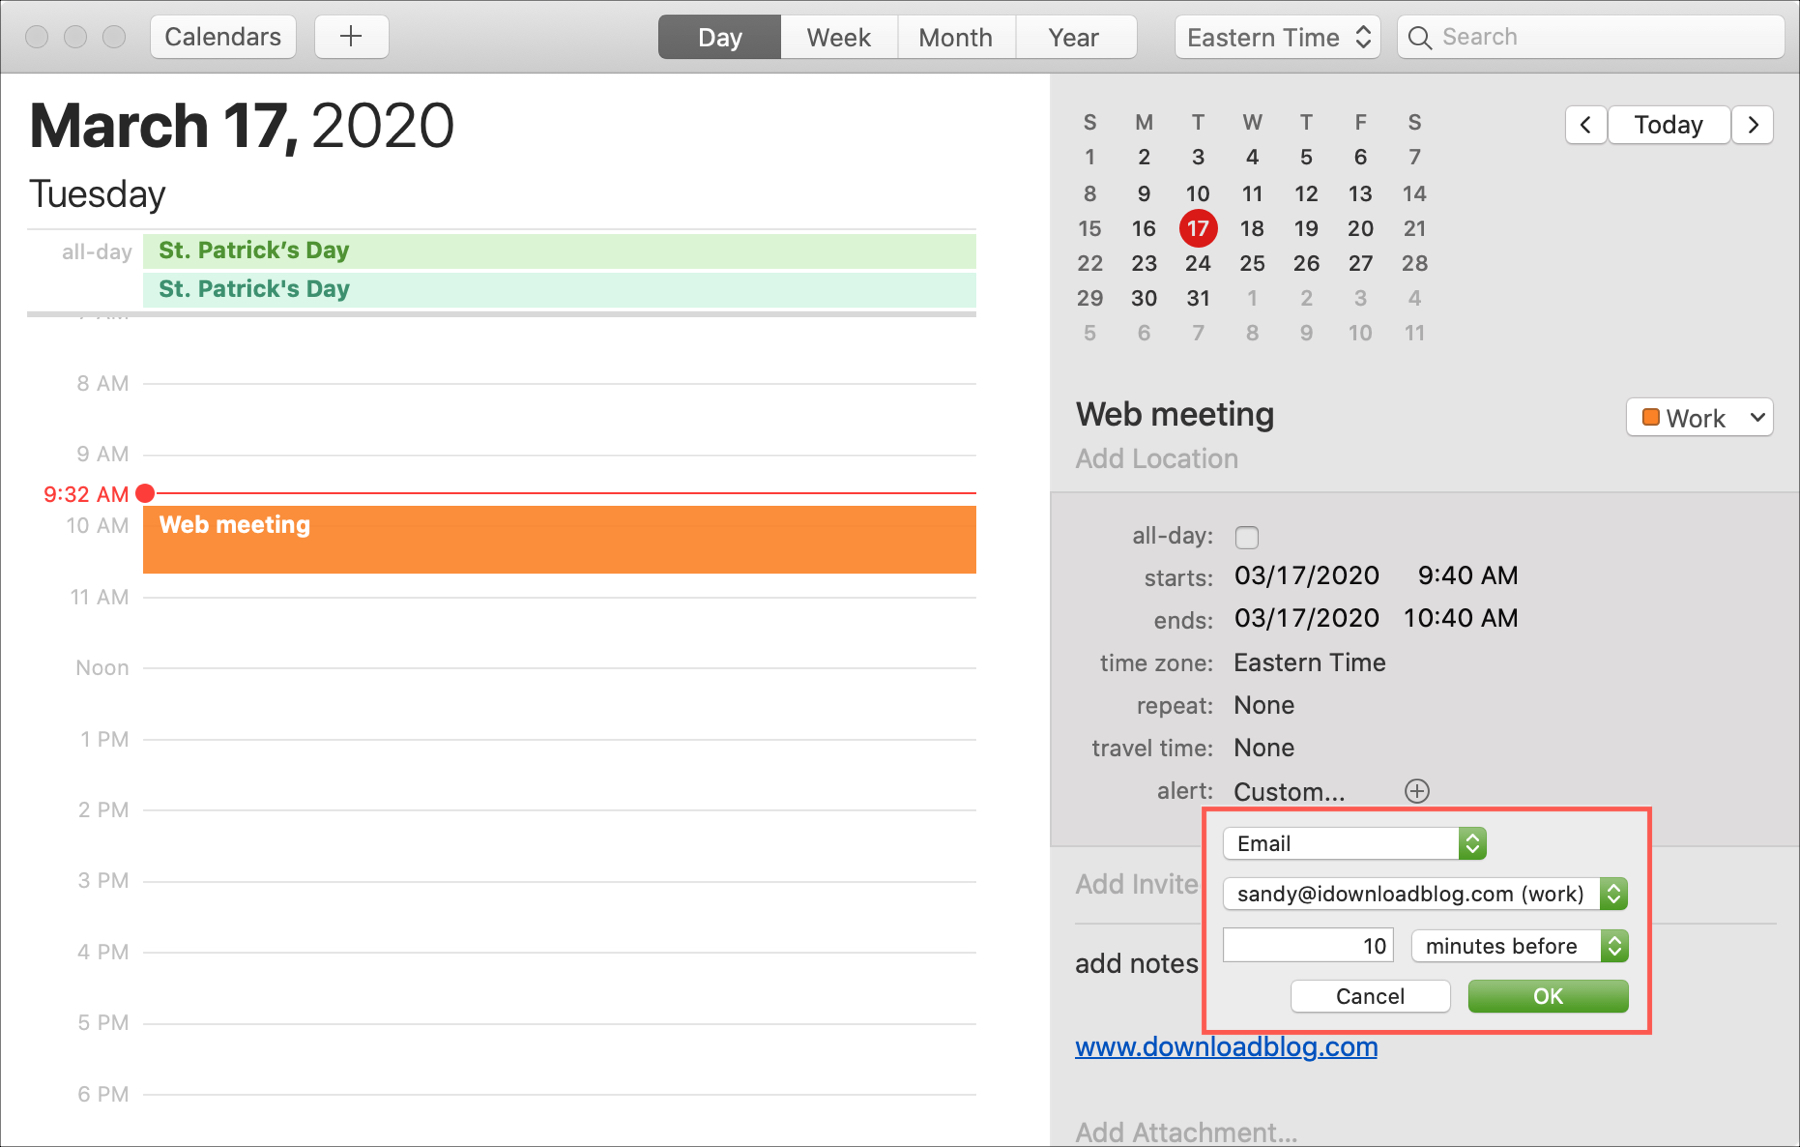
This type of notification can be extremely handy for meetings, interviews, and appointments where you need to be prepared ahead of time.
Calendar notifications on iPhone and iPad
Default Calendar alerts
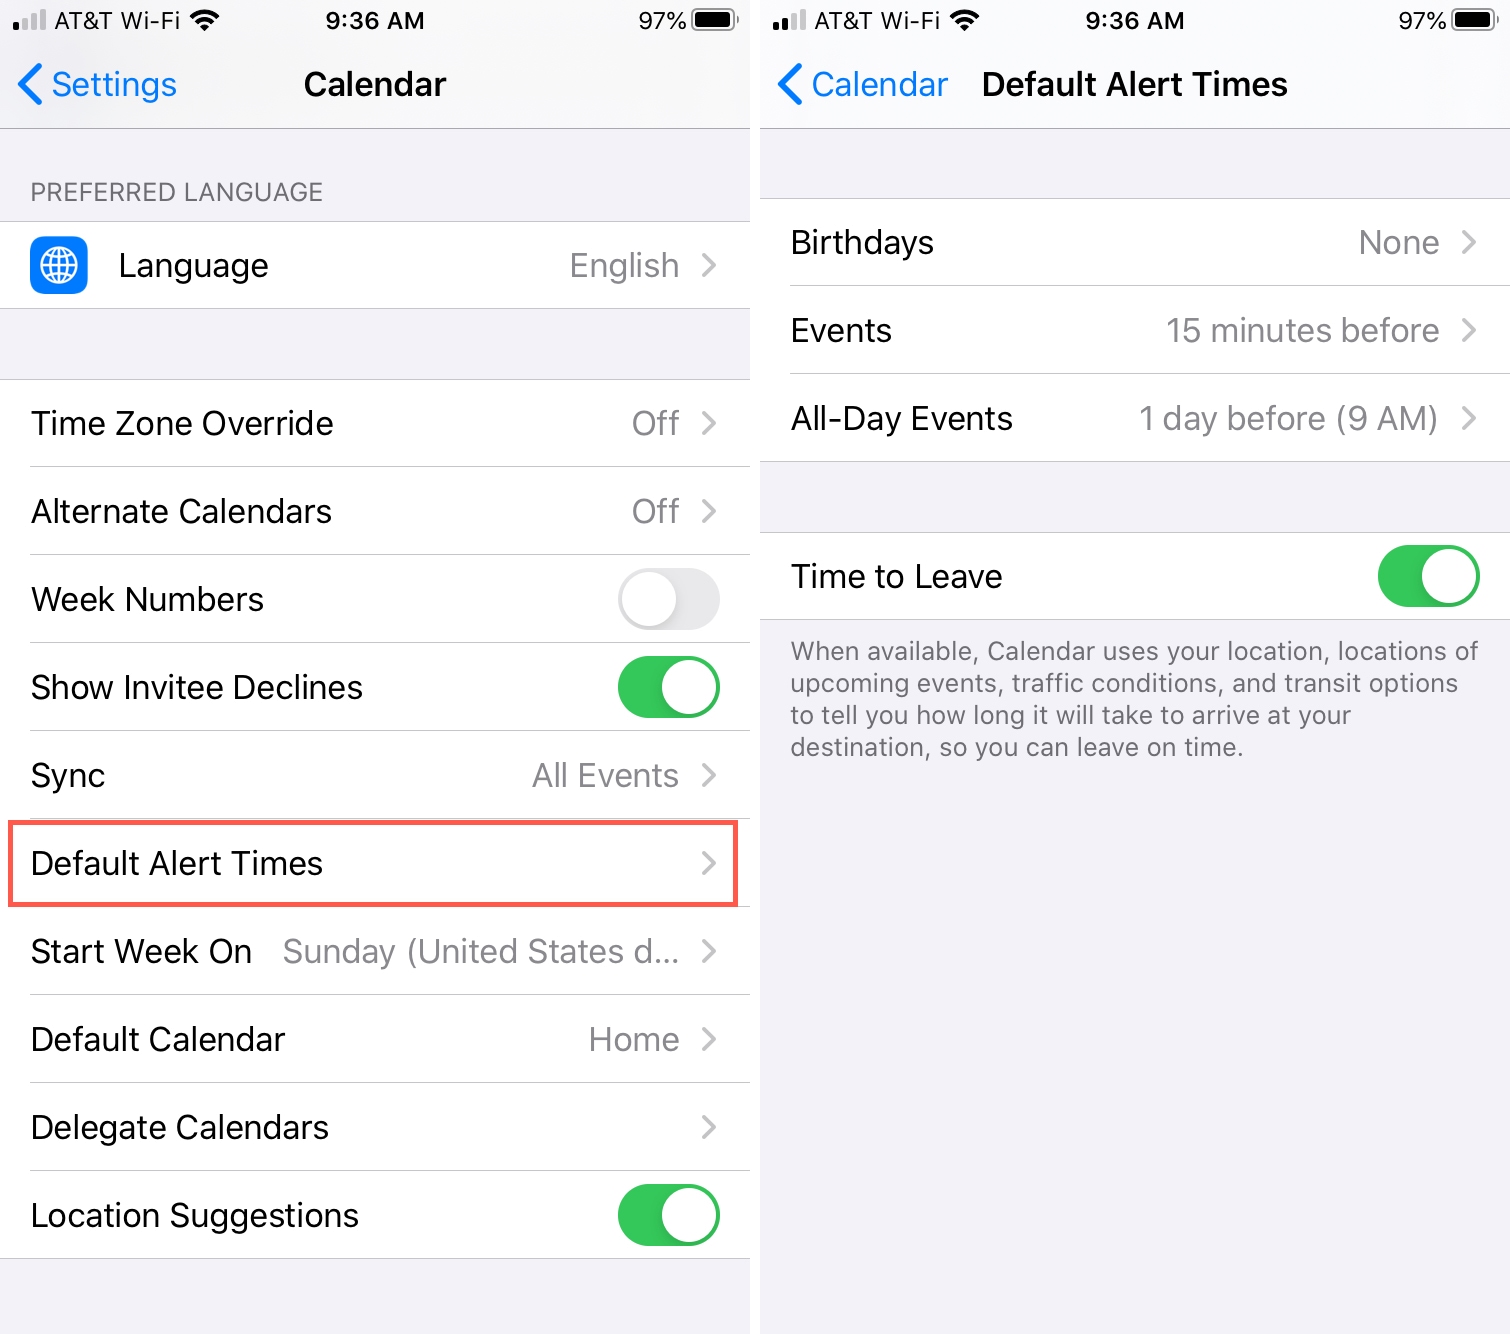
You can set up default alerts on your iPhone or iPad just as easily as you can on Mac.
1) Open Settings and select Calendar.
2) Pick Default Alert Times.
3) Set your default alerts for birthdays, events, and all-day events. Optionally, enable the toggle for Time to Leave.
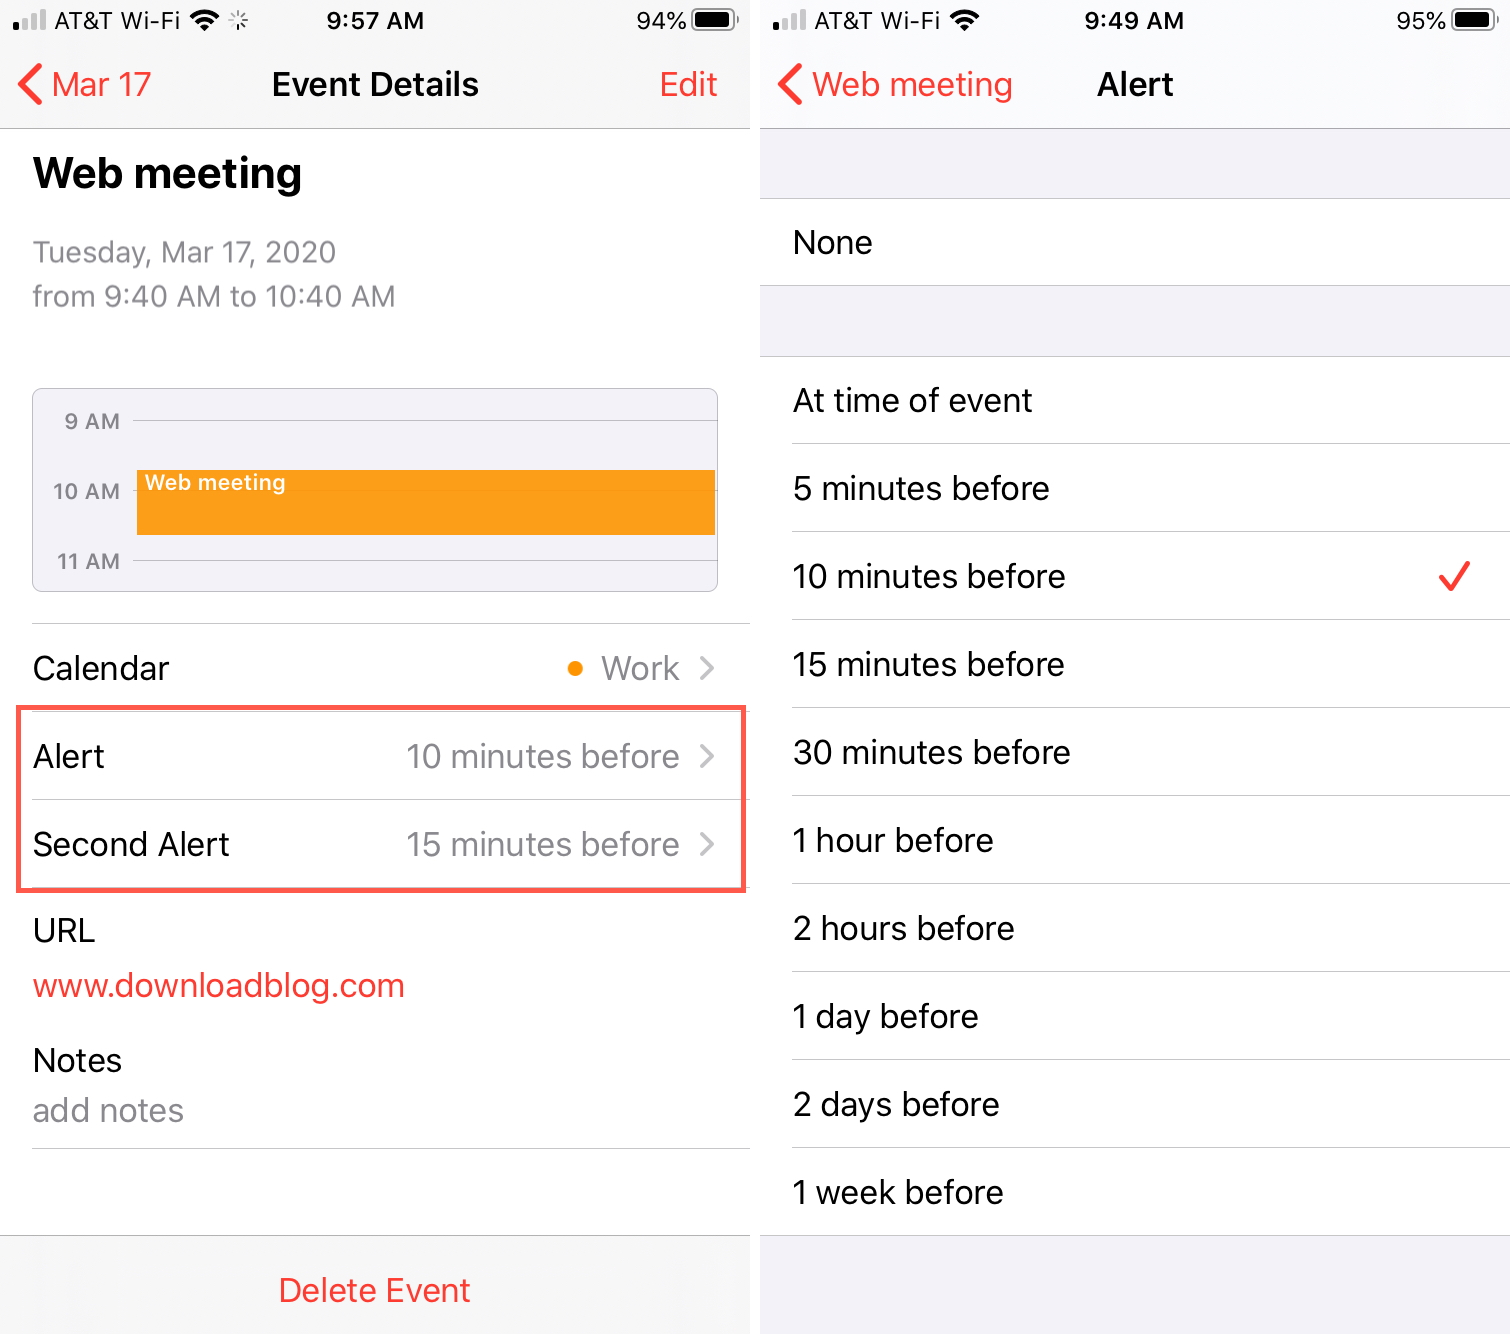
Individual Calendar event alerts
You can adjust your alerts from the defaults for existing or new events. Open the Calendar app and do one of the following.
- To change the notification, tap Alert and pick a new time.
- To add another notification, tap Edit and then Second Alert to pick an additional time.
- To remove an alert, tap Alert or Second Alert and pick None.
To use Travel Time, tap Edit for the event, select Travel Time, and enable the toggle. You can then pick a starting location and timing. Check out our full tutorial for using Travel Time on iOS and Mac.
Wrapping it up
Hopefully some of these tips for Calendar notifications will come in handy for you. What do you think of the alert options in the Calendar app? Do you think something is missing, like custom alerts on iOS similar to those on Mac? Or are you happy with the existing options? Let us know below or on Twitter.
And for more Calendar tutorials, take a look at how to use time zone support for Calendar events or show week numbers in the Calendar app.
Source link: https://www.idownloadblog.com/2020/03/23/customize-calendar-notifications-alerts/

Leave a Reply