

How to scan documents directly from the Files app
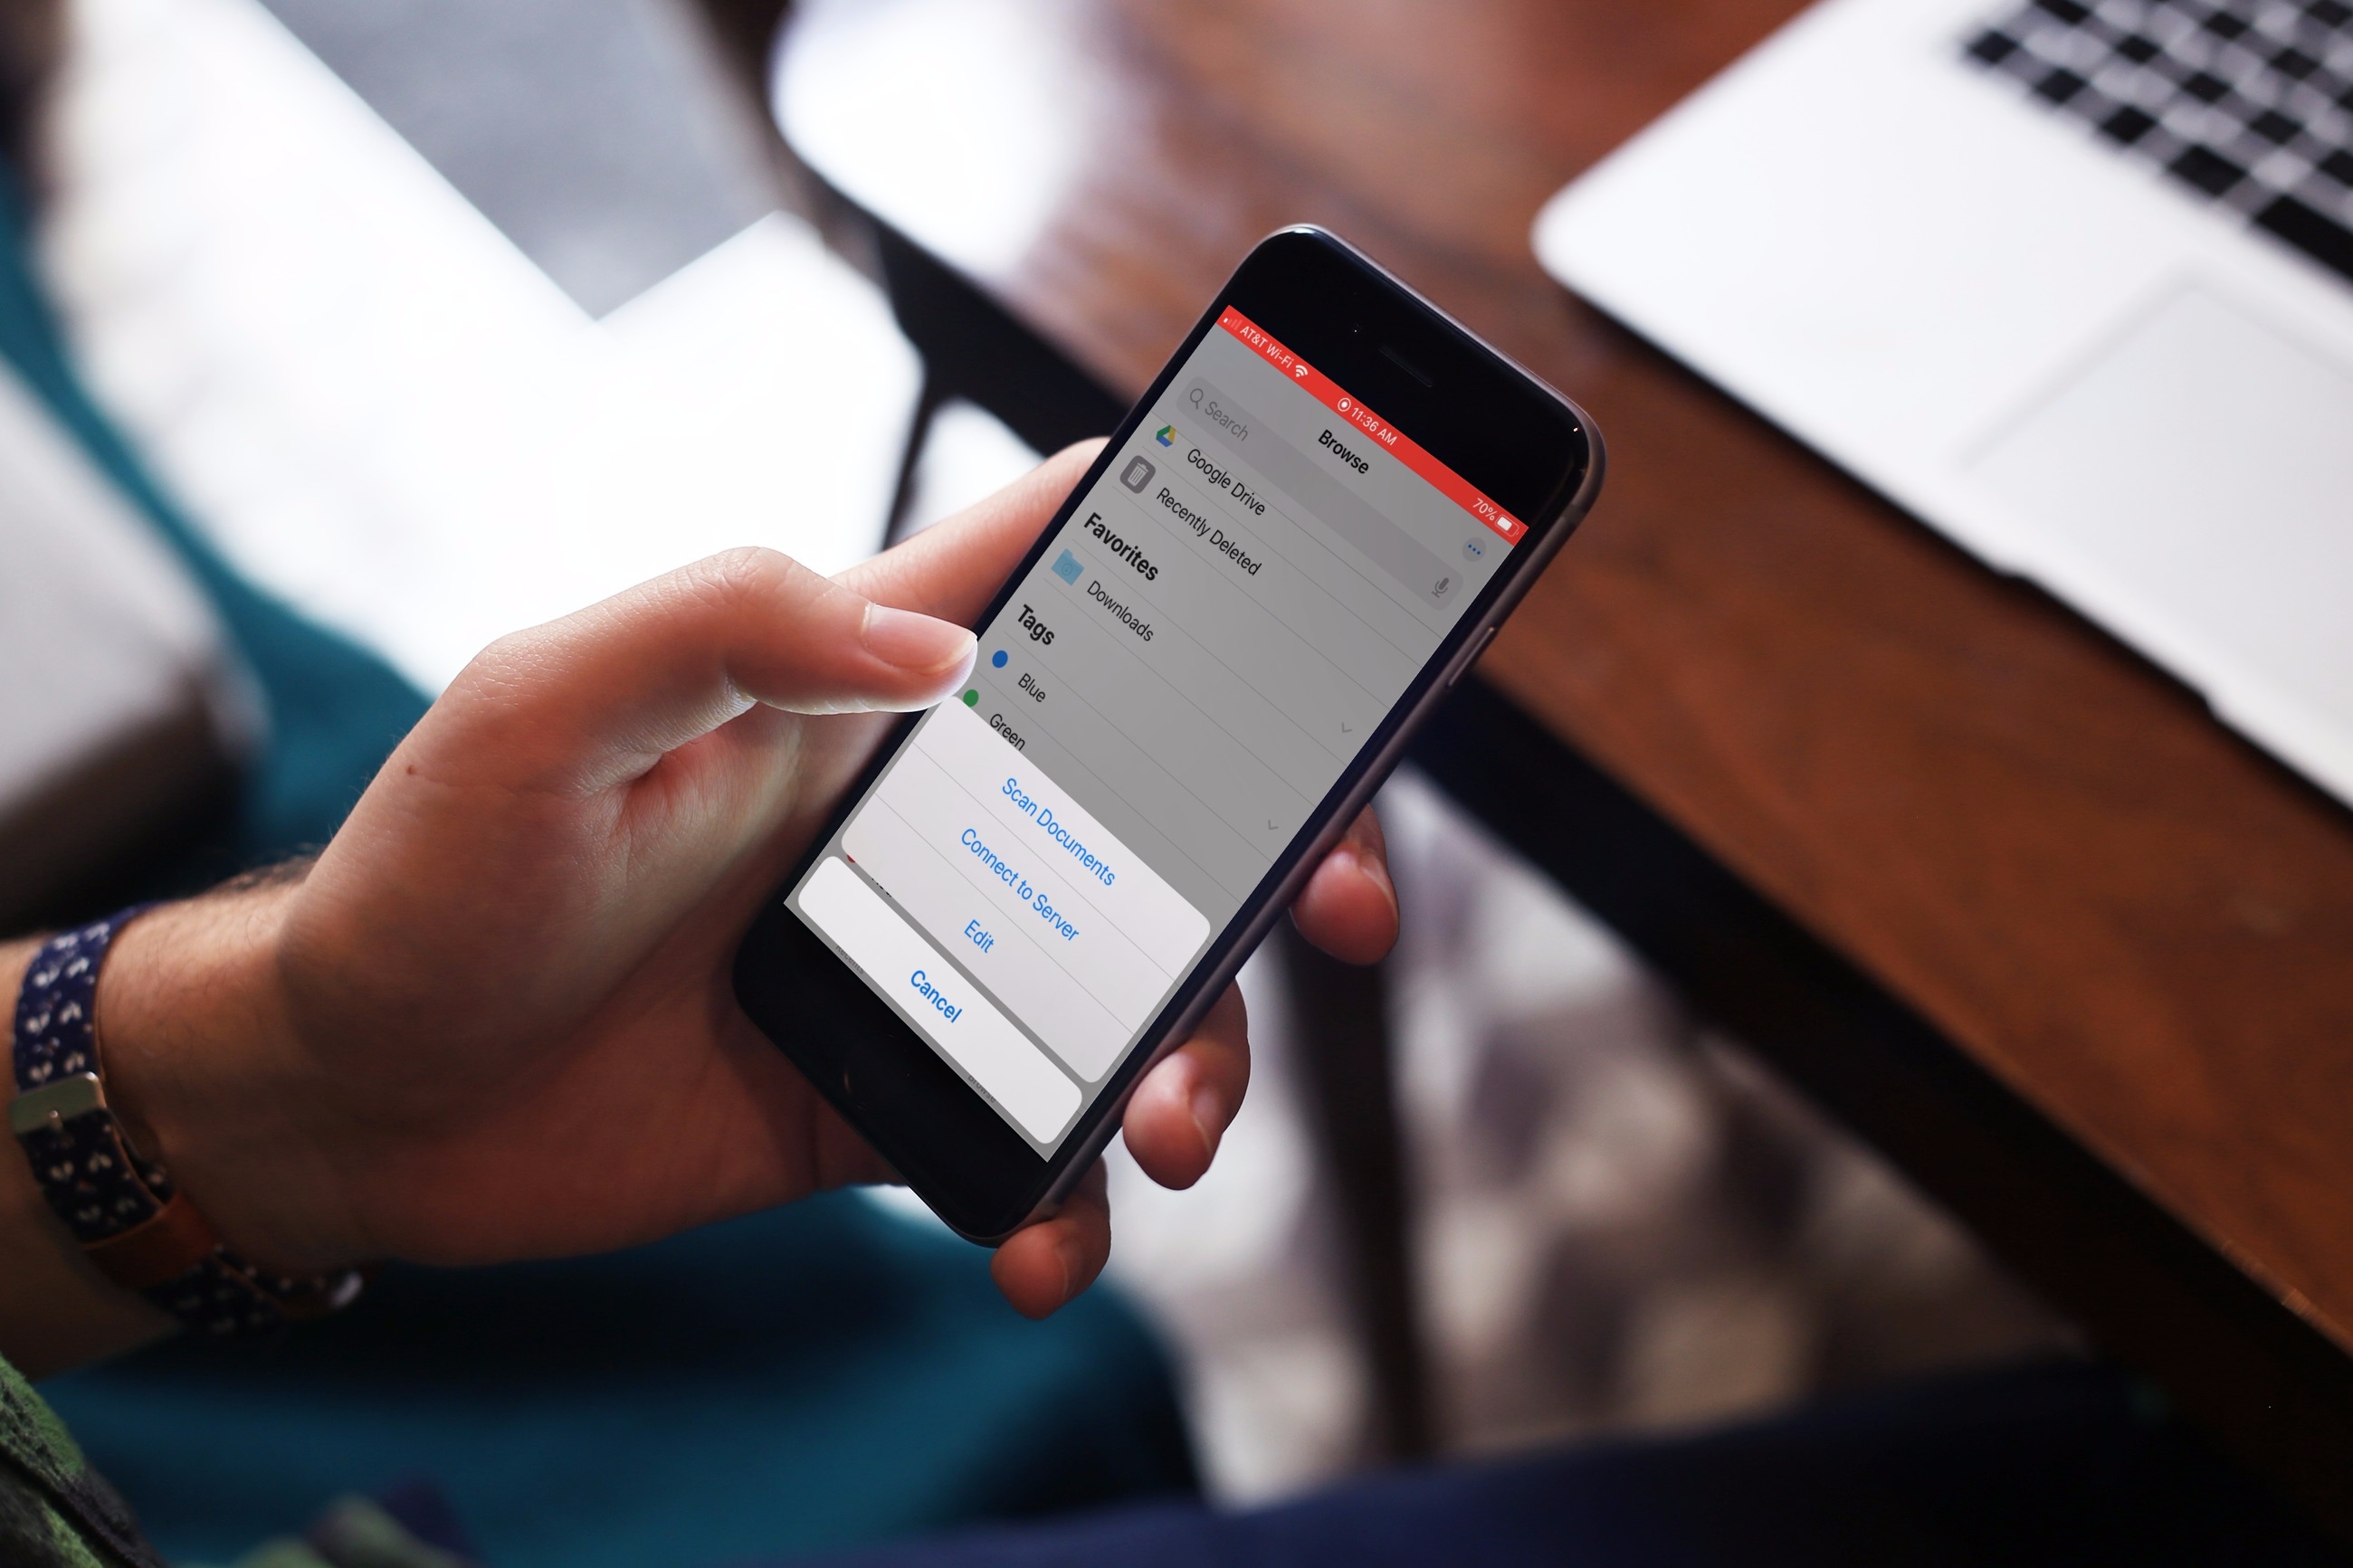
Along with handy features like sharing iCloud folders and zipping or unzipping files, iOS 13 brings another great feature to the Files app. You can scan documents directly from the Files app and save them where you want.
This is a good way to save a few bucks on a document scanning app as well as save time and effort by scanning documents quickly and easily. This short tutorial shows you how to scan documents right from the Files app on iOS.
Use the Files document scanner
Open the Files app on your iPhone or iPad and then follow these steps to scan your document.
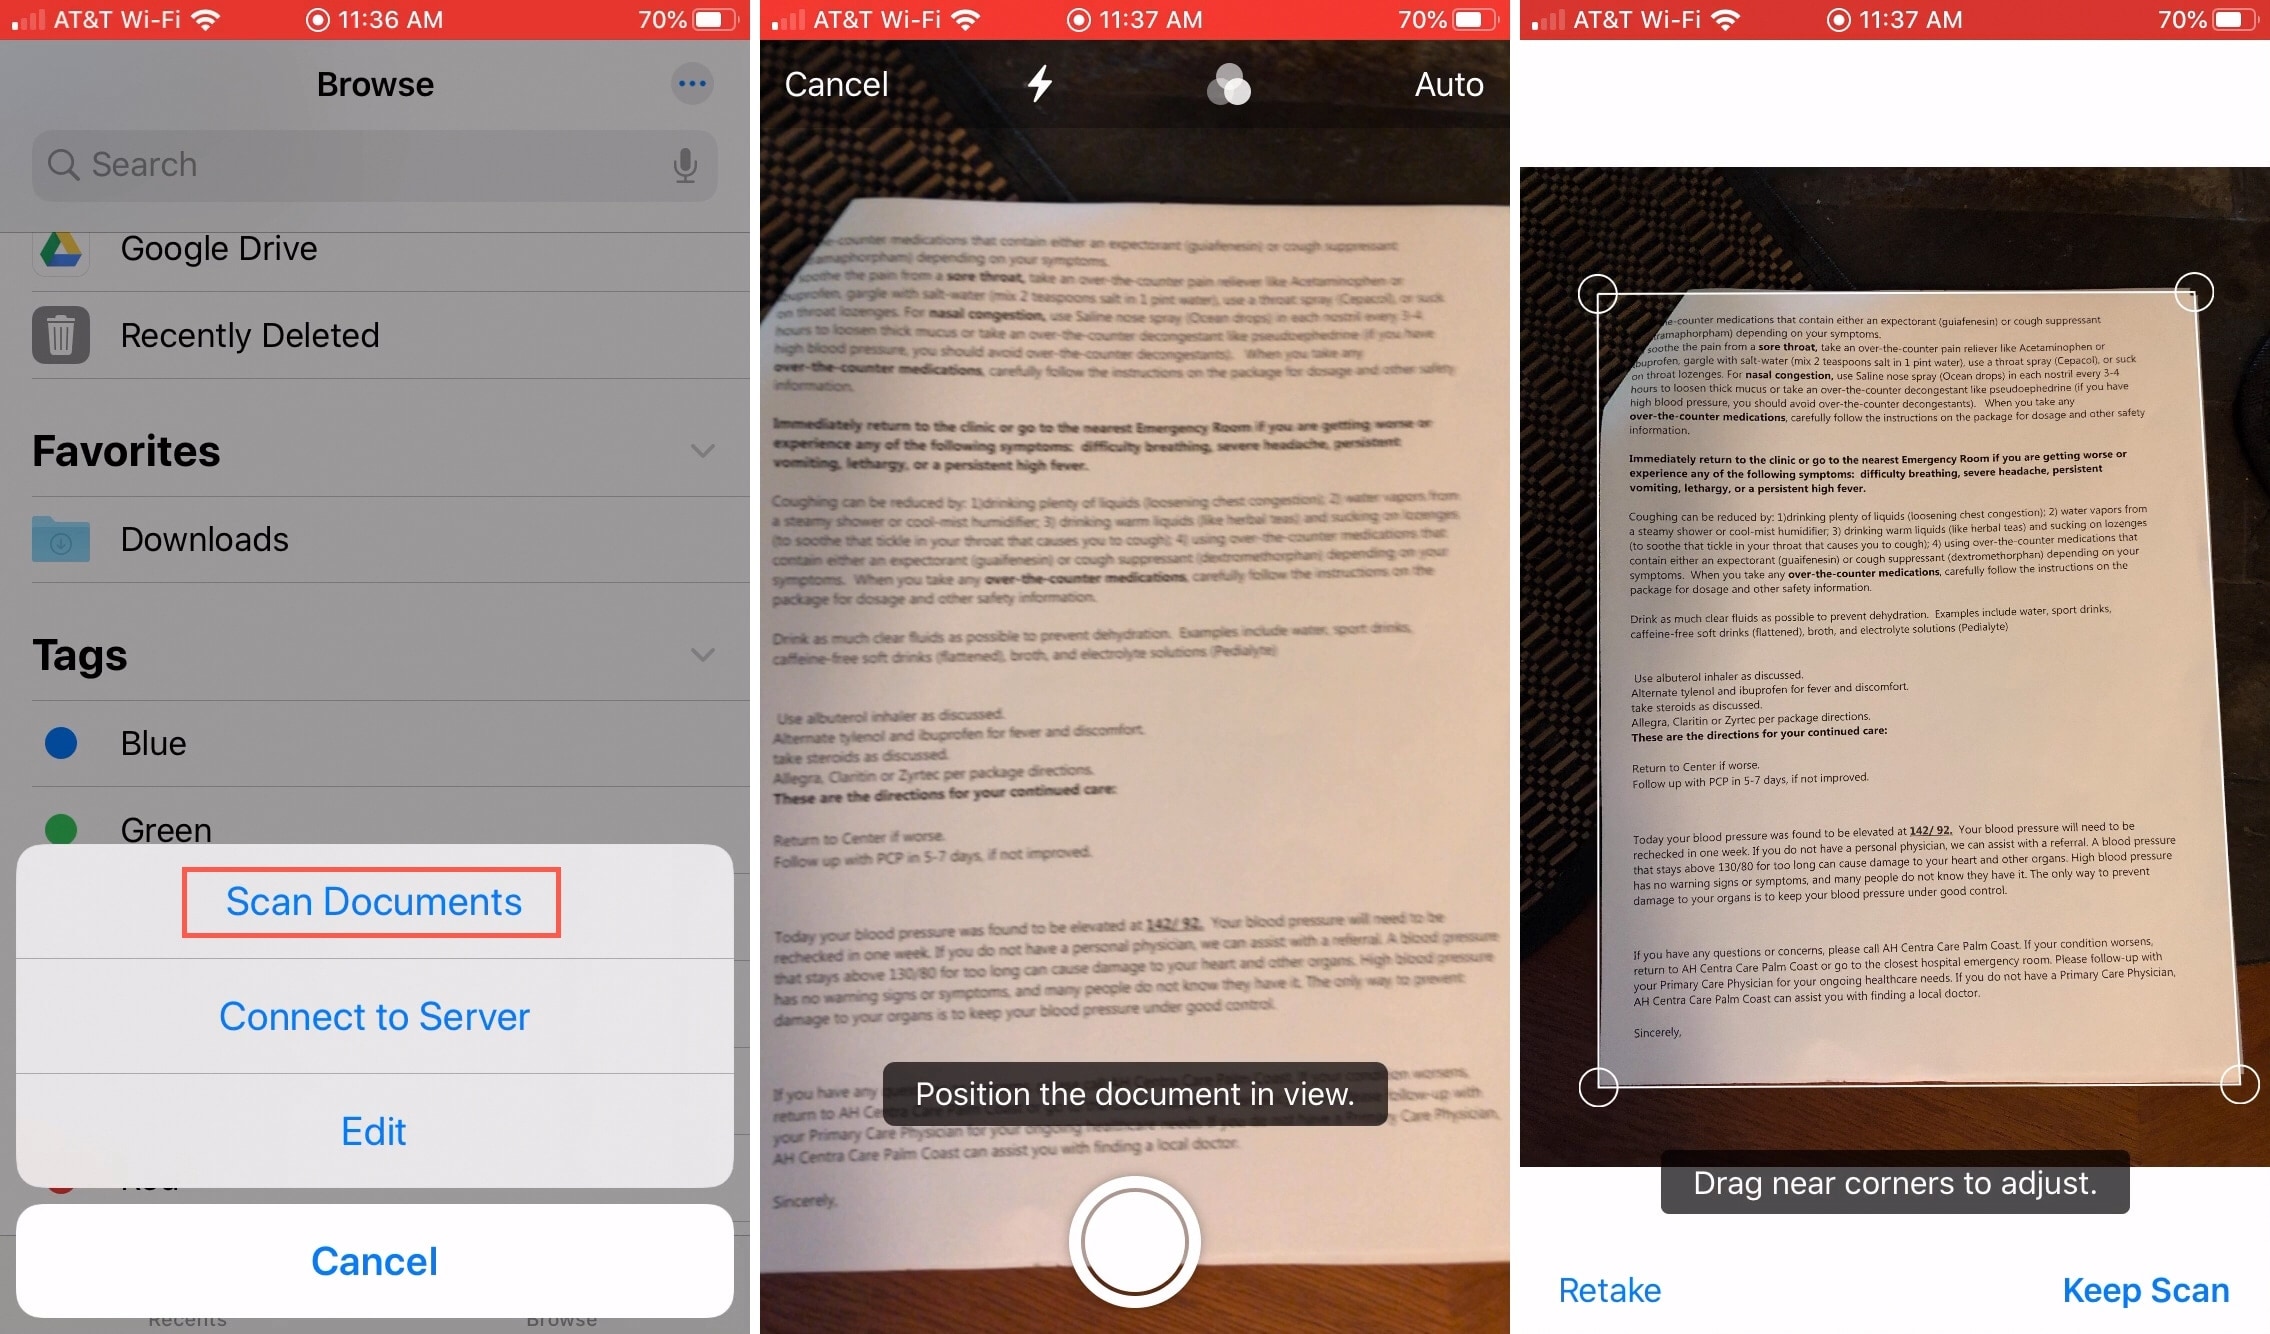
1) Tap Browse at the bottom of the Files app.
2) Tap the More (three-dot icon) button on the top.
3) Select Scan Documents.
4) Position your document in the viewer and tap the Capture button.
5) You can then drag the corners to adjust it, tap to Retake, or tap to Keep Scan.
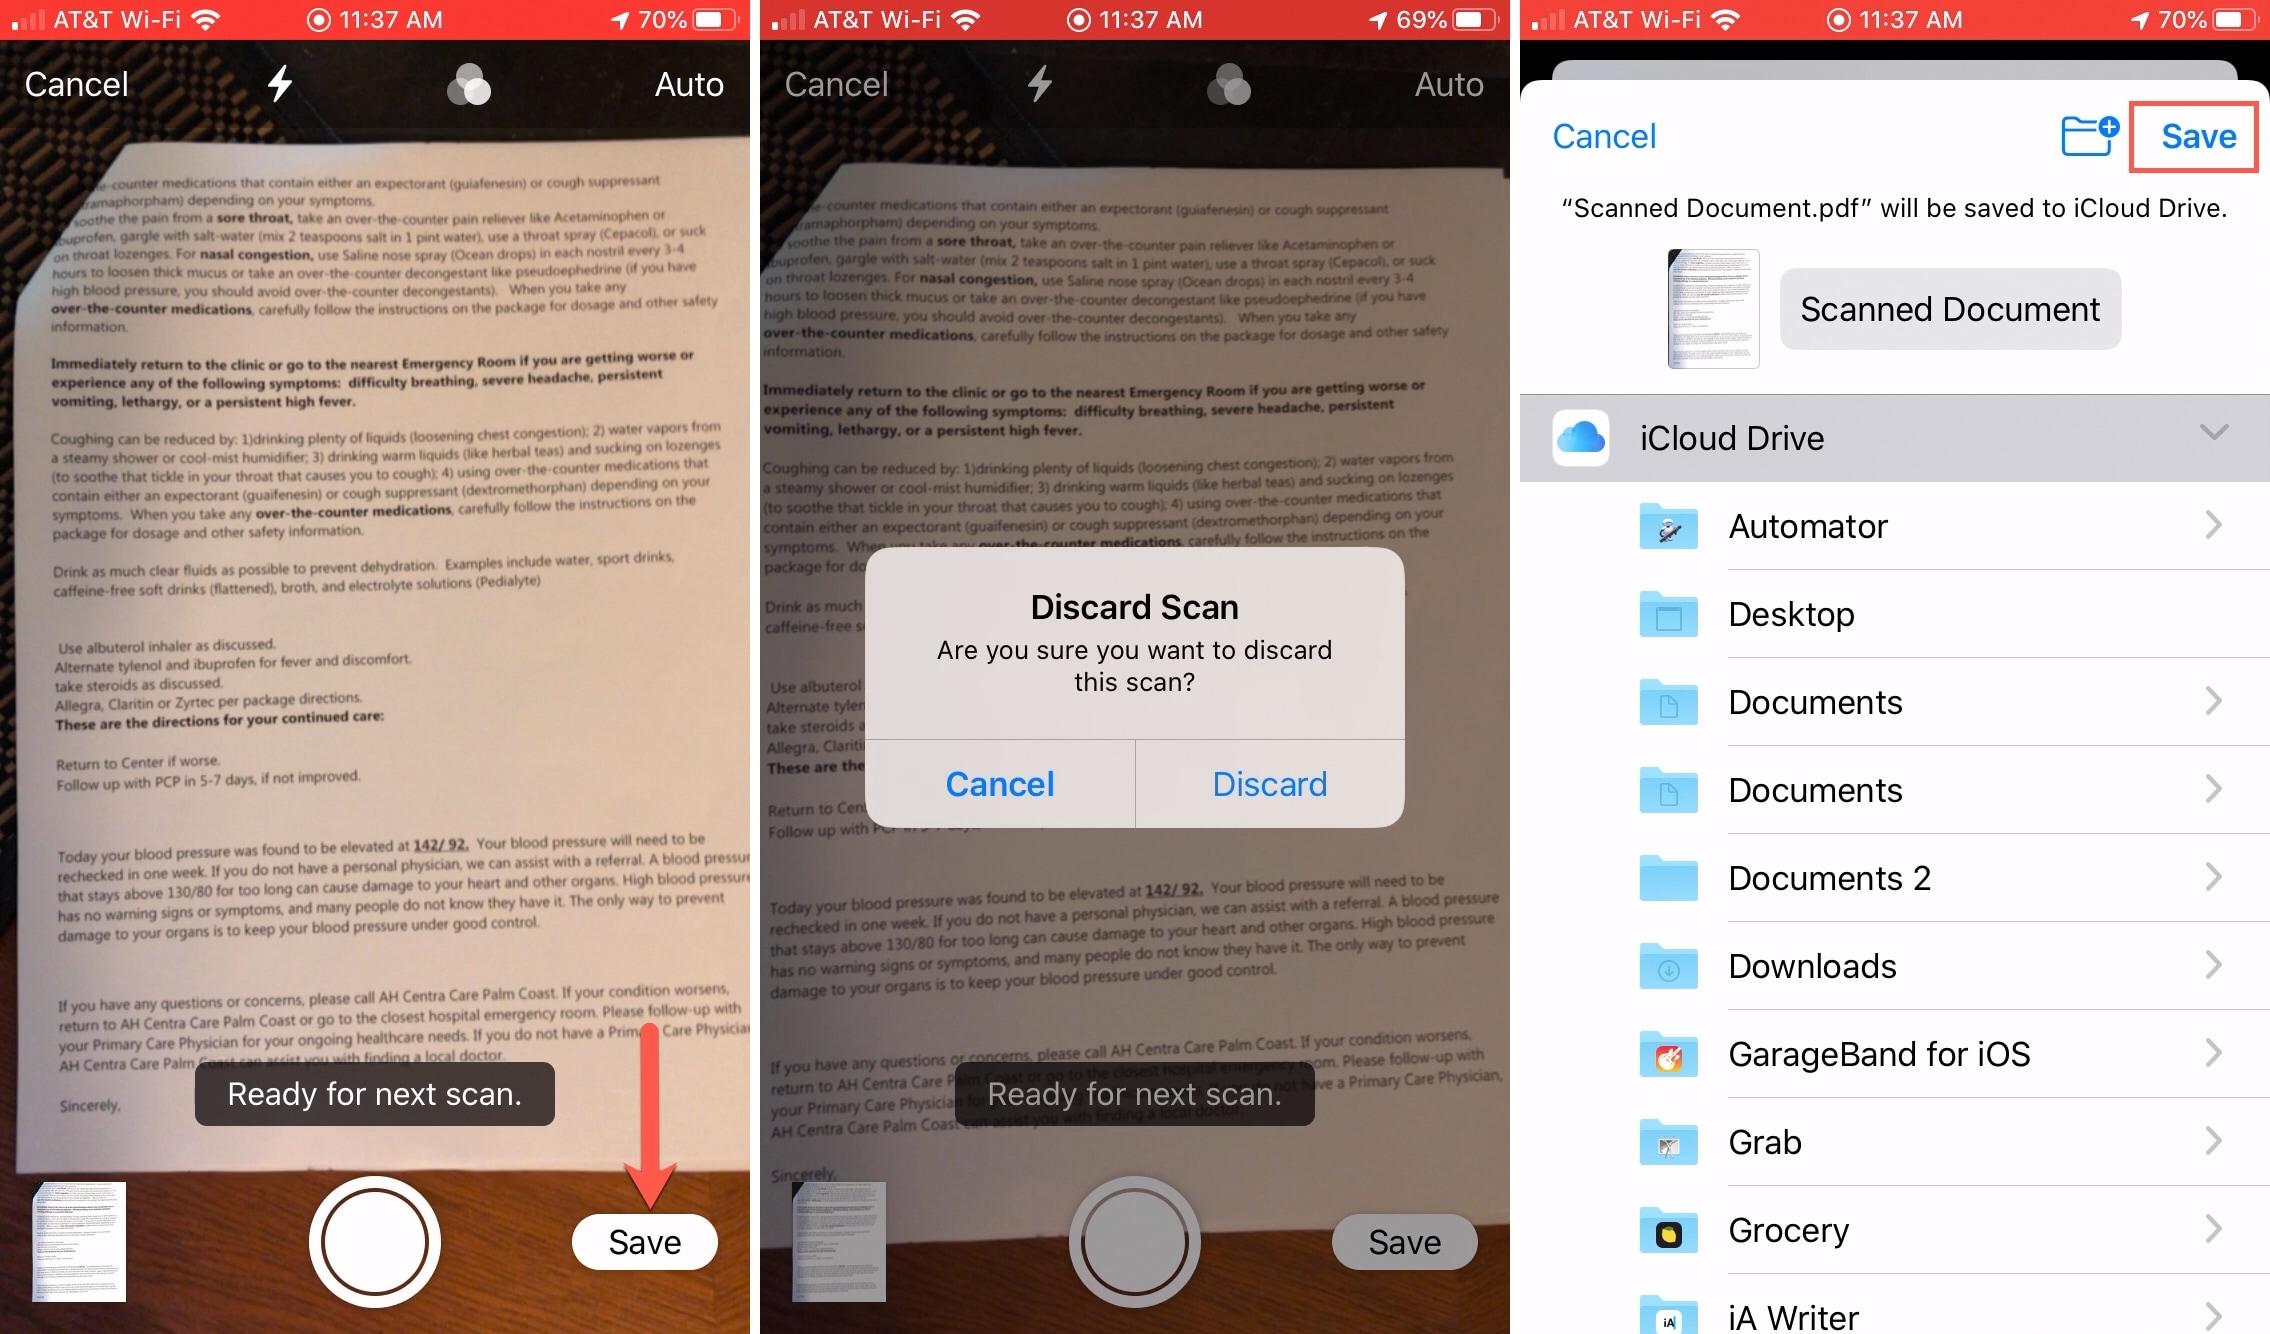
6) If you have another page to scan, you can capture it on the next screen.
7) If you’re finished scanning, tap Save. Make sure to tap Save otherwise you’ll receive an alert asking if you want to discard your scan.
8) Choose a location for your scan and tap Save.
If you’re within a location in the Files app on your iPhone, like iCloud Drive or On My iPhone, you can scan a document from there as well. Tap that More (three-dot icon) button on the top left and then follow the same steps as above.
Wrapping it up
Being able to scan documents directly from the Files app with iOS 13 is a terrific feature. You don’t have to worry about hunting down a third-party document scanner app and can save the scans where you need them.
Are you going to take advantage of the document scanner in the Files app on your device? Let us know!
Source link: https://www.idownloadblog.com/2019/09/26/scan-documents-files-app-ios/

Leave a Reply