How to change the tabs in Microsoft Word on Mac
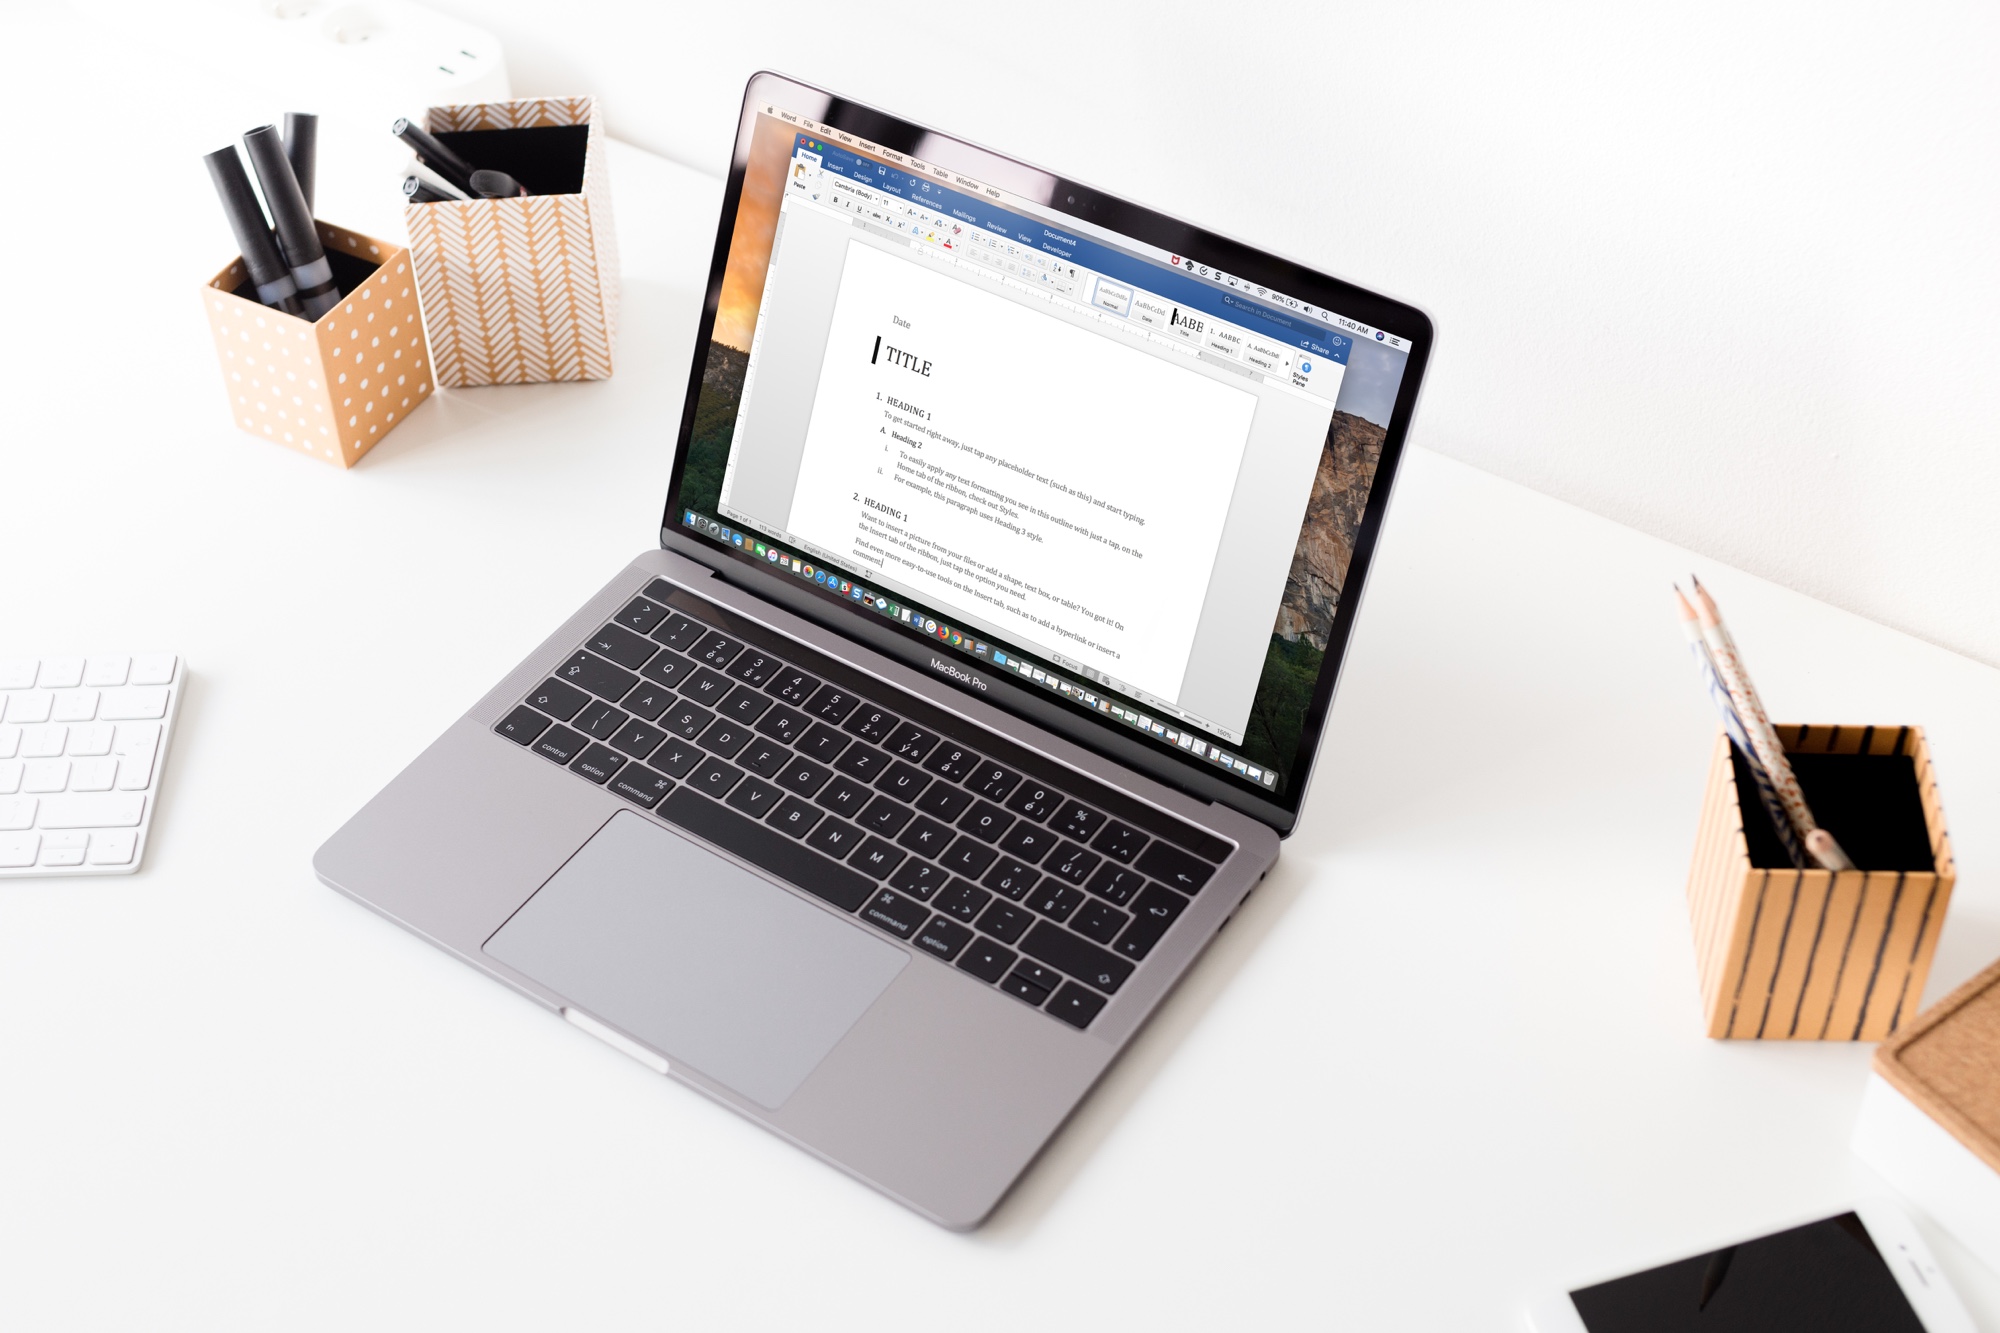
As with customizing your Quick Access Toolbar or Ribbon buttons when you use Microsoft Word on Mac, you can also adjust the tabs. By default, you should see tabs like Home, Insert, Layout, and View across the top. But, you can change these to fit your needs.
Here’s how to change the tabs you see in Microsoft Word on your Mac.

Accessing the tab settings
Open Microsoft Word on your Mac with any document and then follow these steps.
1) Click Word from your menu bar.
2) Select Preferences.
3) Choose Ribbon & Toolbar in the pop-up window.
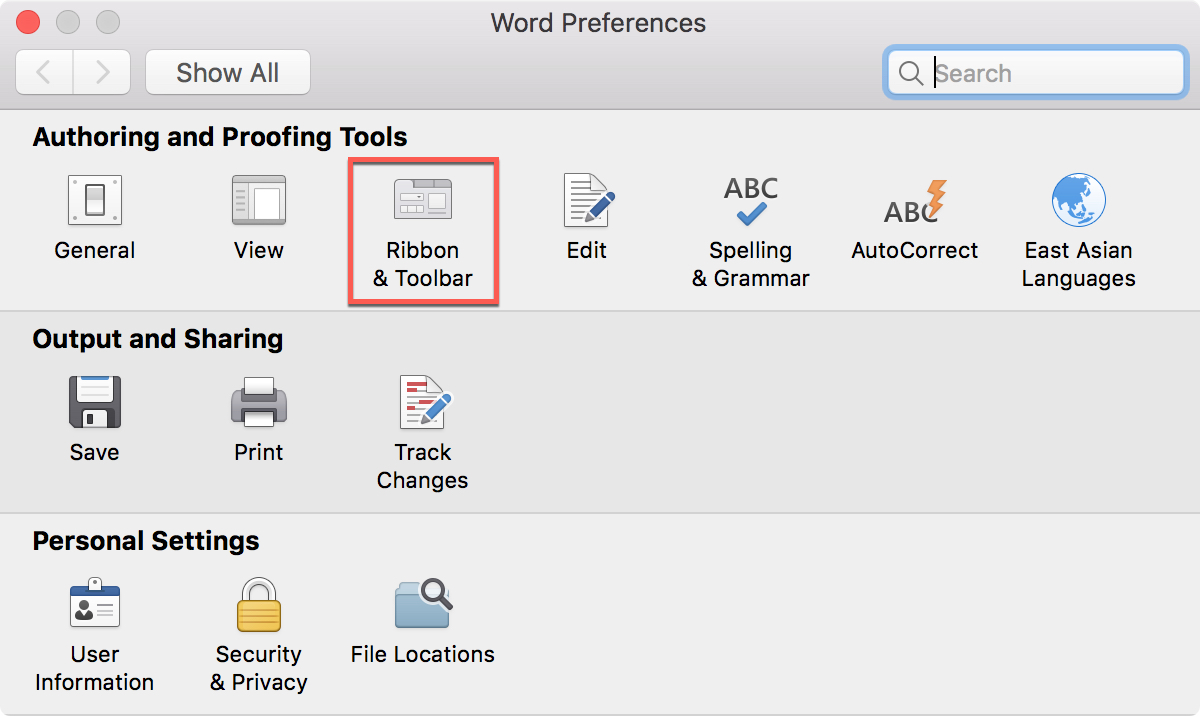
On the Ribbon & Toolbar screen, make sure the Ribbon button is selected, which should be blue.
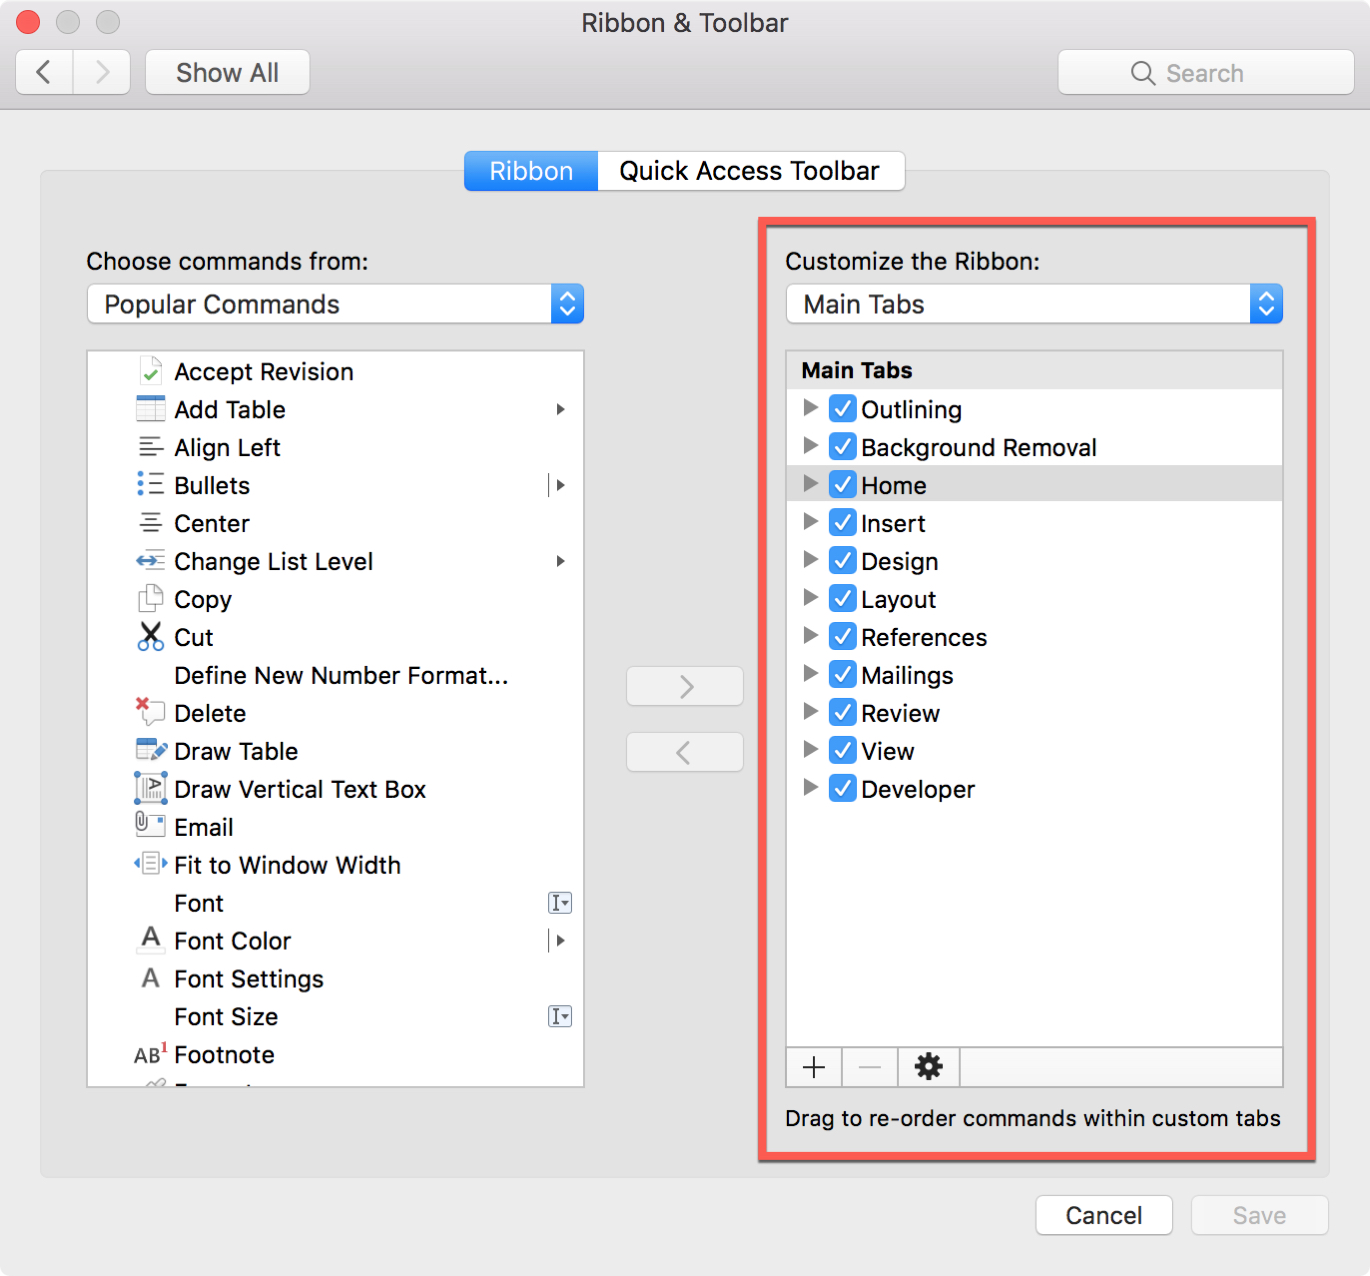
On the right side of the window, under Customize the Ribbon, you will see your tab options. You can pick Main Tabs, Tool Tabs, or All Tabs (which displays both sets at once) from the drop-down box.
Changing your Main Tabs
The Main Tabs are those you see all the time like Home, Insert, and Layout. But, you’ll also notice two tabs in the list that you probably don’t currently see; Outlining and Background Removal. So, we’ll start with brief explanations of those tabs.
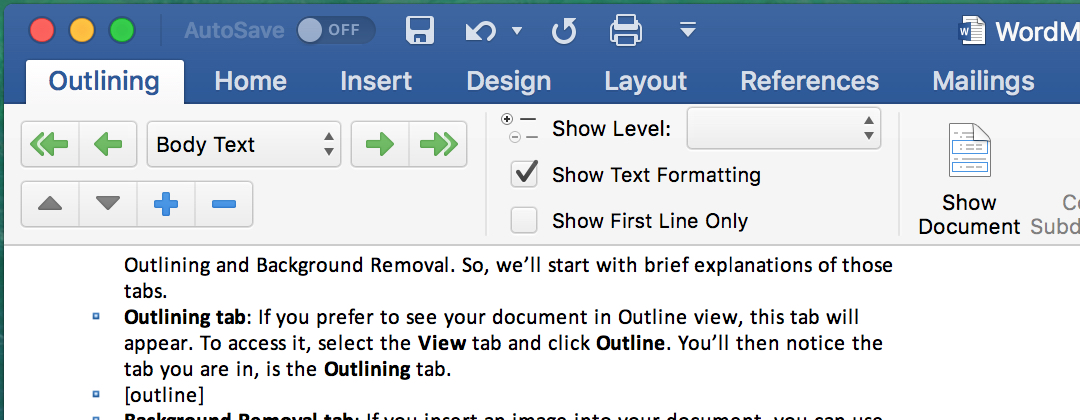
Outlining tab: If you prefer to see your document in Outline view, this tab will appear. To access it, select the View tab and click Outline. You’ll then notice the tab you are in, is the Outlining tab.
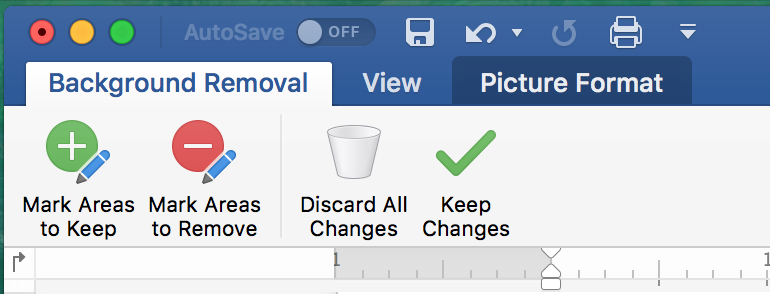
Background Removal tab: If you insert an image into your document, you can use the Background Removal tool and the same-named tab. Insert your image and select it. Click the Picture Format tab that will appear at the top. Then, click Background Removal button on the left of your ribbon. You’ll see that the tab you will work in, is the Background Removal tab.
The rest of the Main Tabs are the basics you normally need for a document and you’re likely familiar with them already. Tabs like Home includes font, alignment, and list options and Insert lets you pop in tables, charts, images, and other items.
To remove a tab you do not want to see, simply uncheck the box next to the tab in the Ribbon & Toolbar window and click Save.

Changing your Tool Tabs
The Tool Tabs are those that you don’t see often, unless you use that specific tool. For instance, we mentioned one of these above, the Picture Tools > Picture Format tab. This one will only display once you insert an image into your document and select it.
Another example is the Chart Tools > Chart Design and Format tabs. These will only display if you insert a chart into your document and select it.

If for some reason, you do not want to see specific Tool Tabs when you open and use a tool in Word, just uncheck them and click Save.

Wrapping it up
These are just some simple adjustments you can make in Microsoft Word to customize your experience just as you want it. Do you use customizations like this when you work in Word? Or, are there others that you’d like to see a tutorial for? Let us know!
Source link: https://www.idownloadblog.com/2018/10/11/change-tabs-in-word-mac/


Leave a Reply