

How to take Mac screenshots and capture screen recordings in macOS Mojave
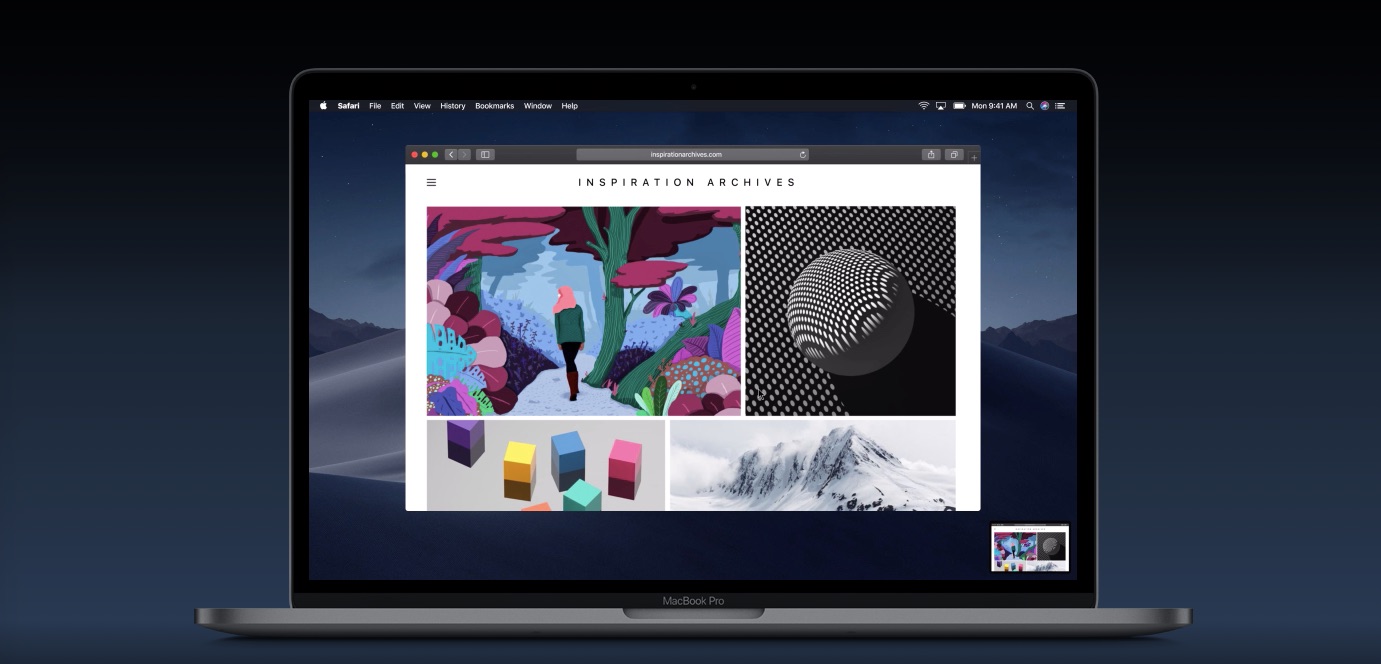
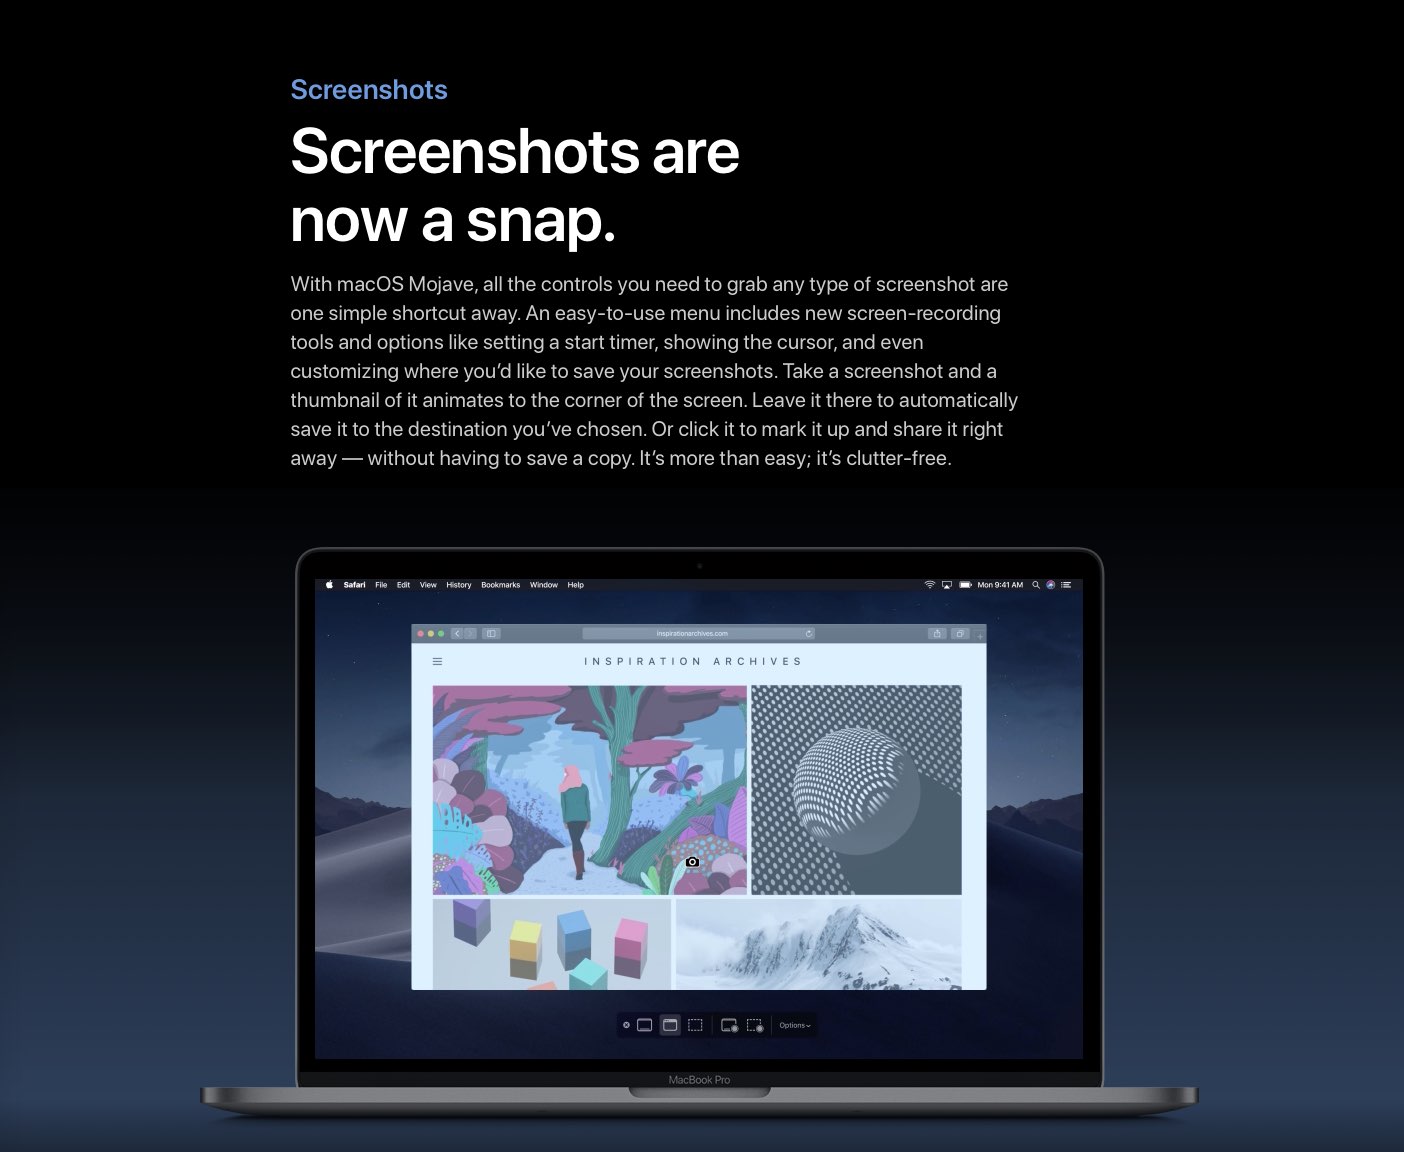
Thanks to a brand-new floating interface in macOS Mojave, Mac customers are able to take more kinds of screenshots with less effort than ever before. The new on-screen controls provide quick access to every option, including video recording capabilities, without needing to memorize complex keyboard shortcuts. And with Mojave’s streamlined workflow, you can share your screenshots easily without ever cluttering the desktop.
HIGHLIGHTS:
- New interface consolidates all the screen capturing features in one place
- This new interface has been assigned a new global keyboard shortcut
- On-screen icons let you adjust settings without using Terminal
- The new experience integrates native screen recording
- Markup is now part of the workflow
- Screen captures can be shared quickly without saving
TUTORIAL: tips for taking selection screenshots on your Mac
But first, block out the next three minutes of your time and watch iDownloadBlog’s hands-on video walkthrough of the new screenshot options in macOS Mojave, plus a refresher on the previous shortcuts for mastering your screenshot-taking skills.
Subscribe to iDownloadBlog on YouTube
And now, let’s get to it…
Your old shortcuts still function
Before we introduce you to the clutter-free screen capture experience, it’s important to note that all of the existing screen capture shortcuts, tips and tricks continue to function in macOS Mojave without hiccups, as you’d expect.
This includes the two familiar key combinations for taking screenshots:
- Command (⌘)-Shift (⇧)-3: take a screenshot of the whole screen
- Command (⌘)-Shift (⇧)-4: take a screenshot of a portion of the screen
These shortcuts can be combined with the modifier keys like before to do things like capture screenshots without the shadow effect, save them to the system clipboard and so forth.
Introducing Command (⌘)-Shift (⇧)-5
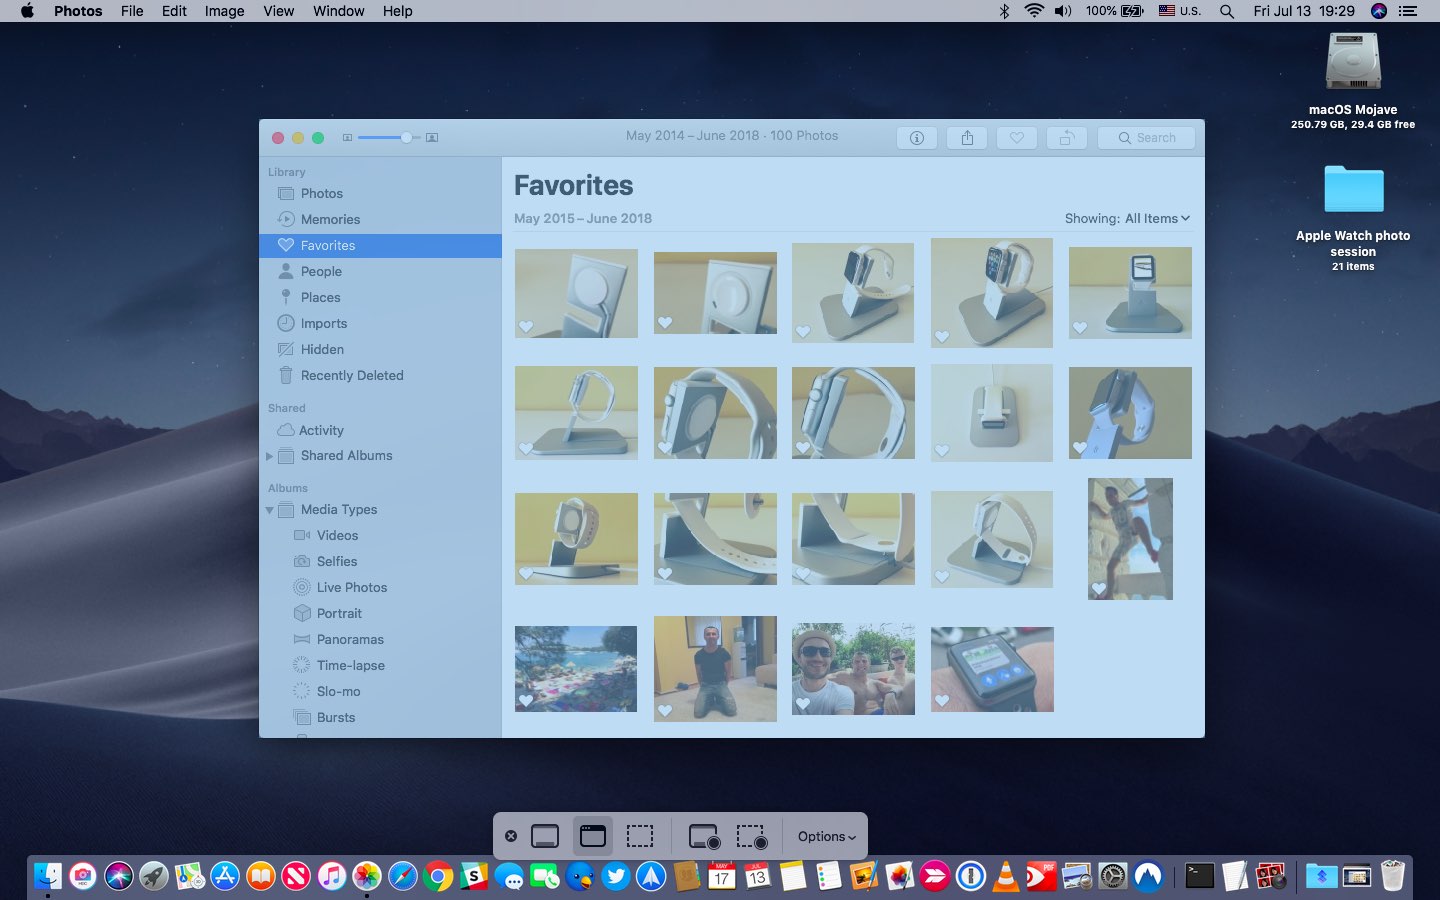
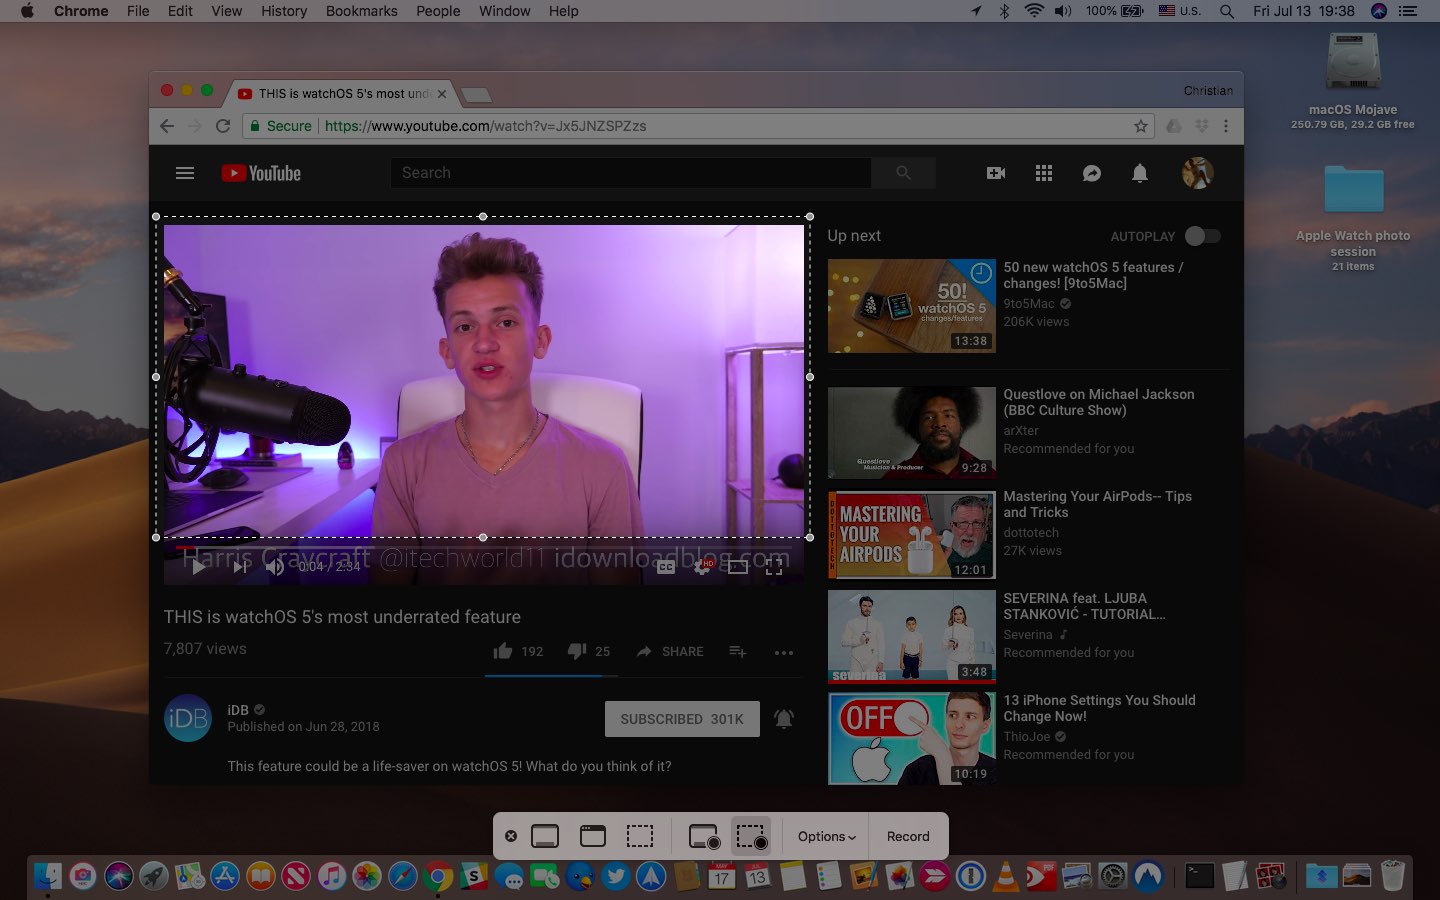
macOS Mojave sports the new on-screen controls for quick access to every screenshot and video recording option. All the controls you need to take any type of screenshot or screen recording come to life with a quick press of the following key combo:
- Command (⌘)-Shift (⇧)-5: invoke macOS Mojave’s new screen capture interface
Pressing the above shortcut brings up a floating panel packed with useful options that were previously hidden in QuickTime Player and Grab (in fact, Mojave kisses the Grab app good-bye), like taking timed screenshots or showing the cursor.

Here are the icons, from left to right:
- X: dismiss the panel and ask if any changes should be saved
- Capture Entire Screen: take a screenshot of the whole screen
- Capture Selected Window: take a screenshot of a window
- Capture Selected Portion: take a screenshot of a selected portion of the screen
- Record Entire Screen: take a video recording of the whole screen
- Record Selected Portion: record parts of your Mac screen
- Options: this is where you’ll set a start timer, show the mouse pointer or mouse clicks and even customize where you’d like to save your screenshots and screen recordings.
- Capture/Record: take a screenshot or record the screen
These shortcuts also appear on the Touch Bar of your Mac.
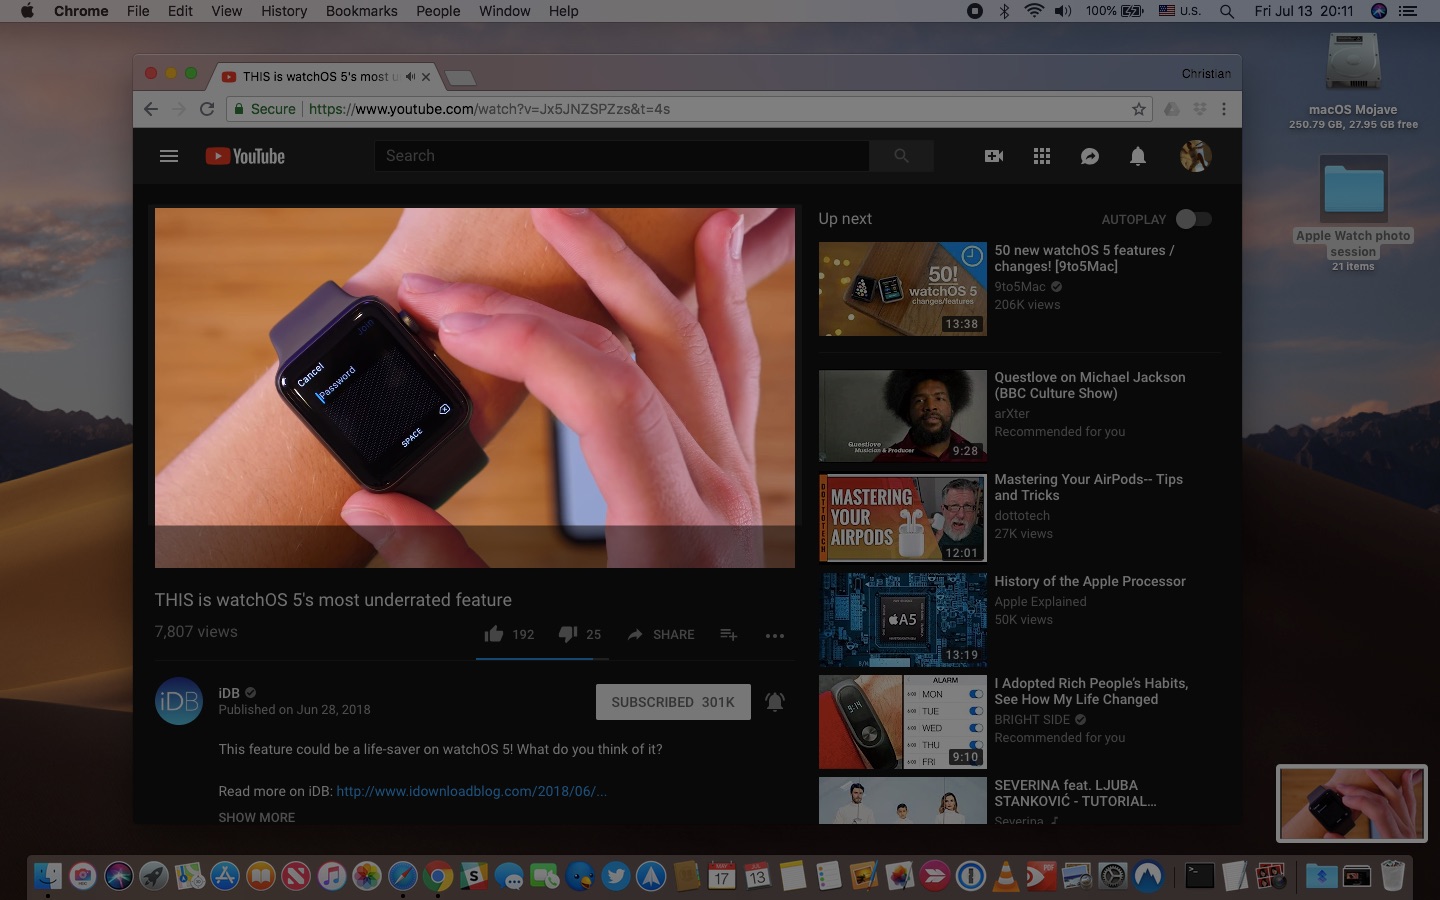
After taking a screen capture, a thumbnail animates to a screen corner (similar to the overhauled screenshot workflow in iOS 11). Click the thumbnail to bring up Markup or the video trimming tools, share your content without saving a copy and more.
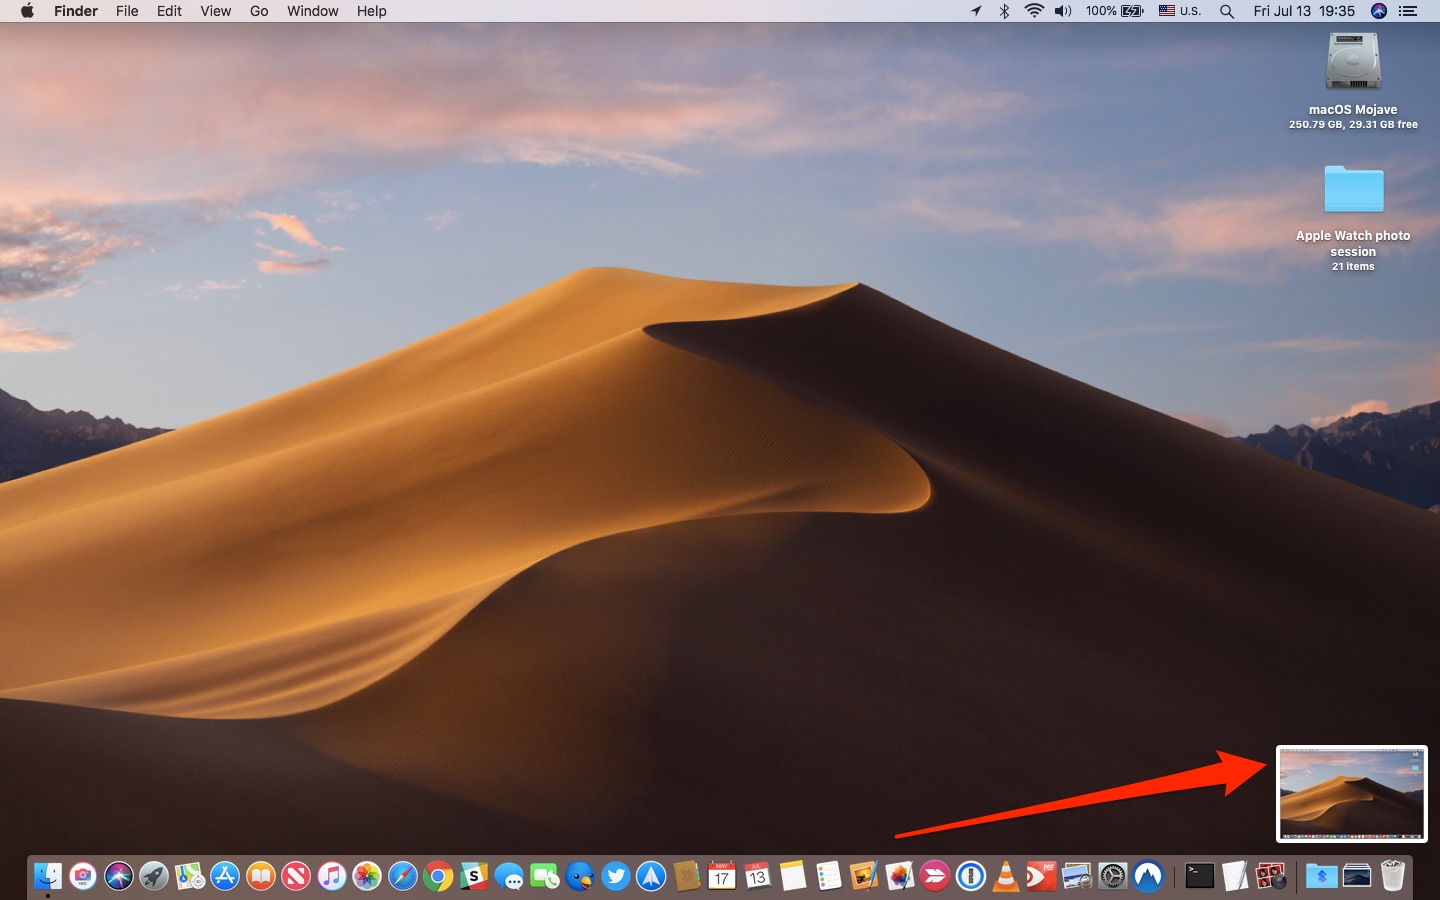
If you immediately swipe the thumbnail away (or wait a few minutes until it disappears), your content gets saved right away. By default, screenshots are stored as PNG files and screen recordings are saved as QuickTime MOV files.
macOS Mojave defaults to saving your screenshots and screen recordings on the desktop although you can set your save path to a custom folder, but more on that later.
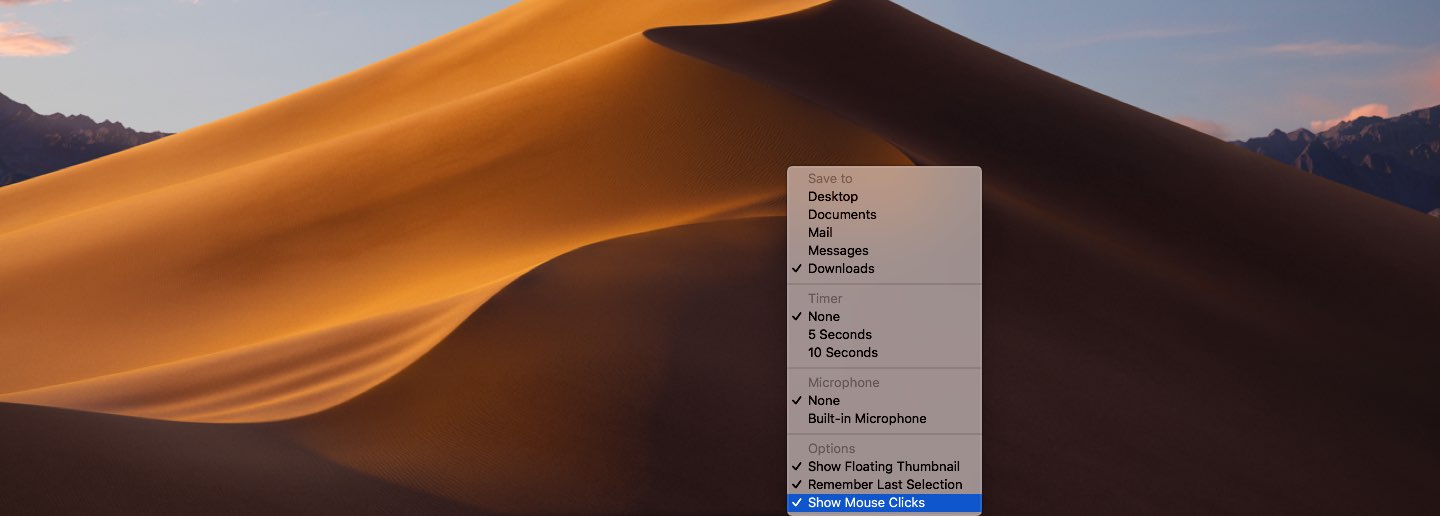
Goodies in the Options menu
Let’s take a closer look at what’s included in the Options menu.
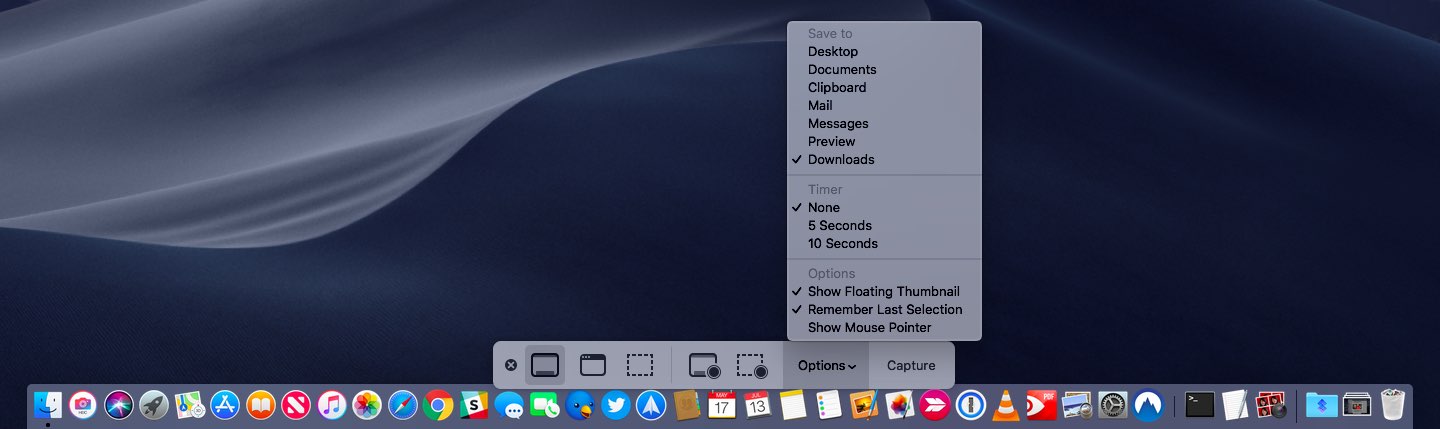
This is what you may see after clicking Options, depending on context:
- Save to
- Desktop
- Documents
- Clipboard
- Messages
- Preview
- [Custom save location]
- Timer
- None
- 5 Seconds
- 10 Seconds
- Microphone (video only)
- None
- Built-in Microphone
- [Connected Microphone]
- Options
- Show Floating Thumbnail
- Remember Last Selection
- Show Mouse Pointer
- Show Mouse Clicks (video only)
Let’s take a closer look at what each of those settings does.
Hiding the floating thumbnail
In Mojave, a thumbnail of your screenshot appears for a few seconds in the bottom-right corner before disappearing (swipe right on the thumbnail to dismiss it immediately).
By default, your Mac includes the floating thumbnail in your screenshots.
To avoid having the thumbnail grabbed as part of any subsequent captures, swipe it away before taking another screenshot or turn this feature off entirely by clicking the Options menu, then deselect Show Floating Thumbnail underneath the Options heading.
Setting a start timer
By setting a start time, you can take a timed capture.
You can set a five- or ten-second delay before your screen or screen recording capture takes place. This lets you take screenshots in situations where you need to hold down the Option key to reveal a hidden menu because the Option key is part of macOS’s screenshot shortcuts.
To set a start timer for your capture sessions, click the Options menu and choose the option 5 Seconds or 10 Seconds underneath the Timer heading.
Setting a start timer used to require the Grab app, which has been removed from Mojave.
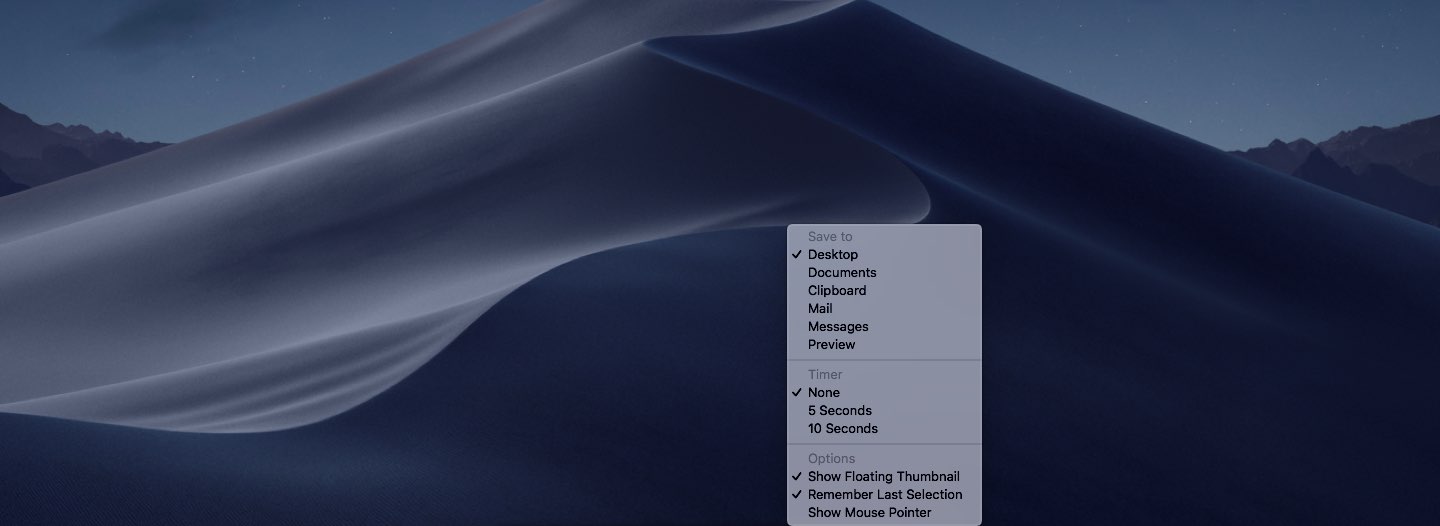
Changing where screenshots are saved
Previously, setting a custom location for saved screenshots required a Terminal command.
macOS Mojave lets you easily switch between several commonly used screenshots destinations, like the desktop, the system clipboard, your account’s Documents folder or system apps such as Mail, Messages and Preview.
To change where your screenshots are saved, click the Options menu then choose Desktop, Documents, Clipboard, Mail, Messages or Preview underneath the Save To heading (the Preview and Clipboard destinations are unavailable for saving screen recordings).
The old method of setting the save path with a Terminal command still works. If you want to change the default location for saved screenshots and screen recordings to a location not listed in the Options menu, like your account’s Downloads folder, type or paste the following line in a Terminal window and press Enter to execute the command.
defaults write com.apple.screencapture location ~/Downloads/; killall SystemUIServer
When you change the save path this way, your custom location appears listed as a seventh choice in the Options menu. However, as soon as you switch to one of the built-in paths offered in the Options menu (like Desktop or Documents), the location you set through Terminal is delisted from the menu.
You can set it again through Terminal, but it would be a lot nicer if Mojave’s Options menu reserved a permanent spot for any custom save path set by the user.
Showing the mouse pointer
By default, the mouse pointer is not included in screenshots.
To take a screenshot that includes the mouse pointer, be sure that the option Show Mouse Pointer is ticked in the Options menu after selecting Capture Entire Screen, Capture Selected Window or Capture Selected Portion.
Showing mouse clicks
The mouse pointer always shows up in screen recordings, but wouldn’t it be nice if there were some visual cues for button presses? No problem, tick Show Mouse Clicks in the Options menu if you want to create a screen recording in such a way that any mouse clicks you make during the session appear as a circle in the video.
Remembering last selection
If Remember Last Selection is checked in the Options menu, clicking the icons for screenshotting a selected portion of the screen or recording parts of the screen will automatically load the previous selection. This is useful if you’re taking multiple screenshots of the same dynamic area in sequence, like a YouTube window.
Selecting audio source
Before kicking off a screen recording, you can optionally select your preferred audio source underneath the Microphone heading in the Options menu To record your voice or other audio with the screen recording, choose your built-in microphone or one of the available audio recording devices connected to the computer.

To record a silent screencast, select None
Taking screenshots
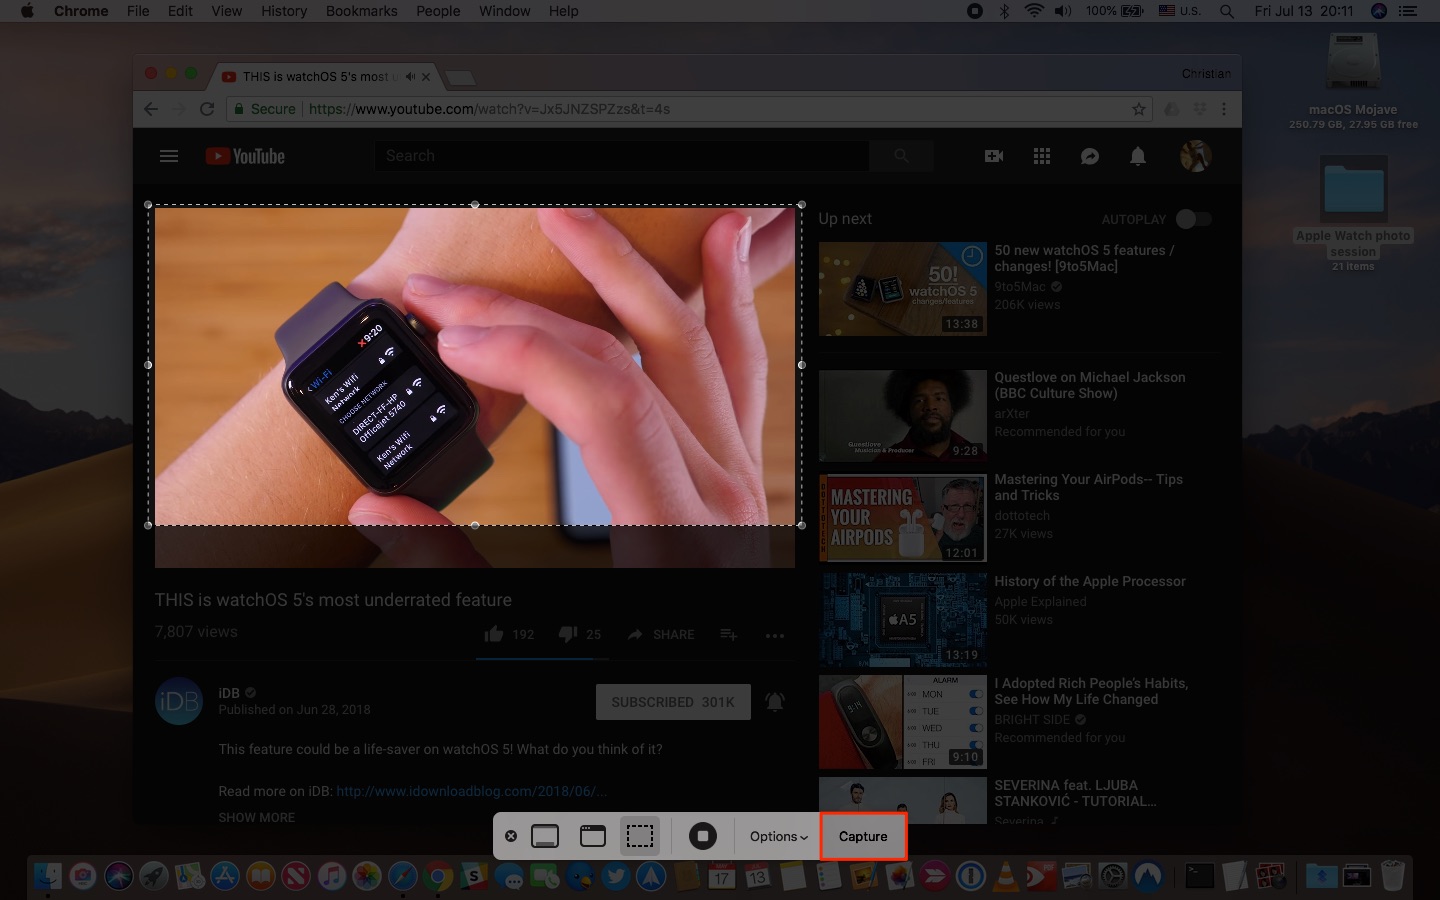
The new interface and workflow in macOS Mojave let you take a screenshot of the entire screen, a selected window or a selected portion of the screen.
To take a screenshot, you must choose between one of the three modes to the left of the first menu divider (Capture Entire Screen, Capture Selected Window or Capture Selected Portion) and hit the Capture button on the right side.
To dismiss the interface, press the Escape (⎋) key or click “x” on the leftmost side.
We’ve said ti before but it’s nevertheless worth reiterating that any old keyboard shortcuts for these actions that you’ve grown accustomed to over the years continue to function in Mojave.
Capturing the whole screen
To take a screenshot of the whole screen, choose the leftmost icon labeled Capture Entire Screen, then click the Capture button on the rightmost side.
TIP: Capture the whole screen quickly by press the old shortcut Command (⌘)-Shift (⇧)-3.
Capturing a screen portion
To capture a portion of the screen, choose the third leftmost icon labeled Capture Selected Portion (note that you can press the Space bar to cycle between recording all or part of your Mac screen). This will load your previous selection unless Remember Last Selection has been deselected in the Options menu.
If so, create a selection by moving the crosshair to where you’d like to start the screenshot, then drag to select an area. Use the dots on the sides of the selection to refine the capture area, then hit the Capture button on the rightmost side.

TIP: Like before, you can also capture a screen portion quickly by press the old shortcut Command (⌘)-Shift (⇧)-3. Next, move the crosshair to where you want to start your screenshot, the drag to select an area (while dragging, you can hold Shift, Option or Space bar to change the way the selection moves) and let go of the mouse button
Screenshotting a window
To take a screenshot of a window, click the second leftmost icon labeled Capture Selected Window, then click the Capture button on the rightmost side.
Now move the camera pointer over a window and highlight it, then click the mouse button.
The same Space bar highlight shortcut can be used to screenshot any Mac menu.
Don’t forget that you can quickly cycle through taking a screenshot of the selected window or a portion of the screen by hitting the Space bar when the on-screen controls are visible.
TIP: Screenshot a window quickly by pressing the old shortcut Command (⌘)-Shift (⇧)-4.
Marking up & sharing screenshots
Click the thumbnail that appears after taking a screenshot to enter the built-in Markup tools.
The integrated Markup toolset, lined up alongside the top of the screenshot overlay, make it fast and efficient to add comments to your content before sharing with others.
Here are the Markup tools, from left to right:
- Sketch
- Draw
- Shapes
- Text
- Highlight selection
- Signatures
- Lines and Arrows
- Border color
- Fill color
- Typeface
- Rotate right
- Rotate left
- Crop
After making the changes with Markup, click Done near the overlay’s top-right corner to flatten your drawings, texts and other elements and have the screenshot automatically saved, or click Revert to cancel any Markup changes.
To share your marked up screenshot, click Share in the top-right corner and select an option. To delete the screenshot, press the Trashcan icon near the top-right corner.
To share a screenshot right after taking it, click the Share menu in Markup and choose a service. To exit Markup, click the “x” in the upper-left corner or press the Escape (⎋) key.
Don’t worry, you’ll be prompted to save the changes.
Taking screen recordings
The new screenshot workflow in macOS Mojave makes it really simple to make a video recording of all or part of your Mac’s screen. You can make screen recordings, with or without audio or the mouse clicks (use the Options menu to make those choices).
Recording the whole screen
To make a recording of everything shown on the screen of your Mac, click the fourth leftmost icon labeled Record Entire Screen. This will load your previous selection if Remember Last Selection is checked in the Options menu.
Otherwise, drag to select an area to record, then drag the dots on the sides of the outline to refine the selection. Click the Capture button on the rightmost side to start recording.
To end the session, click the Stop Recording button in your Mac’s menu bar.
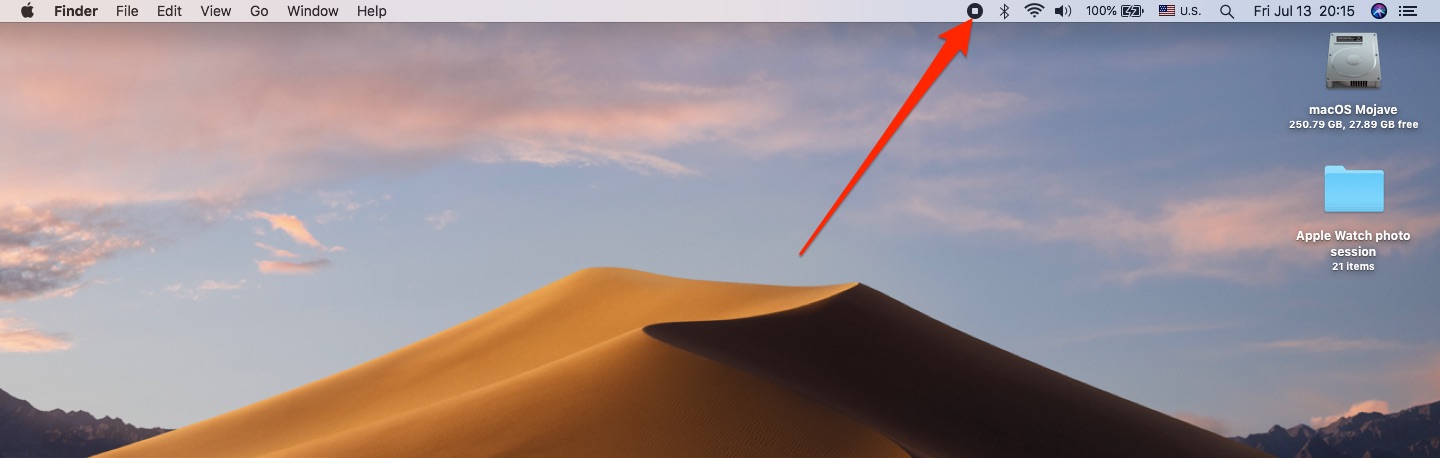
Alternatively, click the Stop Screen Recording button that appeared in the floating panel when you began recording.
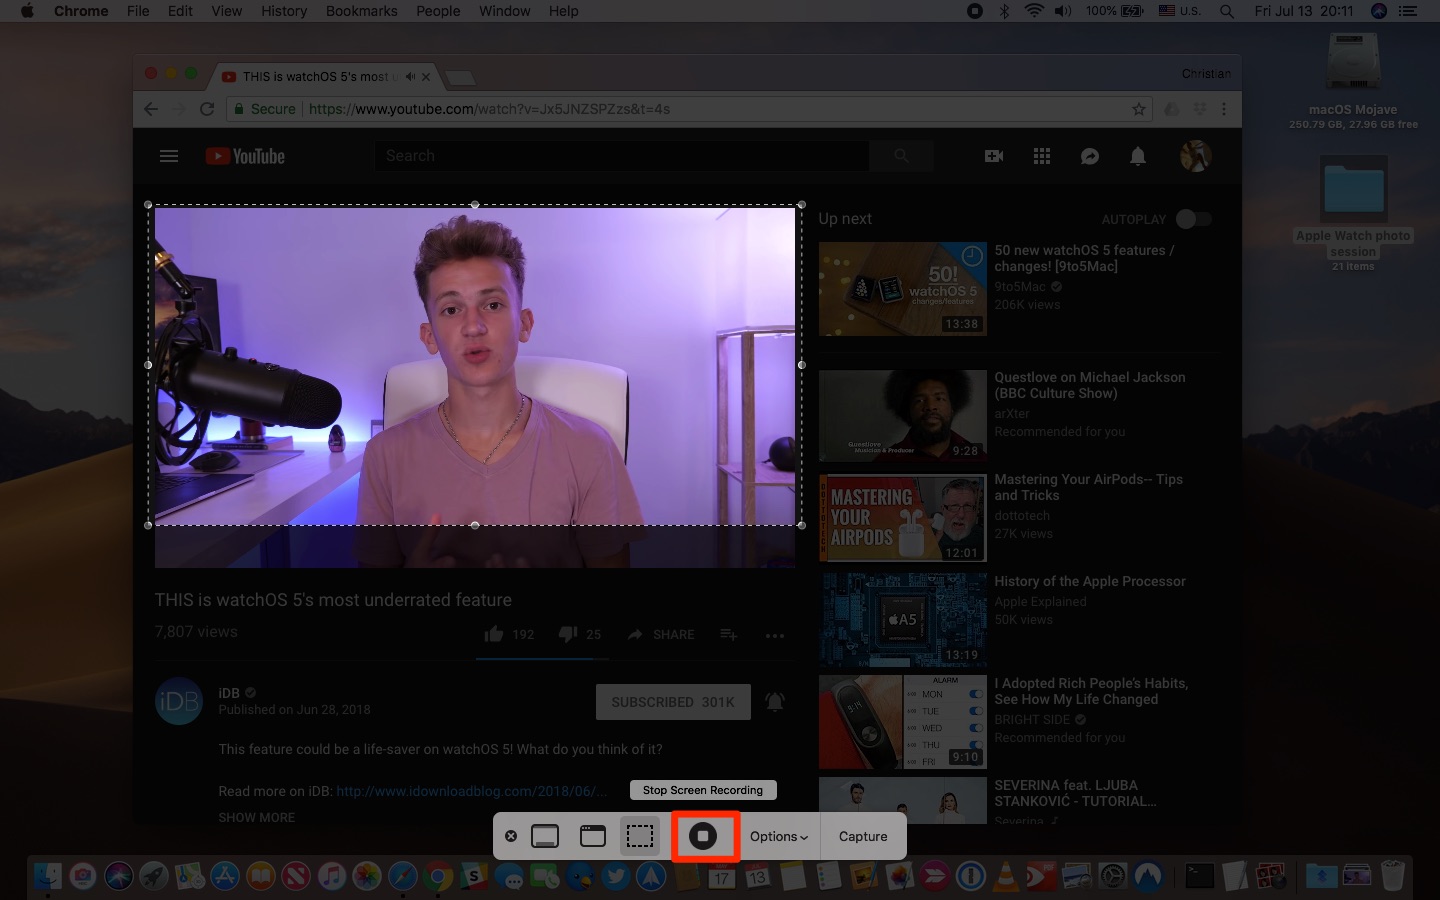
On-screen controls not visible? Bring them up by pressing Command (⌘)-Shift (⇧)-5.
Recording parts of the screen
To record everything shown on your Mac’s screen, click the fourth leftmost icon labeled Record Selected Portion, then click the Record button on the rightmost side. To end the recording, click the Stop Recording button in the menu bar.
The ability to record the screen continues to be part of Mojave’s QuickTime Player app.
Taking screenshots while recording screen
Previously, you could initiate a screen recording session with QuickTime Player and take screenshots using keyboard shortcuts during the recording session. You can still do that in Mojave’s new screenshotting interface,
Simply press Command (⌘)-Shift (⇧)-5 to bring up the floating interface, then click Record Entire Screen or Record Selected Portion. While the screencast is being recorded, just press one of the screenshot-taking shortcuts on the keyboard to take a screenshot.
Alternatively, invoke the on-screen controls while your video is being captured, then select one of the screenshot-taking modes and click that Capture button.
As an example, you may want to capture a selection screenshot of an interesting detail while your Mac connotes to record a screencast of a YouTube video playing in Chrome.
Trimming & sharing screen recordings
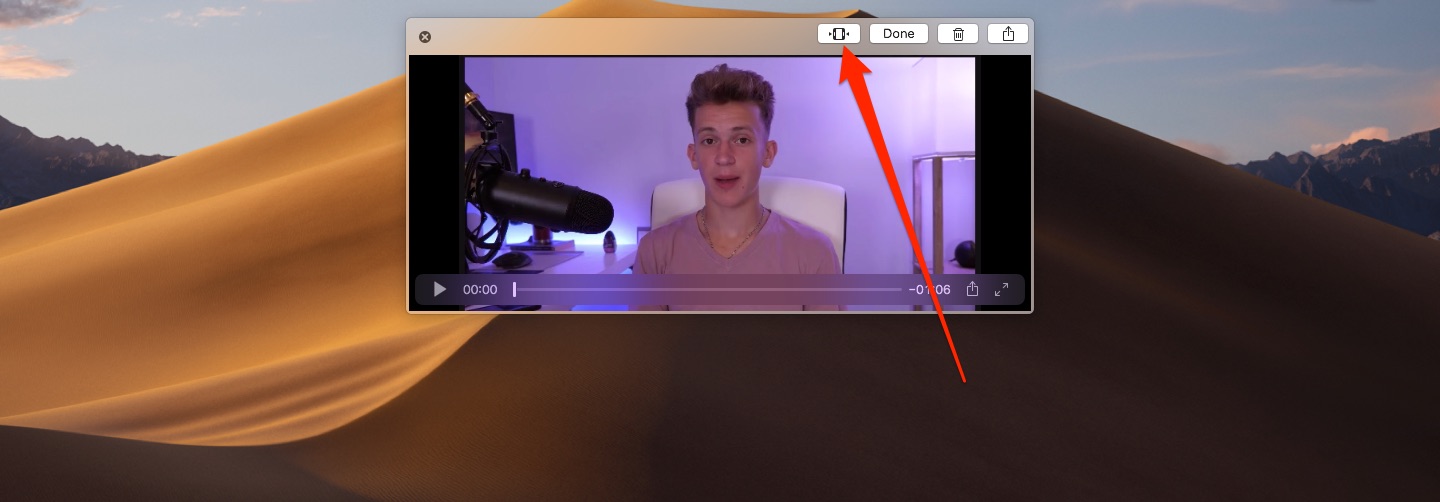
Click the thumbnail after ending the recording to instantly access the video preview and the trimming options without having to open QuickTime. The Play/Pause control along with the scrubber, the Share button and the Full Screen button are lined up in an auto-hiding strip at the video’s bottom.
To trim the video, click the Trim button next to Done near the overlay’s top-right corner.
You will now see the scrubbing and edit ribbon along the bottom of the video.
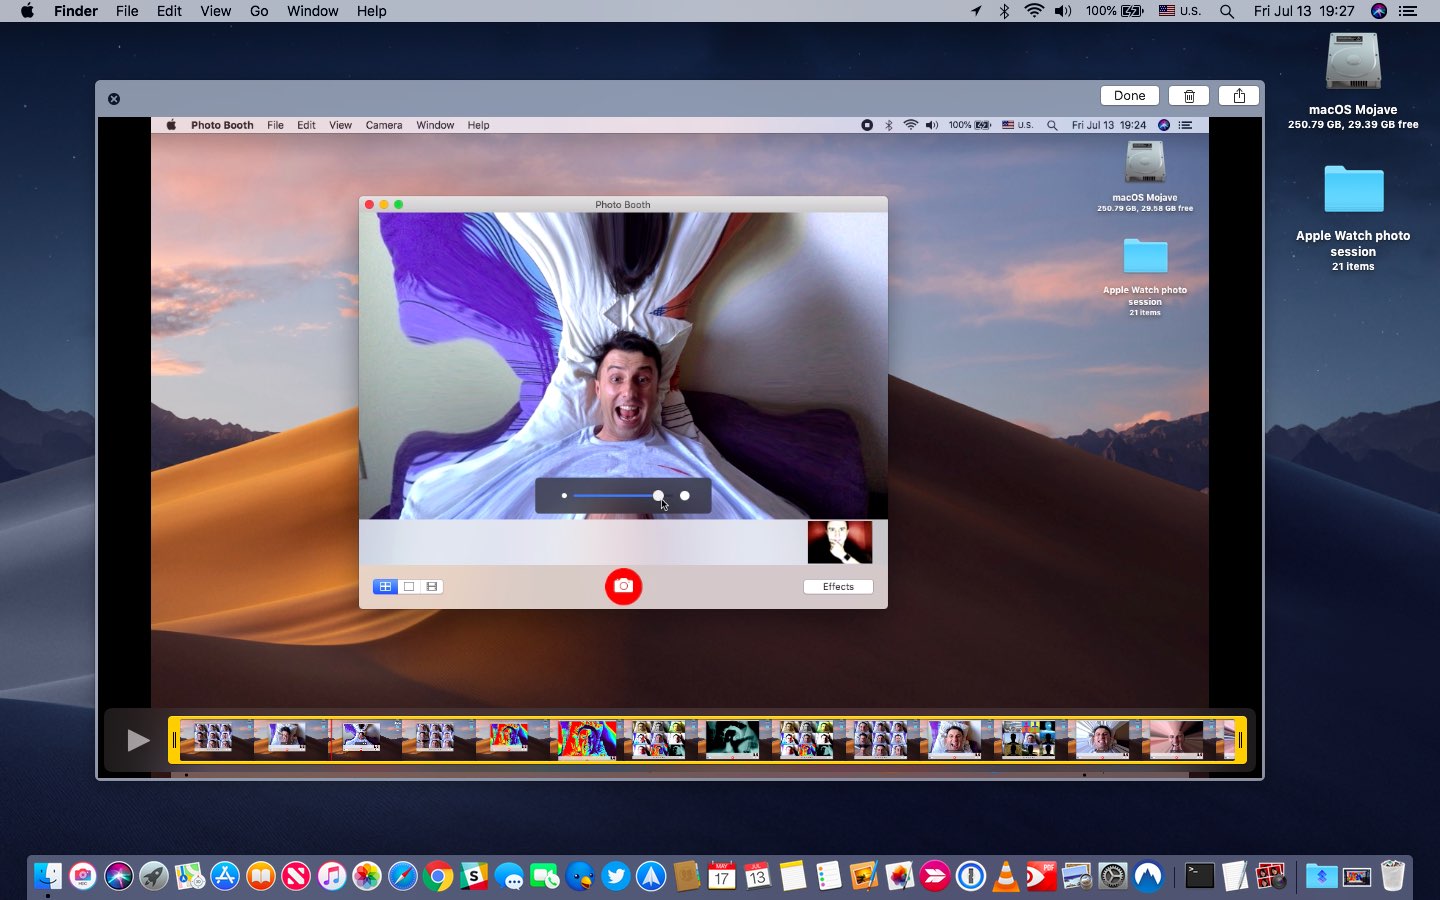
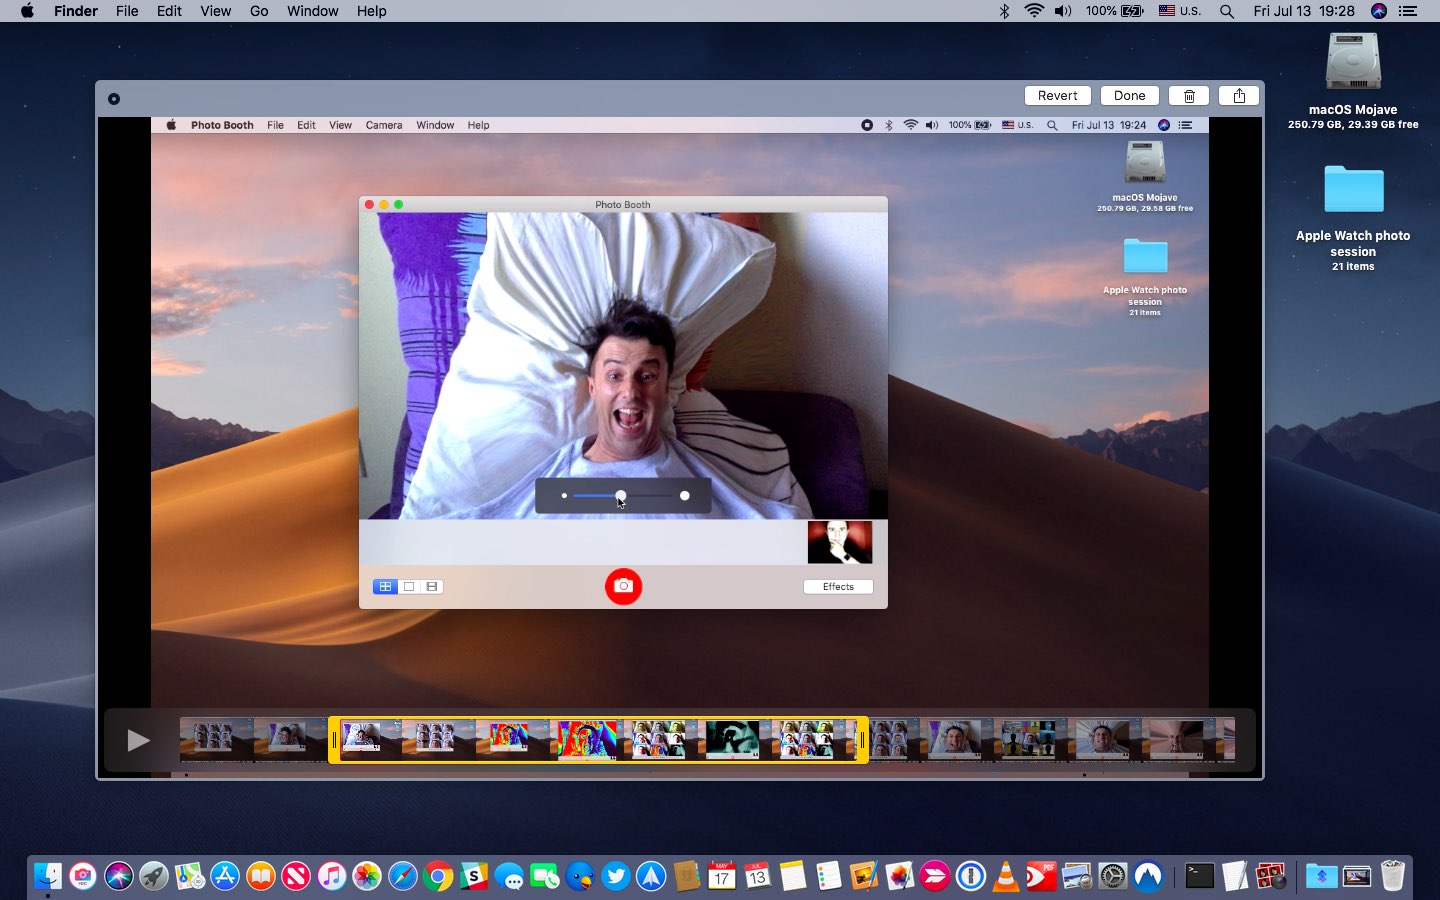
To leave out unwanted parts at the beginning and the end of the clip, drag the edges of the yellow frame to trim the video to a desired length.

You can also press the Play/Pause button to play the yellow segment or click anywhere in the ribbon to jump to that point in the video. Click Done to save the trimmed video or Revert to dismiss the changes. To delete the video, click the Trashcan icon. Finally, use the Share button to instantly share your edited clip right there and then.
To exit the interface at any time, click the “x” in the upper-left corner or press the Escape (⎋) key, then choose whether you’d like to have the changes saved or dismisses.
Wrapping it all up
The new screenshot-taking workflow in macOS Mojave is very similar to iOS 11’s new screenshot and screen recording interfaces. The persistent overlay in macOS Mojave along with the handy on-screen buttons and the Options sub-menu give you all the shortcuts you need for easy access to every screenshot option and all-new video recording capabilities.
The streamlined workflow makes it easy to share your screenshots without cluttering your desktop while the integrated Markup toolset and video trimming capabilities boost your workflow.
What more could you ask for?
Need help? Ask iDB!
If you like this how-to, pass it along to your support folks and leave a comment below.
Got stuck? Not sure how to do certain things on your Apple device? Let us know via [email protected] and a future tutorial might provide a solution.
Submit your how-to suggestions via [email protected].
Source link: http://www.idownloadblog.com/2018/07/13/howto-take-screenshots-mac-mojave/

Leave a Reply