How to customize Notes app with lines or grids
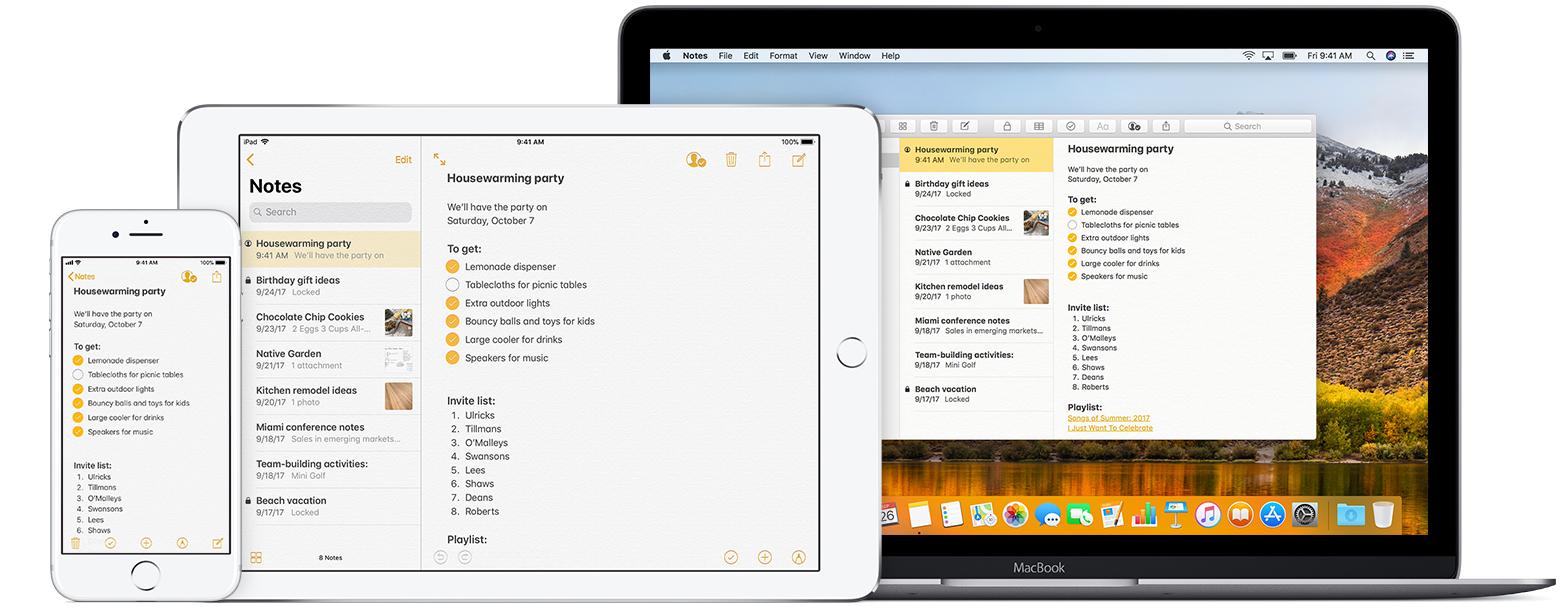
Apple’s Notes app for iPhone and iPad can be customized with different lines and grids.
Having a simulated paper look in your note can help you draw a straight line, square shapes or vector graphics, as well as handwrite a note across an even landscape and more.
Lines and grids appear on sketches and handwriting below text. Keep in mind that Notes for Mac does not yet support customizations with various lines and grids.
Be sure to update your device to iOS 11 and set up Notes with iCloud or have notes saved on your device because many advanced features of the app won’t work with other email providers.
How to use lines and grids in Notes
Notes used to be a simple blank canvas before iOS 11 arrived.
Each note in iOS 11 and newer versions can have a different line and grid style. If you use the same grid or line pattern over and over again, Notes also permits you to define the default style to apply to all your newly created notes. As mentioned, the lines/grids double as a virtual ruler for drawing straight lines and square shapes.
The grid or lines only appear when using handwritten notes or drawing sketches with your finger, Apple Pencil or third-party stylus. Any text you type in a note gets inserted before the lines/grid.
Setting your default line or grid style
You can choose your default style of line or grid that’ll apply to any newly created note.
1) Open the Settings app on your iOS device.
2) Choose Notes from the list.
3) Tap Lines & Grids.
4) Choose one of the predefined line or grid styles.
Aside from blank notebooks, you can select between lines in single-spaced, double-spaced or triple-spaced configurations, plus small, medium or large grids.
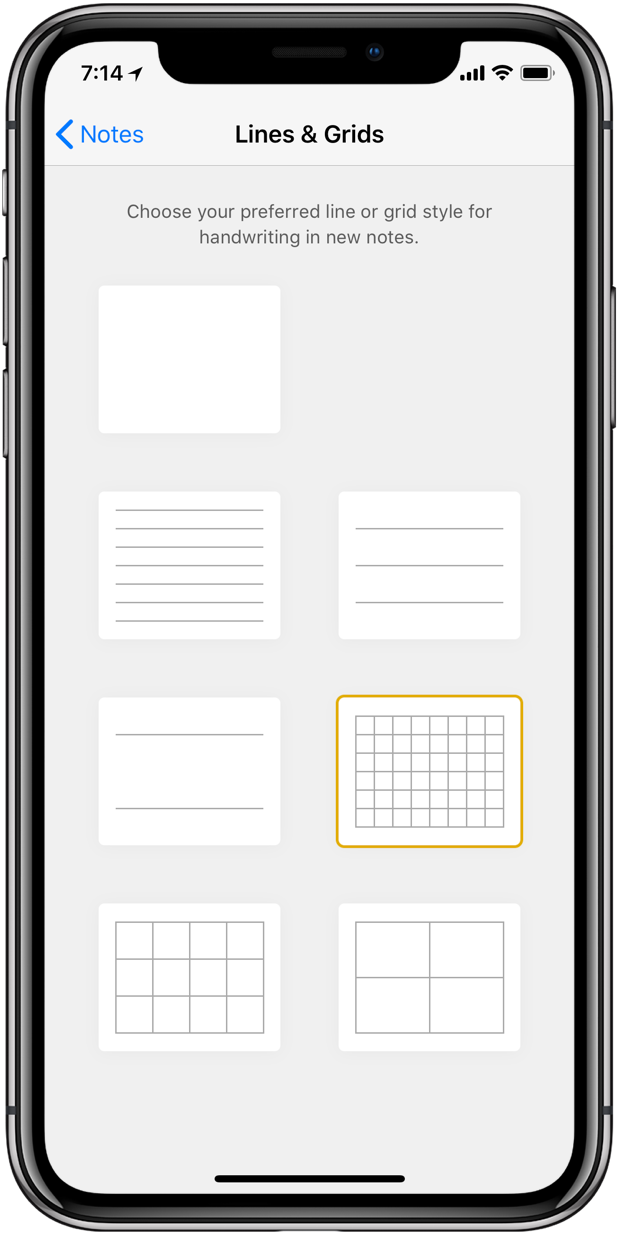
There are three sets of lines and three grid styles at your disposal
Going forward, every new note will appear with your chosen grid and line style. Your existing notes shall retain whatever style was selected when they were created.
Adding lines or grids to a note
You can add lines or grids to any existing note.
1) Open the Notes app on your iOS device.
2) Choose a note from the list.
3) Tap the Share icon.
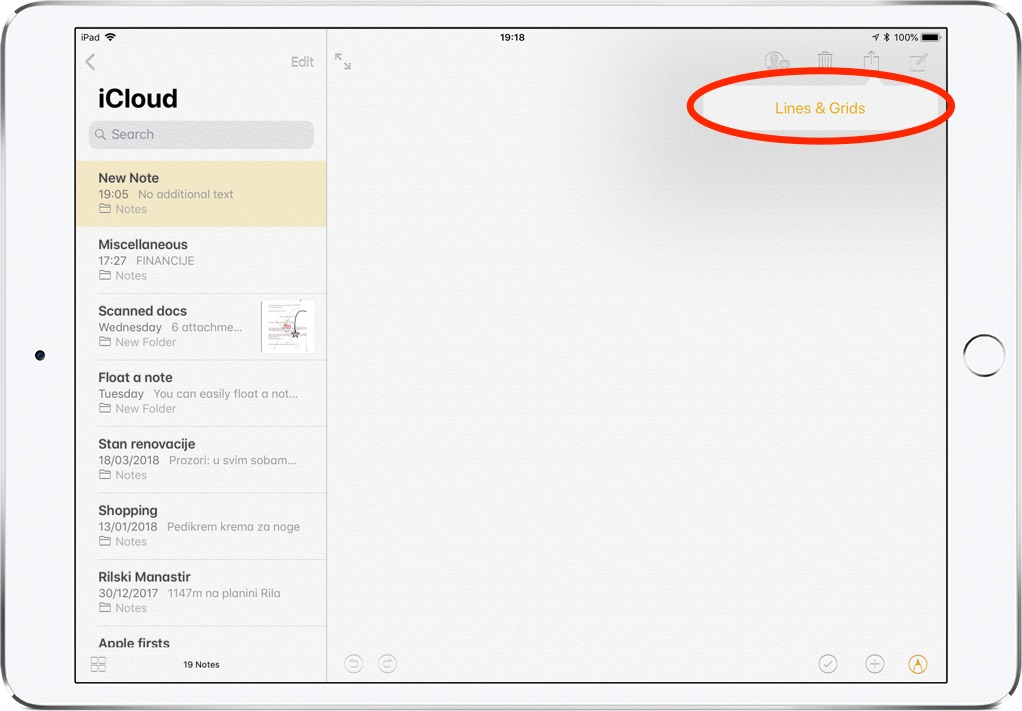
Notes’ Action Extension lets you access lines and grids from the Share menu
4) Choose Lines & Grids from the menu.
5) Choose a predefined line/grid or tap Cancel to abort the operation.
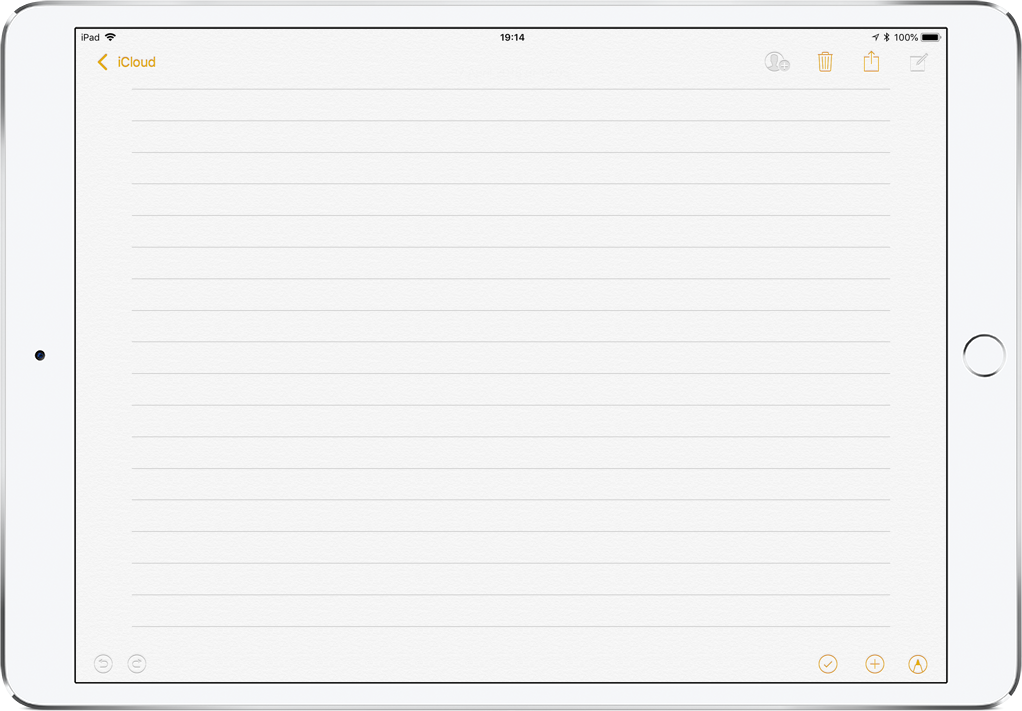
Use lines to handwrite a note across an even landscape
The line or grid style you select will be applied for handwriting and sketching in this note.
Don’t forget that iOS 11 and newer versions feature much improved Apple Pencil integration which permits you to start writing by hand in any note instantly. And thanks to iOS’s handwriting recognition system, your handwritten notes are fully searchable.
Removing lines or grids from a note
You can remove lines or grids from an existing note at any time.
1) Open the Notes app on your iOS device.
2) Choose a note from the list.
3) Tap the Share icon.
4) Choose Lines & Grids from the menu.
5) Choose a blank template at the top.
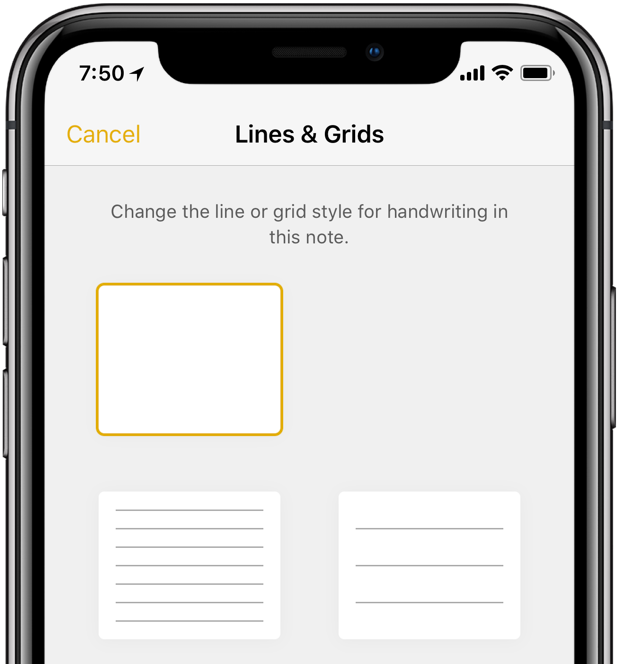
Each note can have a different style of line or grid
Any previously applied style of line or grid will get instantly removed from this note.
You don’t need to reset your current style before sharing a note because your notes are saved and shared without having a grid or line in the background.
Need help? Ask iDB!
If you like this how-to, pass it along to your support folks and leave a comment below.
Got stuck? Not sure how to do certain things on your Apple device? Let us know via [email protected] and a future tutorial might provide a solution.
Submit your how-to suggestions via [email protected].
Source link: http://www.idownloadblog.com/2018/04/17/how-to-customize-notes-iphone-line-grid/


Leave a Reply