macOS: How to Start Using Mac Dictation

Mac Dictation is an Accessibility feature that lets you use your voice to interact with your computer. It’s similar to iOS Dictation, and you can enter text and use basic commands. Here’s how to get started.
Turn on Mac Dictation
To turn on Mac Dictation:
- Go to System Preferences.
- Click Keyboard.
- Click Dictation.
Here you’ll see various options. You can set up a Dictation keyboard shortcut, and the default is to press the Function (Fn) key twice. Additionally, if you have macOS Sierra or later, you can use Siri to turn on Dictation.
Turning on Dictation
The option to use Enhanced Dictation means that you can use Dictation even when you’re not connected to the internet. Pressing the Fn key twice will download Enhanced Dictation in your computer’s default language. Enhanced Dictation is available in OS X Mavericks 10.9 or later.
Clicking on the menu below the microphone will let you choose your input source. If you have AirPods, using that as a microphone is perfect.
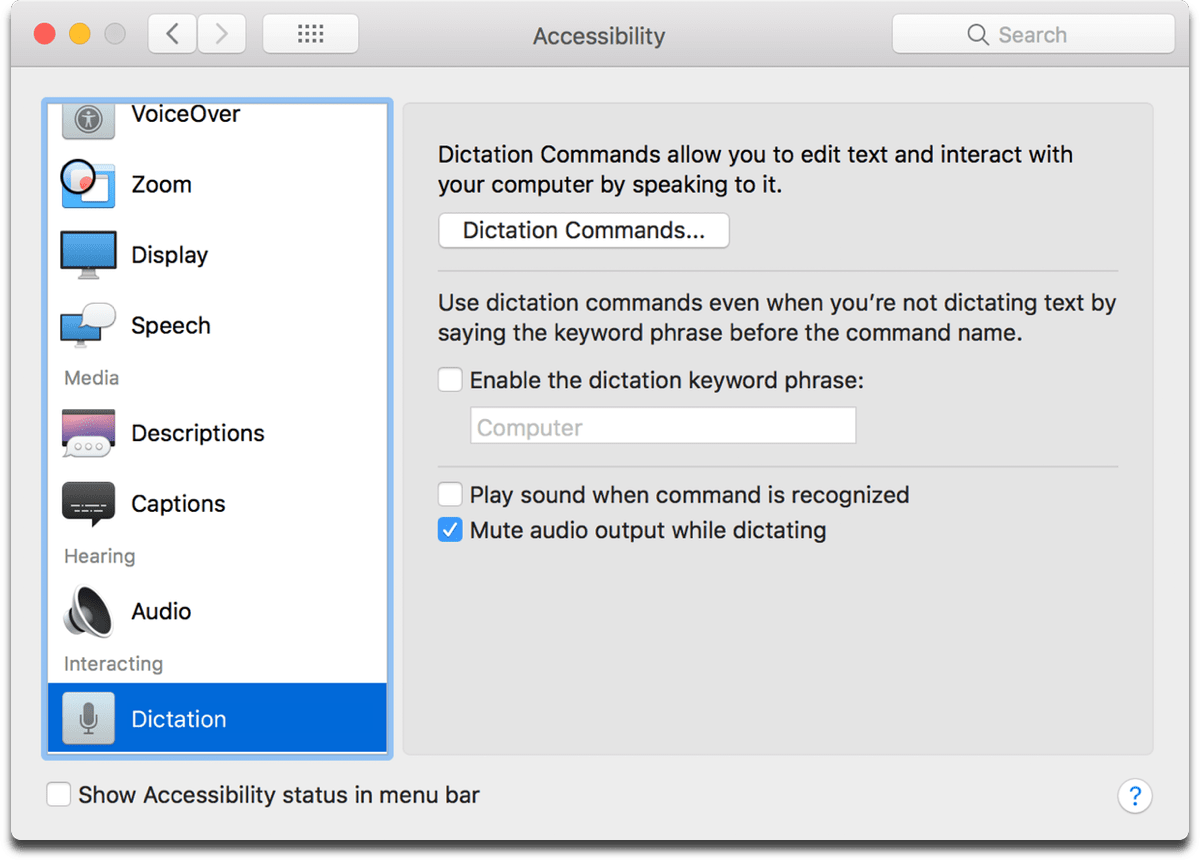
To see a list of Mac dictation commands:
- Go to System Preferences.
- Click Accessibility.
- Click Dictation at the top of the Interacting section in the left menu.
Dictation commands
Here you can get a list of commands you can use. You can also use Mac dictation to give your computer a hands-free Hey Siri command. Clicking on Dictation Commands will show you a list of default commands to use. If you click the box next to Enable Advanced Commands, you can edit the list to add custom commands or delete current ones.
Source link: https://www.macobserver.com/tips/how-to/mac-dictation-2/


Leave a Reply