How to convert HEIF images to JPEGs with iMazing’s free one-step desktop conversion app
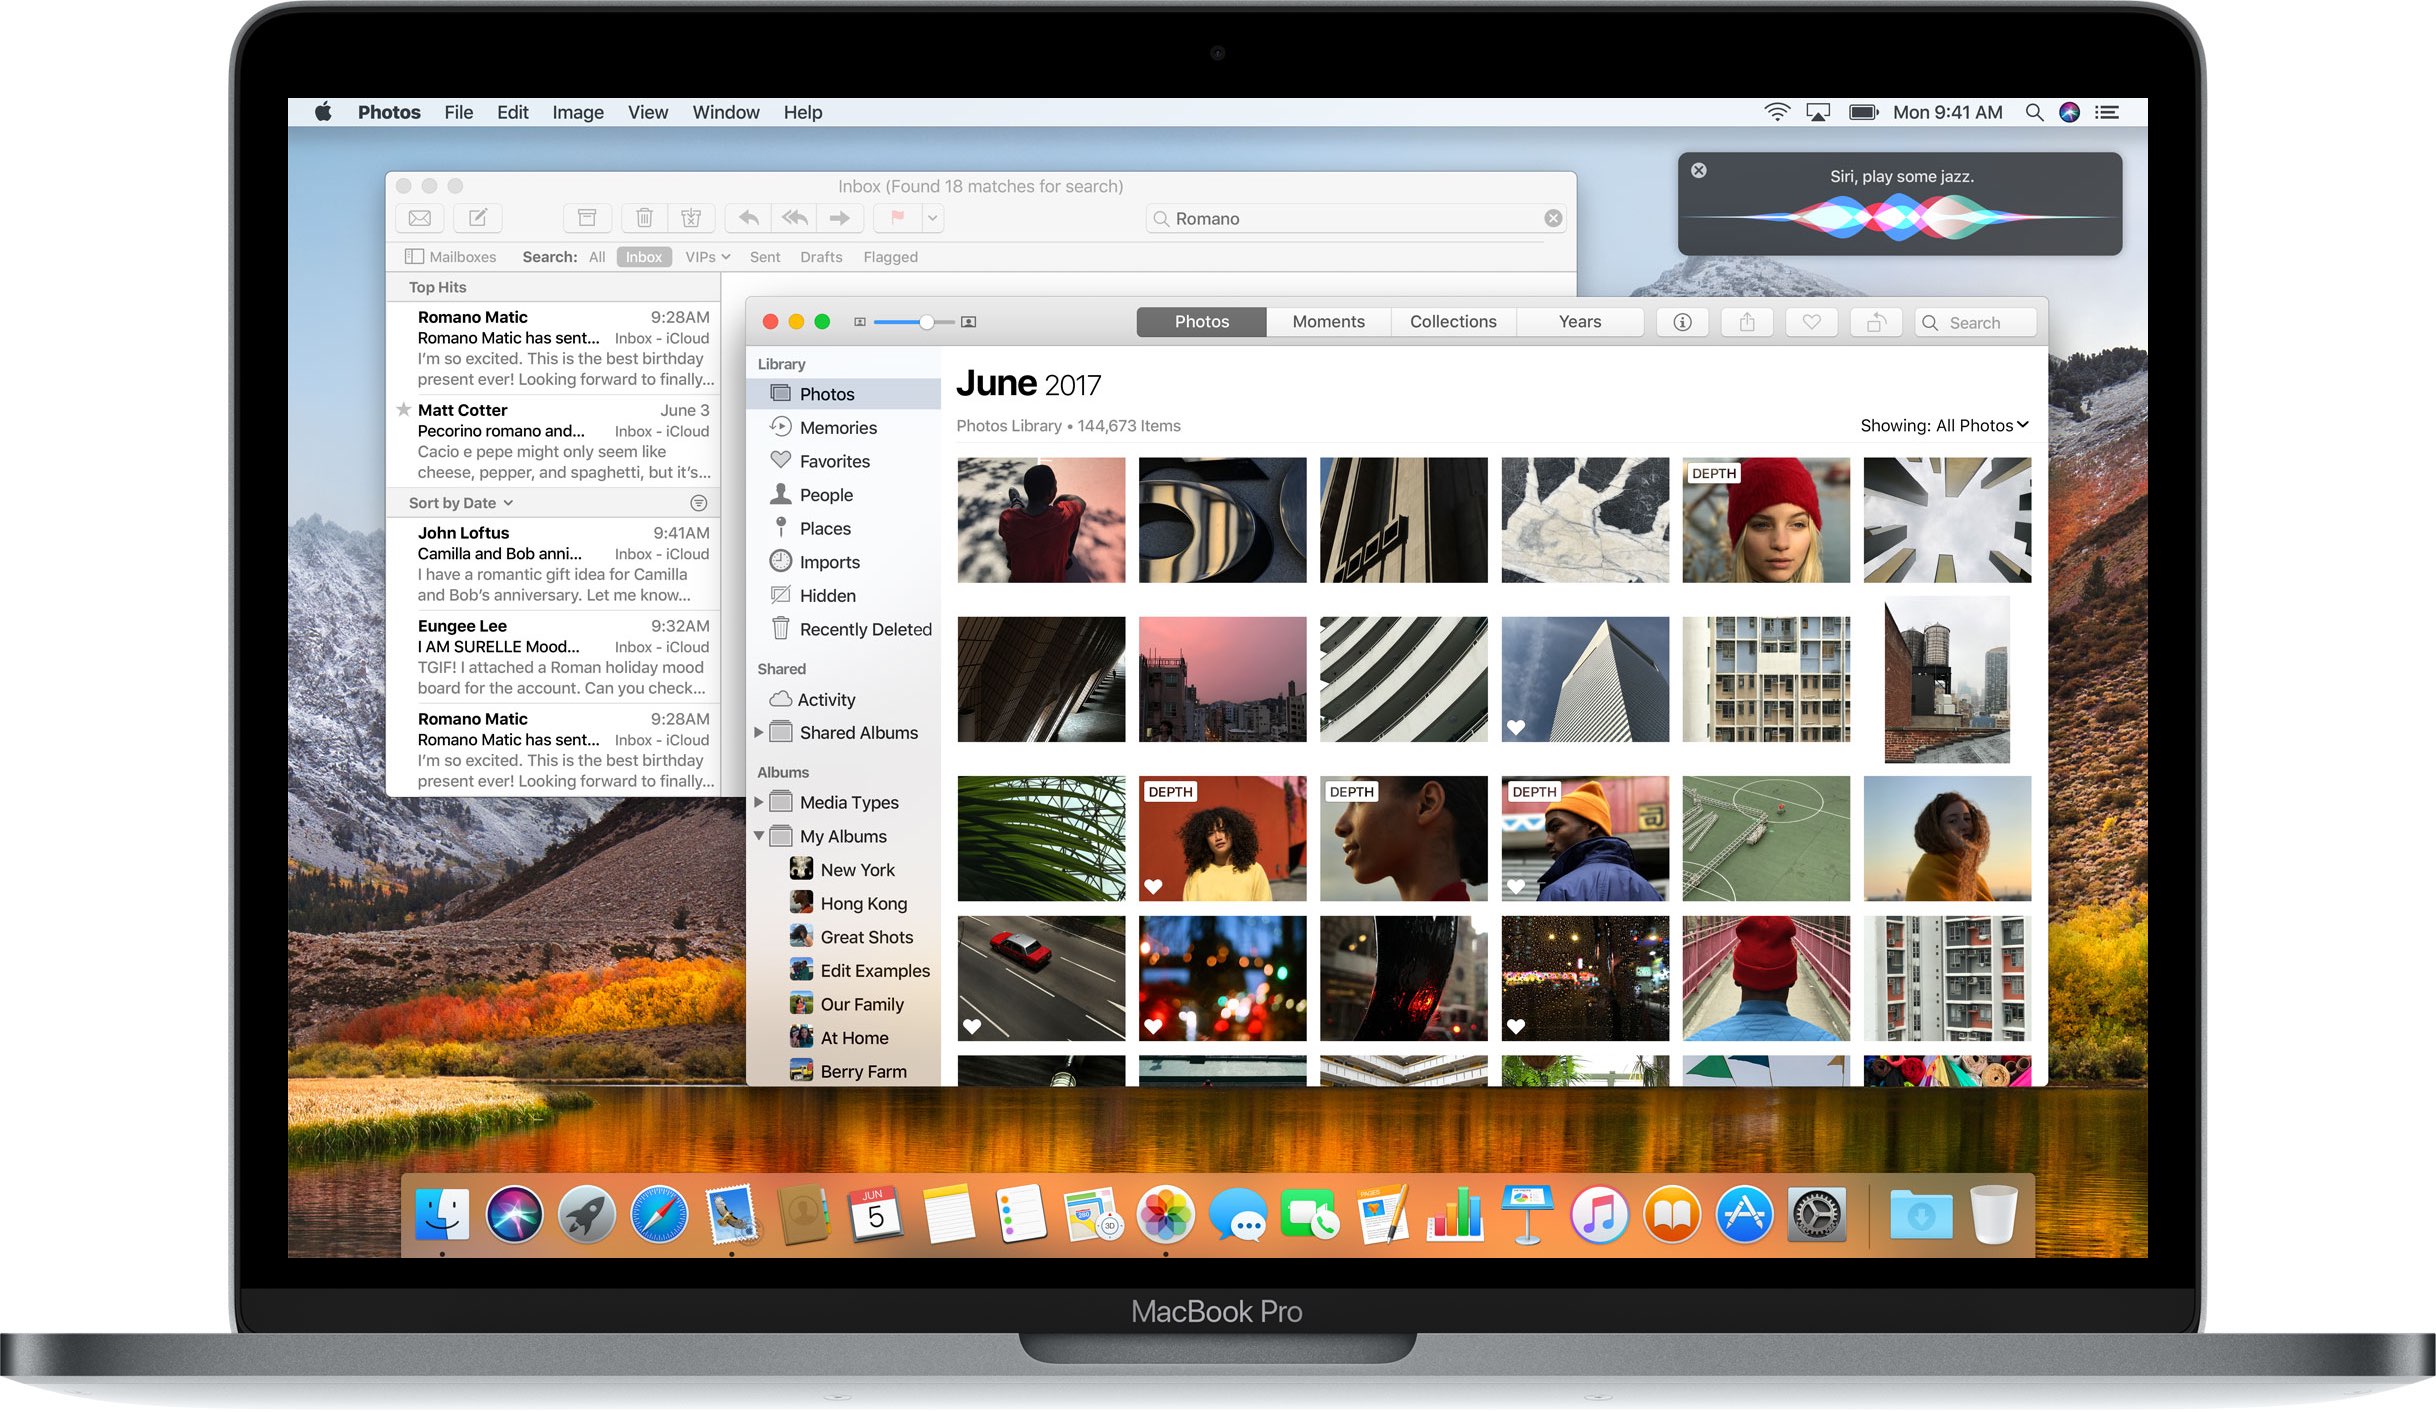
As you might know, Apple with iOS 11 and macOS High Sierra introduced a new space-saving image file format, called High Efficiency Image File Format (HEIF).
Stored as .HEIC files, HEIF images taken with your iPhone 7 or 2017 iPad Pro or newer take advantage of the efficient H.265 codec to deliver half the size of the ubiquitous JPEG format with no perceptible loss in image quality.
For compatibility and other purposes, you may want to convert your HEIF images into the JPEG format. Here’s how to do just that using a free desktop conversion app from iMazing developers.
About HEIF → JPEG conversion
You shouldn’t convert your HEIFs into JPEGs if all you want to do is share some HEIFs online.
That’s because iOS 11 and macOS High Sierra’s multi-purpose Share menu falls back to the more compatible JPEG format, automatically converting any shared HEIF files into the more compatible JPEG format without touching the original HEIF files.
Moreover, you can also take advantage of AirDrop to send HEIFs as JPEGs wirelessly to a Mac because AirDrop by default performs the HEIF → JPEG transcoding on the fly.
TUTORIAL: How to choose between HEIF/HEVC & JPEG/H.264 media formats in iOS 11
Also, if you’re shooting in HEIF and want to transfer your .HEIC files to desktop in the JPEG format, iOS comes to the rescue: in Settings → Photos, select the Automatic option underneath the Transfer to Mac or PC.
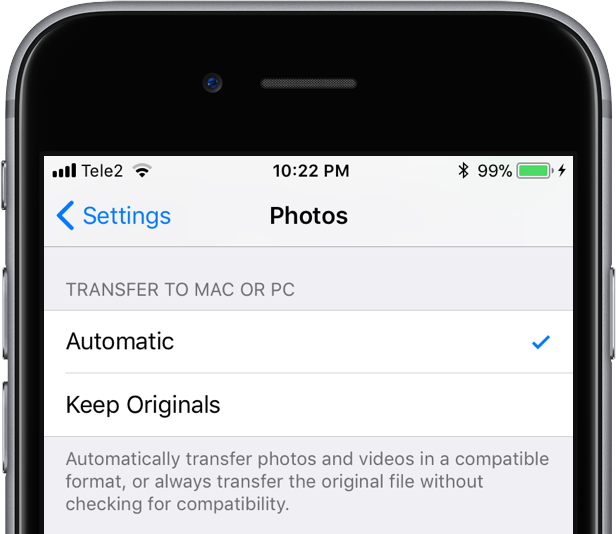
iOS can send your HEIFs as JPEGs when using the USB transfer method.
This will automatically send any HEIF images and H.265 videos in the respective and more compatible JPEG/H.264 formats when using the USB method to transfer media to desktop.
And lastly, converting HEIFs into JPEG may not be the smartest idea if you’re really nit-picky about image quality because you’re basically recompressing data from one lossless format into another.
It’s like saving an uncompressed image in Photoshop as a lossless JPEG file, then opening the JPEG and saving it again—every time you do that, compression artifacts become more visible (especially around the edges of objects).
That being said, there are some legitimate scenarios in which the HEIF → JPEG conversion might make sense. For those cases, the step-by-step instructions included further below will help you convert your HEIF images into the JPEG format with ease.
HEIF in a JPEG world
As mentioned, there are some scenarios when syncing HEIFs may cause troubles with Apple’s new file format on desktop. Although all Apple devices with iOS 11 or macOS High Sierra or newer can view HEIF files with or without hardware acceleration, compatibility issues arise from the fact that, presently, many popular apps don’t yet support the new file format.
Also, no Macs are capable of saving HEIFs at the moment.
![]()
Pixelmator supports HEIF, but other popular apps do not, yet.
As an example, Pixelmator lets you import HEIFs but doesn’t yet support saving images in the new format. To further illustrate the point, major Adobe apps like Photoshop and Illustrator, as well as Microsoft Windows and Office apps, did not support HEIF at the time of this writing.
How to convert HEIFs to JPEGs with iMazing HEIC Converter
1) Download and install the free iMazing HEIC Converter app from Mac App Store.
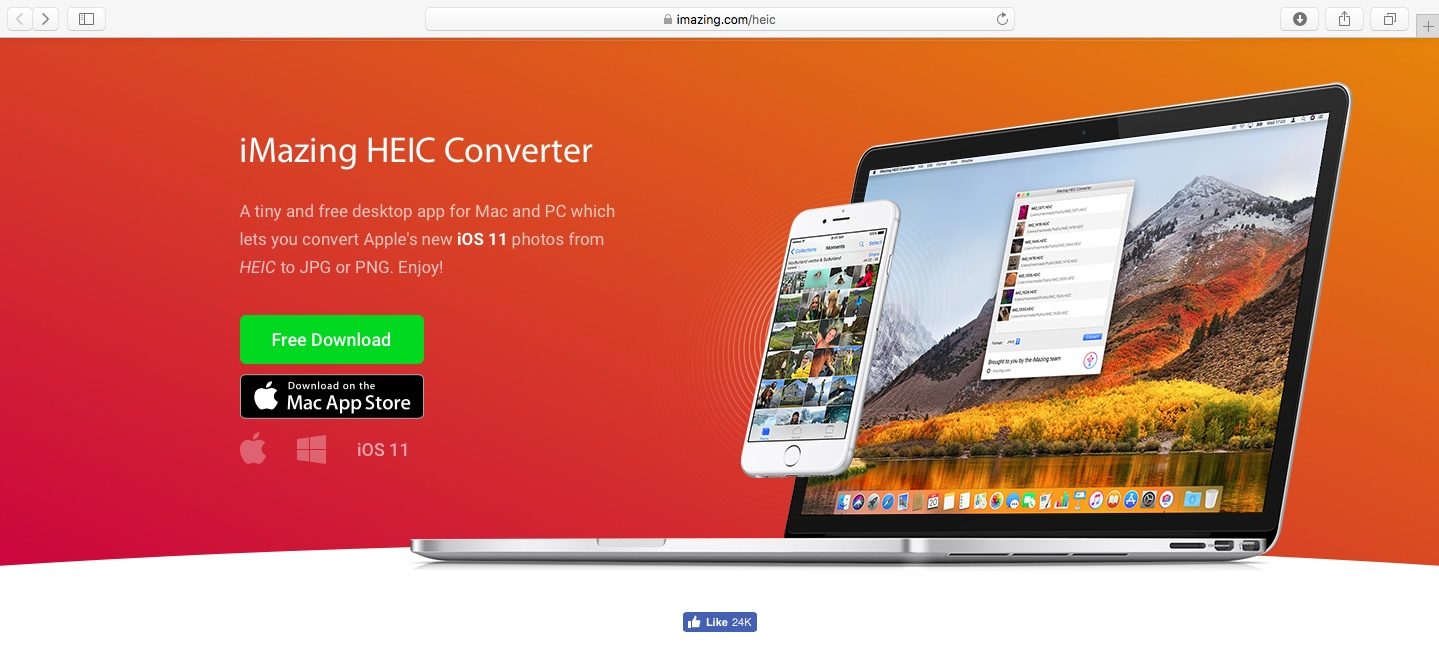
The Mac version requires macOS 10.8 or higher. A Windows version of the app is available to download from the iMazing website, assuming you’re on Windows 7 or higher.
2) Launch iMazing HEIC Converter on your computer.
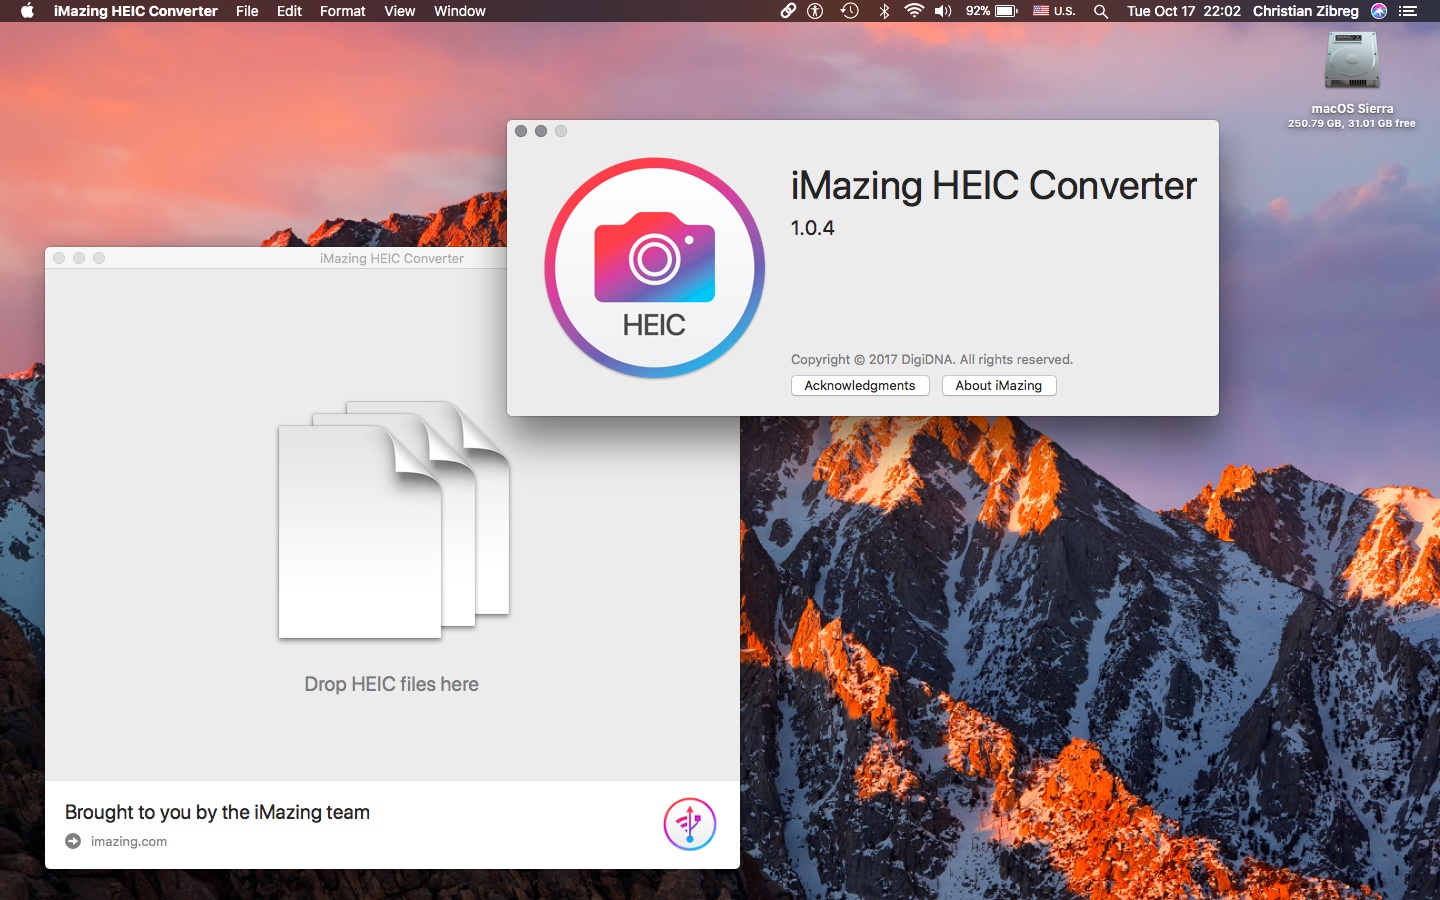
You’ll be greeted with a splash screen like the one you see above, instructing you to drag HEIF images from the Finder and drop them onto the app’s window.
3) Let’s do just that.
Firstly, open a folder containing .HEIC files you’d like to convert. Here are some images of Koogeek’s HomeKit-compatible smart scale that I’ve been reviewing lately.
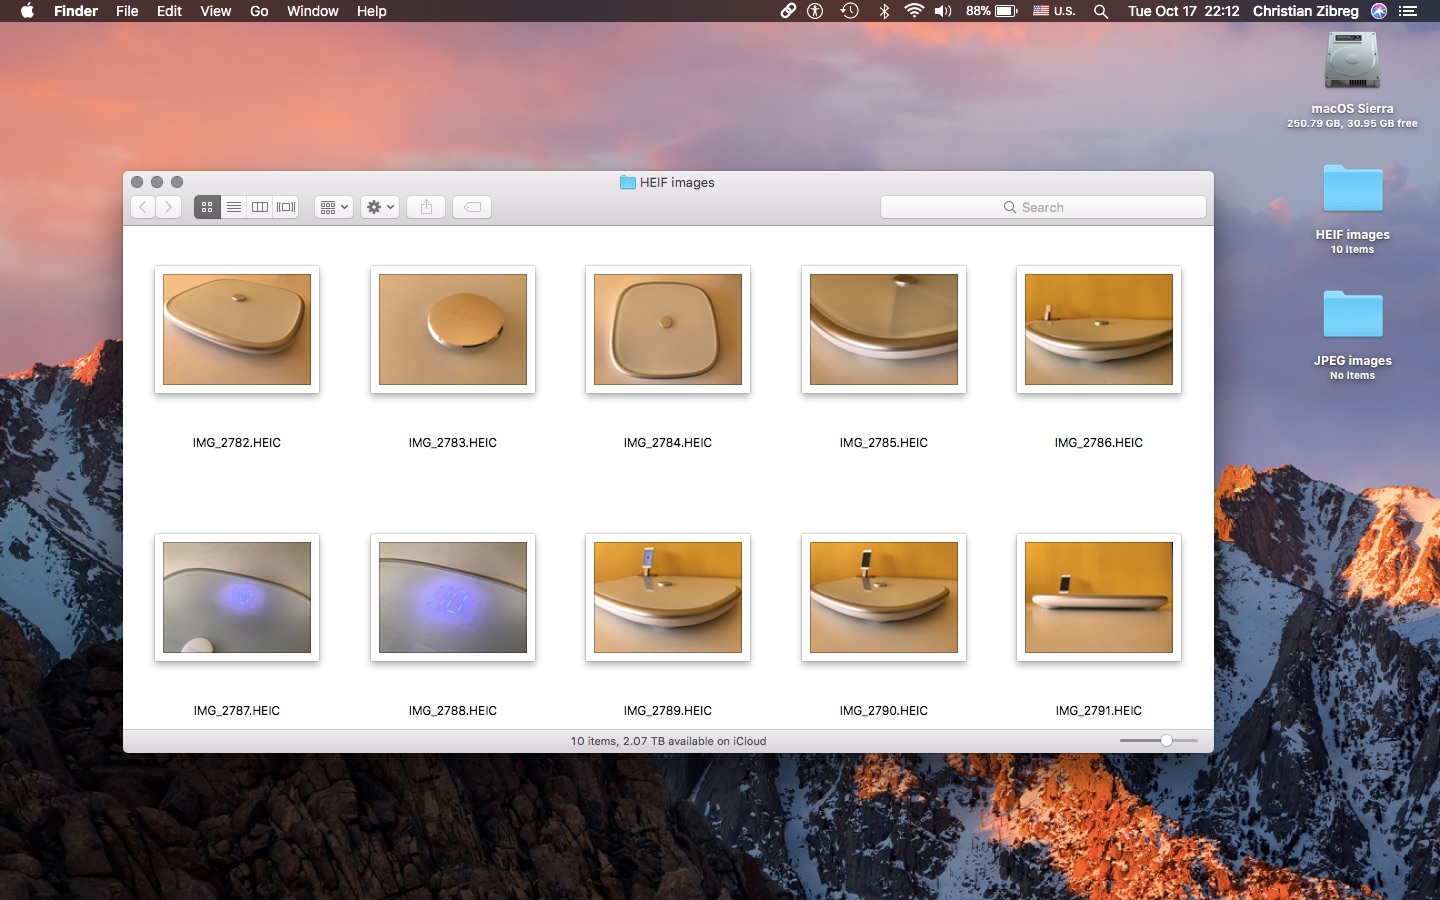
4) Secondly, Command (⌘)-click the images you’d like to convert. Alternatively, choose Select All from the Finder’s Edit menu, or press Command (⌘)-A, to select all files within the selected folder.
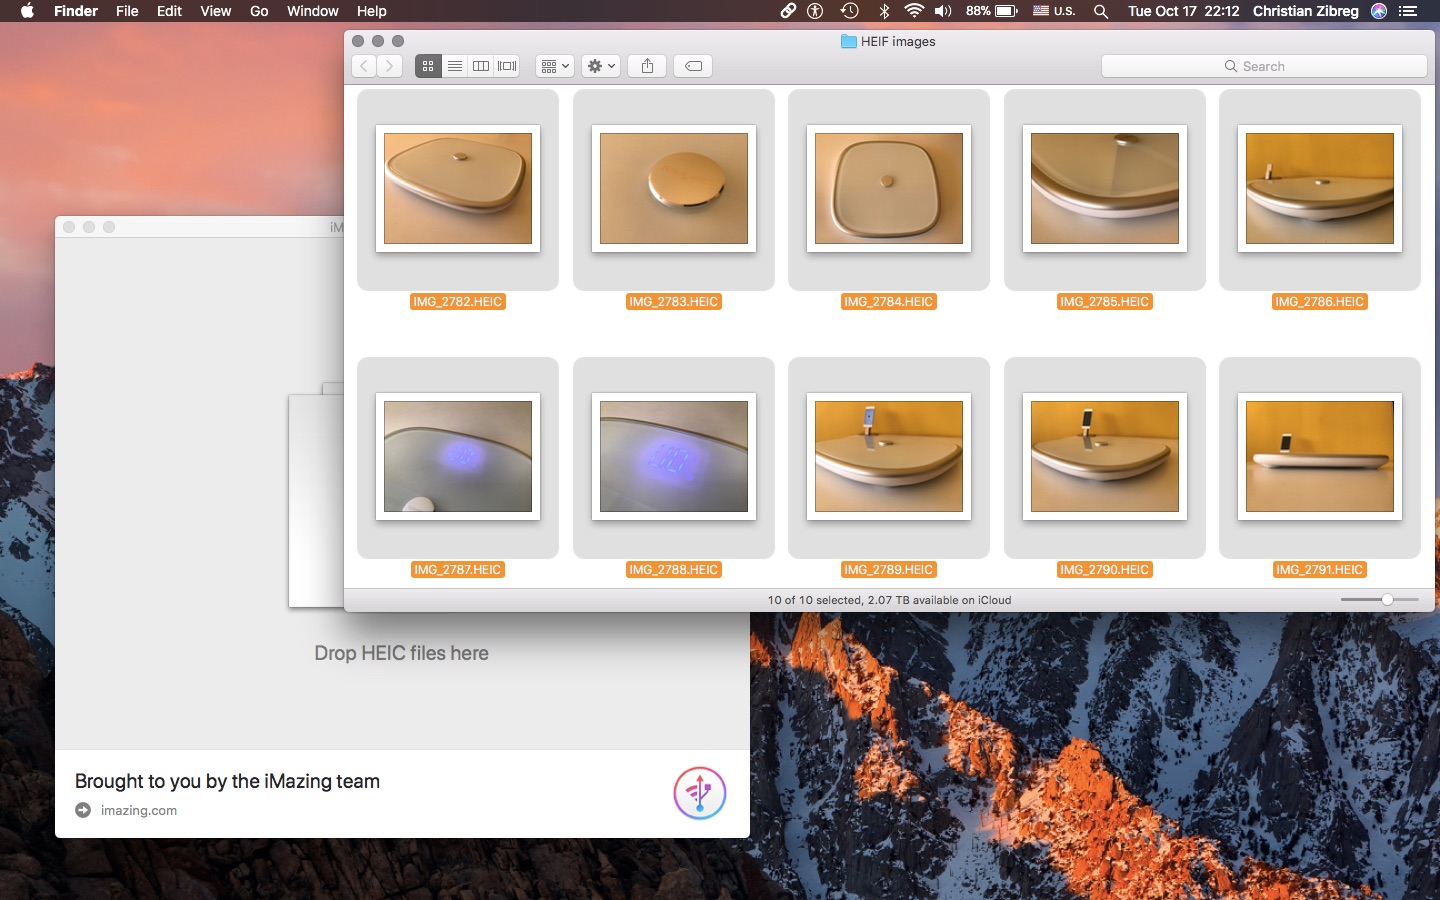
5) And thirdly, drag your selection and drop it onto the iMazing HEIC Converter window.

6) Confirm that all the HEIFs you dropped are listed in the app’s window.
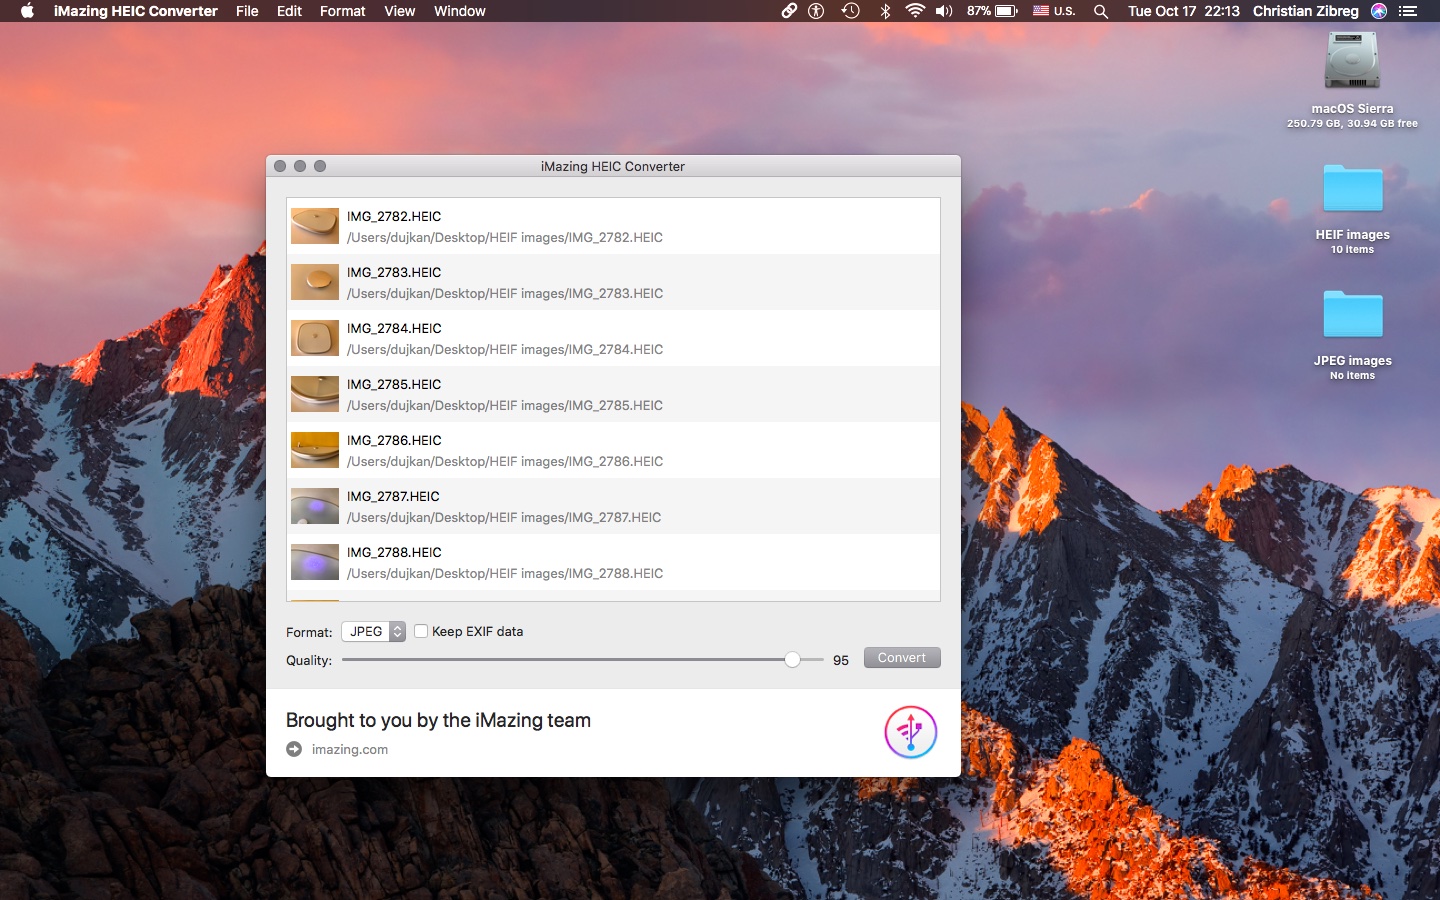
7) Click the popup menu next to Format, then choose JPEG as your target image format.
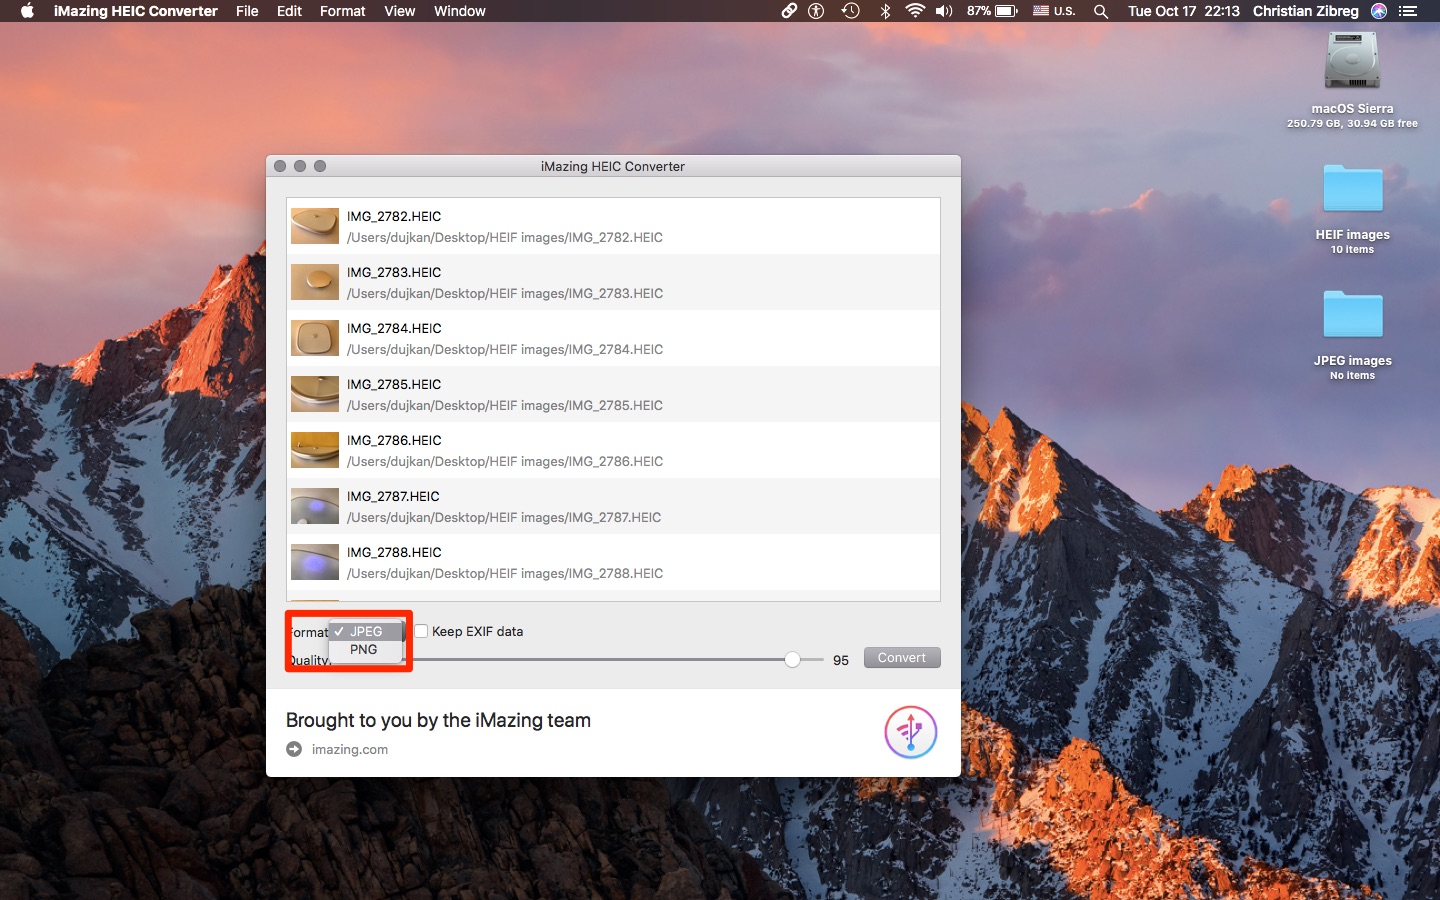
TIP: Choosing the lossless PNG format from the menu will solve the issue of transcoding artifacts and slight loss in image quality at the expense of file size.
8) Be sure to tick the box next to Keep EXIF data.
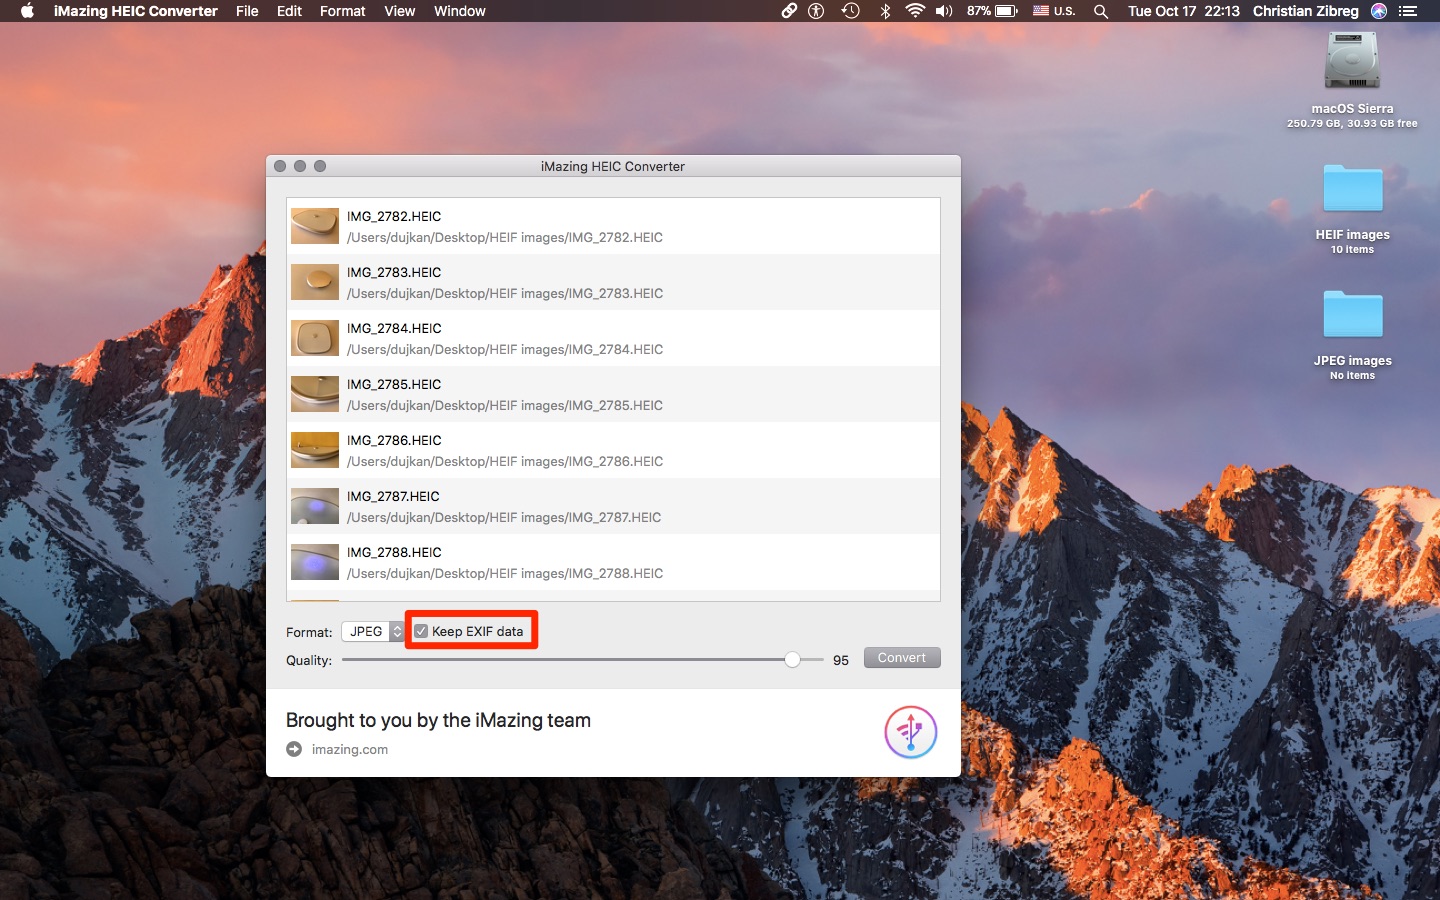
NOTE: Unticking the box will yield JPEGs without valuable metadata saved by your camera, like the shutter speed, exposure, aperture and brightness values and much more.
9) Drag the slider next to Quality to set your desired compression level.
Higher values lead to better image quality and, consequently, bigger files. Lowering the compression quality produces smaller JPEGs, but you may notice perceptible loss in image quality.
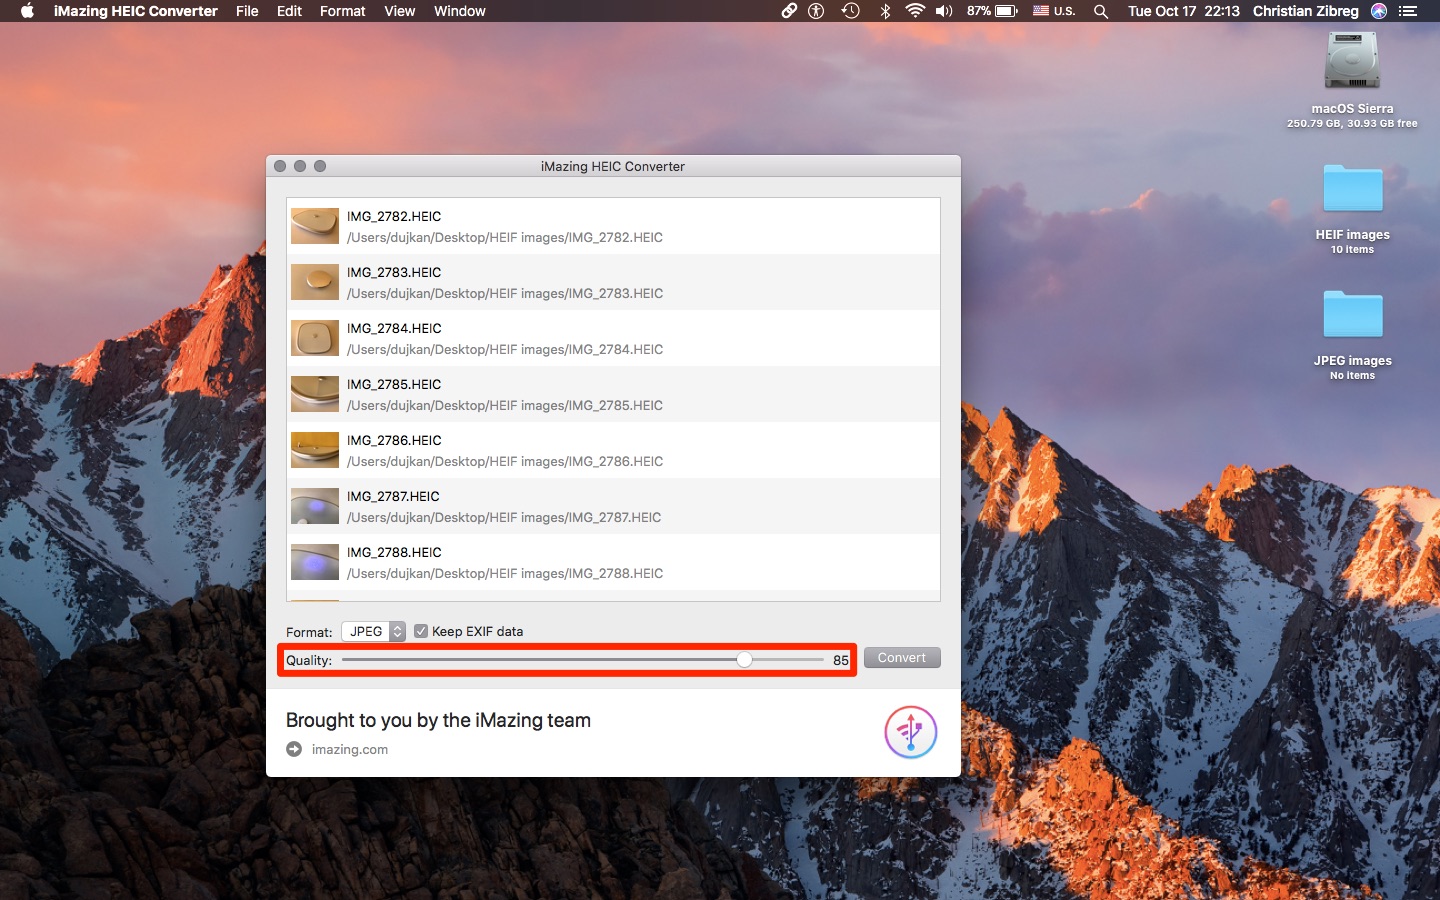
I typically set the slider to about 85 percent, which strikes a delicate balance between file size and visual quality, with the exception of web-optimized assets that I compress at 60 percent for smaller file sizes.
10) Click the Convert button to begin the process.
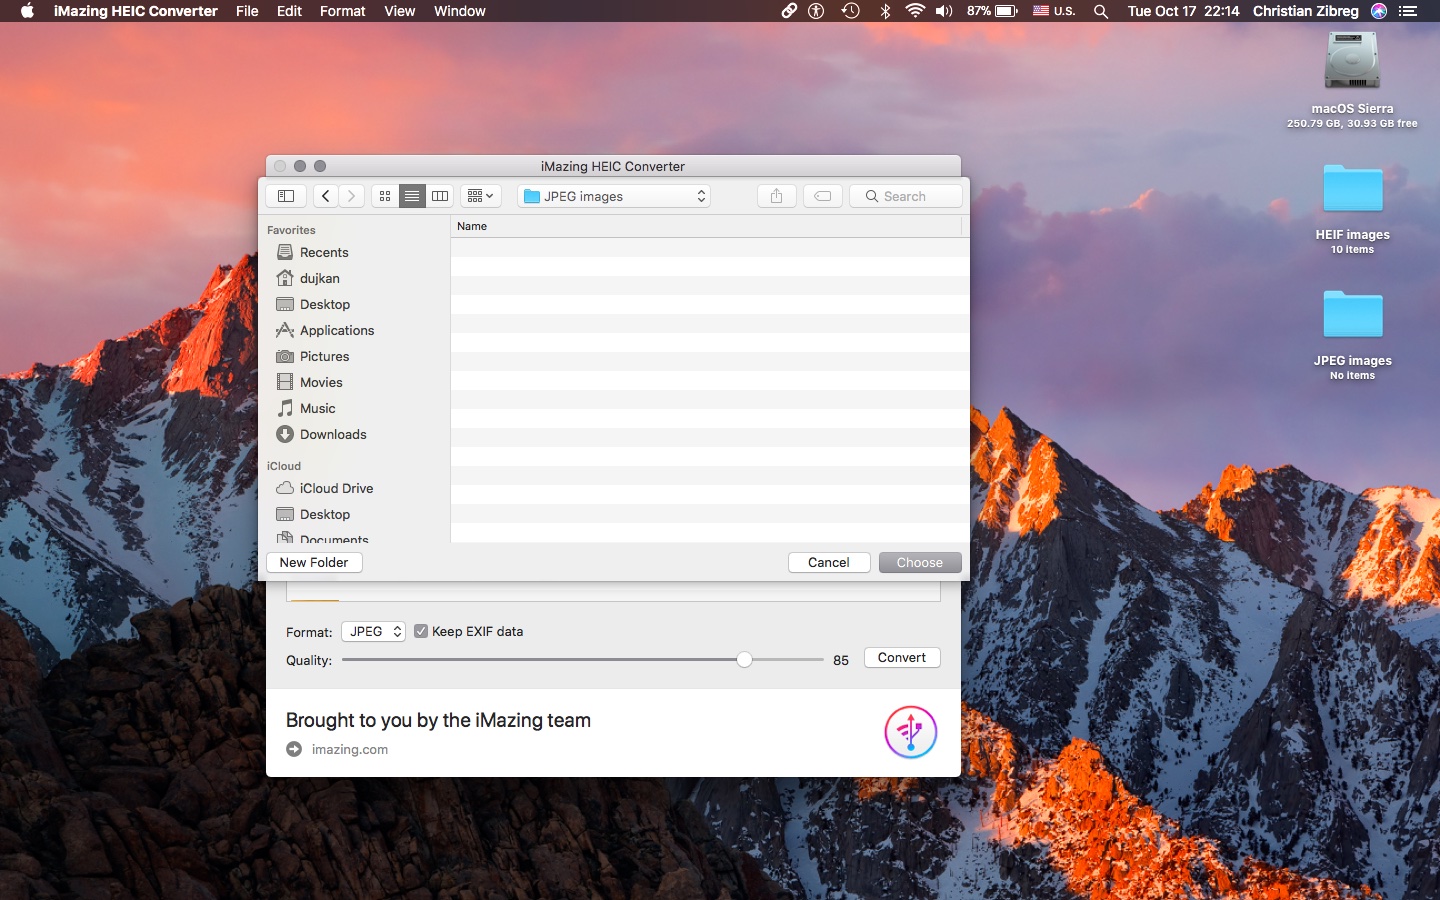
You’ll be asked to choose a folder on your Mac to save the converted files into. Navigate to a desired folder (or create one by clicking the New Folder button), then click Choose to continue.
The app then goes to work. Depending on your Mac hardware, the number of HEIFs dropped, their size, resolution and other parameters, this can take anywhere between a few seconds to a couple of minutes or longer.
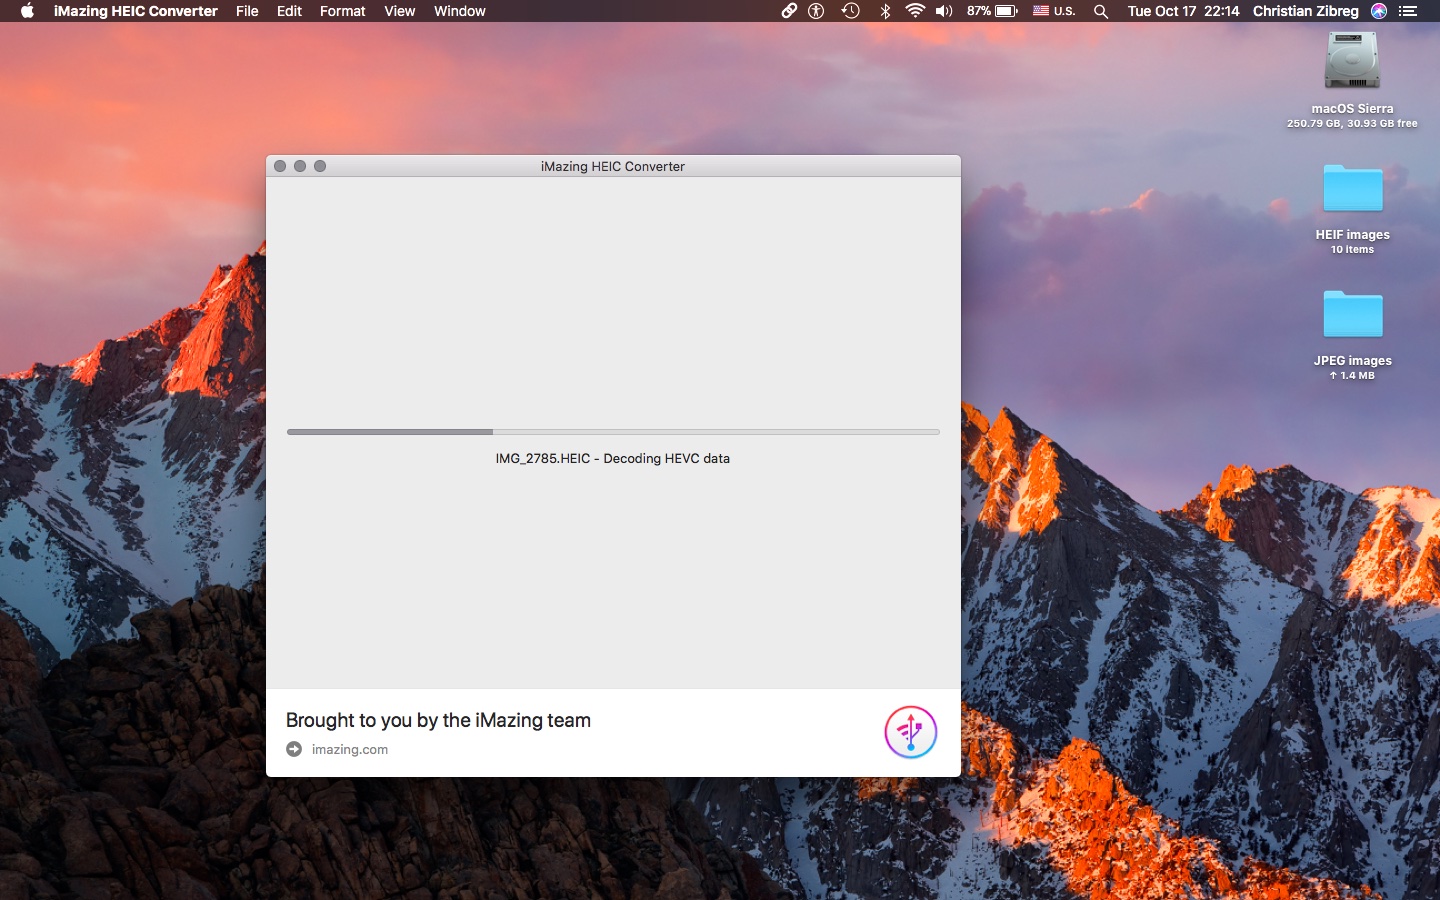
Thankfully, the progress indicator tells you how far along in the conversion process the app is at any given moment.
11) Upon successful conversion, the app puts up a dialog box.
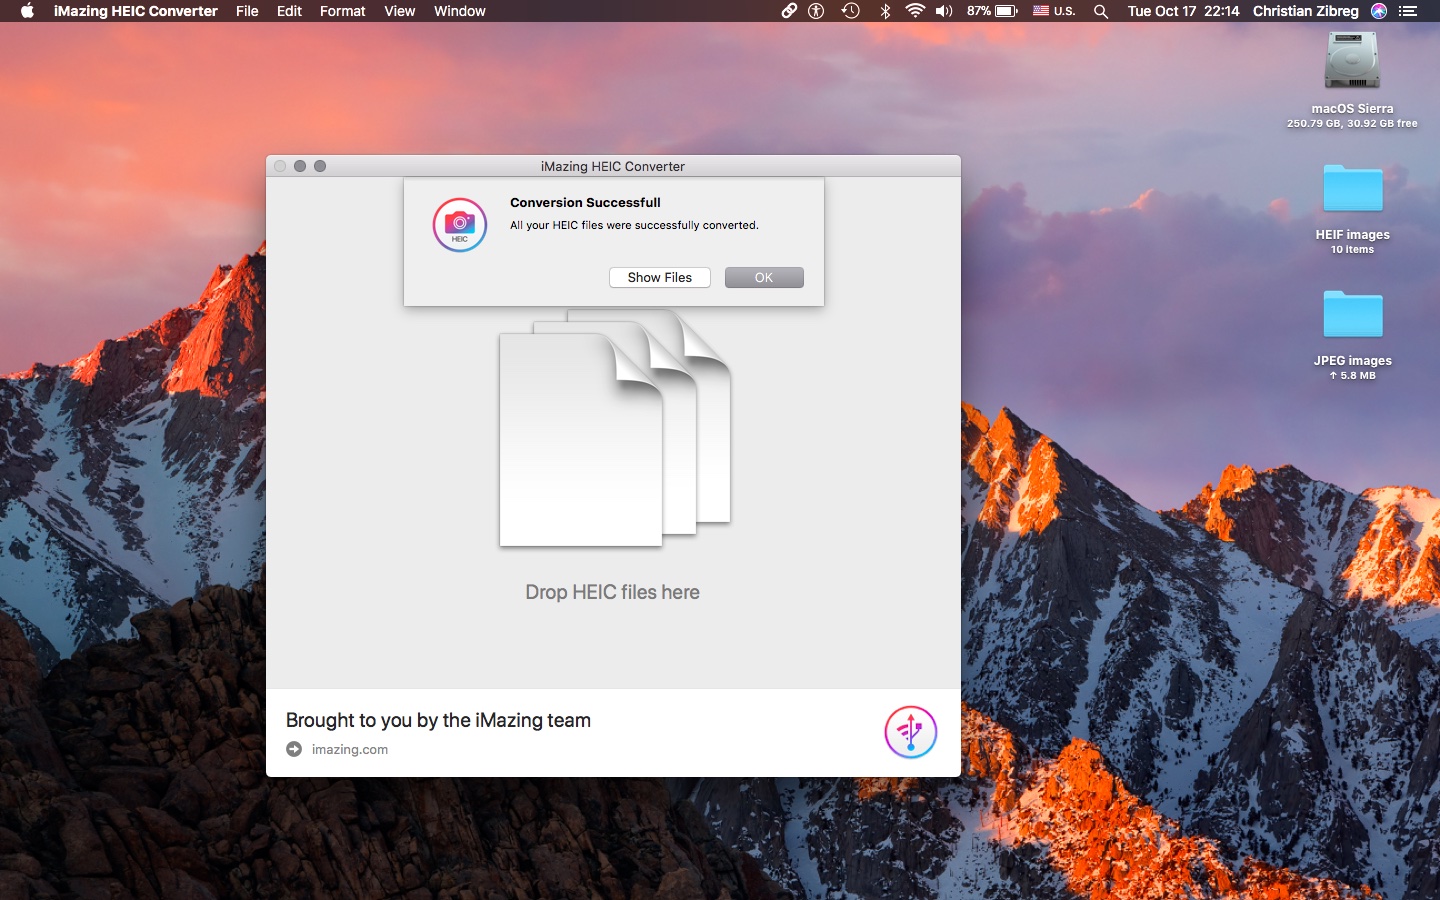
Click OK to finish using iMazing HEIC Converter and locate your JPEGs manually, or hit the Show Files button to have it open the folder you designated as your destination for the JPEGs.
Viewing the original HEIF images and their transcoded JPEG counterparts side by side in Preview reveals just how efficient the HEIF format is. In most cases, HEIF → JPEG conversion will cut the file size in half or even more.
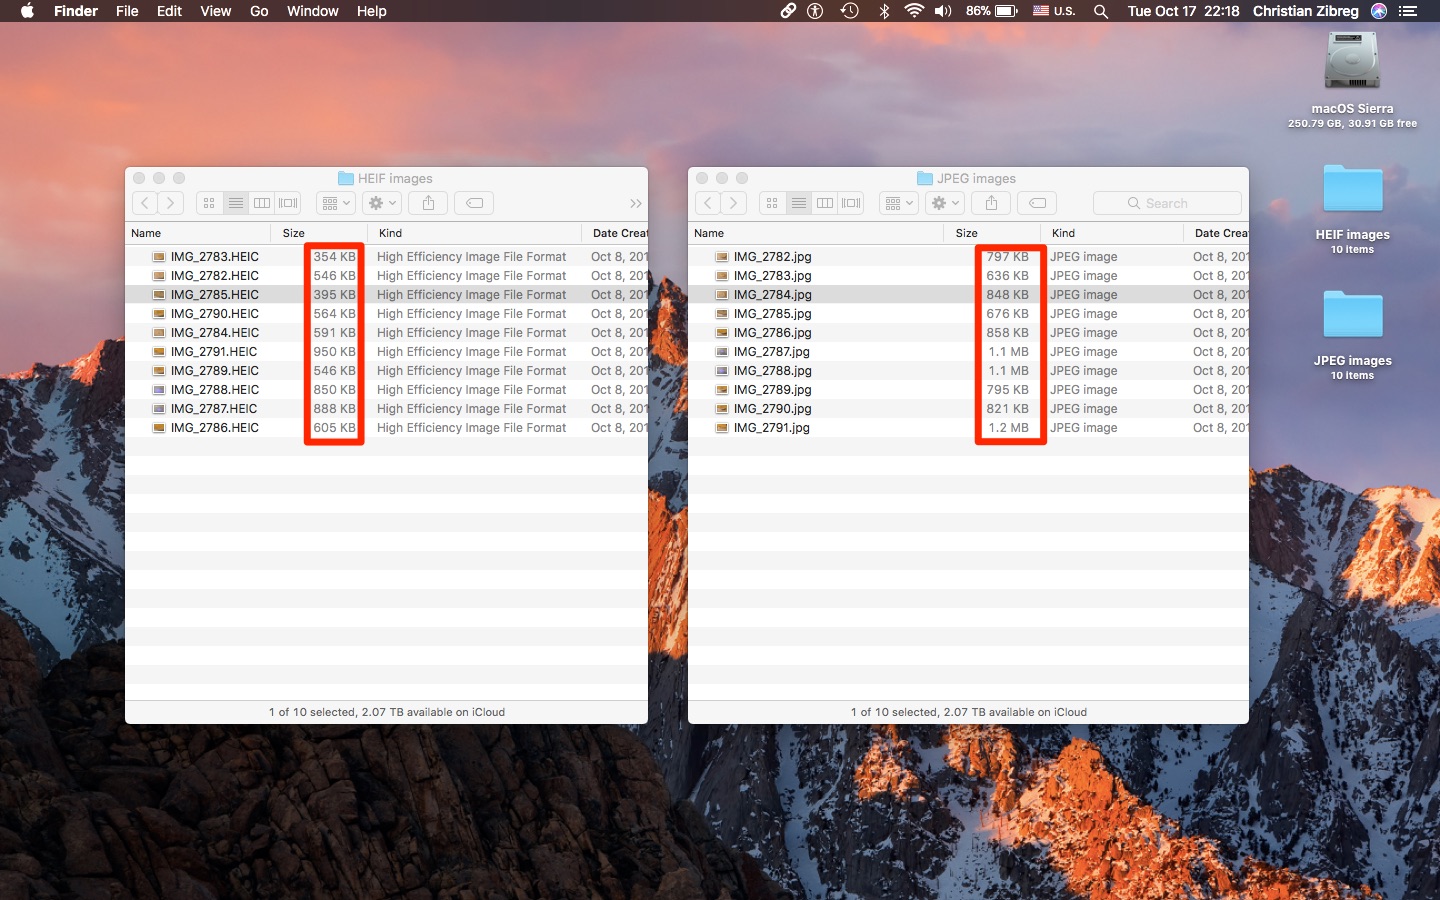
As I mentioned before, the conversion only makes sense in specific scenarios (i.e. your favorite image editing app has not been updated yet to support opening HEIF images).
What about EXIF data and wide color images?
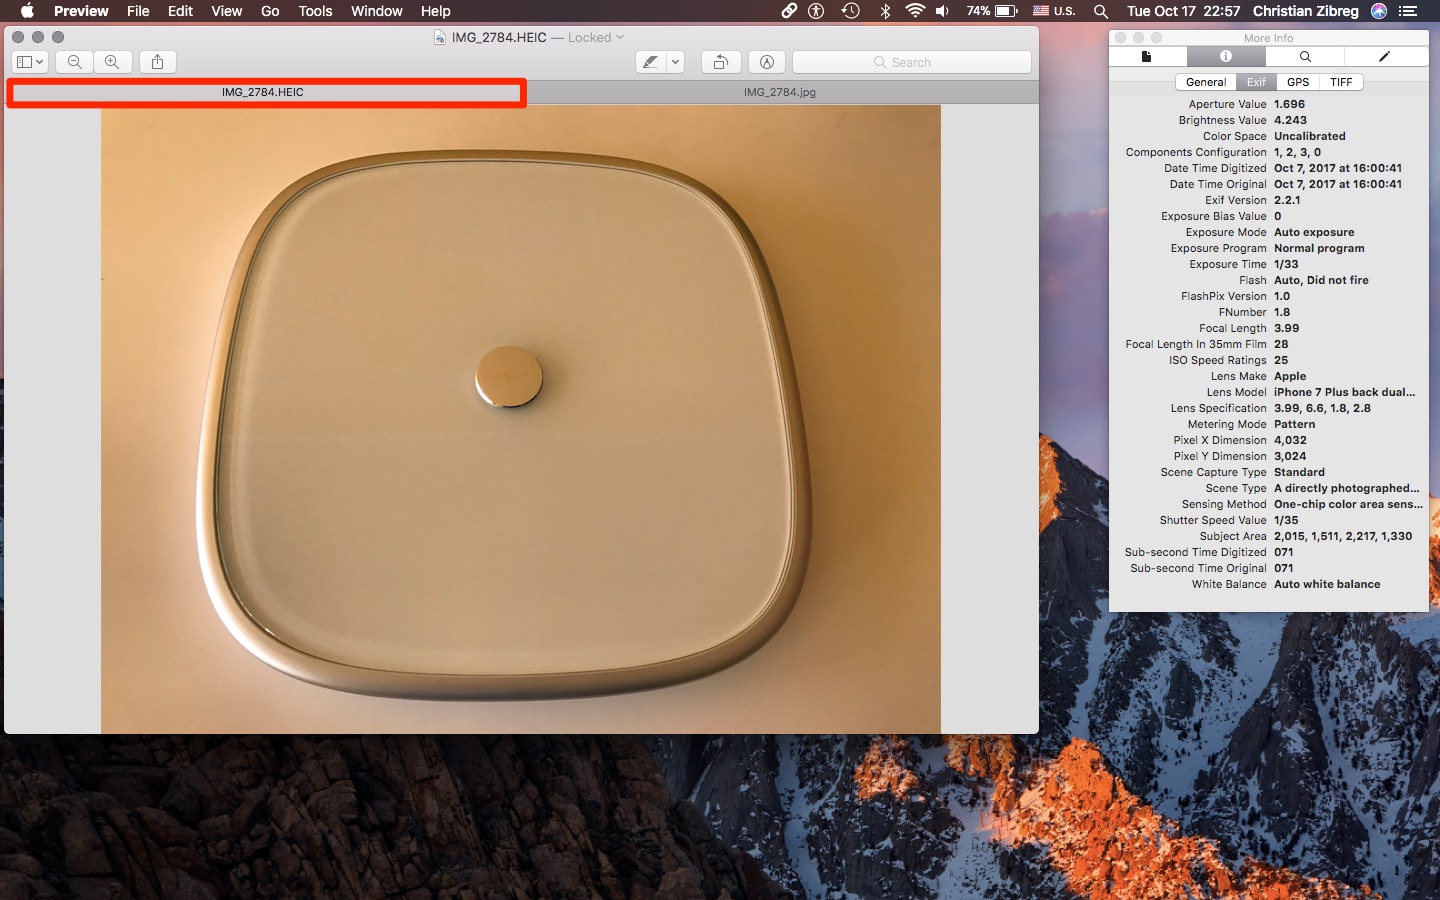
Unlike many other image converters out there, iMazing’s app retains all your EXIF data and other useful pieces of information, such as the original date and time the images were taken, the embedded color profile and more. This lets you reimport your freshly converted JPEGs into Photos knowing the images will be time-shifted accordingly in the Photos app.
Here’s a look at EXIF data of the original HEIF image.
And here’s EXIF data of its converted JPEG version.
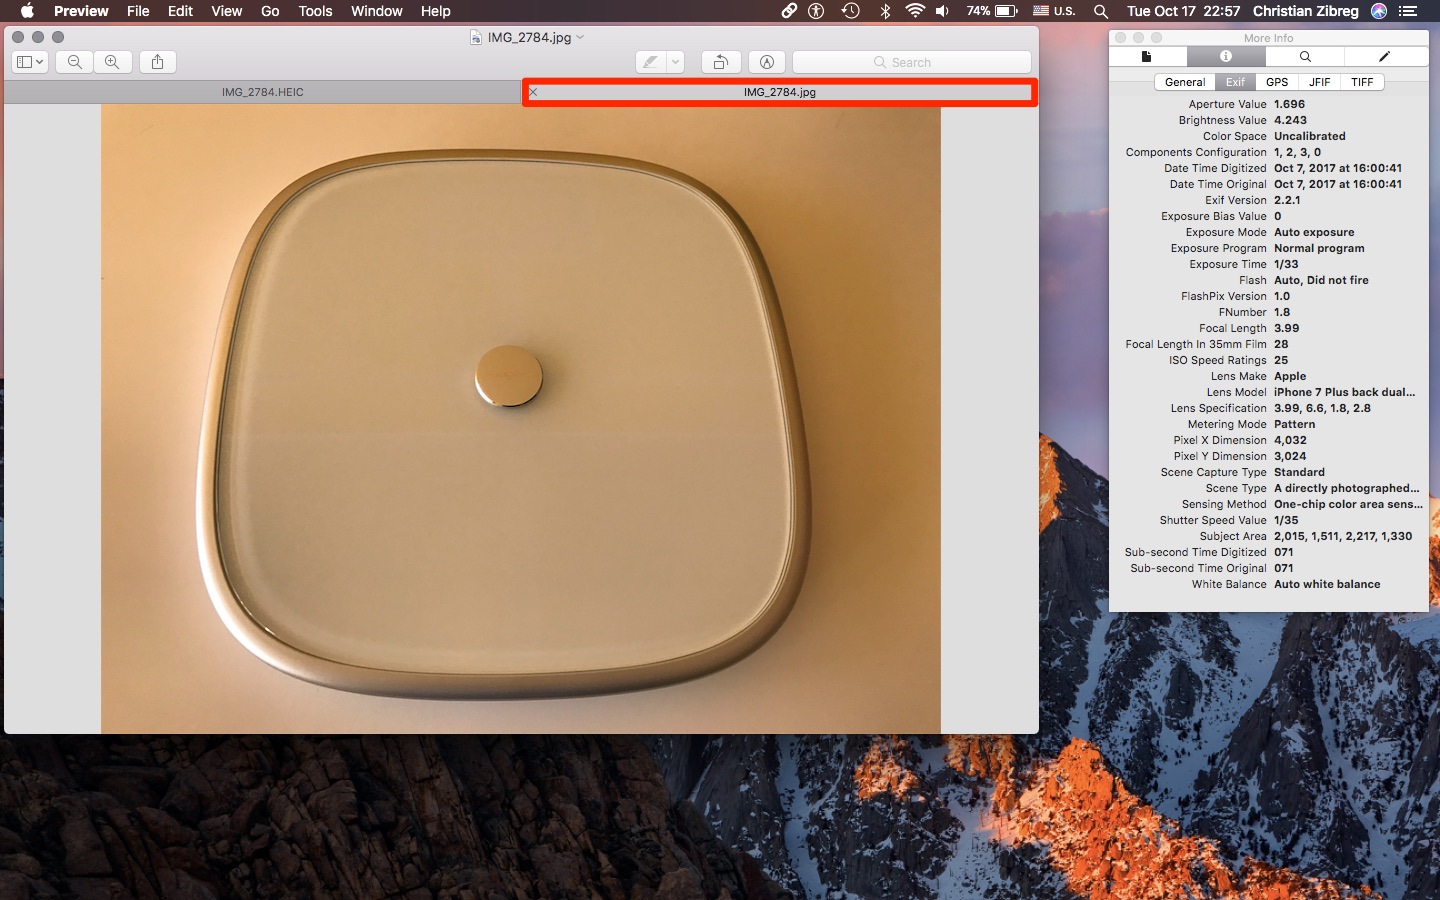
As you can see for yourself, the converted JPEG files produced by iMazing HEIC Converter retain all the EXIF data of their HEIF originals—you don’t want your image converter to delete the EXIF data or change the file’s creation time and date.
Even more importantly, iMazing HEIC Converter honors the embedded image profile to handle your wide color images properly. This is crucial if you have a device capable of taking wide color images, like an iPhone 7 or newer or one of the 2017 iPad Pro models.
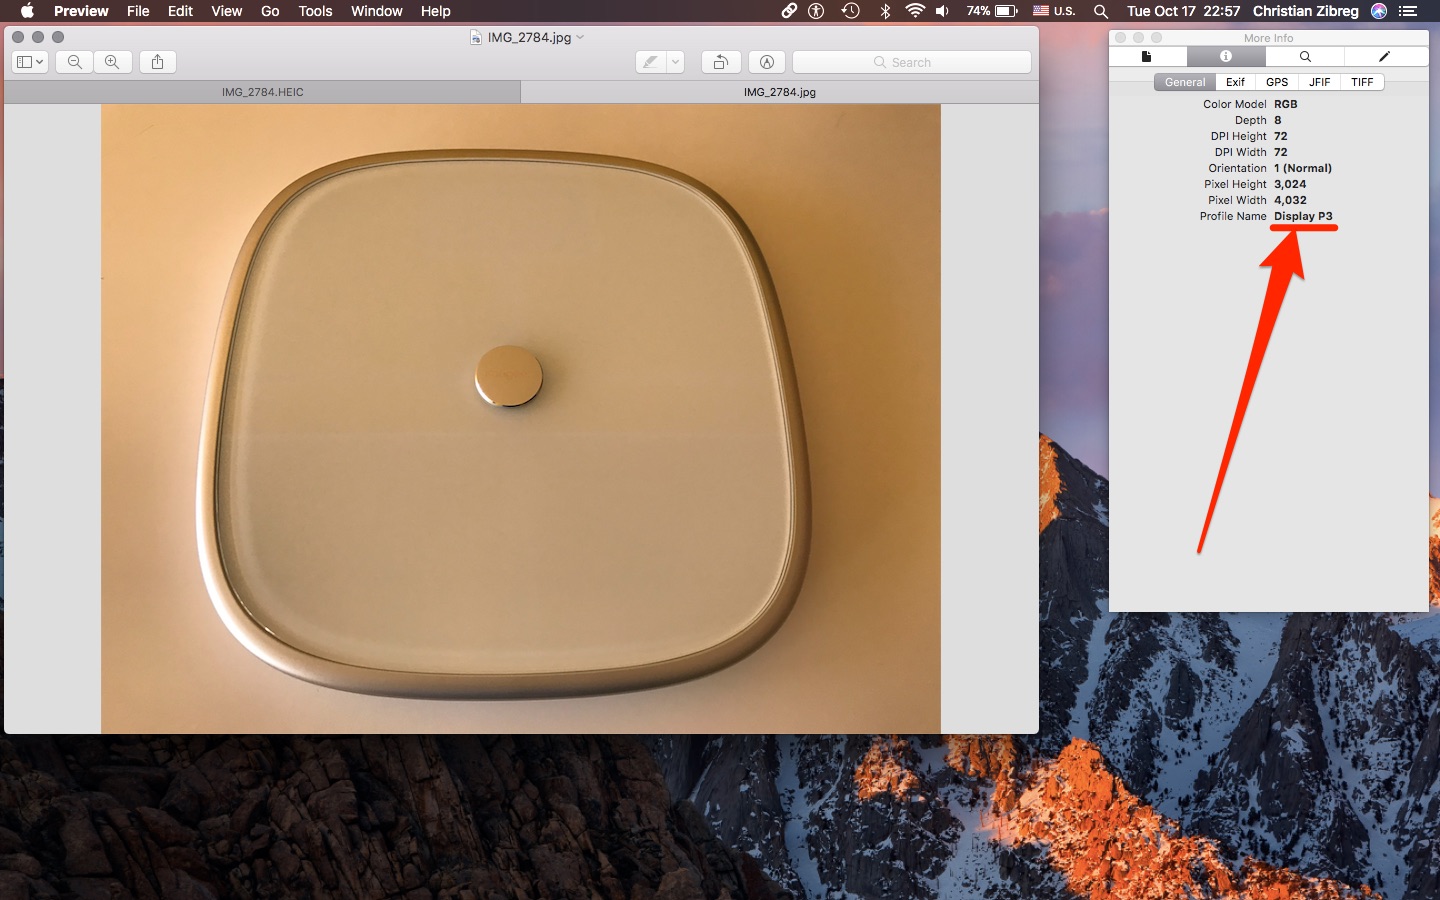
iMazing HEIC Converter supports wide color images taken with your iPhone.
Whereas other image converters often lose the embedded wide color profile (named Display P3), iMazing HEIC Converter does the right thing so your JPEGs retain all the vibrant reds and blues of their HEIF originals.
And one last piece of advice: be sure to keep your HEIF originals in Photos, iCloud Photo Library or a backup location.
And that’s all there’s to it, boys and girls!
If you have questions, leave them in comments and I’ll do my best to answer them.
Need help? Ask iDB!
If you like this how-to, pass it along to your support folks and leave a comment below.
Got stuck? Not sure how to do certain things on your Apple device? Let us know via [email protected] and a future tutorial might provide a solution.
Submit your how-to suggestions via [email protected].
Source link: http://www.idownloadblog.com/2017/10/18/how-to-convert-heif-to-jpeg-imazing-heic-converter/


Leave a Reply